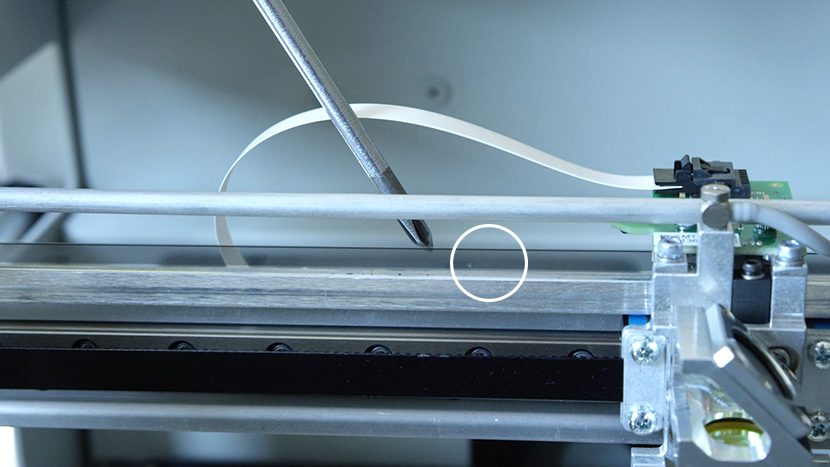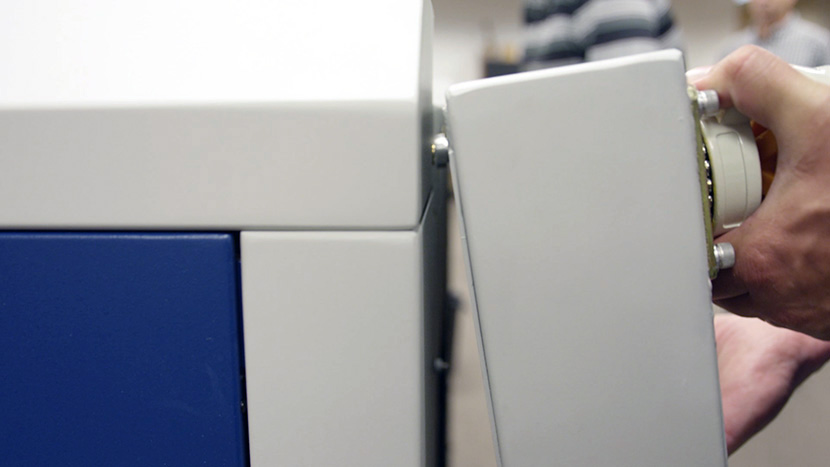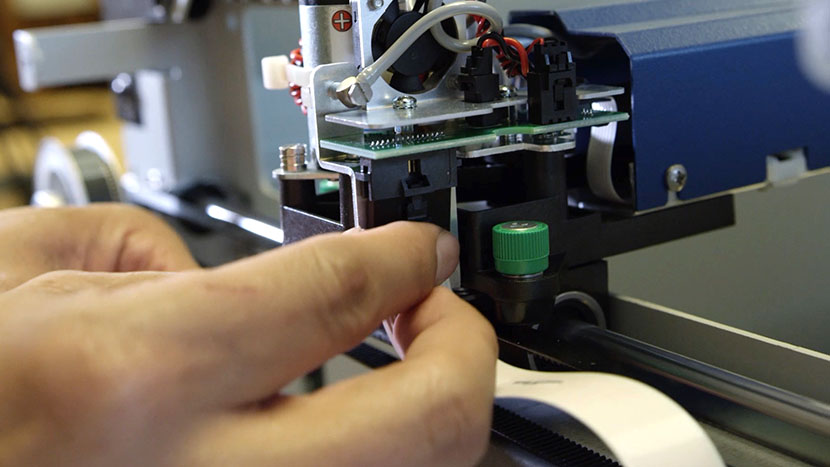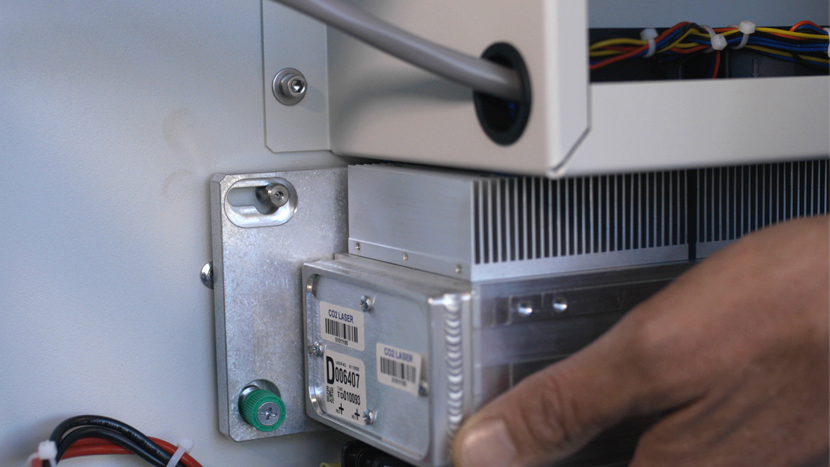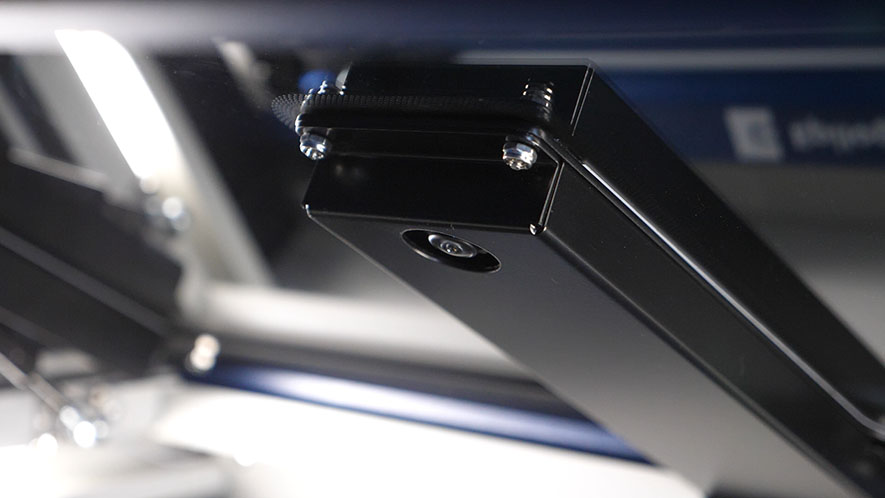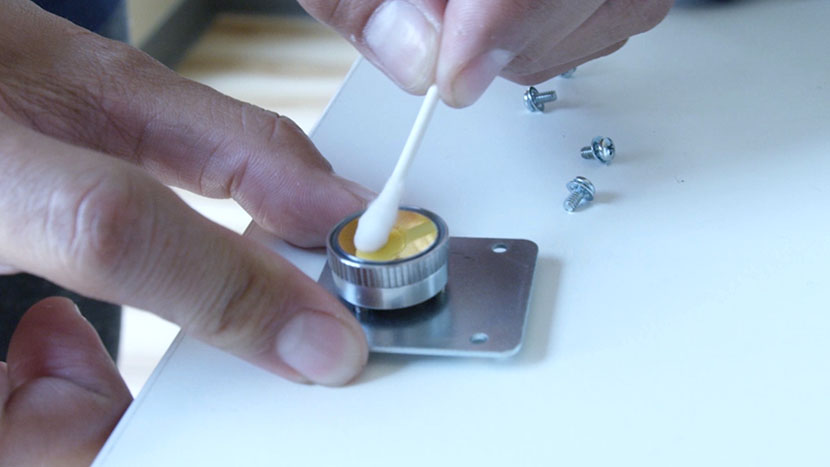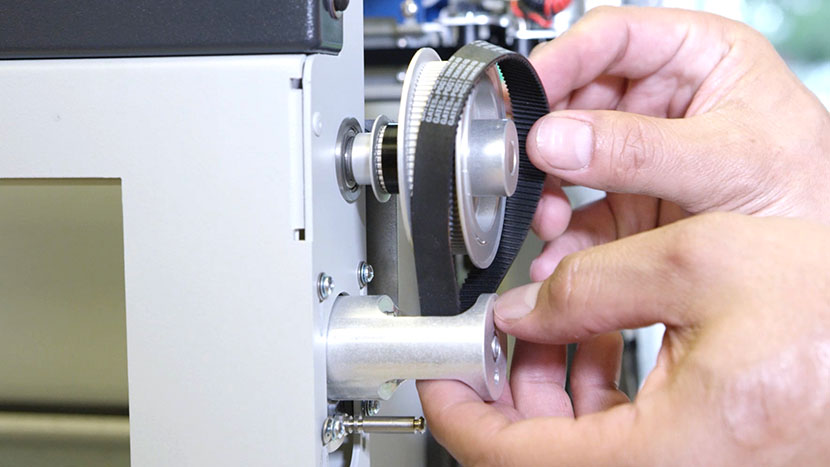
Estimated time: 20–30 minutes • Skill: Basic This guide explains how to replace the encoder strip and reader assembly on the Epilog Mini, Helix, or FiberMark laser system. The encoder strip is the thin clear plastic strip that the encoder reader reads to determine X-Axis position; replacing it restores reliable (...)
Edge Stand Assembly
The Fusion Edge Stand is an essential accessory designed to support your laser system with stability and ease of mobility. Whether you’re setting up a new machine or replacing an existing stand, this guide provides step-by-step instructions to help you assemble the stand safely and efficiently. By carefully following each (...)
Squaring the Ruler Guides
Machine Types: Epilog Mini 18/24, Helix If your rulers have been moved accidentally or on purpose and you would like to return them to their original positioning, and by following these simple steps it will walk you through the process. Turn Power off. Place a 2 inch strip of masking (...)
Y-Axis Flex Cable Install – Mini / Helix
This document provides detailed instructions for the removal and installation of the Y-Axis Flex Cable in the Epilog Mini/Helix and FiberMark Laser Engravers. Proper alignment and handling of the cable are essential to maintaining the machine’s performance and functionality. By following these steps carefully, users can ensure a smooth replacement (...)
X-Axis Flex Cable Install – 36EXT
The X-axis flex cable plays a crucial role in the operation of the Epilog Legend 36EXT engraver. Over time, the cable may wear out or become damaged, requiring replacement. This guide provides step-by-step instructions to safely replace the X-axis flex cable, ensuring that your engraver continues to perform at its (...)
CO2 Laser Replacement Checklist / No Output
These items should be checked before replacing a CO2 laser tube with no output. If the laser has been inactive for more than one (1) month, follow the Extended Cold Start Guide first. The goal of this document is to determine the operational status of the CO2 laser in a (...)
IRIS Camera Calibration Guide
Estimated Time: 20–40 Minutes • Skill Level: Intermediate Important: All focus calibration procedures must be completed before performing a camera calibration to ensure accurate results. Click the tabs below to switch between machine types. Each tab shows the camera calibration procedure specific to that machine. Overview & Requirements Fusion Edge (...)
Quick Guide: Calibrating the Joystick for Accurate Movement
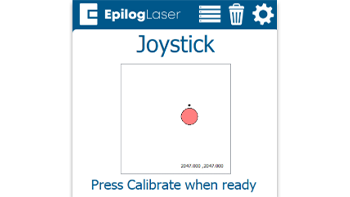
Steps to Calibrate the Joystick Open the Settings Menu On the display panel, press the gear icon in the top-right corner to open the Settings menu. Image 1: Home screen with gear icon in top-right corner Access Advanced Settings Press and hold the word “Settings” on the screen until the (...)
Cleaning Your Optics
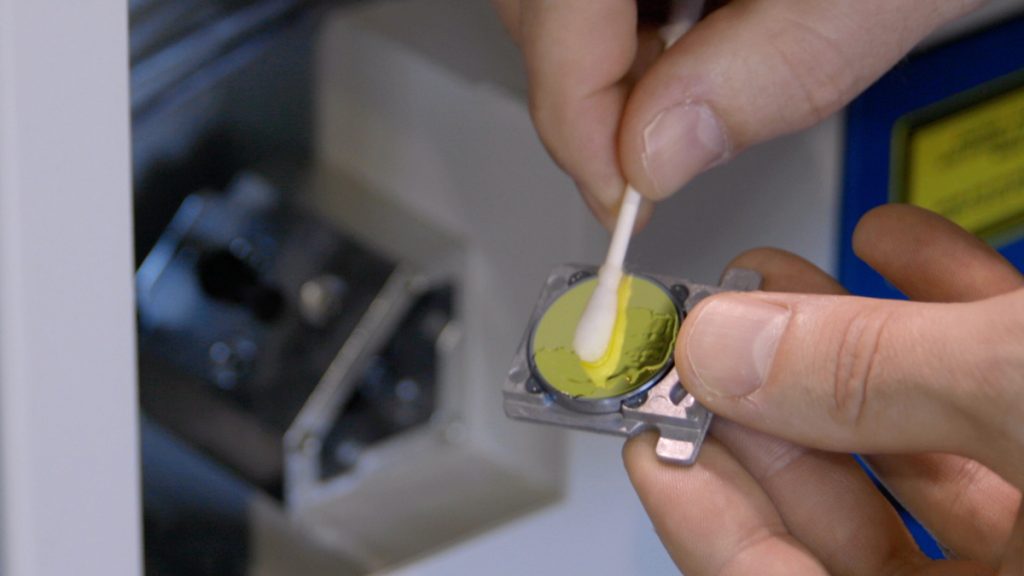
Cleaning the Lens Tube Optics To begin the procedure of cleaning your optics, with the machine powered on, select the Jog icon. Then use the joystick to move the laser head toward the front and middle of the machine to provide you easier access to the lens assembly. (...)
Cleaning Your Optics
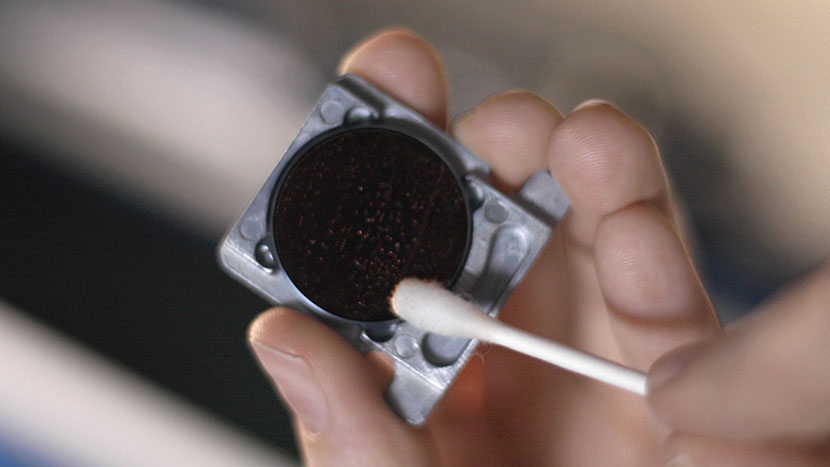
Cleaning the Focusing Lens Optics The mirrors in the periscope housing are enclosed, and will likely require cleaning less often than the other components of the optics system. Let’s start by jogging the laser assembly toward the front of the machine for access to the optics, then we’ll turn off (...)
Cleaning Your Optics
Remove Side Panel To begin the optics cleaning procedure, shut off the laser and remove the power cord from the machine. Remove the left side panel by removing the three screws on the side of the machine. Remove the screw on the back of the machine. Remove the left side (...)
Cleaning Your Optics
Remove Left Side Panel To begin by the optics cleaning procedure, start by shutting off the laser and remove the power cord from the machine. Remove the left side panel by removing the four Phillips head screws on the side of the machine and the two screws on the (...)