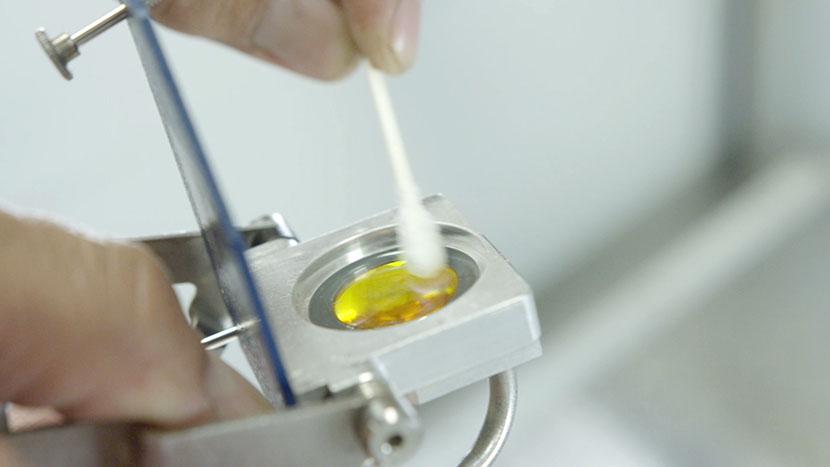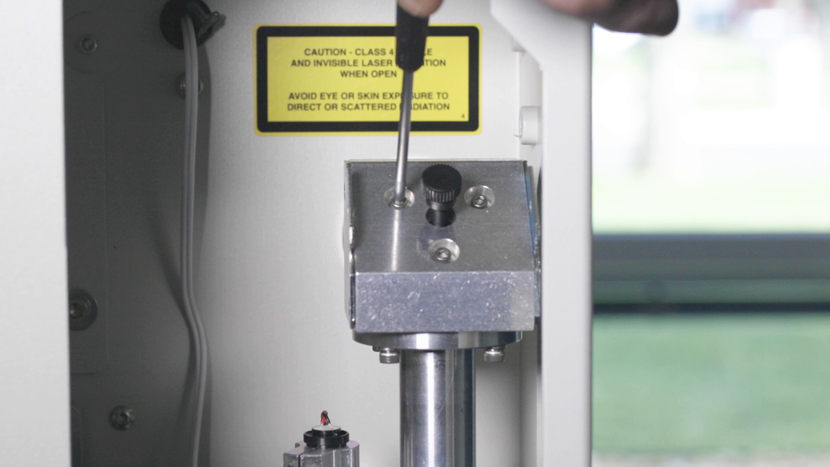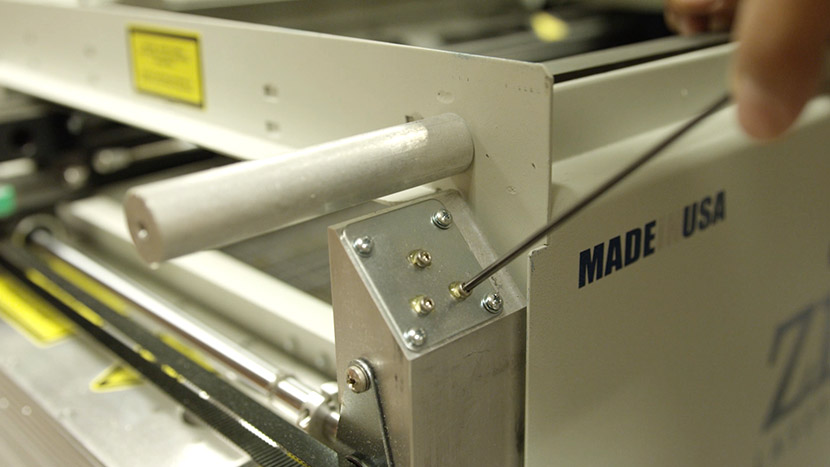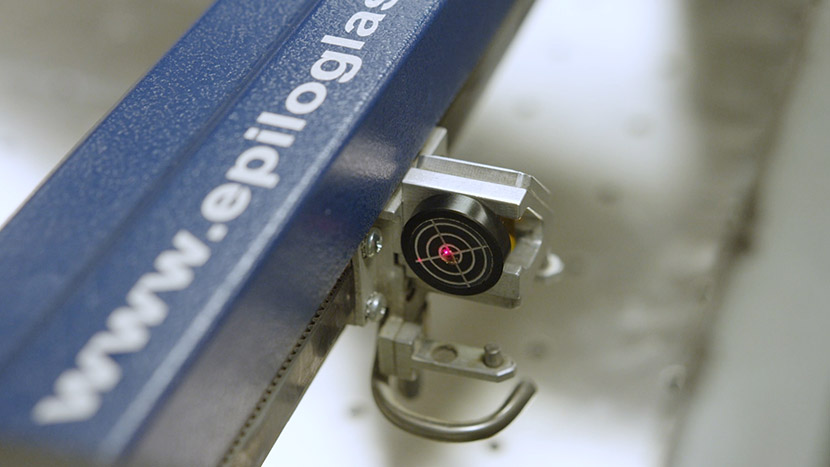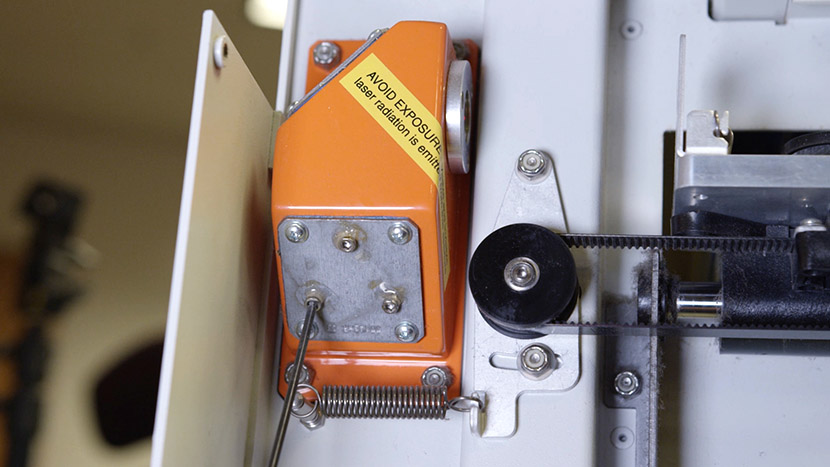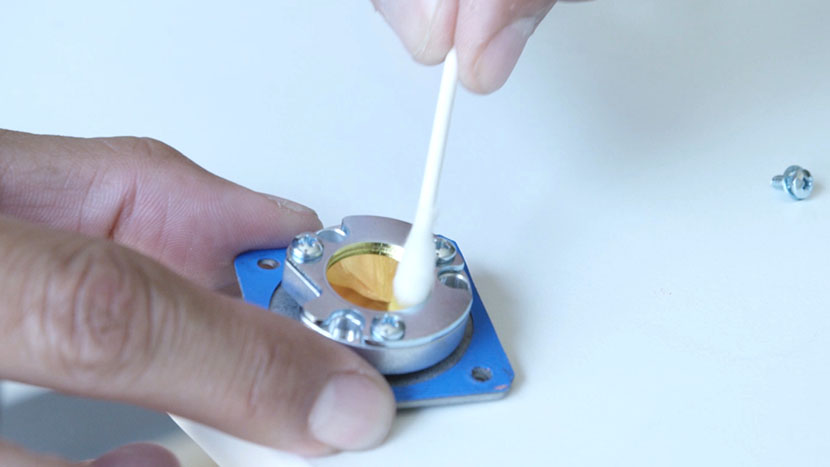
Move X-Axis Assembly To start the optics cleaning procedure, with the machine powered on, use the control panel to scroll down to ‘Jog.’ Then use the joystick to move the x-axis assembly toward the middle of the machine to provide you easier access to the lens assembly and mirrors. Shut (...)
Laser Alignment – Maker / Edge / Pro
Turn On To begin the laser alignment procedure, power on the laser. For the following procedures, the table will be broken into four (4) positions. Each position is identified by its relative distance to the laser source and corresponds with the mirror to adjust for that position. Three of the (...)
Laser Alignment – Zing
Mark the Laser Alignment Target To begin the laser alignment procedure, in your graphics software, set your page size equal to your machine’s table size and create a small ¼” by ¼” black filled box in the upper right corner of the page, then send it to the laser. Install (...)
Laser Alignment – Mini / Helix
Mark the Alignment Target To begin the laser alignment procedure, on the control panel, press the maintenance button to bring up the maintenance menu on the display. Use the up and down arrow buttons to scroll to ‘Align Laser’. Then press the green ‘Go’ button. The display should now say (...)
Laser Alignment – Fusion / Fusion M2
Alignment Target Place the alignment target in the round opening on the side of the lens assembly. Then cover the alignment target with a small piece of masking tape. On the control panel, use the arrow buttons to select ‘Jog.’ Then use the joystick to move the lens carriage to (...)
Bearing Rails
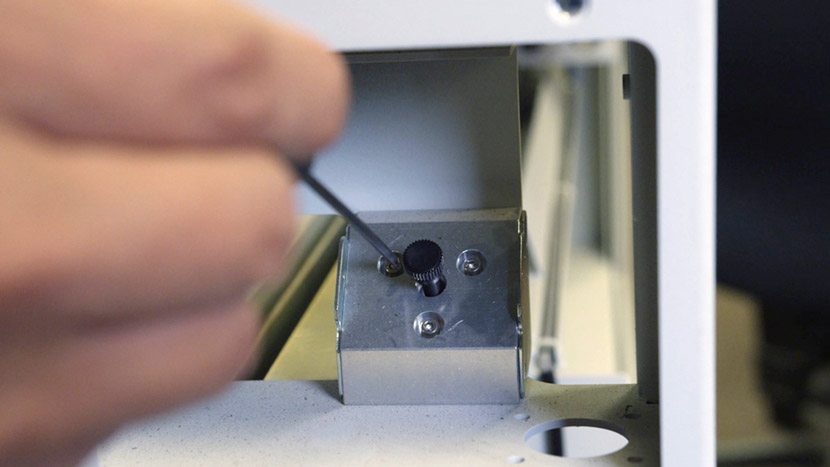
Remove Assembly Cover To begin the cleaning and greasing of the bearing rails, shut off the laser and remove the power cord from the machine. Loosen, but do not remove, the five Phillips head screws along the back of the X-Axis Assembly, as well as the two screws on the (...)
Bearing Rails
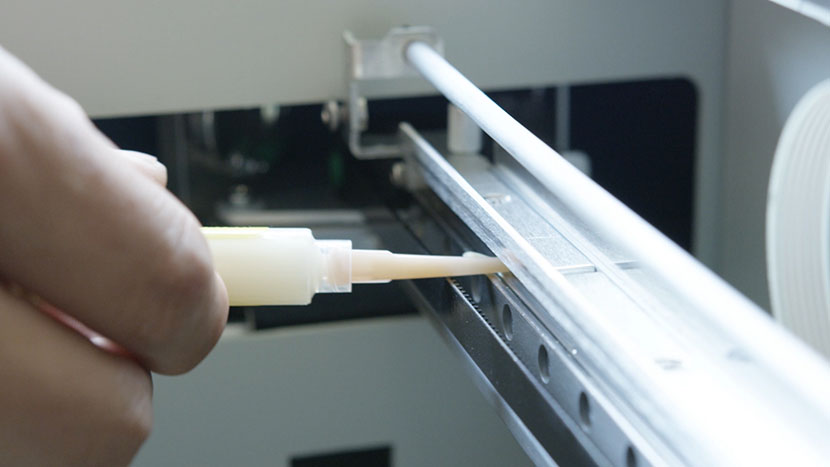
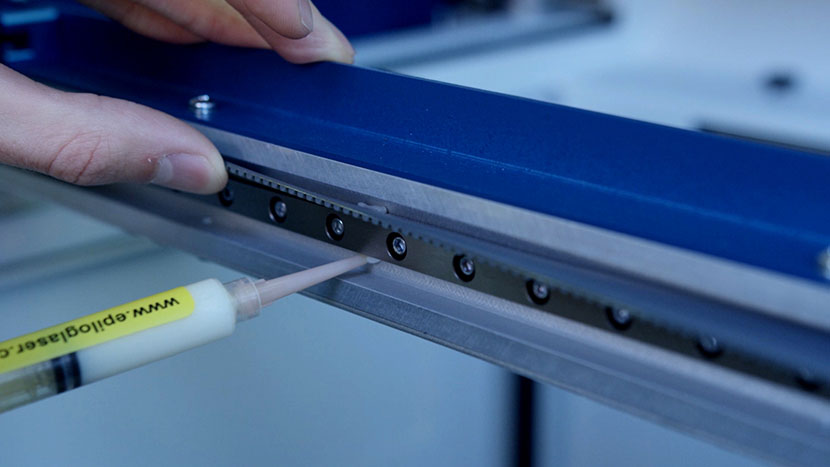
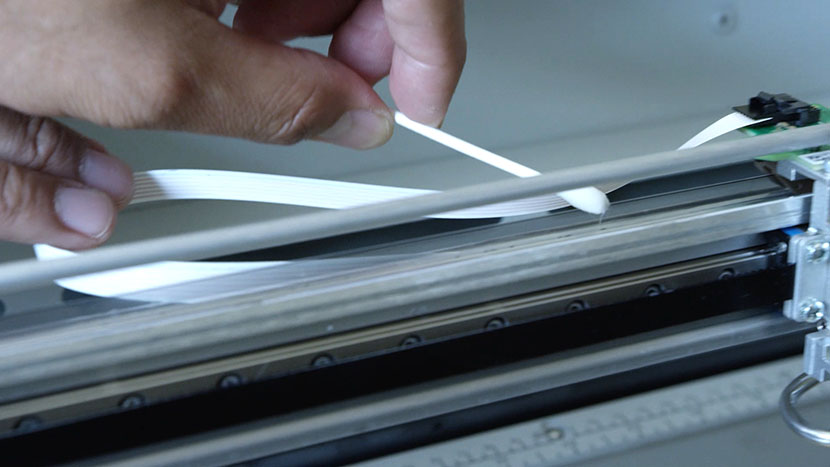
To begin the procedure of cleaning and greasing the bearing rails, shut off the laser and remove the power cord from the machine. Clean the Bearing Rails Manually position the lens assembly to one side. Apply rubbing alcohol to a cotton swab. Clean one end of the bearing rail by (...)
Cleaning the Encoder Strip: Essential Maintenance for Accurate Printing
Procedure Power down and unplug the machine. For your safety, completely turn off the laser system and disconnect the power cord from the back of the machine before beginning. Loosen the assembly cover screws. Using a Phillips head screwdriver, loosen the seven screws that secure the X-Axis assembly cover. There (...)
How to Align the FiberMark Laser for Accurate, High-Quality Engraving
Estimated time: 20–30 minutes • Skill: Intermediate This document provides a step-by-step guide for aligning the FiberMark Laser Engraver to ensure optimal performance and accuracy. It outlines the necessary safety precautions and detailed alignment procedures to help users properly adjust the laser system. To complete this procedure, you will need (...)
Manual Focus Gauge Calibration – FiberMark
The attachment outlines the manual focus gauge calibration procedure for the FiberMark 24×12 engraver.
FiberMark Home Position Calibration
The attachment shows the home calibration procedure for the Fibermark 24×12 engraver.
Laser Alignment – Fusion Fibermark
Proper laser alignment is critical to the cutting performance and engraving quality of your Epilog Fusion FiberMark. This diagnostic guide outlines the complete step-by-step alignment procedure required to safely restore optimal beam delivery. Whether you are correcting a general loss of power, addressing beam fading in specific table zones, or (...)