Estimated time: 15–20 minutes • Skill: Basic
This guide walks you step-by-step through replacing the X-Axis belt on an Epilog Mini or Helix laser engraver. Follow each instruction carefully to ensure proper installation and avoid damaging your machine. Always power off and unplug the engraver before beginning.
To complete this procedure, you will need a Phillips head screwdriver and scissors. The process involves removing the side panel for access, releasing the belt tension, detaching the old belt, and installing the new belt with correct tensioning. The entire installation should take approximately 15–20 minutes.
Removal
-
Power down and unplug.
Turn off the machine and unplug the power cord.
-
Remove side panel.
Remove the left side panel by removing the six screws (four on the side and two on the rear) so you have full access to the X-beam.
-
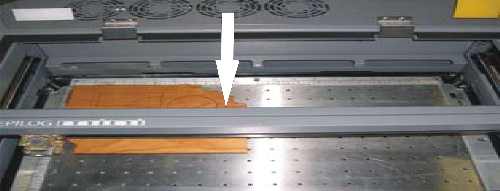
Center the X-beam.
Manually pull the X-beam to the center of the machine to make the following screws and components accessible.
-
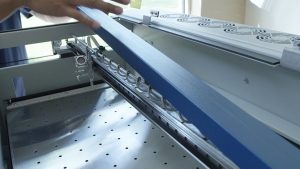
Remove the I-beam cover.
Loosen the two screws on the front of the beam and the four screws on the rear to remove the I-beam cover (gray or blue metal cover).
Picture 1 — I-beam coover. -
Slacken the belt (pulley tensioning).
On the left side of the X-beam there is a pulley tensioning system. Perform these sub-steps:
- Loosen the two screws on the pulley tensioning system.
- Press the black pulley toward the right (into the machine) to slacken the belt.
- While holding the pulley in, re-tighten the two tensioning screws to hold the pulley in the relaxed position.
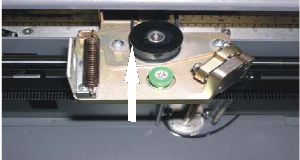
Picture 2 — pulley tensioning and slackening. -
Detach belt from head.
Locate the lens assembly and remove the four screws and plates that secure the belt ends to the lens assembly. Leave the belt routed but detached from the head for removal.
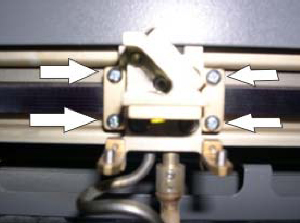
Picture 3 — belt attachment screws and plates.
Installation
-
Fish the new belt through.
Attach one side of the old belt to the new belt with a stapler, then pull the opposite end of the old belt to fish the new belt through the routing path.
-
Attach the belt to the laser head.
Attach one side of the new belt to the laser head and tighten the Phillips screws to hold it in place.
-
Cut the belt to length.
With one side fixed, measure the non-fixed end up to the laser head to determine the correct length, then cut the belt to size.
-
Seat and secure the belt.
The belt should sit fully under its clamp with a small amount of play. Tighten the two Phillips screws that clamp the belt.
-
Check pulley alignment.
Ensure the belt runs centered on all pulleys and does not rub any pulley lips.
-
Re-tension the belt using the pulley screws.
Loosen the two pulley screws on the left side of the X-beam — the pulley will snap into place and apply tension to the belt. Tighten the two pulley screws back down.
-
Reinstall covers.
Replace the X-beam cover and tighten the two screws in the front of the X-axis assembly and the five screws in the back. Replace side panel.