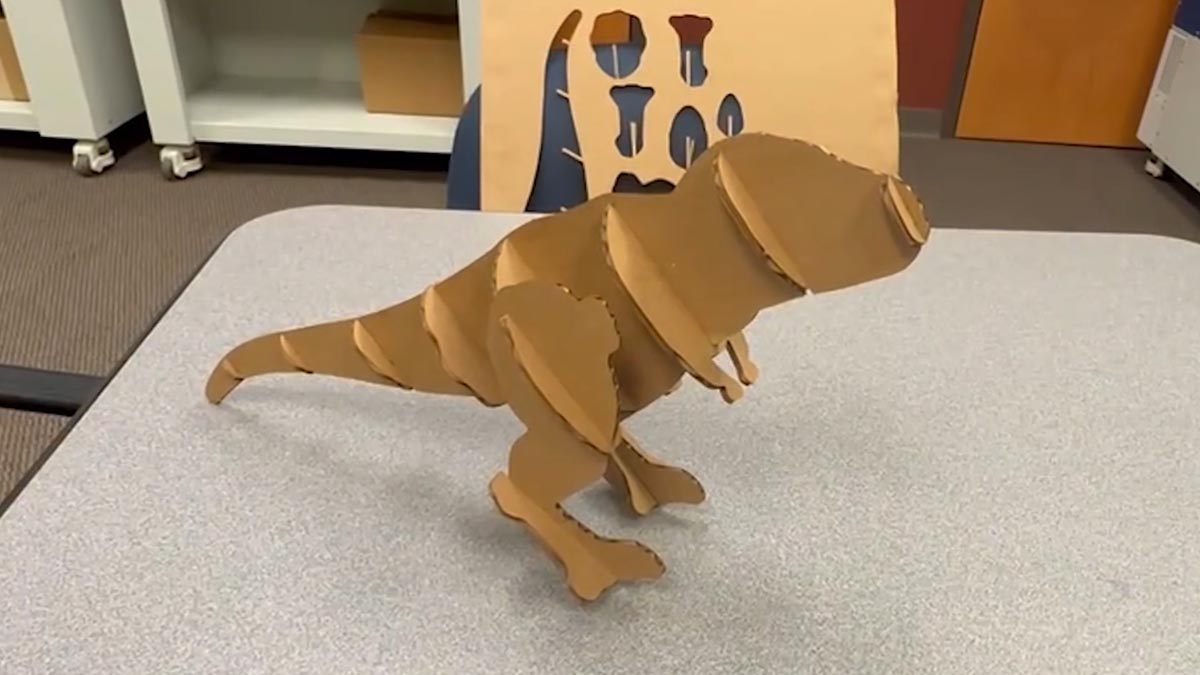
Color mapping allows you to create multiple passes on the laser with different settings. In this case, we can engrave numbers on each part along with cutting out each piece. This can be a huge time saver.
Note: Color mapping will not work with .png or .jpg file formats. Color mapping is only compatible with vector-based artwork.
It’s easy to color map with the Epilog Dashboard.
Prepare the Artwork for Color Mapping
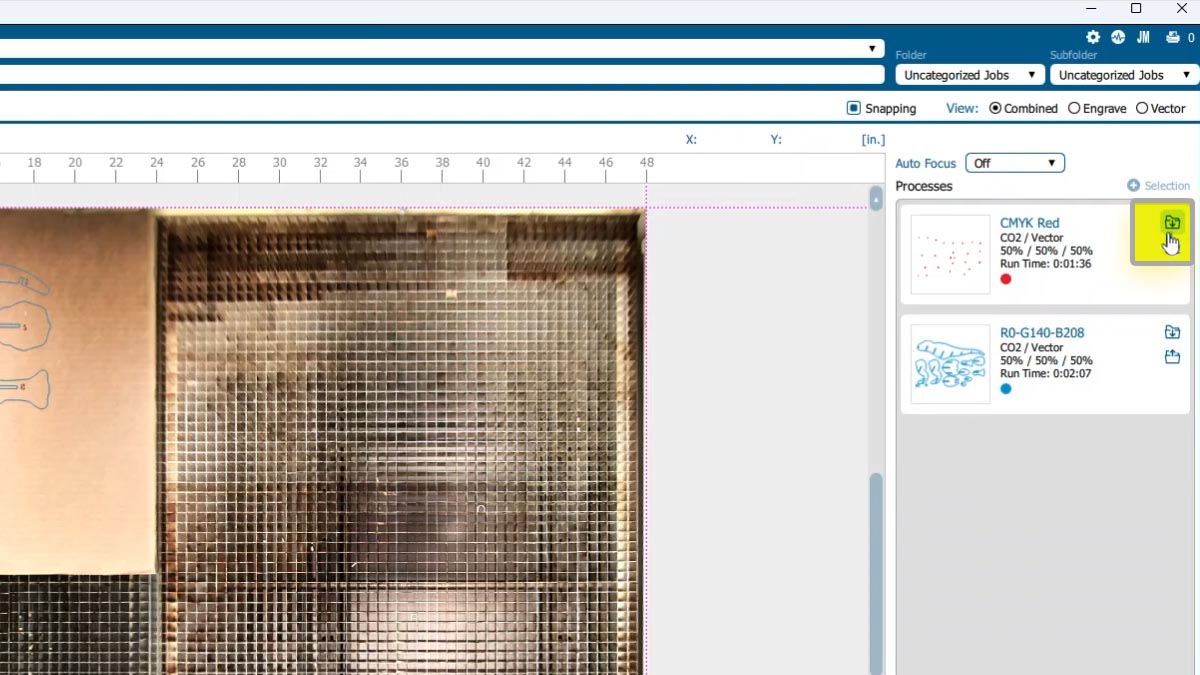
For this file, we want to score the red numbers and cut out the blue outlines.
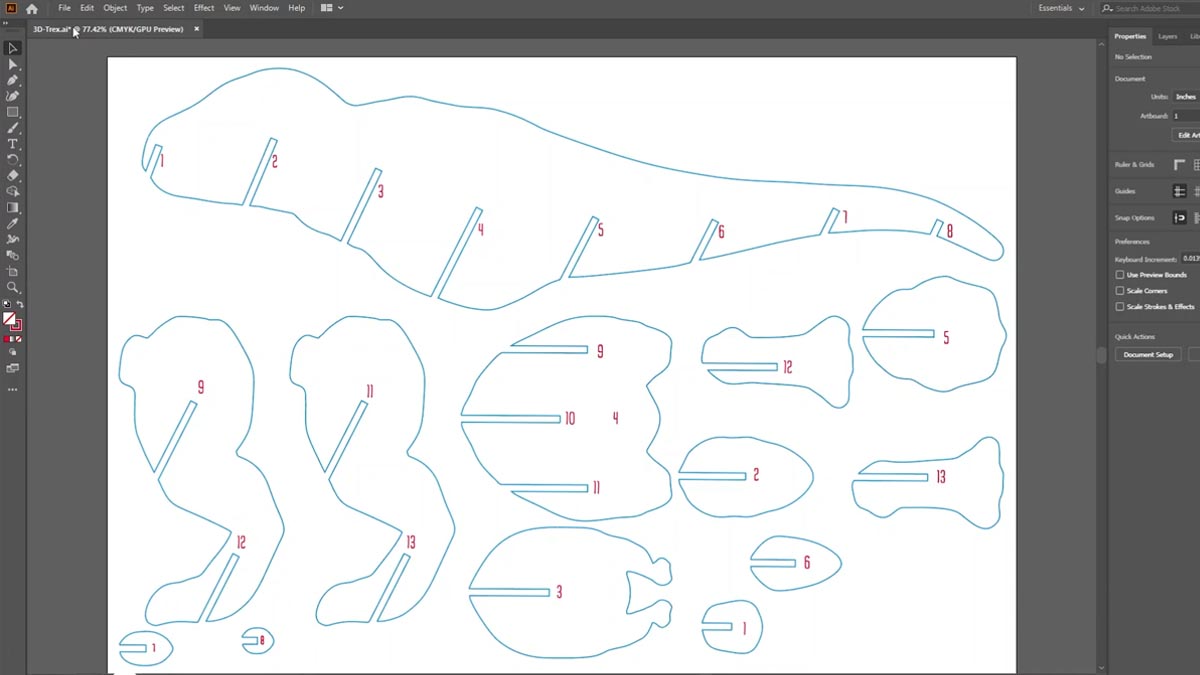
Once the artwork is ready, Print the file to the laser.
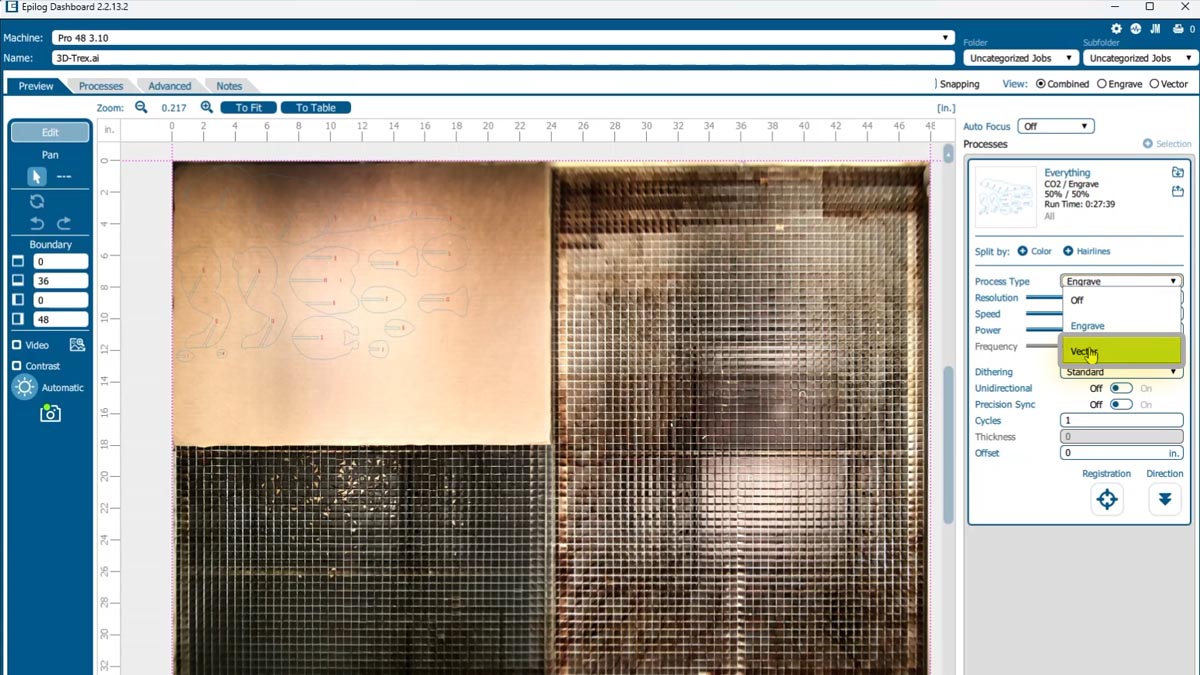
Everything has come over in a single process to the software.
First change the process from Engrave to Vector.
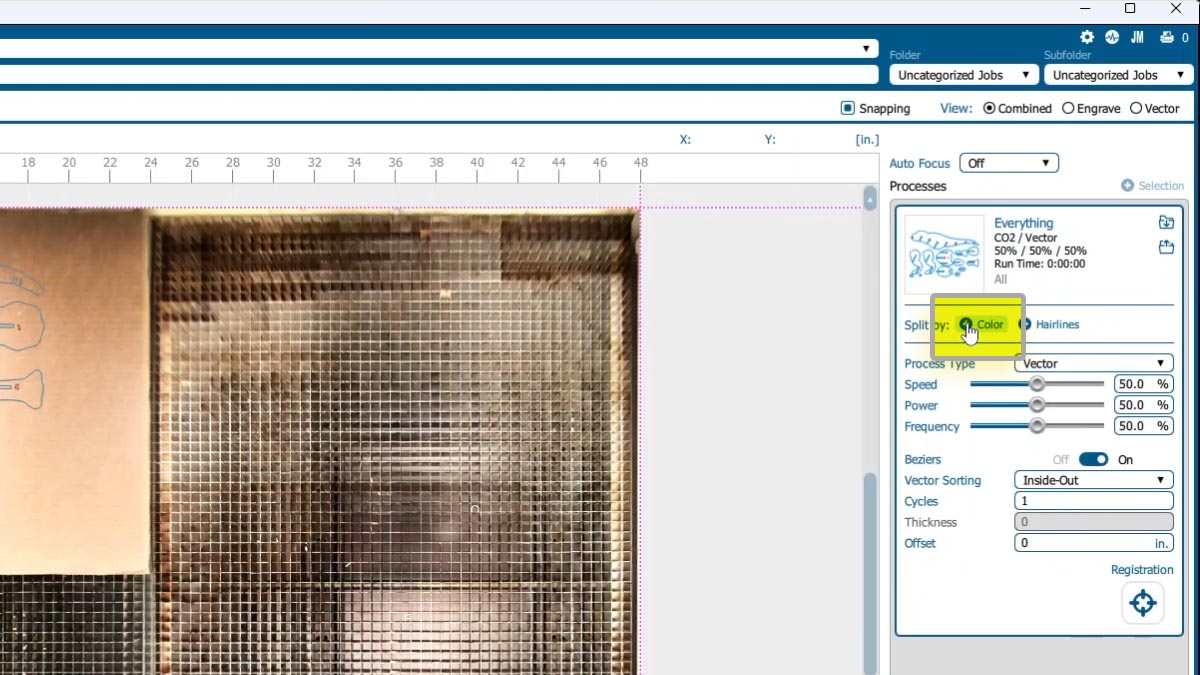
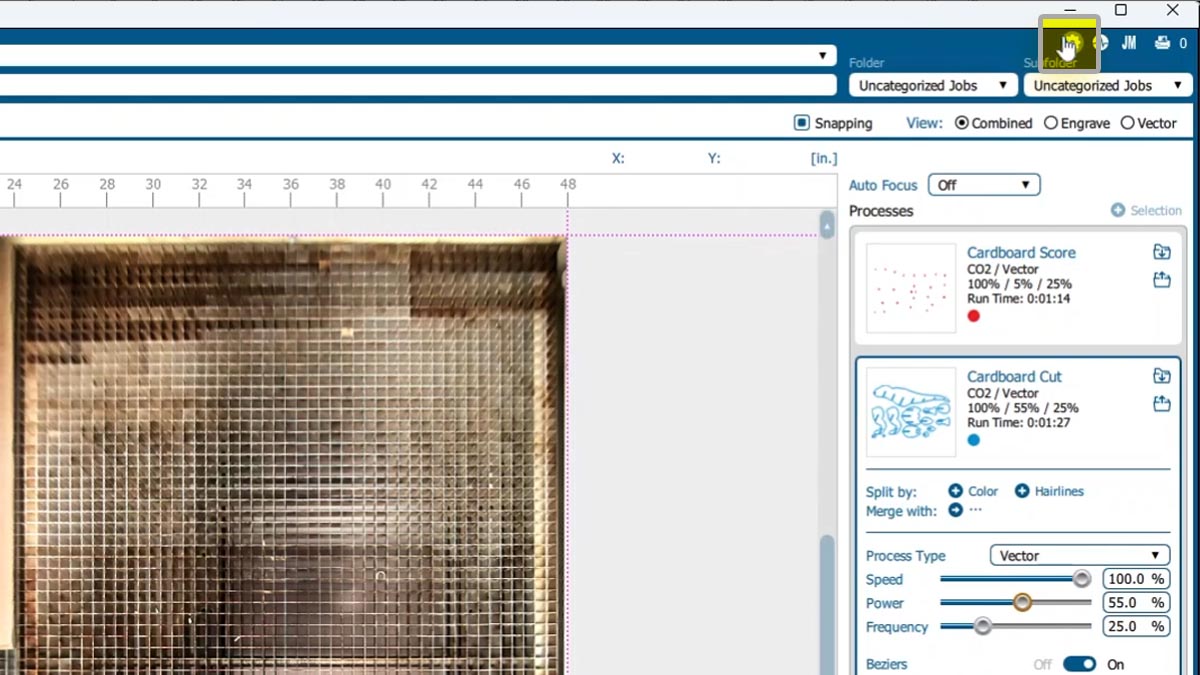
To color map, just click Split by Color
Import the settings for scoring and cutting the cardboard on each process.
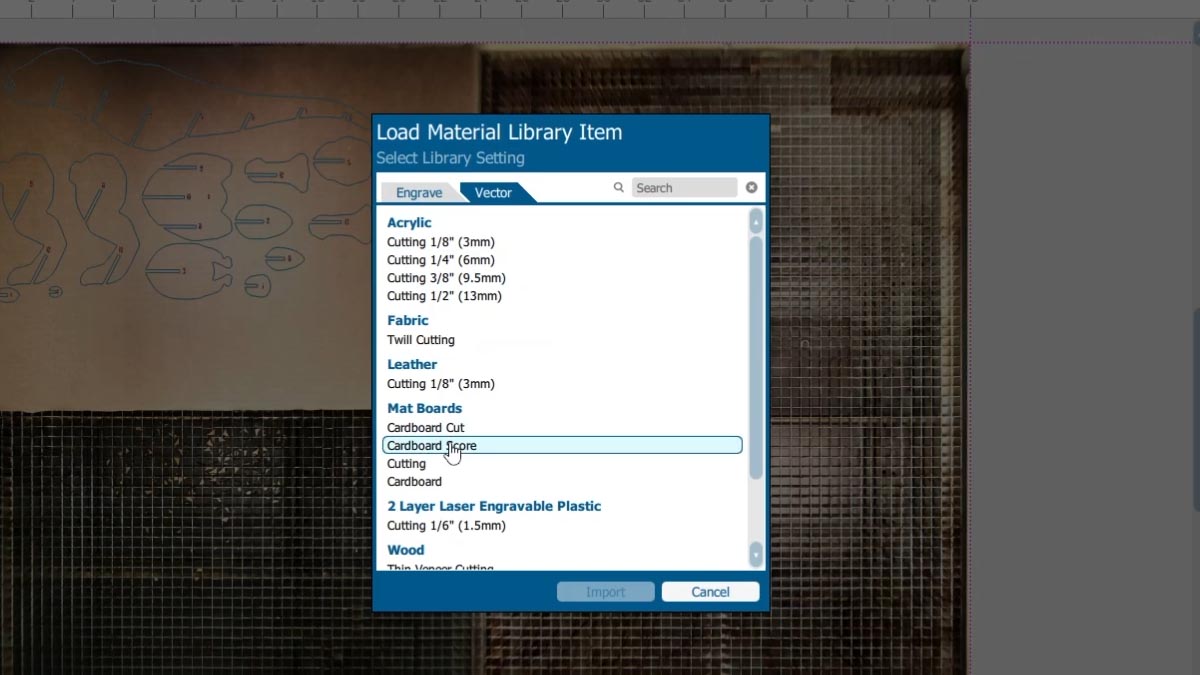
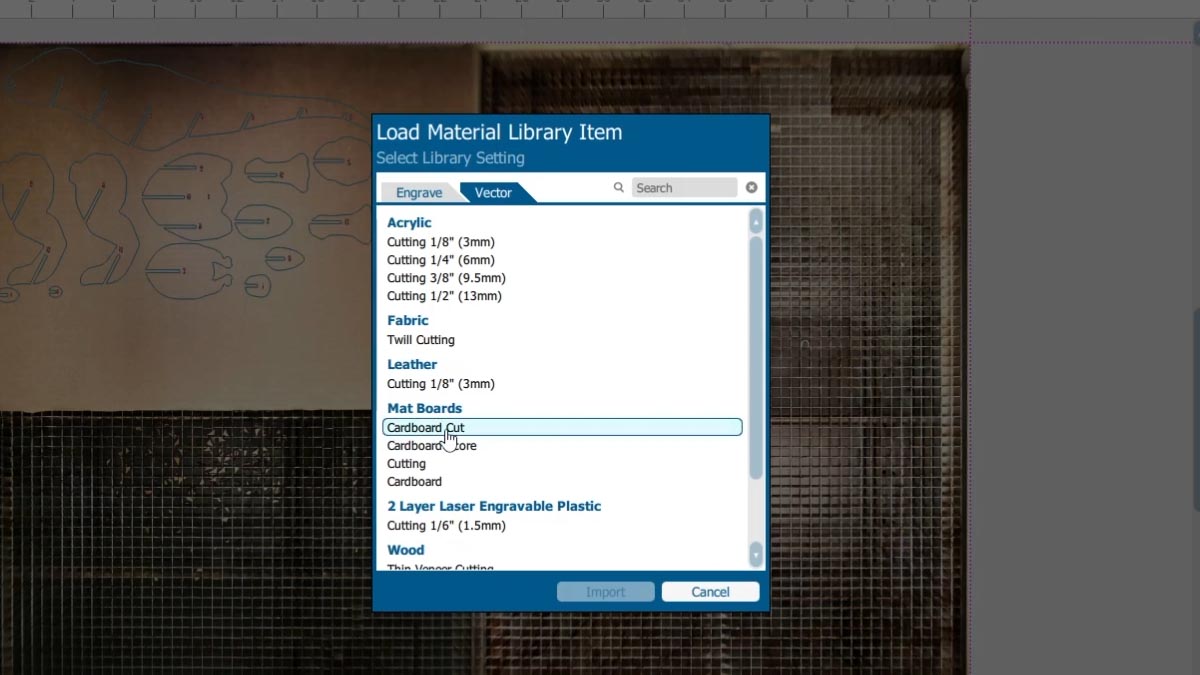
You can also adjust your settings as you need.
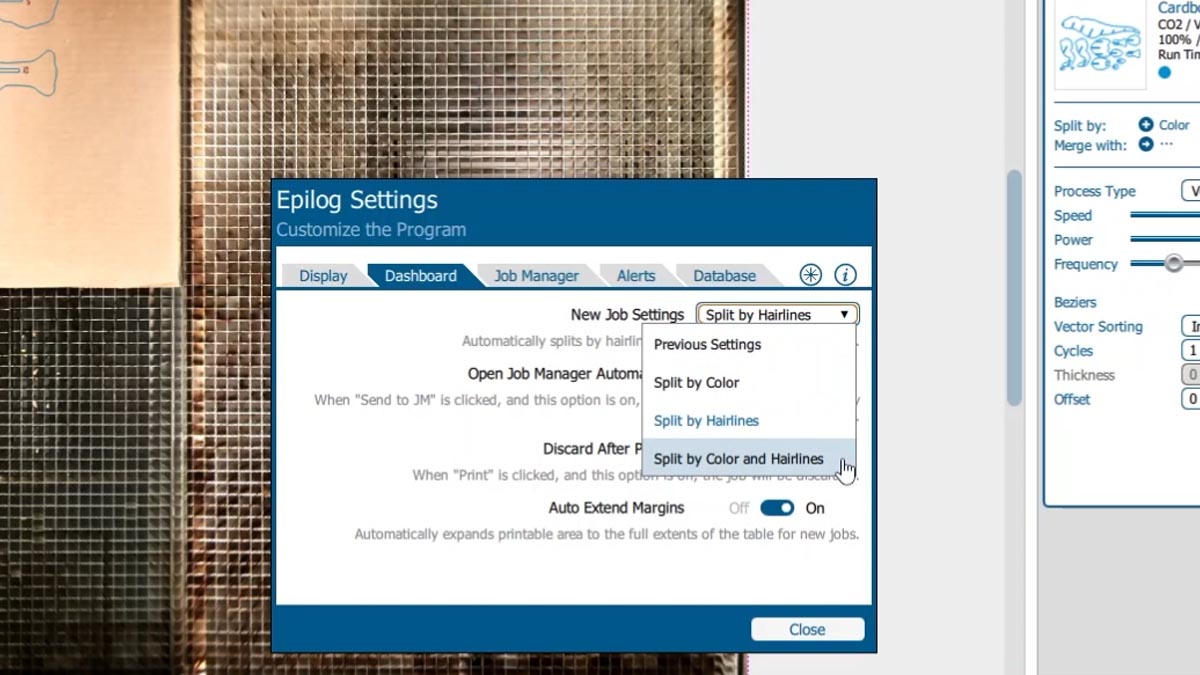
Pro tip! You can change the settings to default to split by color, use the previous settings, split by hairlines, or even both color and hairline.
Print and Assemble
Print the file to the laser, assemble, and you’re done!
