You can now run your Epilog laser from LightBurn. Epilog has been working with the LightBurn team to bring Epilog support to LightBurn 2.2, and early access is available today in LightBurn 2.2 RC3.
Epilog support is released as a LightBurn "Labs" feature. That means it has been tested and is ready for public use, but LightBurn is still testing and refining it before calling the integration complete. Because it's early access, you may run into some issues along the way.
This guide covers installing LightBurn, connecting it to your Epilog laser, and converting your Epilog speed settings for LightBurn.
Before you begin
Supported
- Lasers: Fusion Maker, Fusion Edge, Fusion Pro, and Fusion Ascent.
- Windows computers.
- Ethernet or Wi-Fi connection. Connect your computer directly to the laser with an Ethernet cable, or connect through your network using Ethernet or Wi-Fi.
Not supported yet
- USB connections.
- Galvo systems.
- Mac OS. Support for other operating systems is coming in a future release.
Good to know
- Some buttons won't do anything. Many buttons in LightBurn may appear, but unsupported actions are silently ignored.
- Start and Send do the same thing. Both send the job to your laser.
Found an issue? LightBurn is asking users to report problems directly to their support team at Support@LightBurnSoftware.com.
Connect your laser
1 Install LightBurn
Download the latest LightBurn 2.2 RC from the LightBurn release page and run the Windows installer.
Already have LightBurn installed? Make sure you're on version 2.2 RC3 or newer. Earlier versions don't include Epilog support.
2 Open the device setup wizard
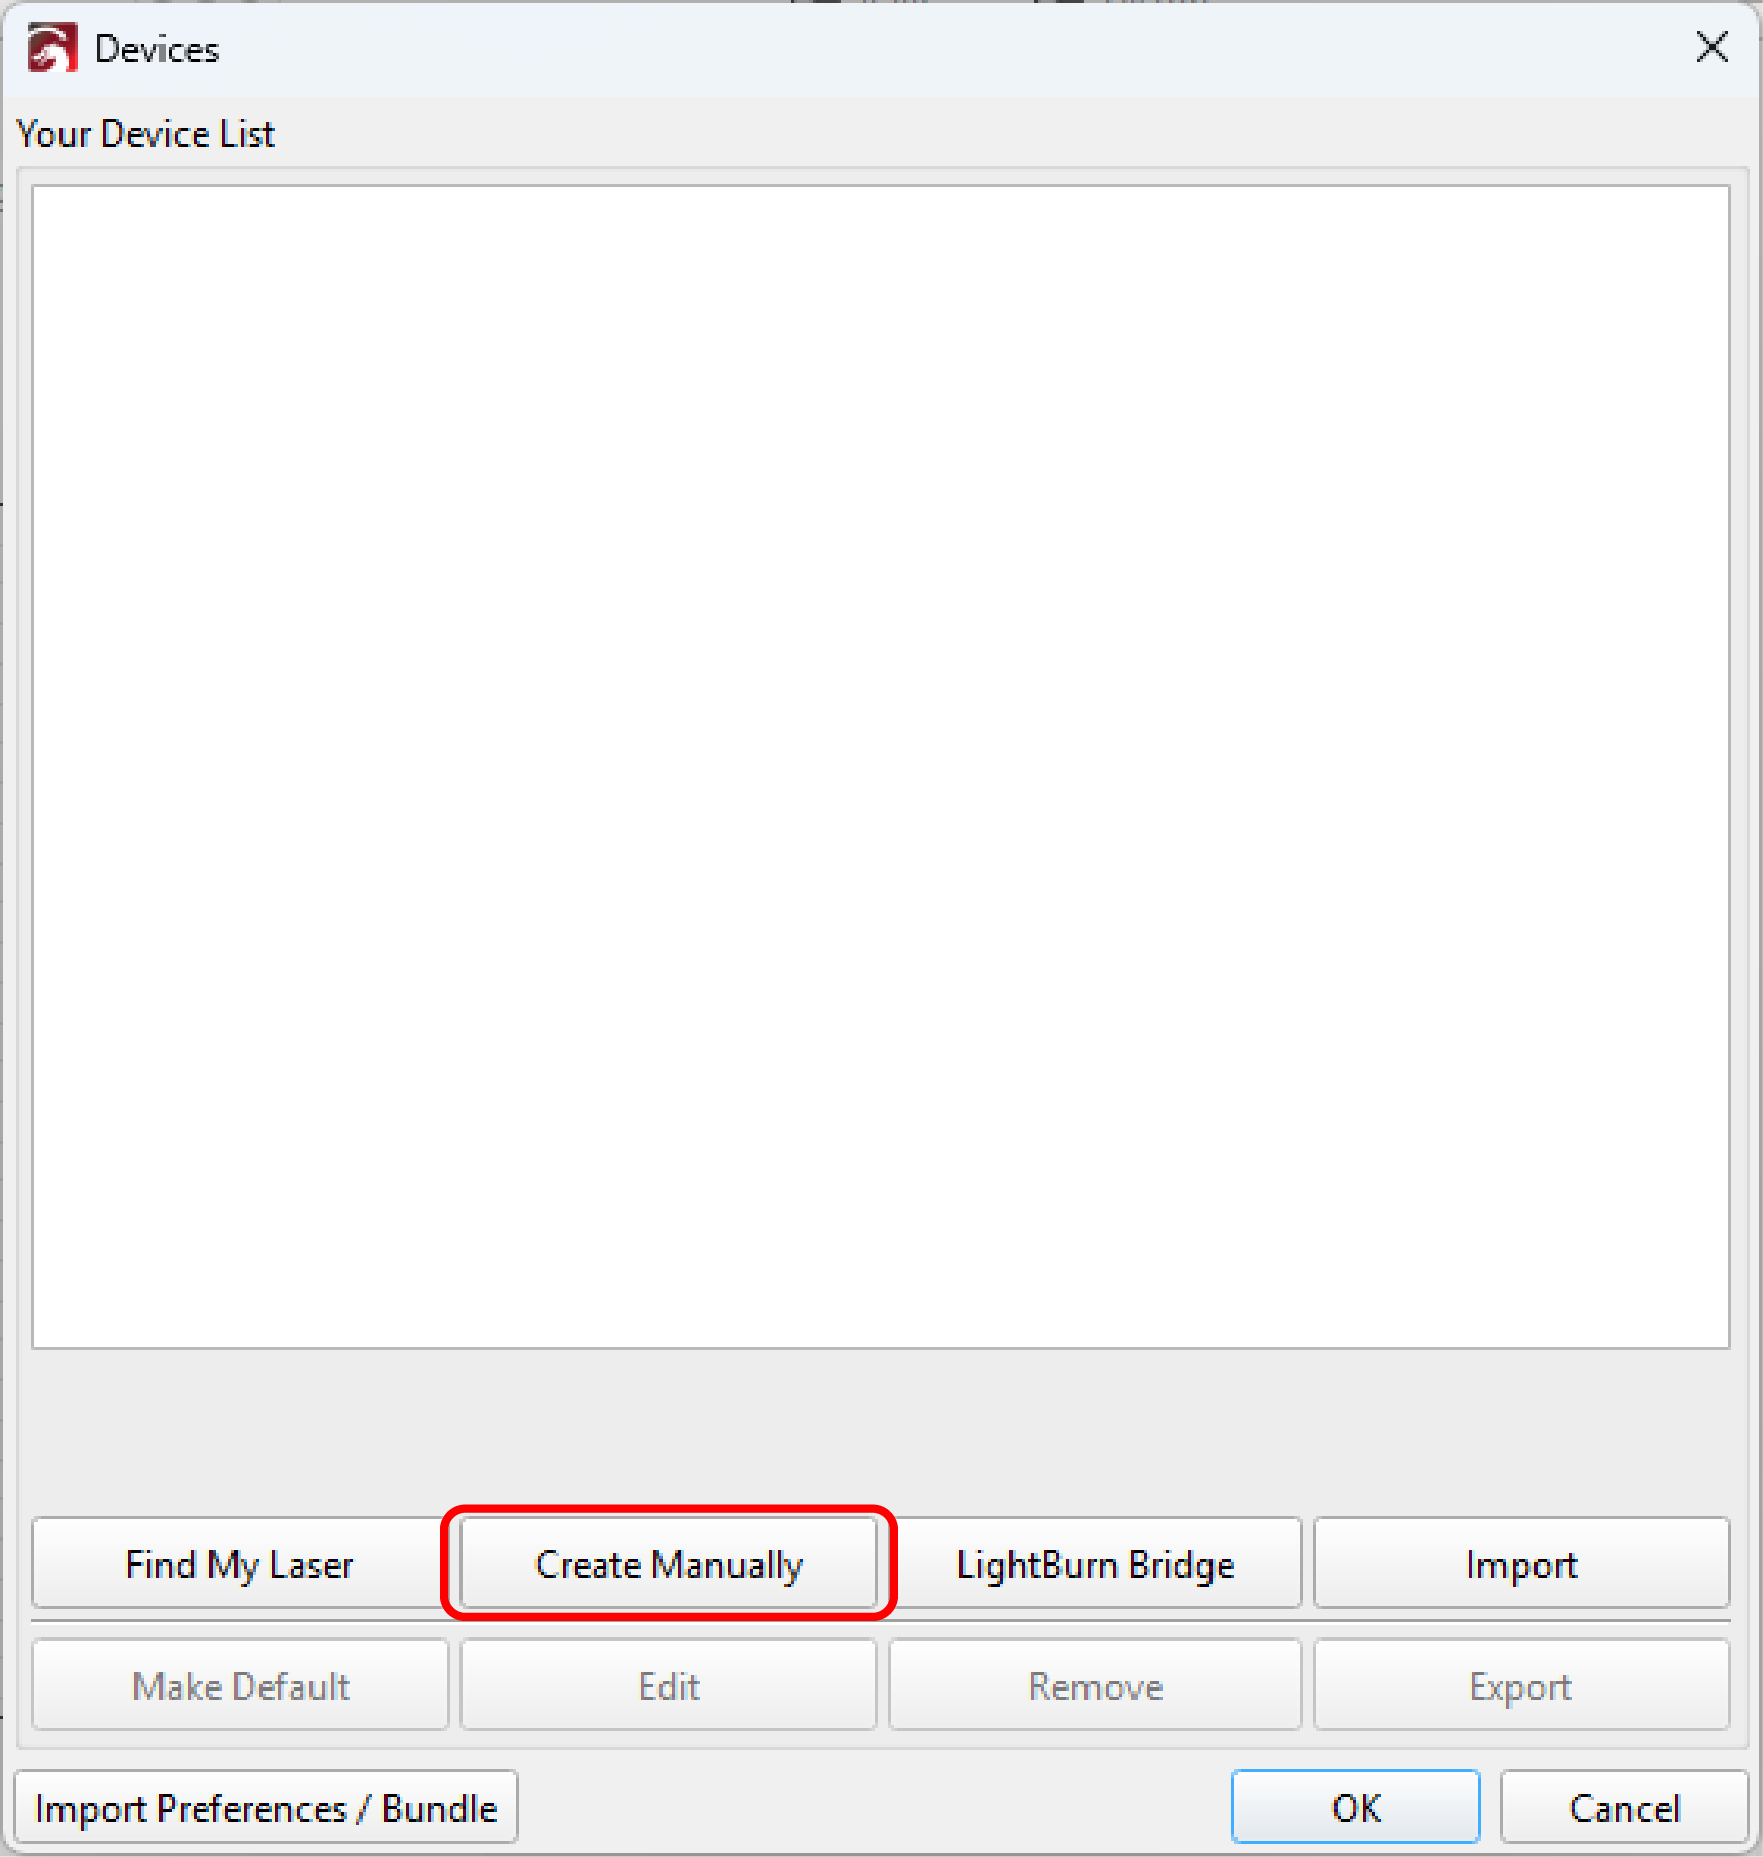
Begin by adding your Epilog laser in the device setup wizard. Click Create Manually.
The wizard opens automatically the first time you launch LightBurn. If you've used LightBurn before, open the Laser window, click Devices, then click Create Manually.
3 Select Epilog
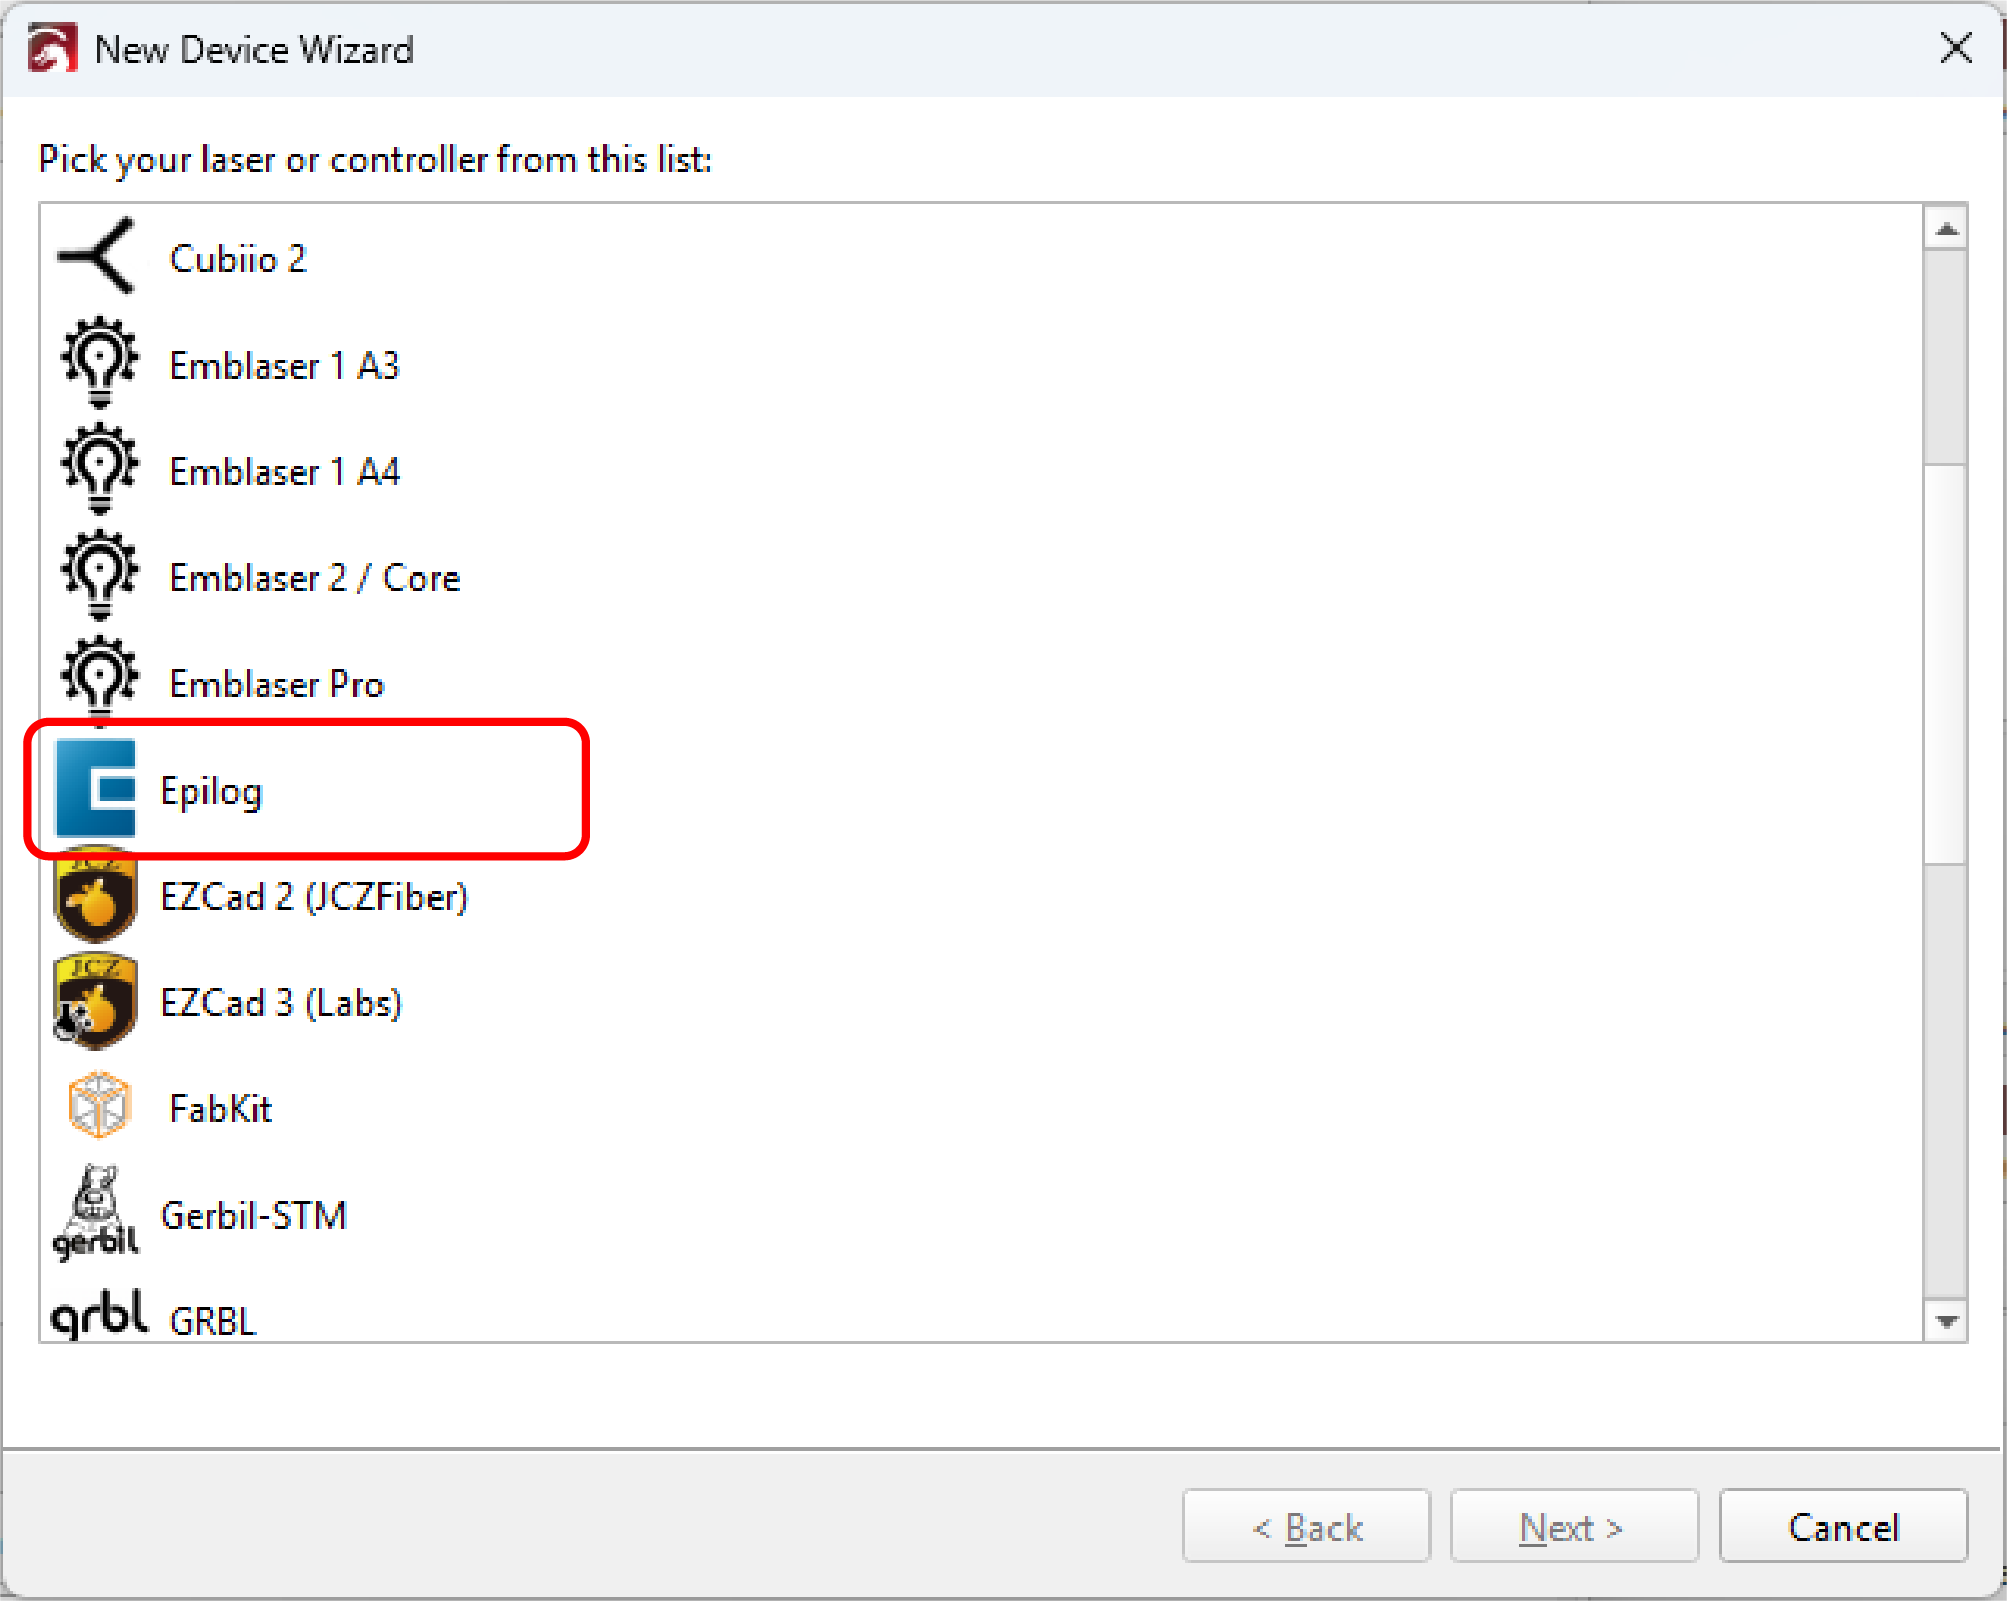
Choose Epilog from the list of controllers, then click Next.
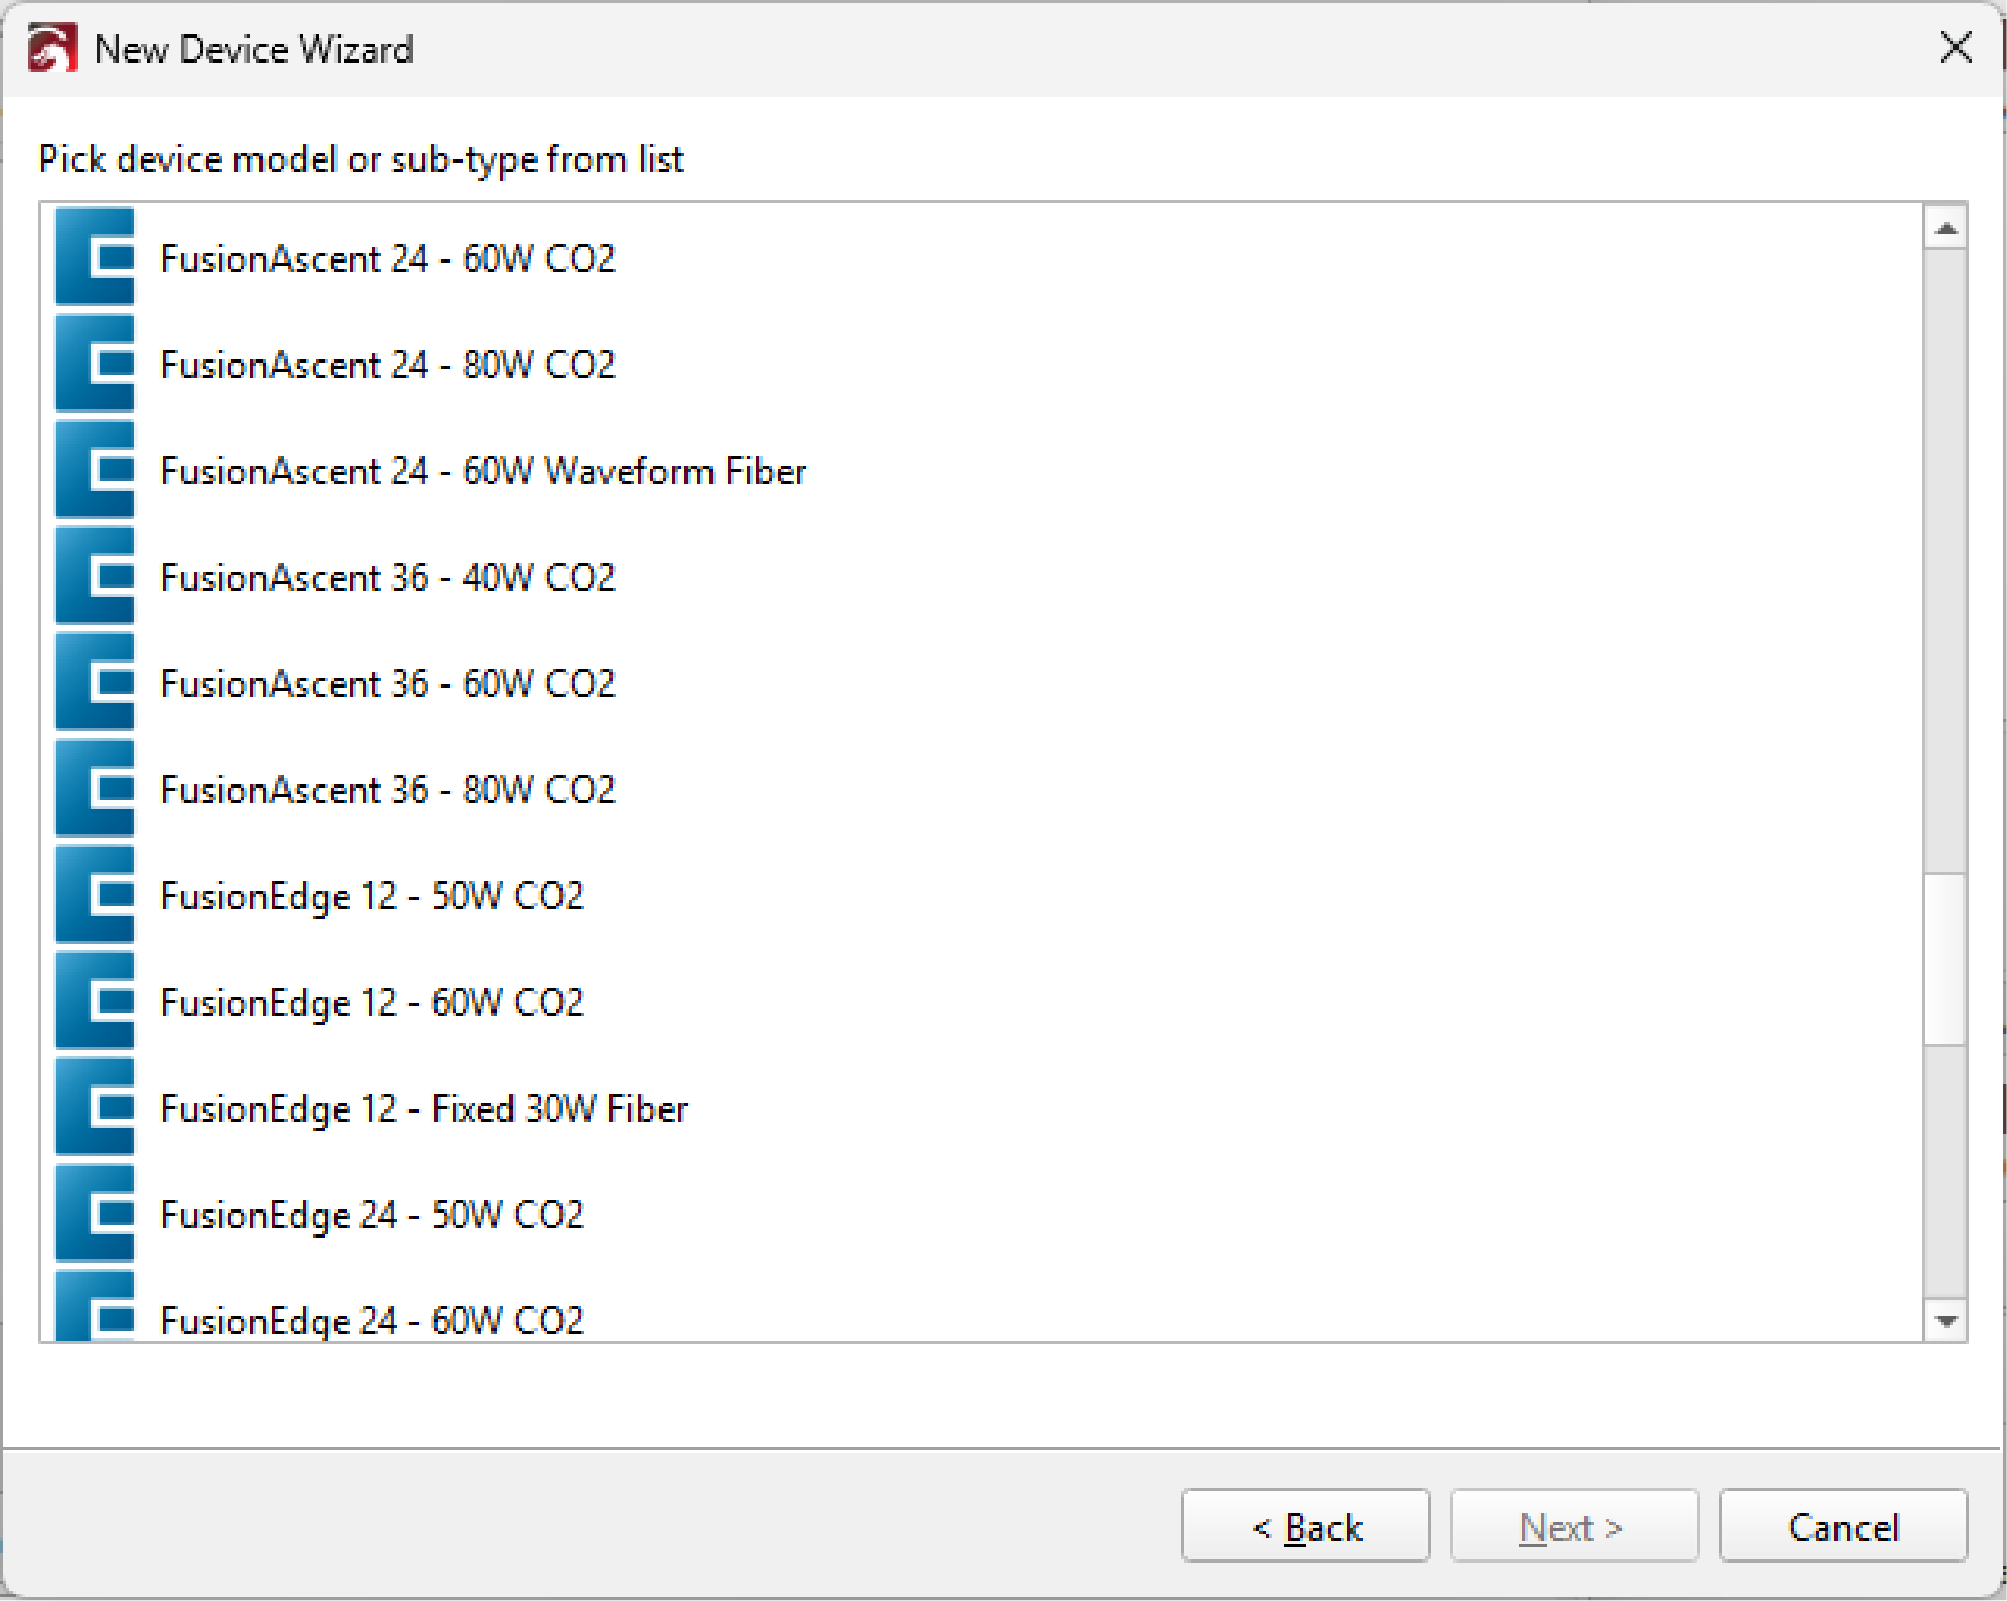
4 Choose your model and wattage
Select your Epilog laser model and its wattage from the lists.
Not sure which you have? On your laser's control panel, tap the settings gear in the top right. Your model and wattage are listed at the bottom of the screen.
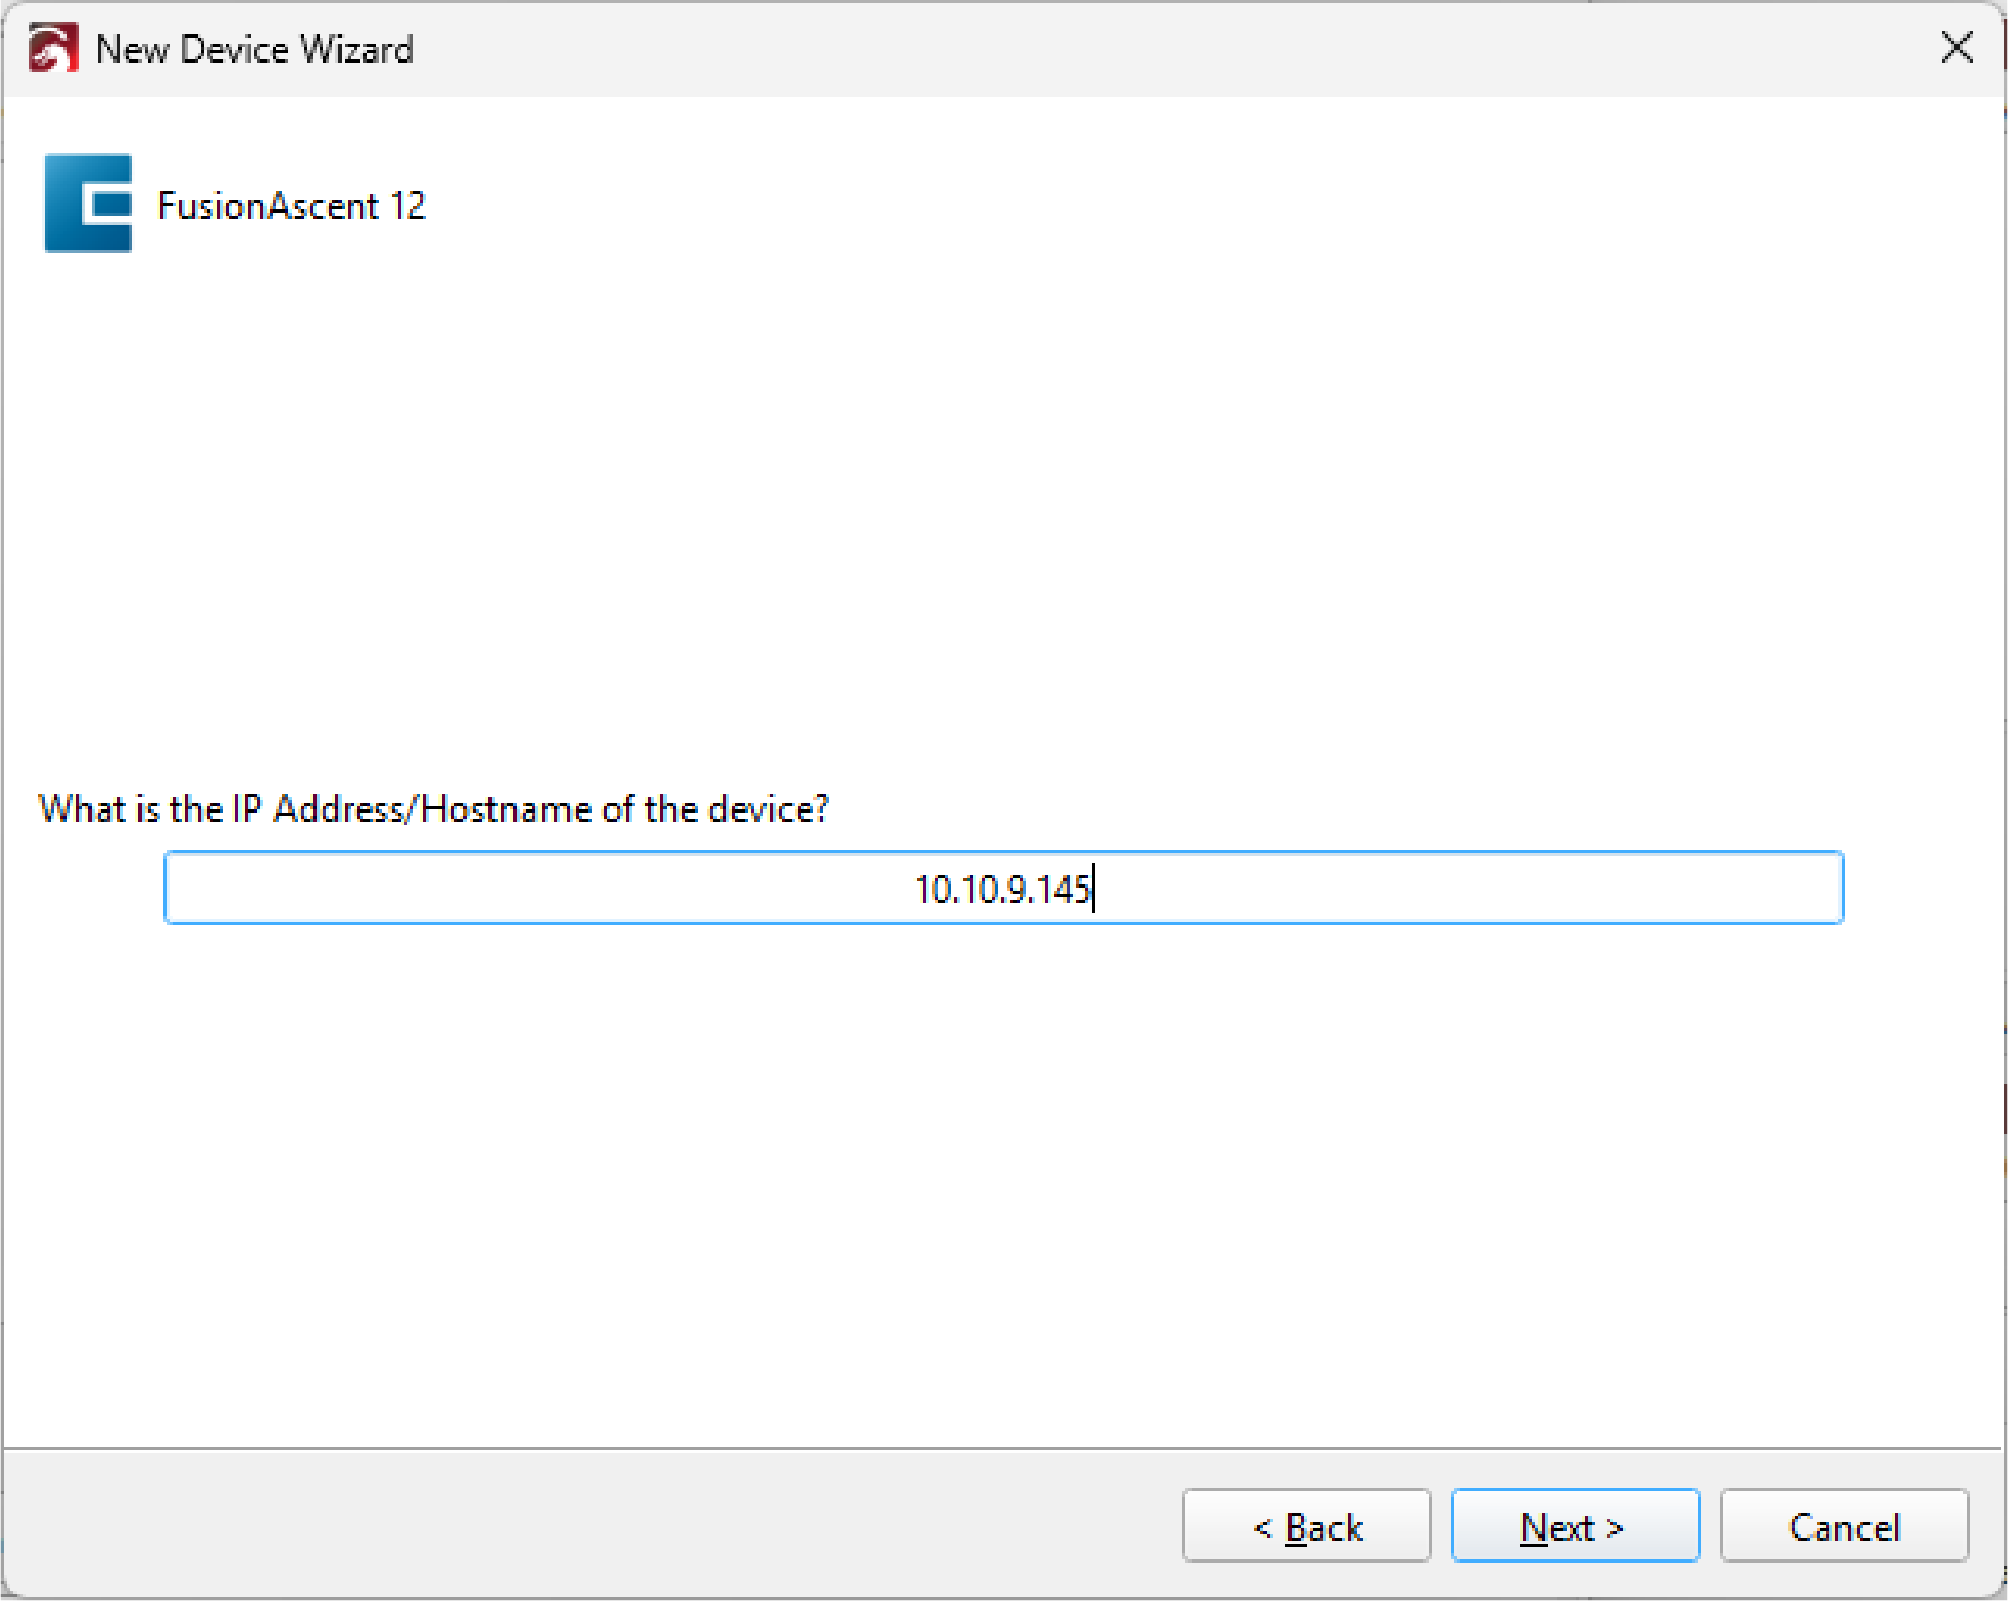
5 Enter your laser's IP address
Type the IP address of your Epilog laser so LightBurn can find it.
-
Where do I find my IP address?
On the laser: tap the settings gear in the top right of the control panel. The IP address is listed at the bottom of the screen, along with your model and wattage.
In Job Manager: click the Laser System tab. The IP address is shown in the IP field.
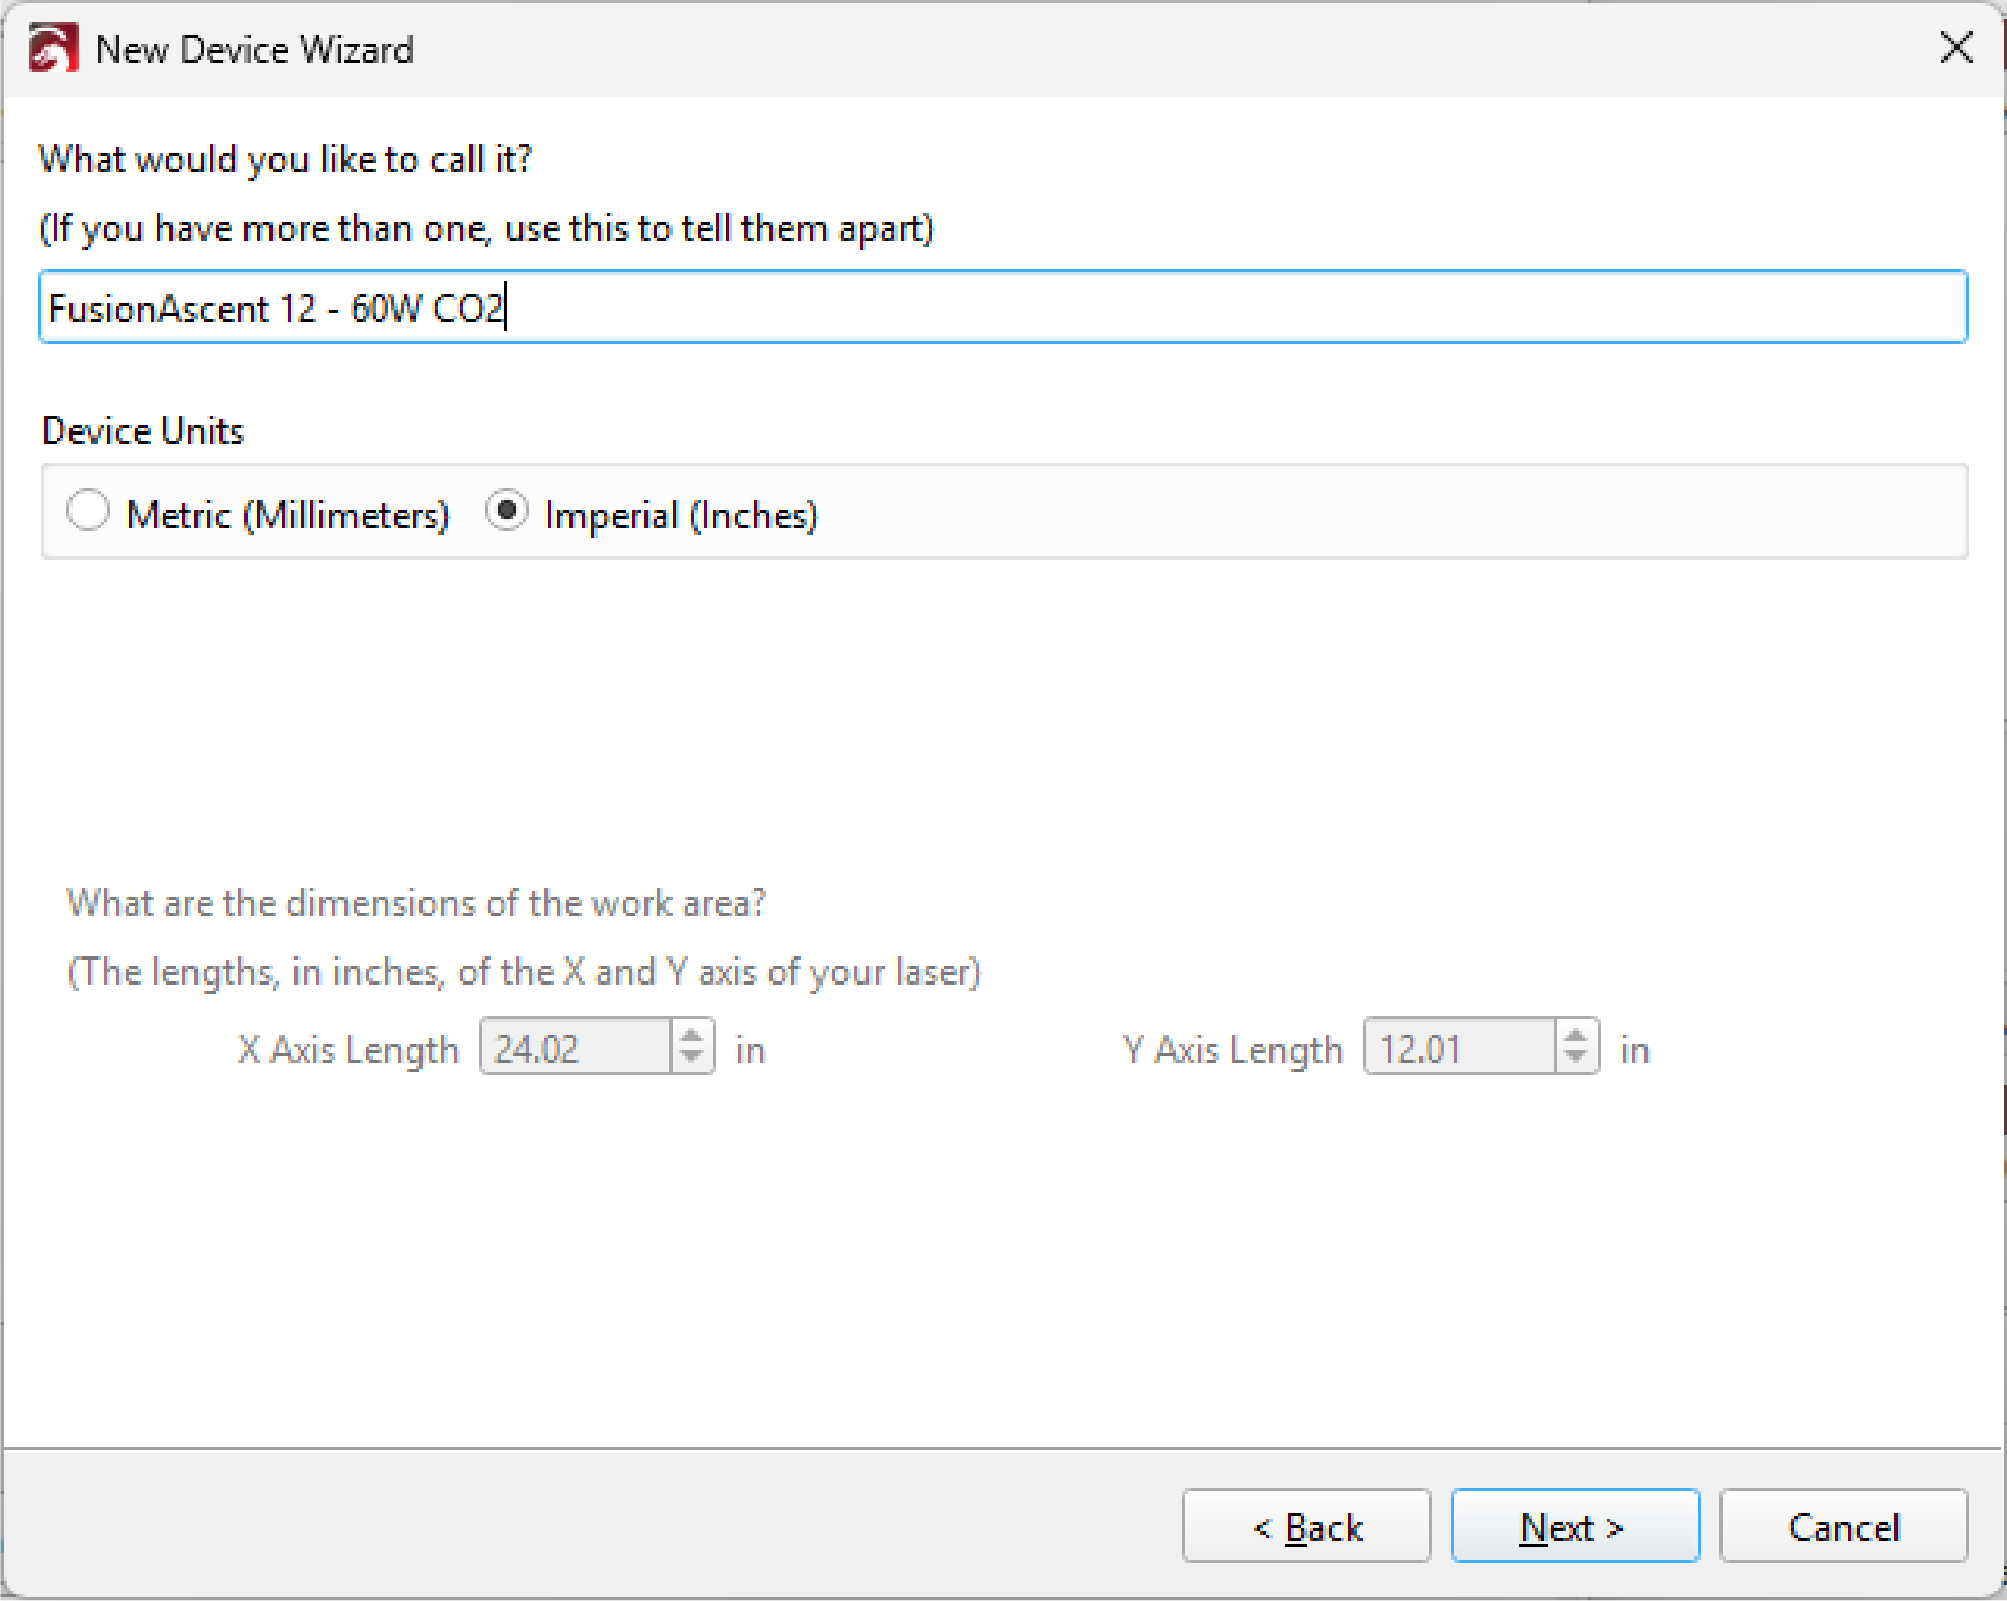
6 Name your machine and select units
Give your laser a name you'll recognize, like "Fusion Pro 36 - Shop," and choose inches or millimeters.
The units you pick here decide how speed is shown in LightBurn (in/min or mm/min). Use the speed converter below to translate your Epilog settings.
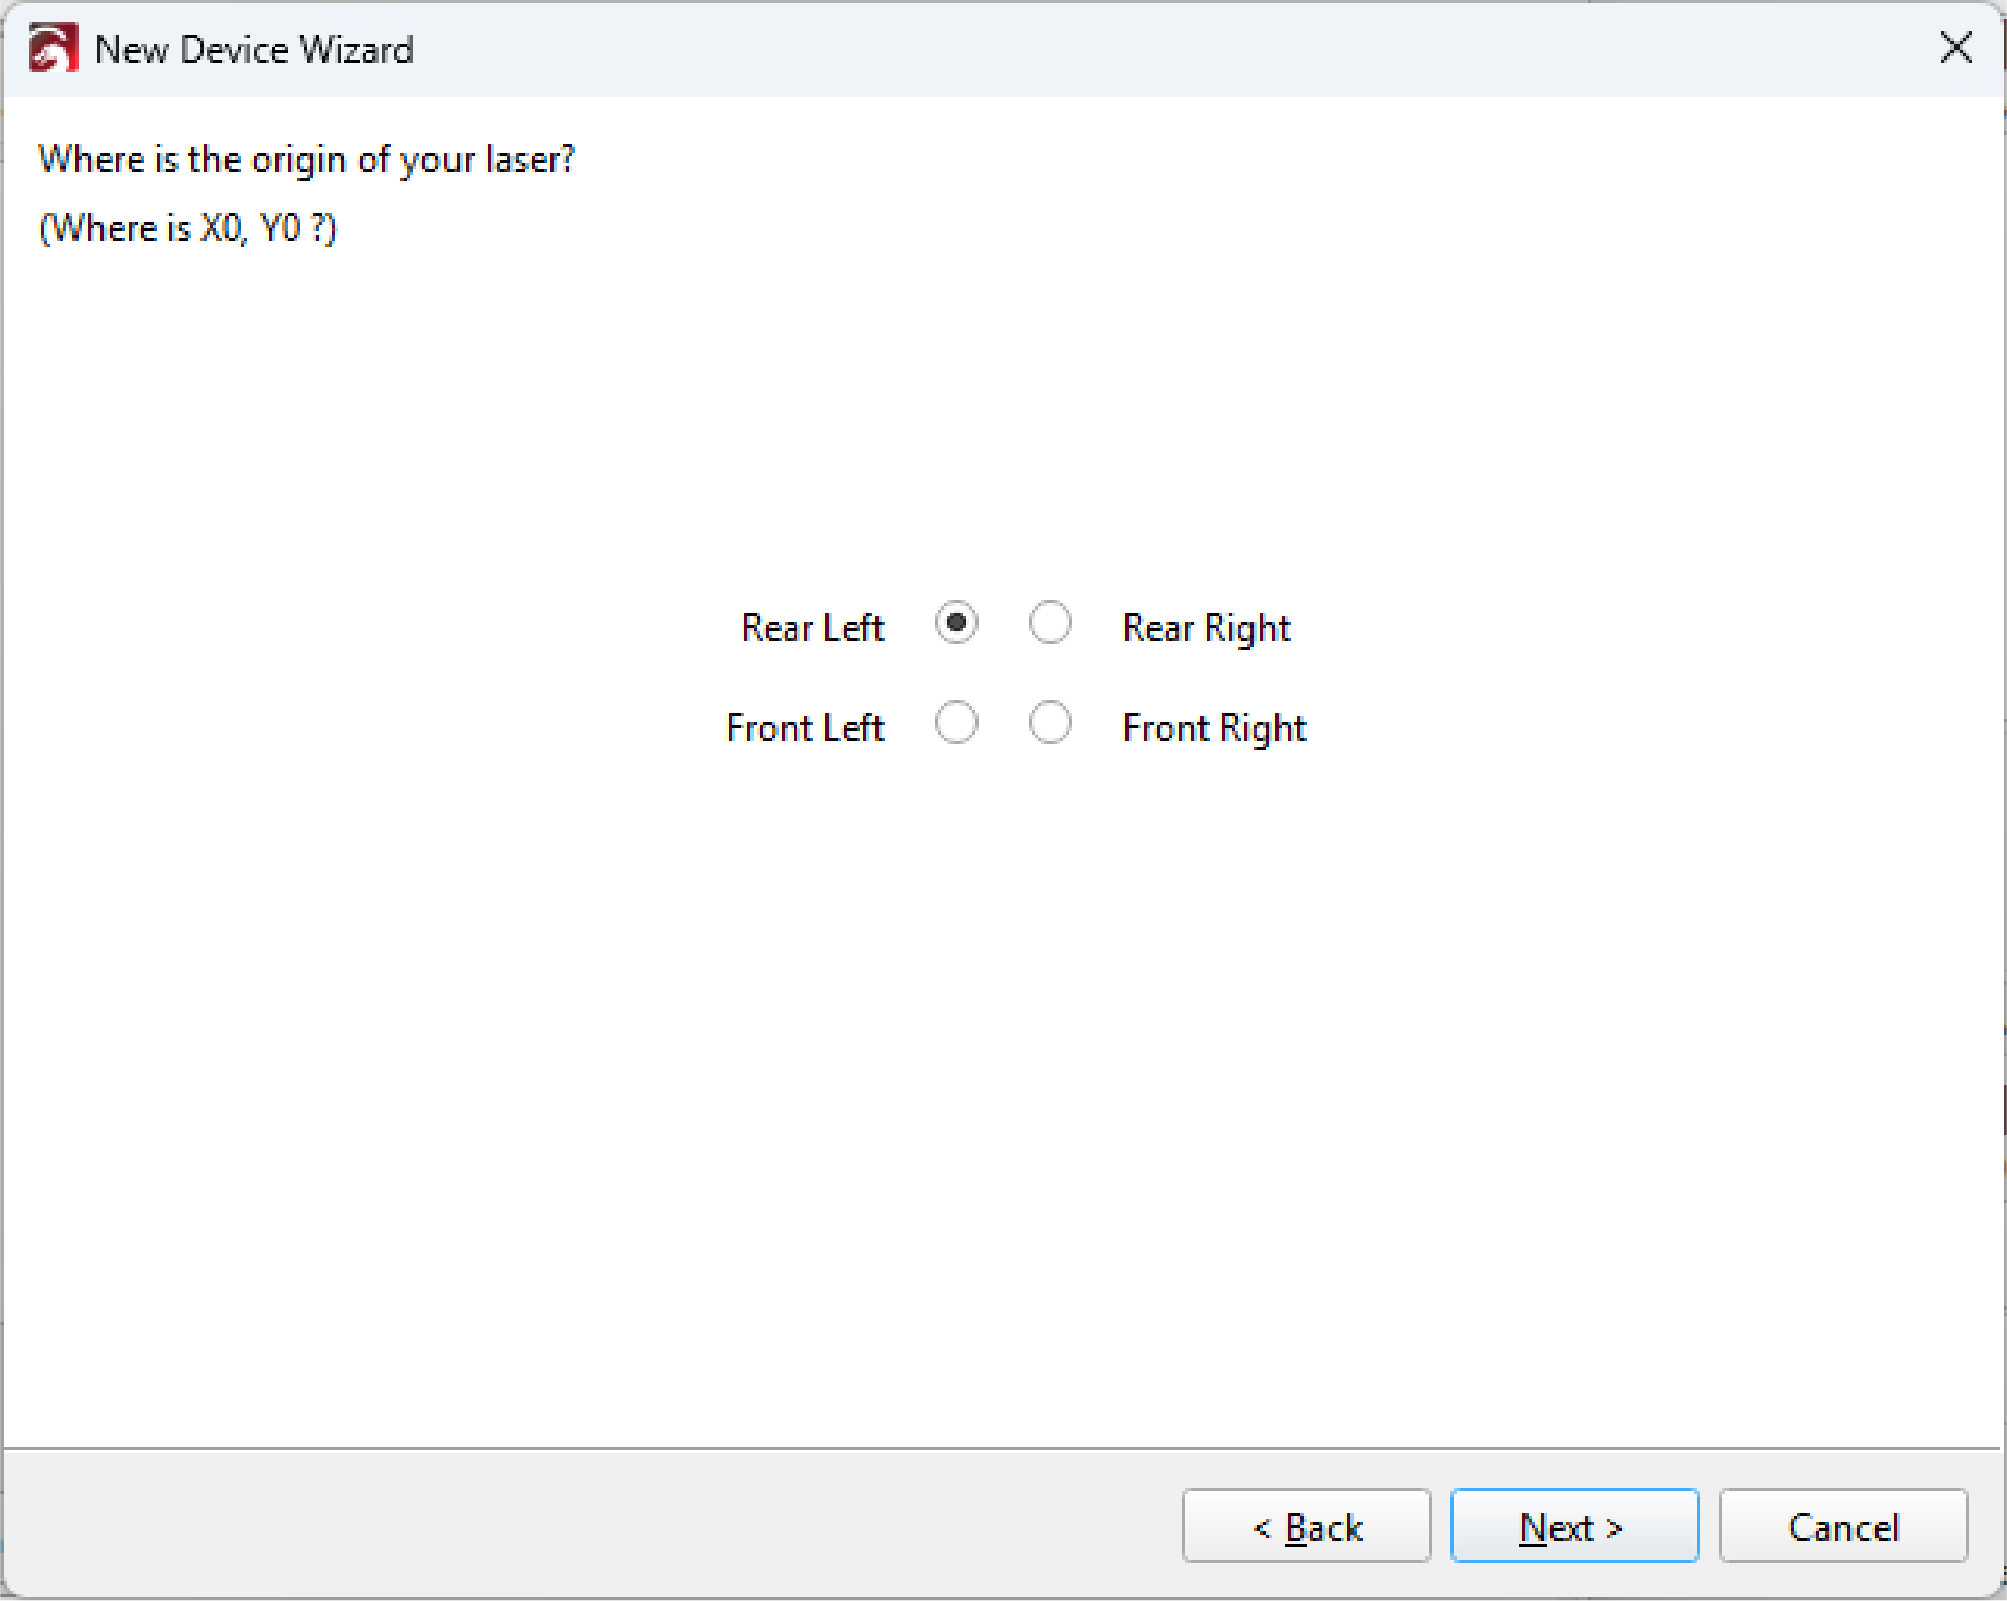
7 Set the origin to rear left
Select Rear Left as the origin. This matches the home position of your Epilog laser.
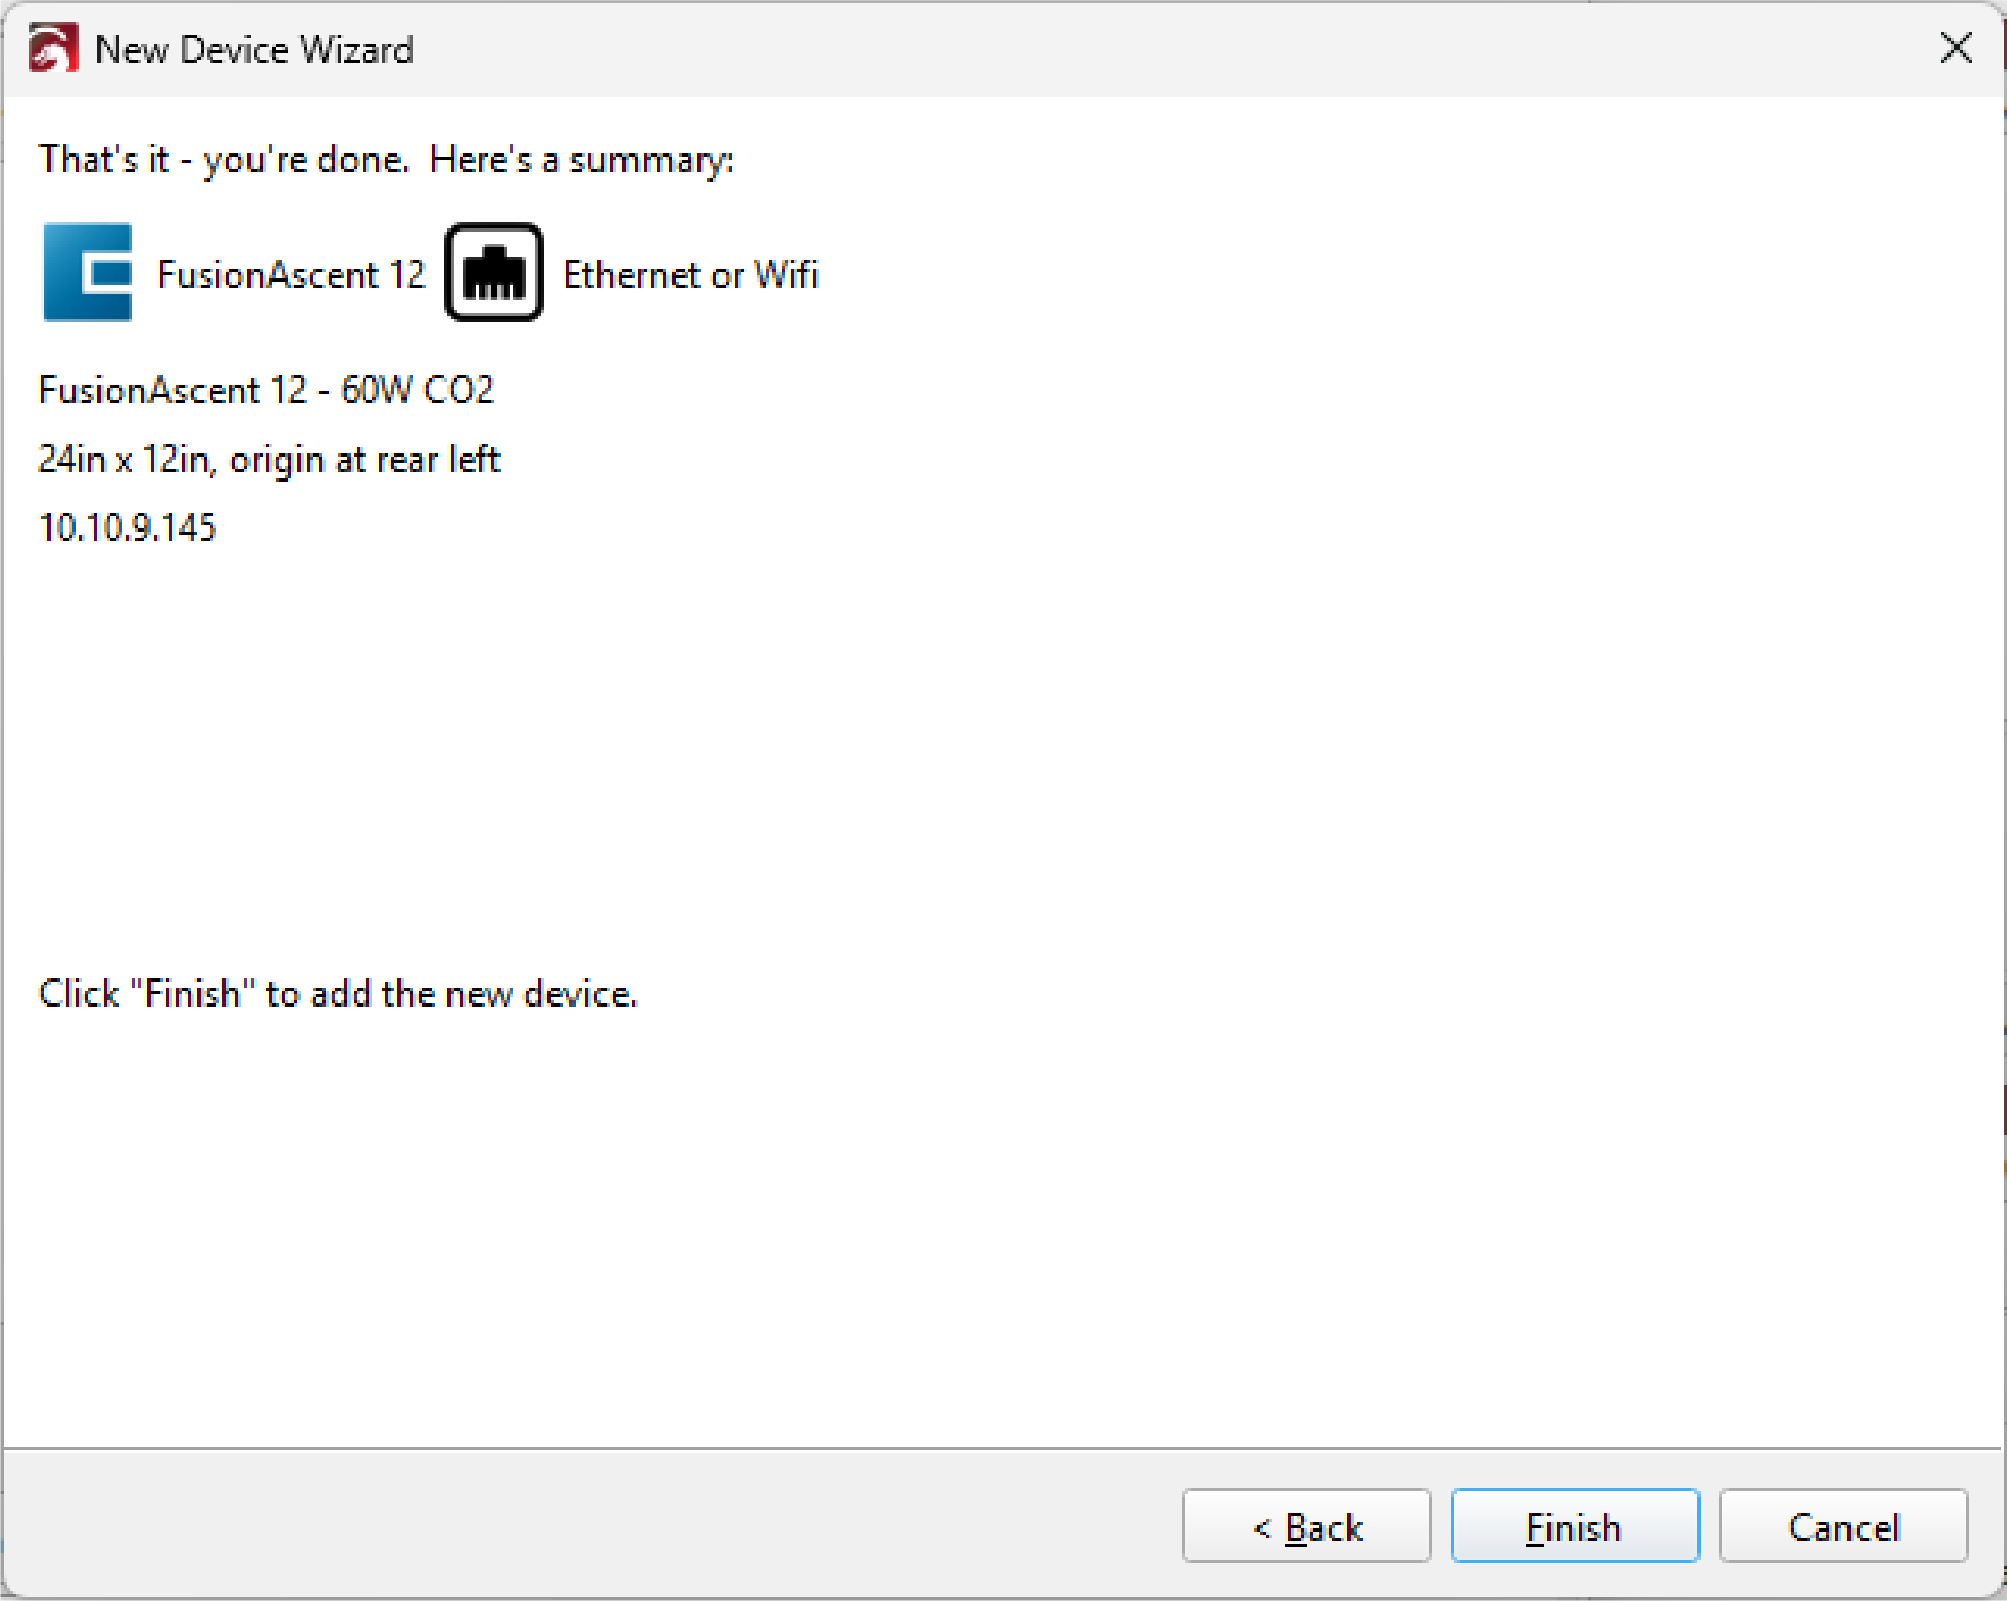
8 Click Finish
Review the summary and click Finish. Your Epilog laser now appears in the LightBurn Devices list and is ready to receive jobs.
To send a job, click Start or Send in the Laser window. Both do the same thing.
Speed, power, and frequency settings
Power carries over directly. Both Epilog and LightBurn use a percentage, so 60% power on your Epilog is 60% Max Power in LightBurn.
Speed needs a conversion. Epilog sets speed as a percentage, while LightBurn uses a distance per minute. The right value depends on your machine and the type of job, so use the converter below to find your LightBurn speed.
Frequency also needs a conversion. Epilog sets frequency as a percentage, while LightBurn uses Hz or kHz. The range depends on your laser source, and for MOPA lasers it also depends on the pulse duration. Select the Frequency tab in the converter below to find the matching LightBurn value.
Epilog to LightBurn settings converter
Results are approximate and based on Epilog's published limits for each machine and laser source. Test on scrap material before production work.
-
-in/min-mm/min
-
-kHz