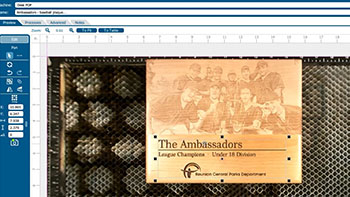
Isolate Text This initial engraving looks good, but the text portion could be deeper! We can isolate the text to improve the result. Turn off the camera. Ungroup your artwork. Select the text and Separate by Selection. You’ll see two processes listed now. Turn off the photo process. Adjust Settings (...)

Use Print Merge to Customize Multiple Items
Import Data Here we have a series of name badges to engrave and cut on the laser using print merge. First we’ll need to pull in the list of names. Select File > Print Merge > Create/Load Print Merge Click Import File and navigate to your .csv, .rtf, or (...)
Precisely place artwork using the IRIS Camera
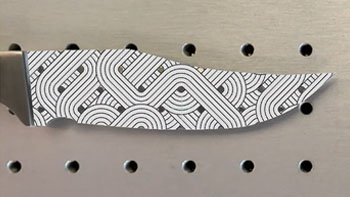
Artwork Setup Here we have a graphic we want to engrave on a blade of knife, which we can do by using the camera. In the Laser Dashboard, using the camera, we can see the knife blade placed in the laser. Start by clicking the Copy Background Image (...)
Creating a 3D Sphere Design for Laser Engraving
Setup the Artwork Here we have a snowflake design that we’ve replicated in an offset grid pattern to be transformed into a 3D sphere design. Select the design and drag it into the Symbols tab. Name the design And set the export type to graphic. Delete the (...)
Removing Adhesive Backing from Acrylic
Spray Backing Spray the adhesive backing with Pure Citrus air freshener and let it sit for 30 seconds. Peel Backing Now the adhesive backing should be quick and easy to remove from your acrylic. Wipe Clean Wipe off the remaining residue and you’re ready to engrave or (...)
Cleaning Your Optics
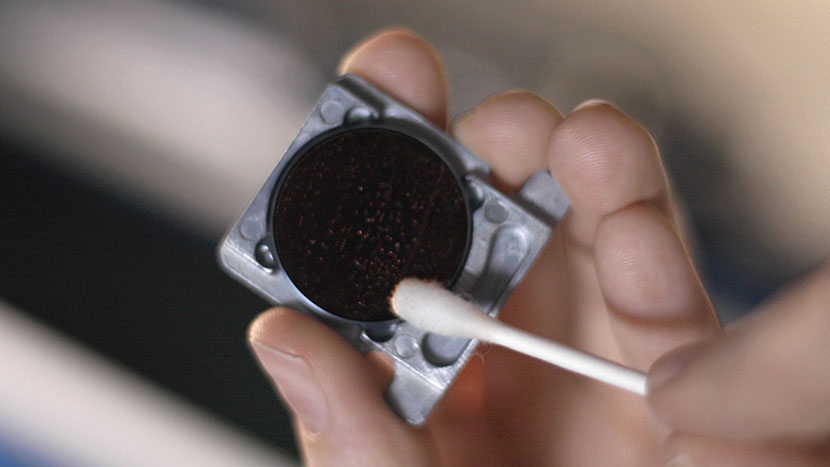
Cleaning the Focusing Lens Optics The mirrors in the periscope housing are enclosed, and will likely require cleaning less often than the other components of the optics system. Let’s start by jogging the laser assembly toward the front of the machine for access to the optics, then we’ll turn off (...)
Laser Alignment – Maker / Edge / Pro
Turn On To begin the laser alignment procedure, power on the laser. For the following procedures, the table will be broken into four (4) positions. Each position is identified by its relative distance to the laser source and corresponds with the mirror to adjust for that position. Three of the (...)
Focus Calibrations – Fusion Maker, Edge, and Pro
Please find the attachment for an in-depth description.
Fiber Alignment – Fusion Pro 32 & 48
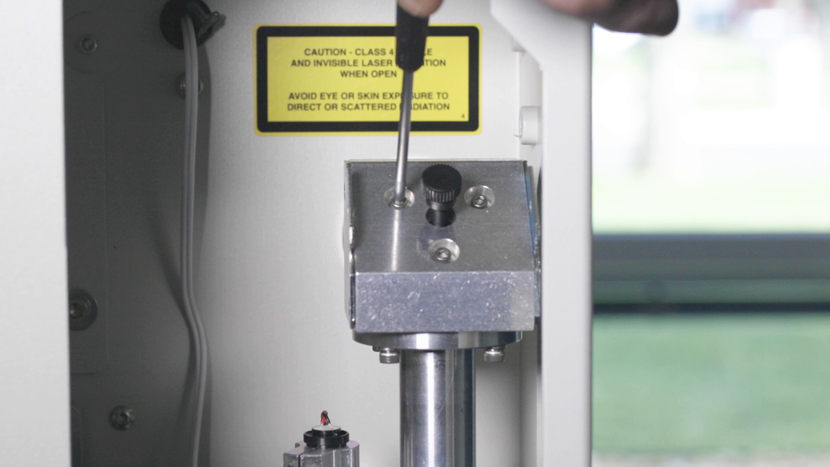
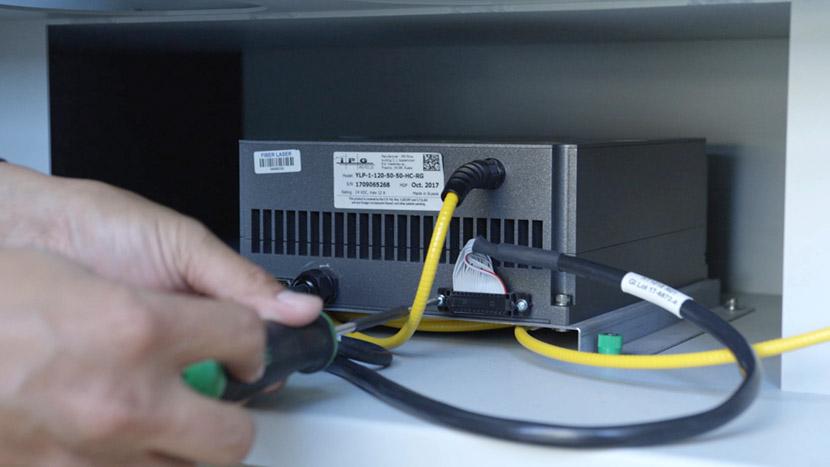
This guide provides step-by-step instructions for performing precise laser alignment on the Fusion Pro CO2 and Fiber laser systems. Proper alignment ensures optimal engraving performance and reduces the risk of hardware damage. Whether you’re troubleshooting a drop in laser power or aligning after maintenance, this document will walk you through (...)
Updating the Peripherals
Peripheral updates ensure optimal performance and communication between the engraver’s programmable components by installing the latest firmware and configuration files. Programming the Peripherals On the display panel, tap the gear icon in the upper-right corner to open the Settings menu: Figure 1: Access the Settings menu by tapping the gear (...)
Touchpad Calibration – Fusion Maker, Edge, and Pro 24 and 36
Estimated time: 5 minutes • Skill: Basic Touchscreen calibration ensures accurate touch response when selecting options and settings on the display. This procedure is rarely required and should only be performed if the touchscreen is registering incorrect inputs or responding inconsistently. Touchscreen Calibration Procedure Open the Settings menu. At the (...)
Fiber Laser Alignment
Fiber laser alignment is a crucial maintenance procedure to ensure the optimal performance of your Fusion Edge and Fusion Pro laser engravers. Over time, misalignment can occur due to regular use, component replacement, or moving the machine to a new location. This guide provides a step-by-step process for checking and (...)