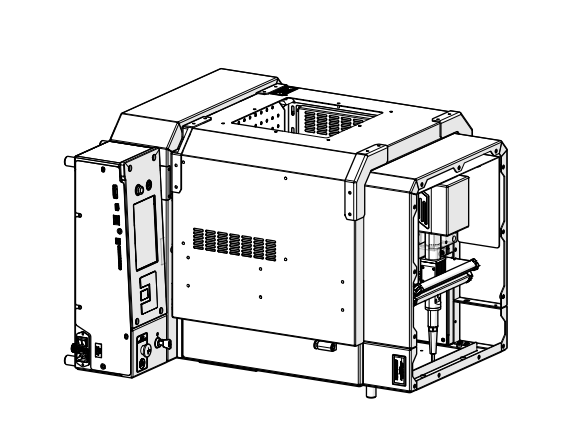
Introduction
This guide provides step-by-step instructions for replacing the door slide on Epilog Laser G100 series systems. The process includes removing the door, installing the new slide, and reassembling the engraver. Be sure to follow all recommended safety precautions throughout the procedure.
Door Slide Removal
- Turn off engraver
- Disconnect from power

-
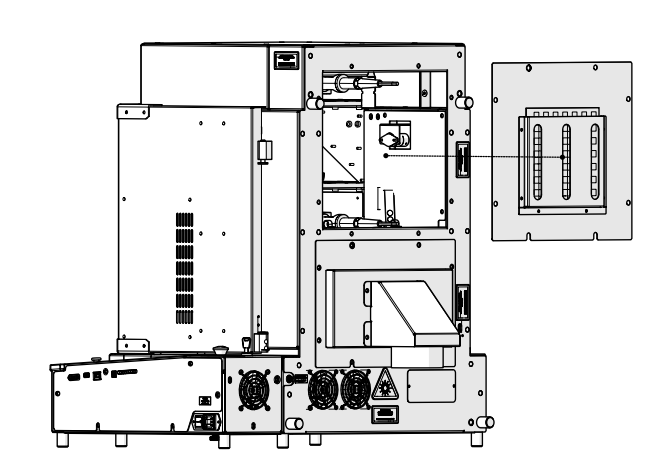
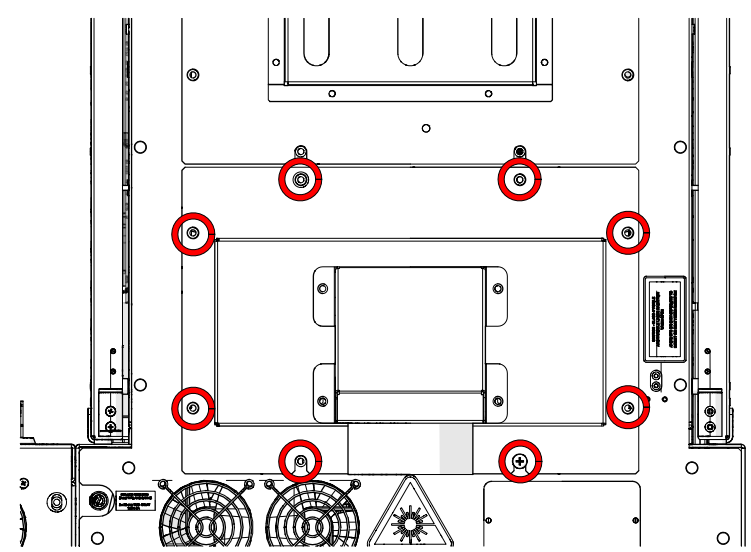
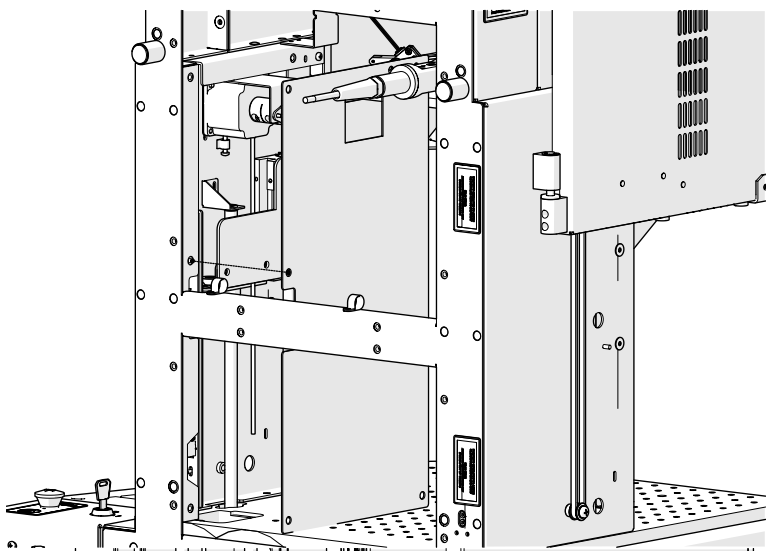
Loosen and remove screws
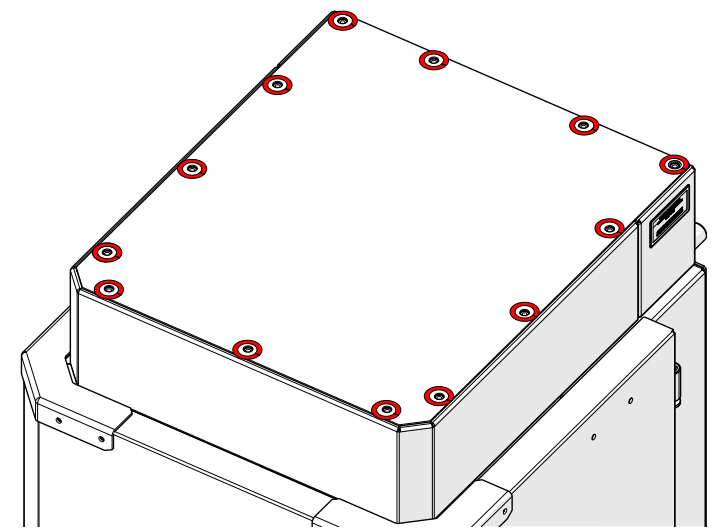
-
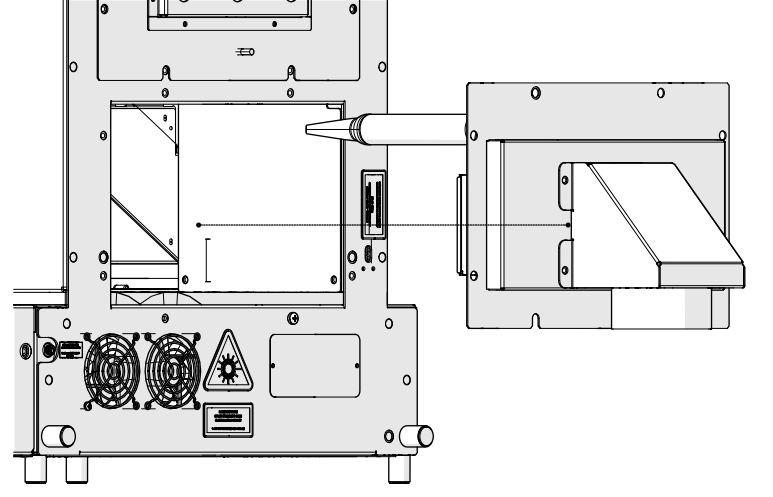
Remove panel
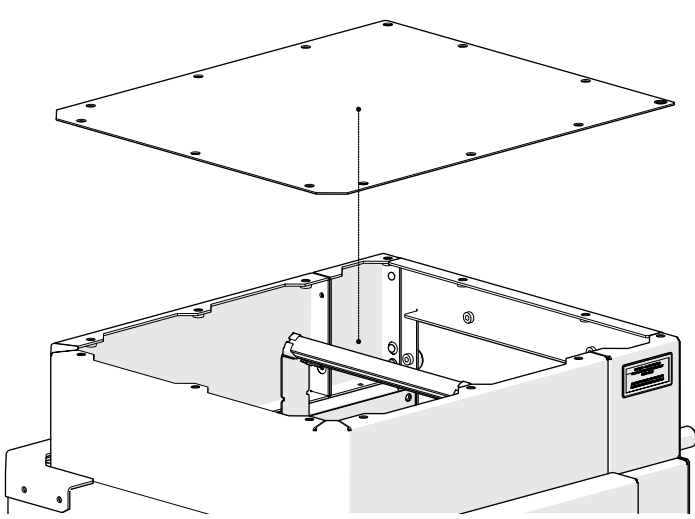
-
Loosen and remove

-
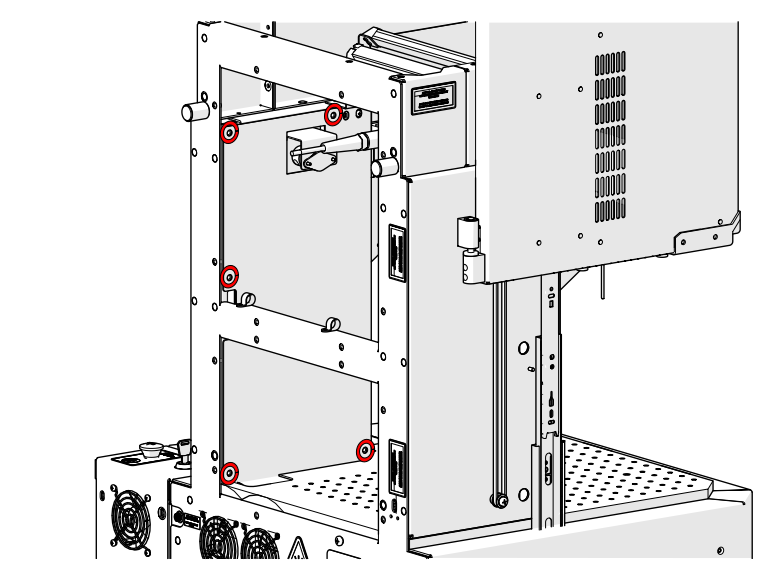
Remove panel
-
Loosen and remove
-
Remove panel
-
Loosen and remove
-
Remove panel
-
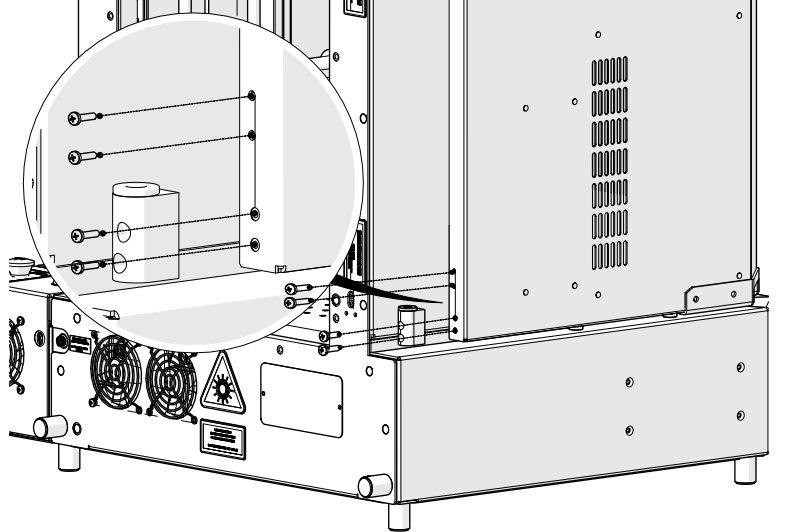
Loosen and remove
-
Loosen and remove
-
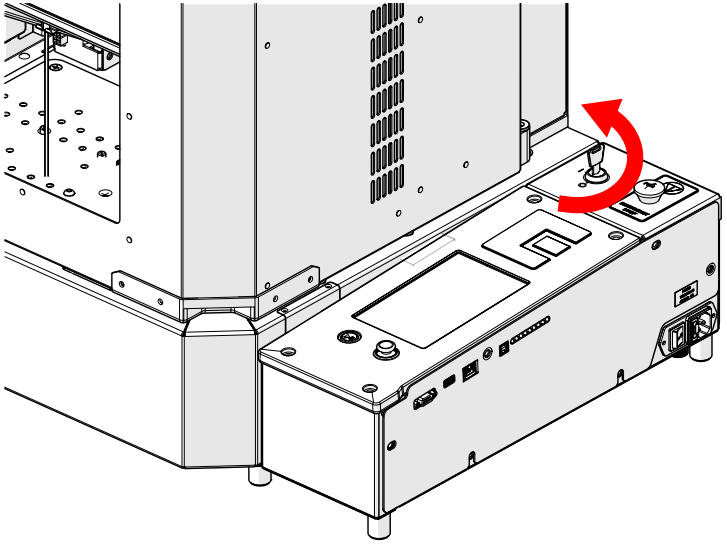
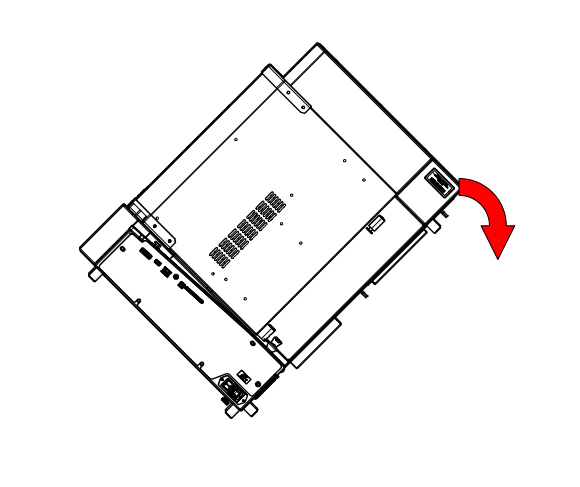
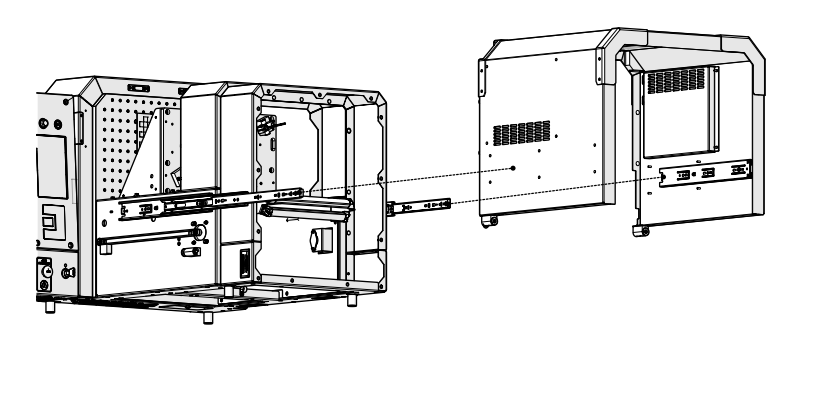
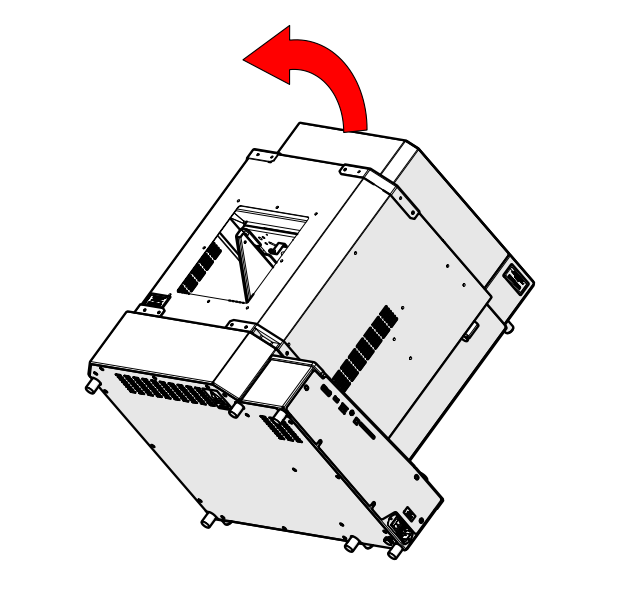
Tilt engraver
-
Lay engraver on its back
-
Open the door
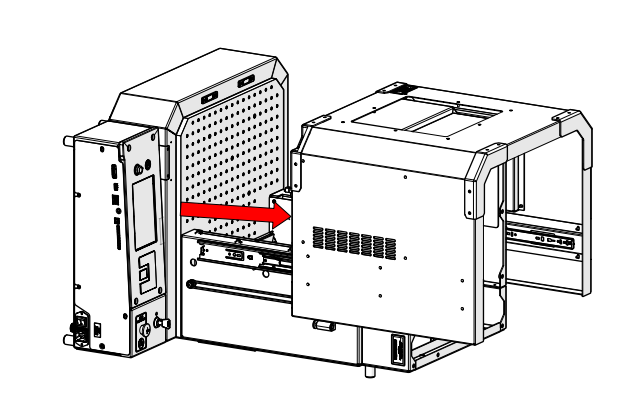
-
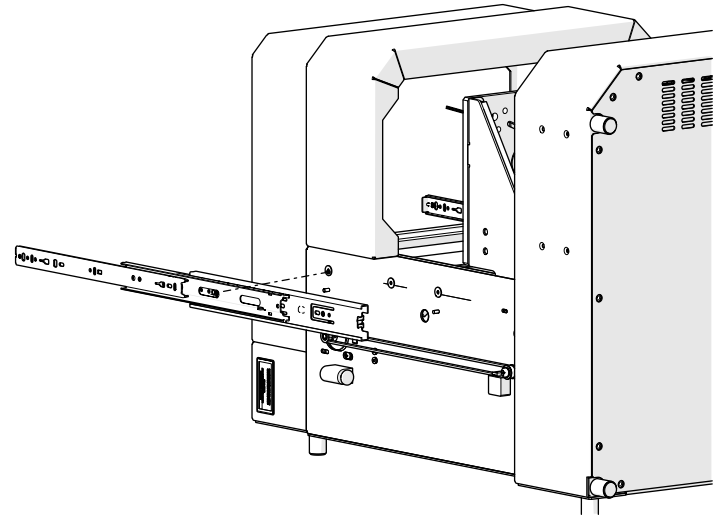
Depress slide lever
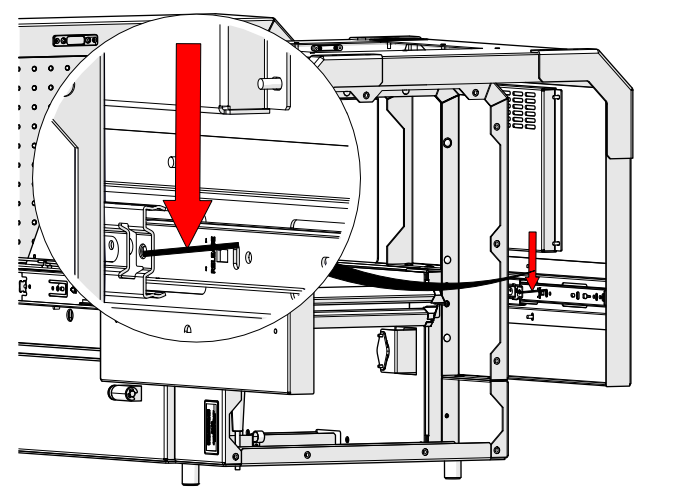
-
Depress slide lever
-
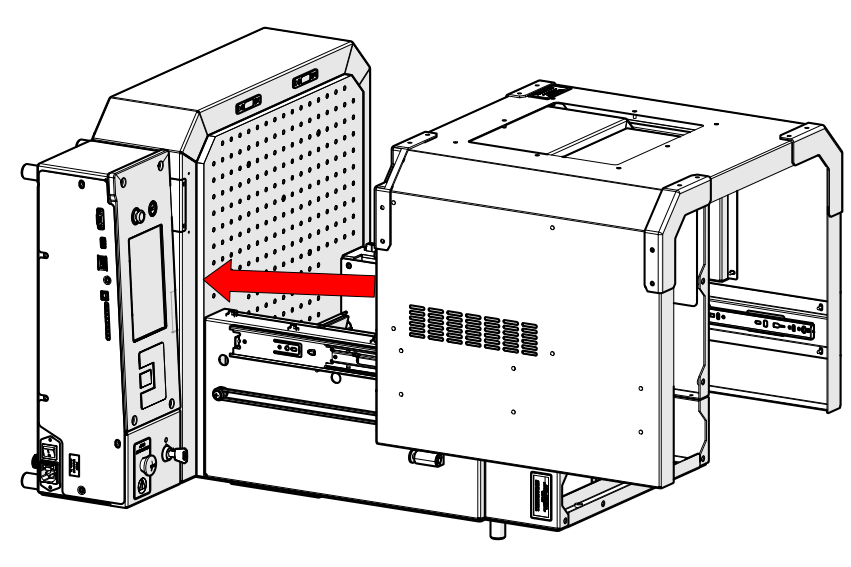
Remove the door
-
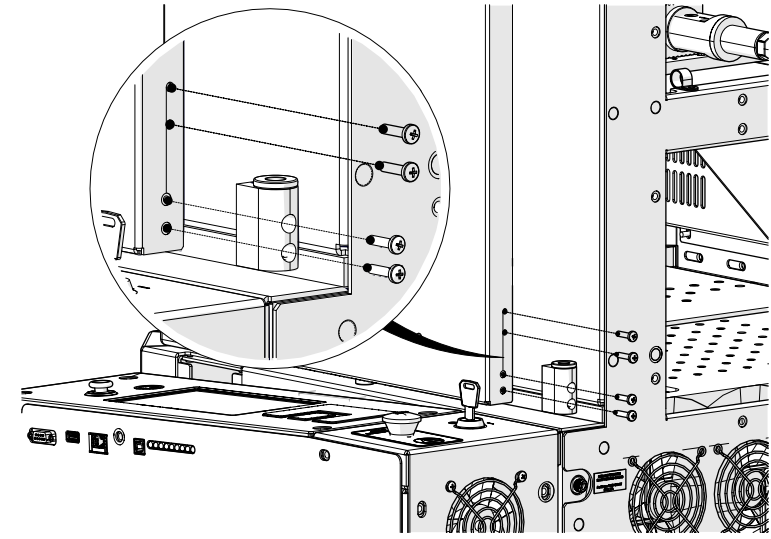
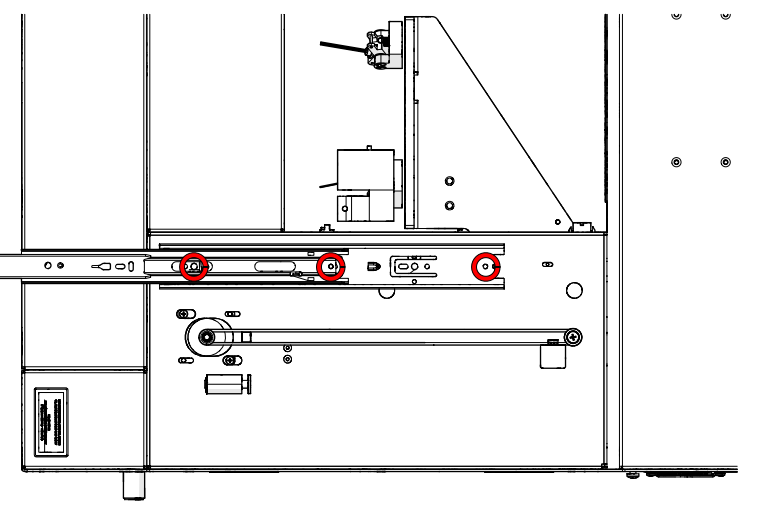
Loosen and remove
-
Remove slide
-
Loosen and remove

-
Remove slide
Door Slide Installation
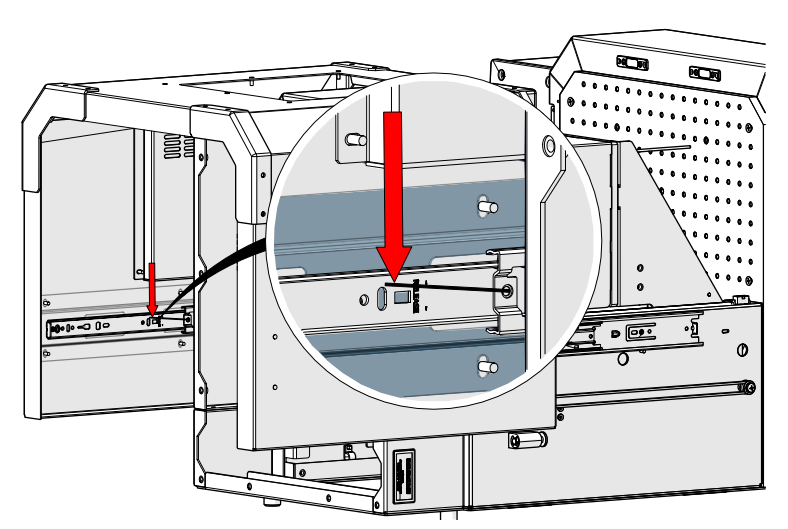
-
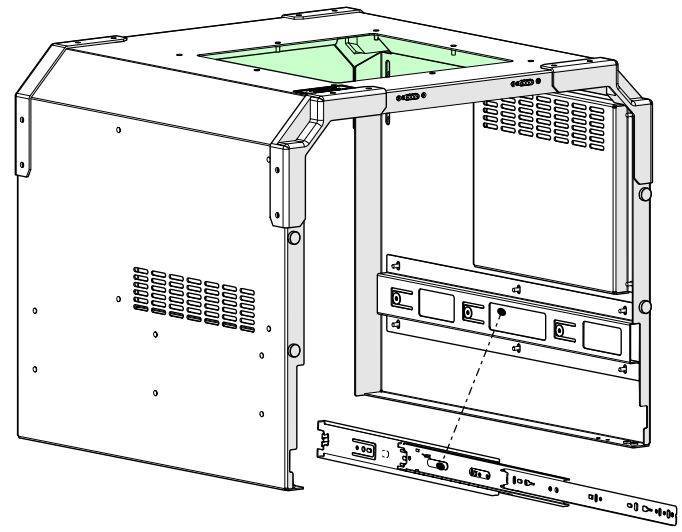
Install slide
-
Install and tighten
-
Install slide
-
Install and tighten
-
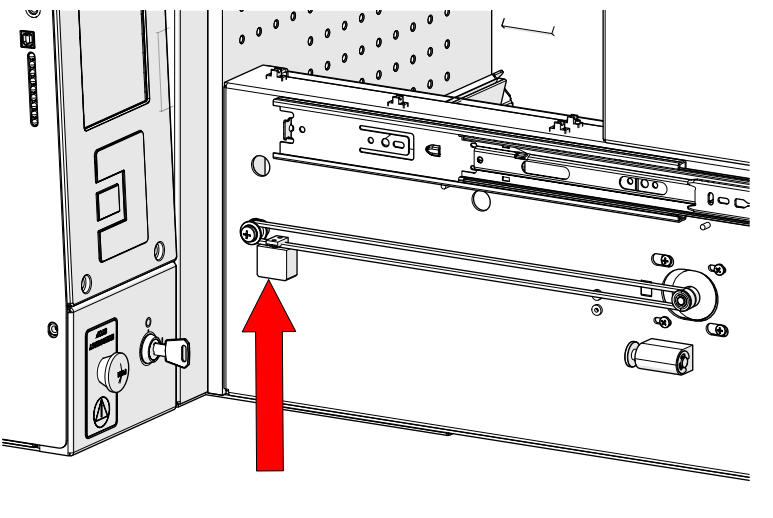
Position belt block at bottom of travel.
- Place door back onto engraver
-
Ensure door is seated correctly on slides
- Close the door

- Return engraver to upright position
Reassembly
- Install and tighten screws
- Install and tighten screws
- Install panel
- Install and tighten
- Install panel
- Install and tighten
- Install panel
- Install and tighten
- Install panel
- Install and tighten
- Reconnect engraver to power

Was this helpful?
Thanks for your feedback!