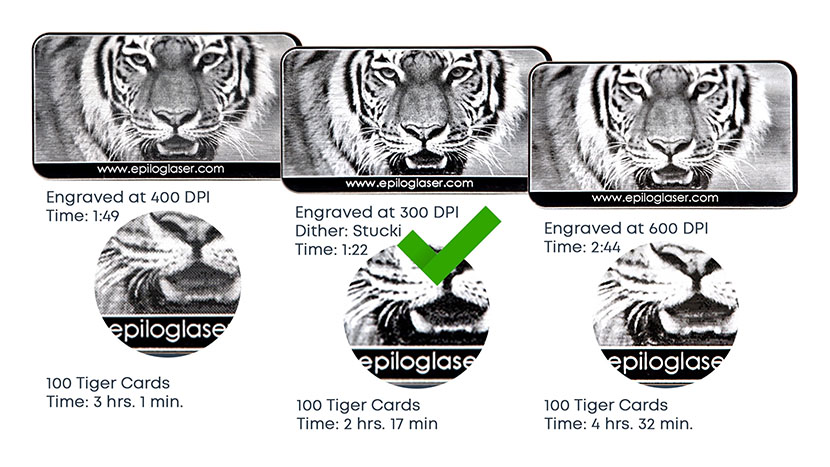
1200 DPI resolution is used for projects that need the best engraving quality. It is ideal for very small fonts or when deep engraving is important. How do you know which DPI setting is right for your project? Print quality is often determined by the resolution of an image, and (...)
Bitmap (Raster) vs Vector Graphics for Engraving
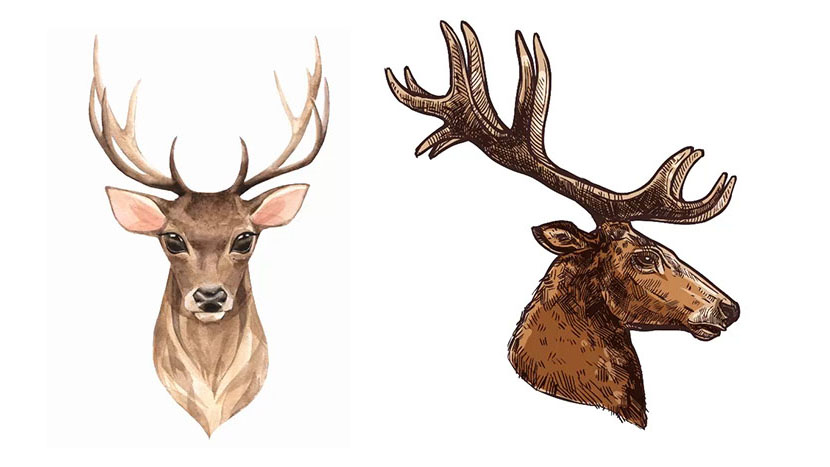
Raster Images Let’s begin by talking about raster images. A raster image is an arrangement of cells, called pixels, which form an image when displayed on screen. This deer image is an excellent example of a raster image. It looks like a highly detailed picture, but is actually made up (...)
Use a Jig to Pre-Engrave an Item for Customization Later
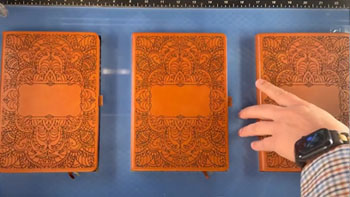
Setup the Artwork Here we are creating a jig to pre-engrave four leather notebooks. We’ll add customized names to each one later. The red lines are the outlines of the notebooks we’ll cut out in a jig. We’ll cut an arrow at the top left corner so (...)
Using Color Mapping in the Epilog Software Suite
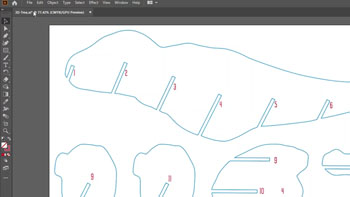
It’s easy to color map with the Epilog Dashboard. Prepare the Artwork for Color Mapping For this file, we want to score the red numbers and cut out the blue outlines. Once the artwork is ready, Print the file to the laser. Everything has come over in a single process (...)
Using Margins to Preview Your Engraving
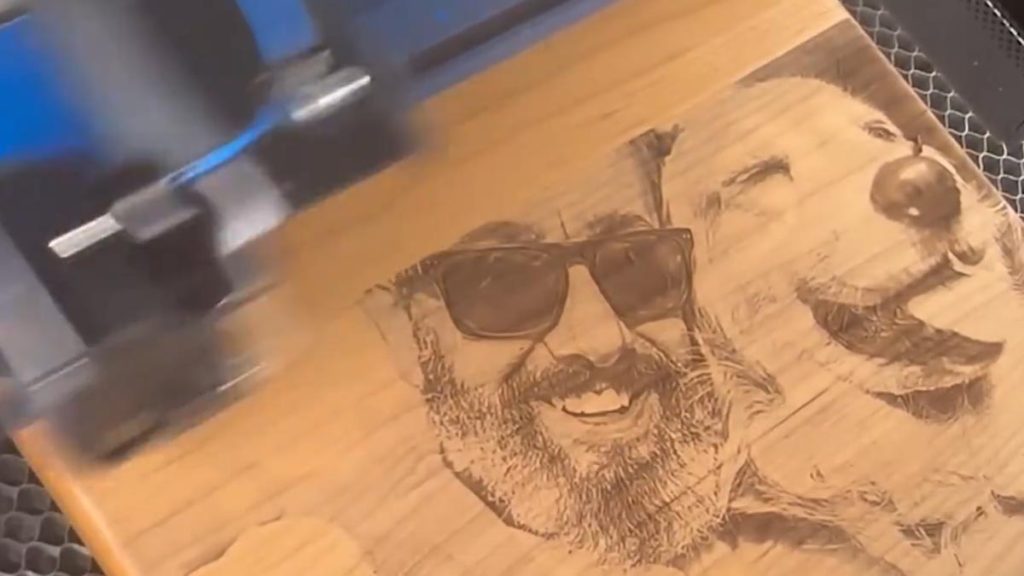
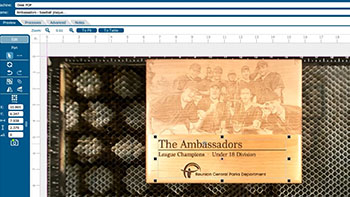
For a helpful tip, we’ll show how to use margins in the Epilog Dashboard to preview the engraving to make sure our photo quality is ideal. Prepare the Artwork We’ll be engraving this photo on a wood plaque. First, we’ll process the photo in PhotoLaser Plus. (...)
Center-Center vs Custom Center Engraving
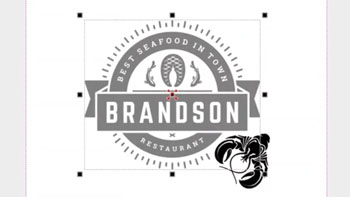
Using Center-Center There are many ways to use Center Engraving on the Epilog Laser Dashboard. Let’s take a logo we want to engrave at the center of a coaster. In the Epilog Dashboard, choose the Advanced Tab. Next to Centering Point you’ll see a list of all (...)
How to Quickly Make an Engraving Fix
Isolate Text This initial engraving looks good, but the text portion could be deeper! We can isolate the text to improve the result. Turn off the camera. Ungroup your artwork. Select the text and Separate by Selection. You’ll see two processes listed now. Turn off the photo process. Adjust Settings (...)
Creating Custom Shaped Artwork
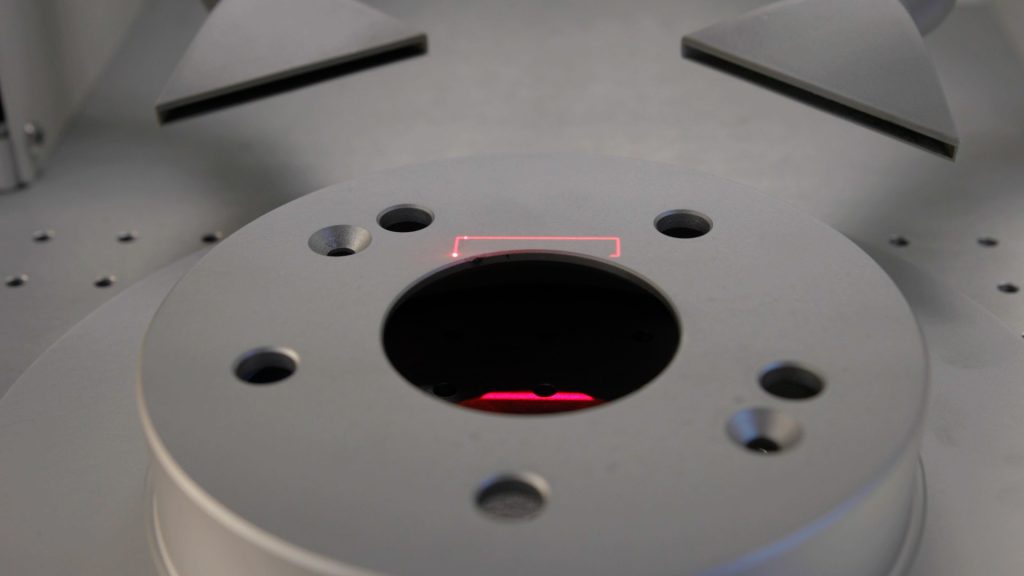
Let’s start creating your custom shaped artwork by placing your part on the table of the laser. Then bring the part into focus using the focus menu. Once the red dot pointer aligns with the vertical line, your part is in focus. For this tutorial will be using CorelDraw as (...)
Using Bartender Variable Data
Import Variable Data We have our file for a 5” x 3” serial tag setup in Bartender. There are two pieces of variable data on the tag: the serial number field and a scannable barcode with the serial number. We also have an excel file with a list of serial (...)
Creating a Readable Barcode on Stainless Steel
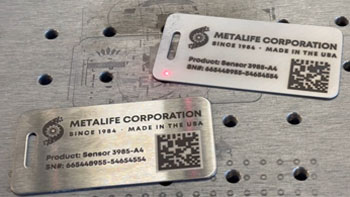
Barcode Readability We have a design for a barcode to be engraved on a stainless steel tag. The issue is that barcodes are very difficult to scan when engraved on highly reflective metal. We’ll walk through two solutions to this issue. Polished Barcode Solution For the (...)
Use Print Merge to Customize Multiple Items
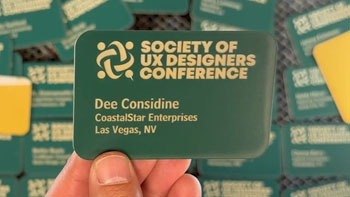
Import Data Here we have a series of name badges to engrave and cut on the laser using print merge. First we’ll need to pull in the list of names. Select File > Print Merge > Create/Load Print Merge Click Import File and navigate to your .csv, .rtf, or (...)
Precisely place artwork using the IRIS Camera
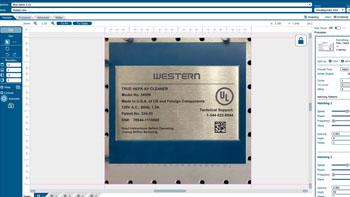
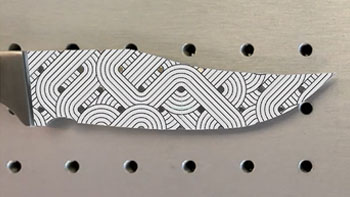
Artwork Setup Here we have a graphic we want to engrave on a blade of knife, which we can do by using the camera. In the Laser Dashboard, using the camera, we can see the knife blade placed in the laser. Start by clicking the Copy Background Image (...)