Estimated time: 5–10 minutes • Skill: Beginner
By default, jobs sent to the Epilog Software Suite use standard settings. You can customize these defaults to save setup time or better match your materials and applications. Follow the steps below to change the default job settings.
Changing Default Job Settings
-
Send a job to the Epilog Software Suite.
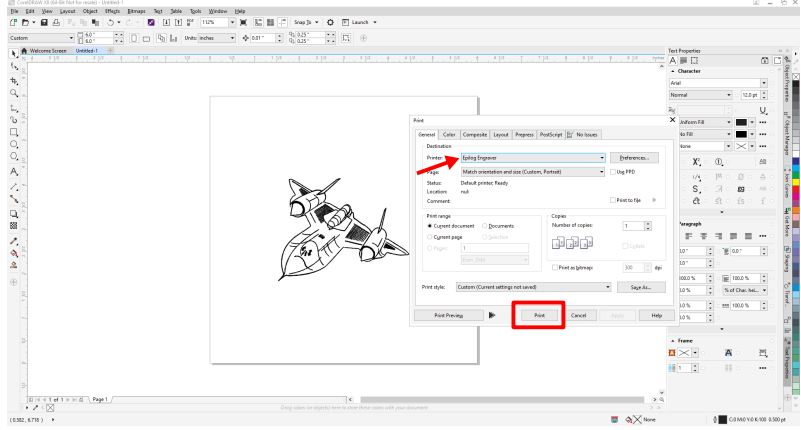
Image 1: Job sent to the software suite.
-
Allow the job to load in the Epilog Dashboard.
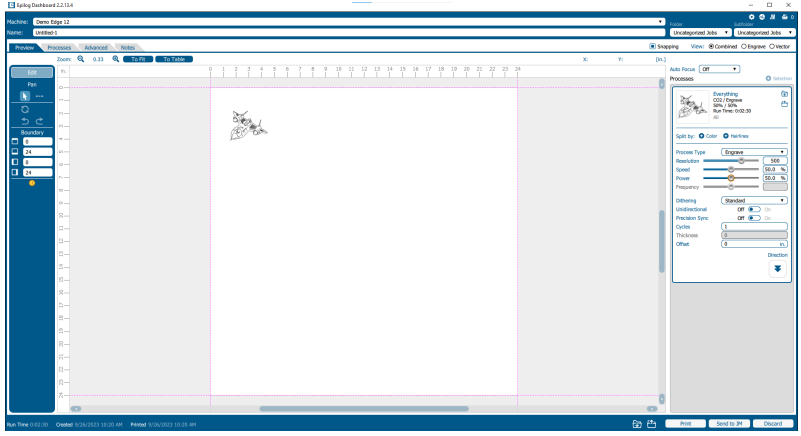
Image 2: Job loaded into Dashboard.
-
Adjust the job settings.
Set the desired values for speed, power, and resolution (or other parameters as needed).
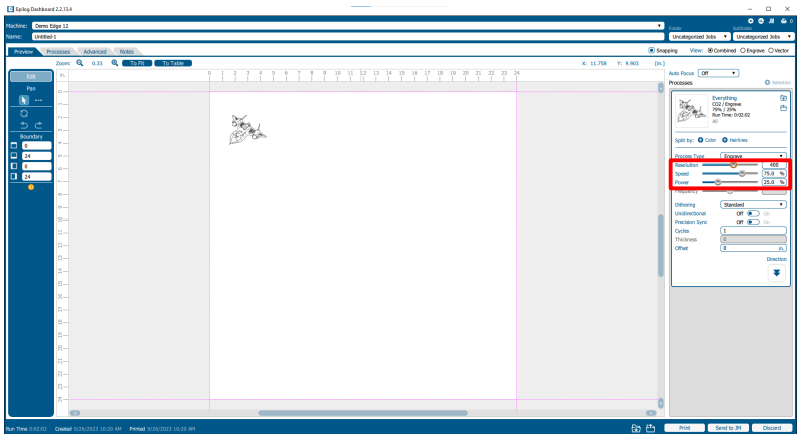
Image 3: Adjusting job parameters.
-
Select Export Job Settings.
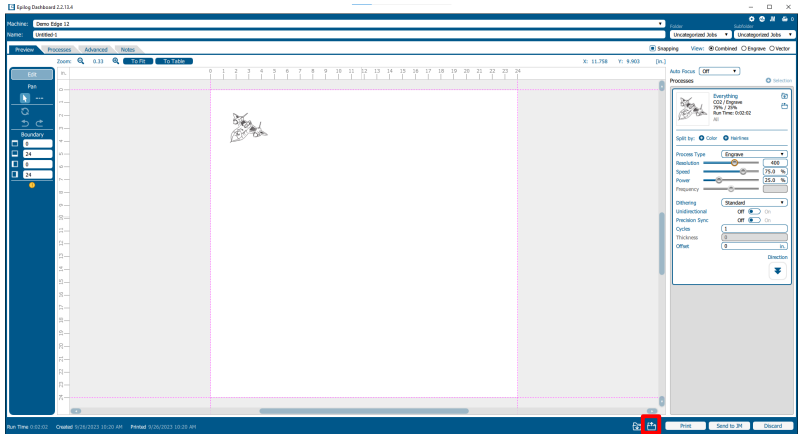
Image 4: Export job settings option.
-
Name the job settings and save.
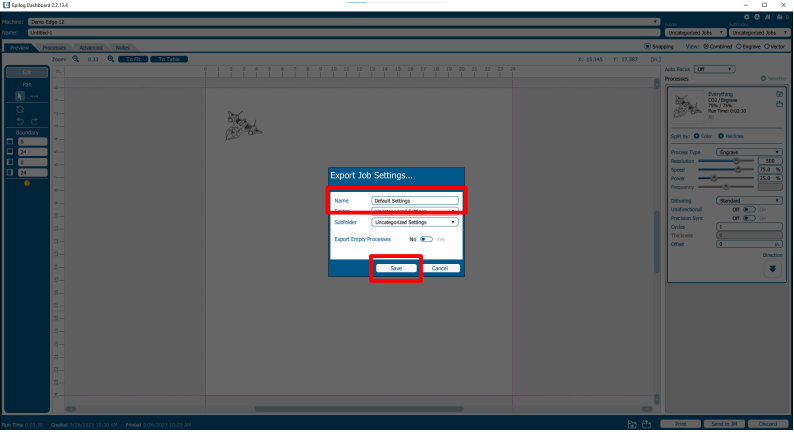
Image 5: Saving job settings.
-
Open the Epilog Job Manager.
Select the engraver from which the job settings were exported and go to the Jobs tab.
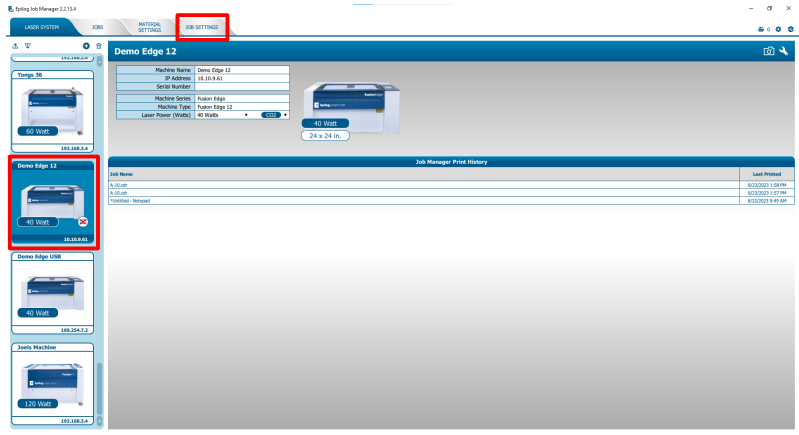
Image 6: Job Manager Jobs tab.
-
Select the exported job settings and choose Set As Default.
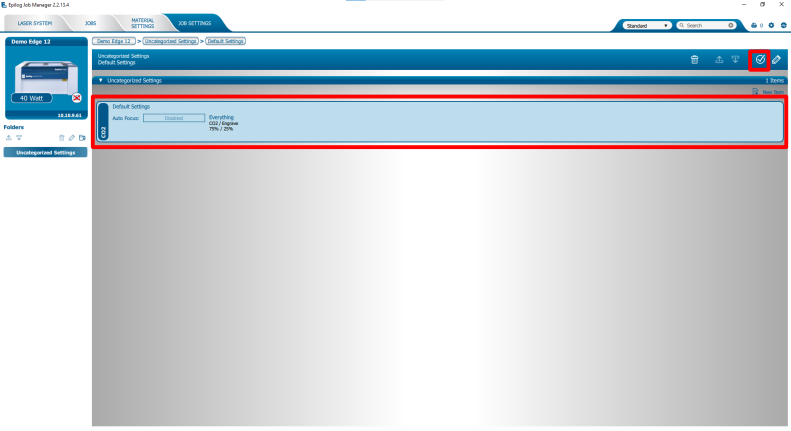
Image 7: Setting job settings as default.
-
Confirm default settings.
Once the check mark icon appears on the selected job settings, these values will be applied automatically whenever a new job is sent to the Epilog Software Suite.
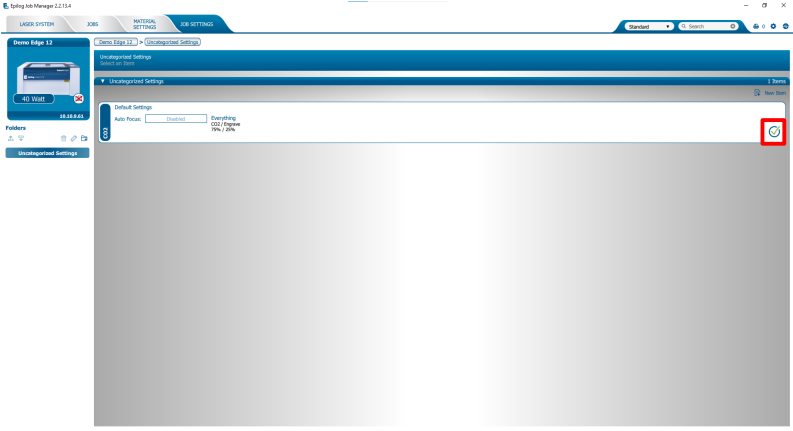
Image 8: Default job settings confirmed.