In this lesson we’ll walk through replacing the Epilog Fusion M2’s Laser Safety Module.
You should always wear an anti-static strap for this replacement to prevent possible damage.
Remove Panel
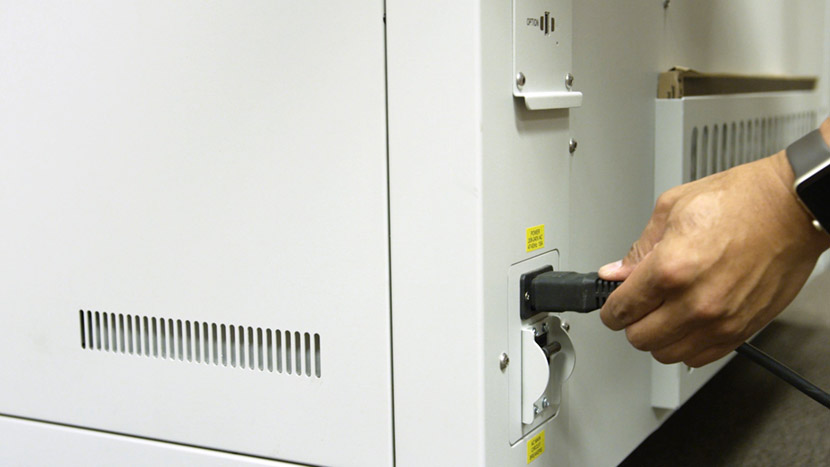
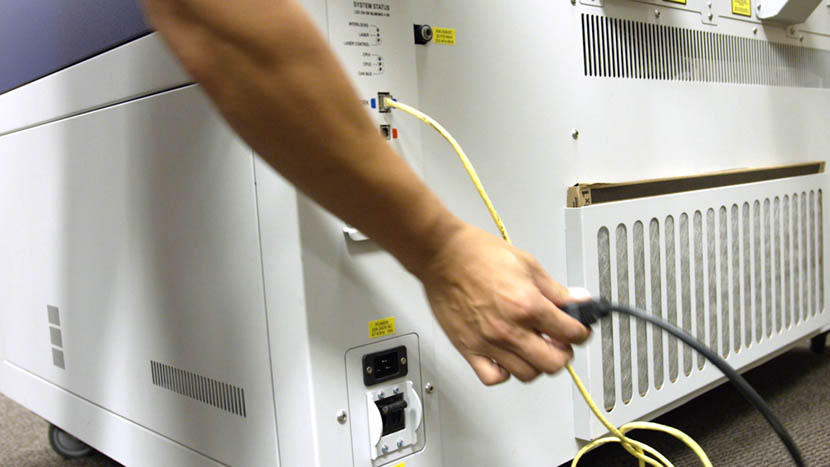
Shut off the laser and remove the power cord from the machine.
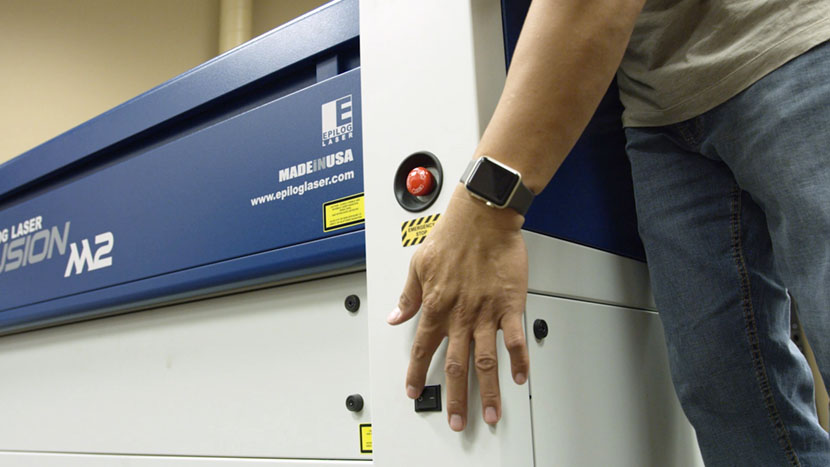
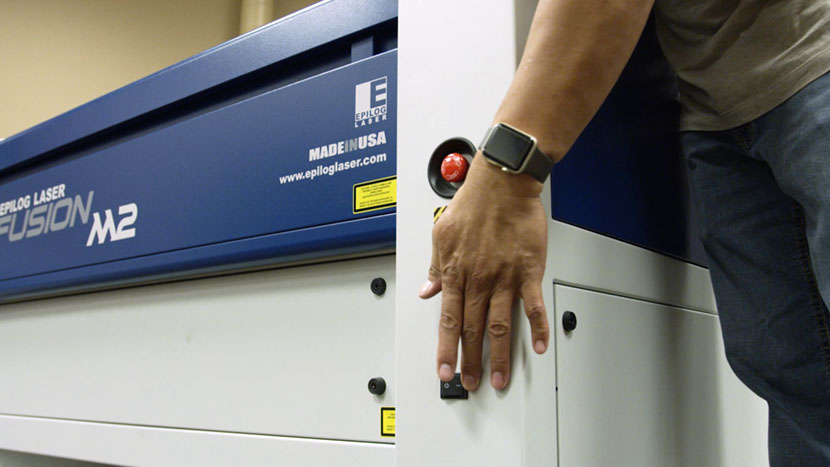
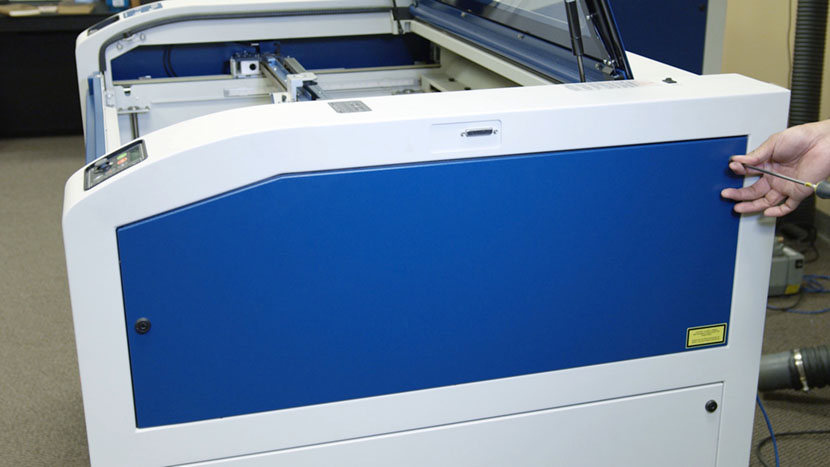
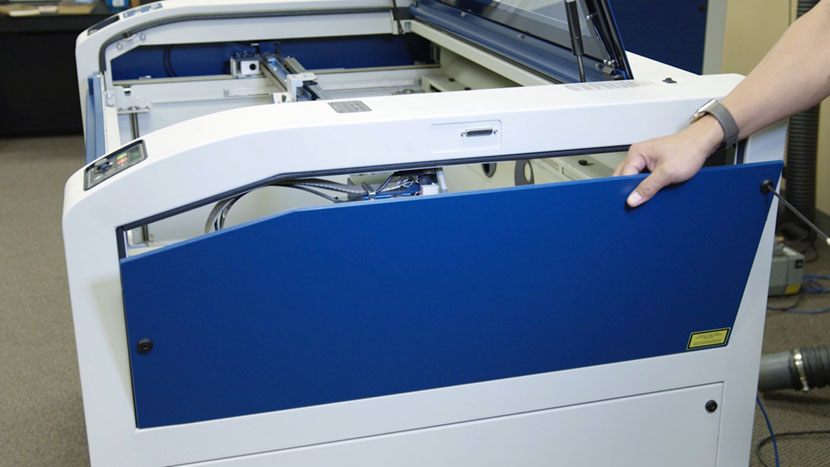
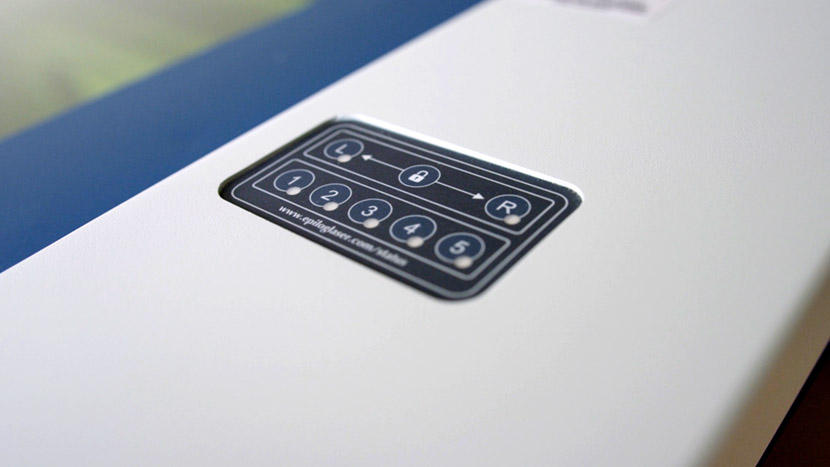
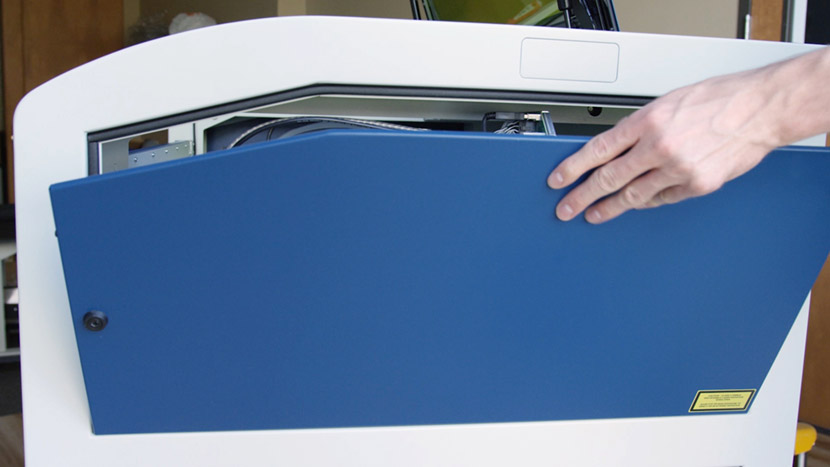
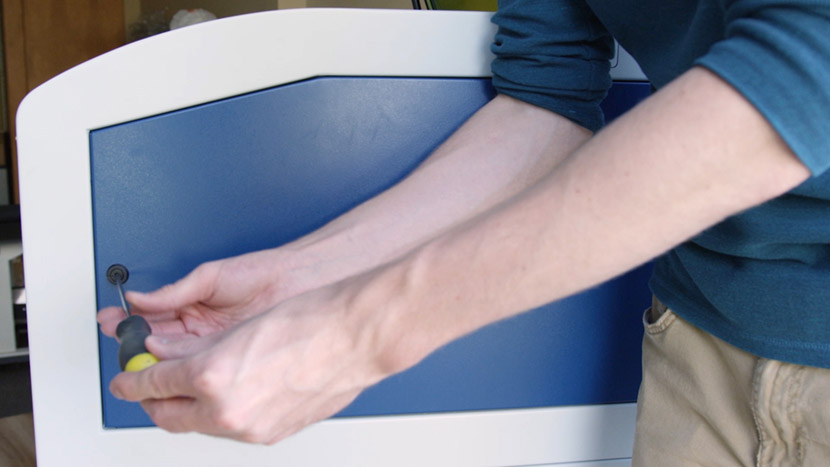
Remove the top access panel on the right side of the machine by using a 5/32” hex key to turn the black panel locks ¾ of the way counter-clockwise.
Remove Old Safety Module
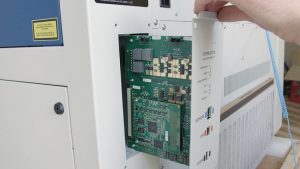
Locate the Laser Safety Module inside of the engraver.
The top of the Laser Safety Module can be seen on the top of the right side of the machine.
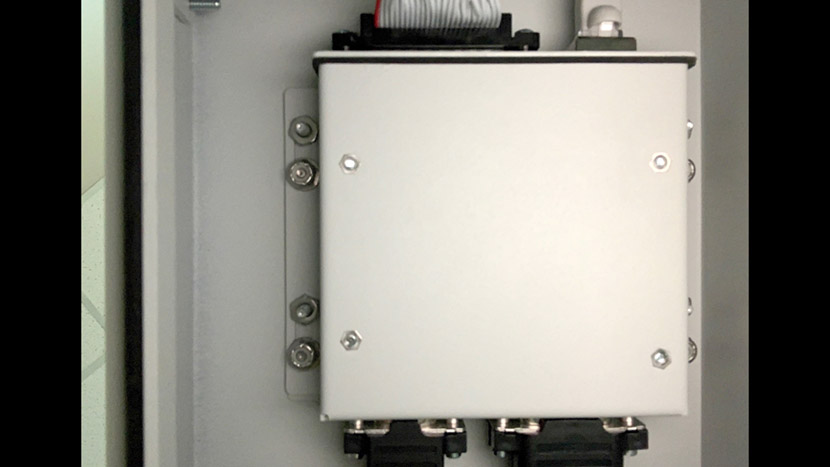
The module case and connections are accessible from below.
You will see four pairs of screws on the module.
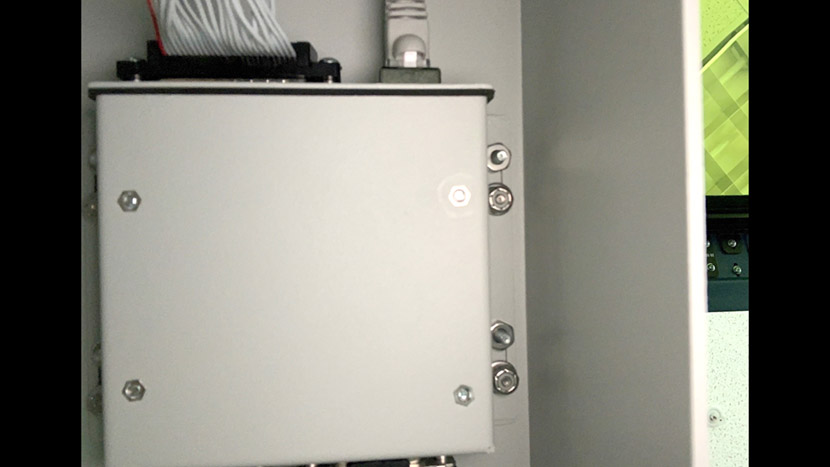
Each pair consists of one case screw and one mounting screw.
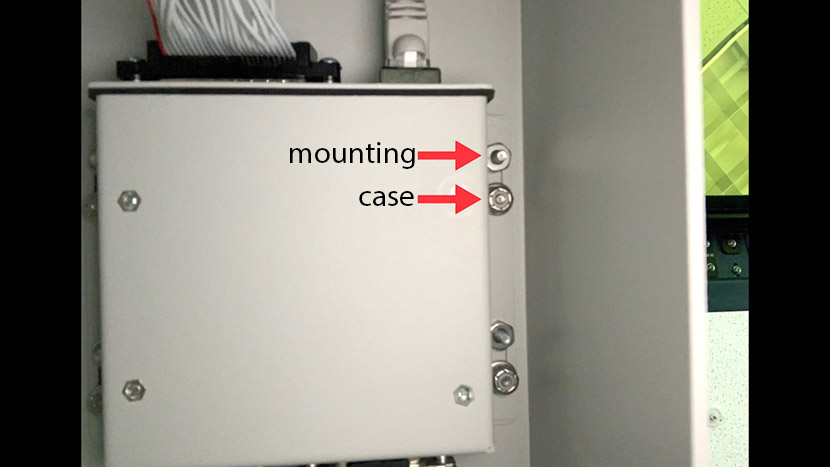
The mounting screws are positioned toward the back of the machine relative to the case nuts.
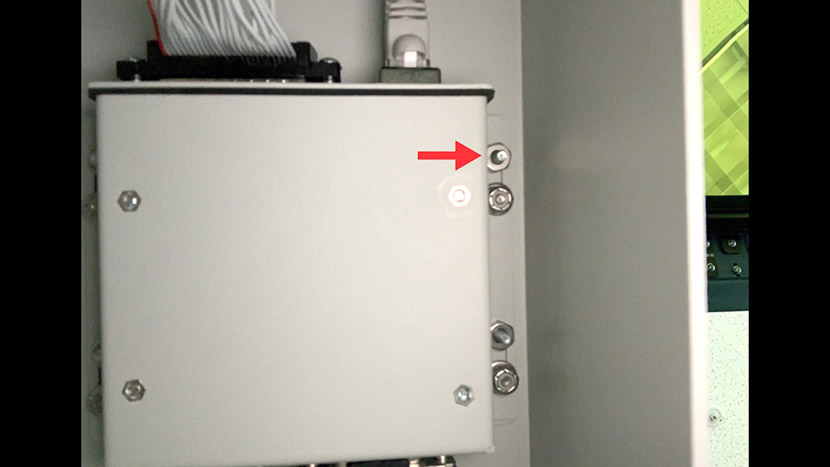
Use a 5/16” nut driver to remove the four mounting screw nuts.
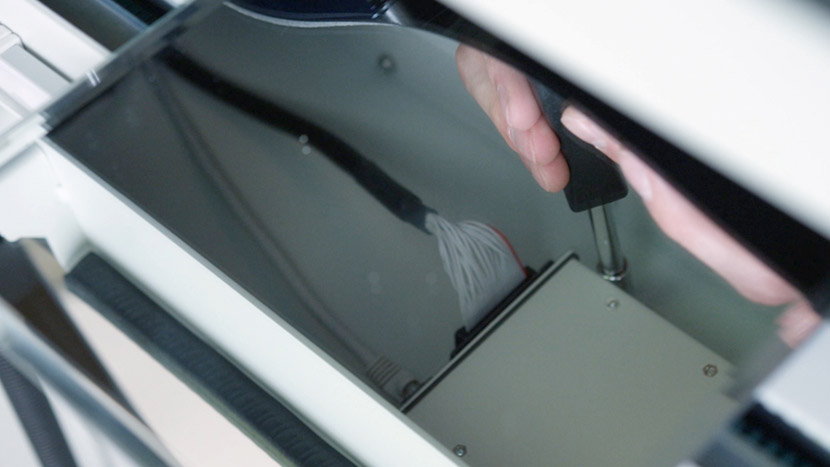
Carefully slide the module down off the screws.

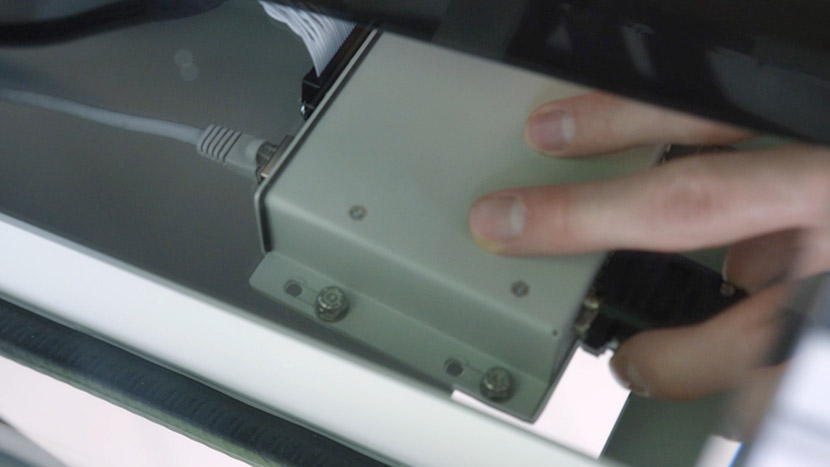
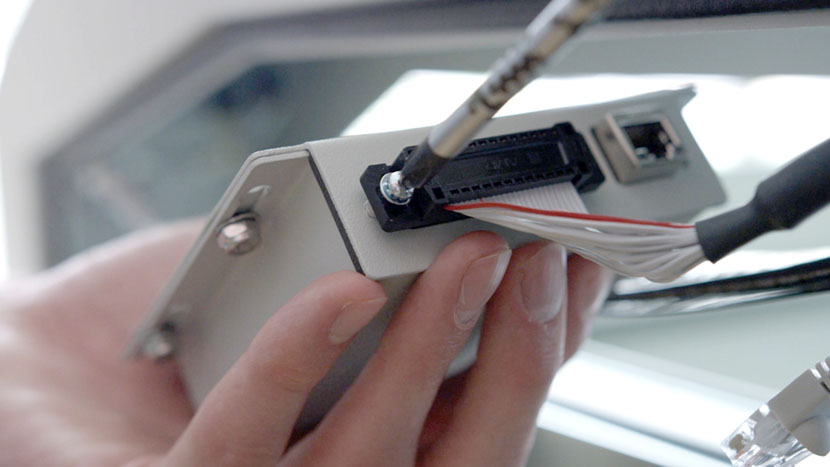
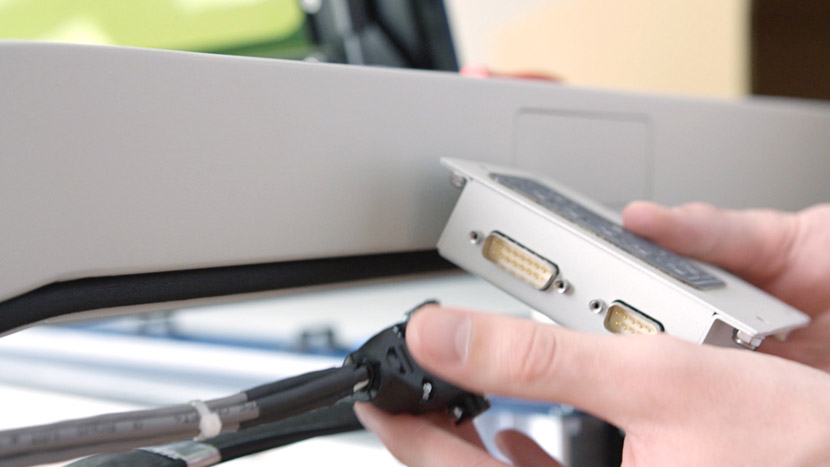
On one end of the module are the laser tube connections.
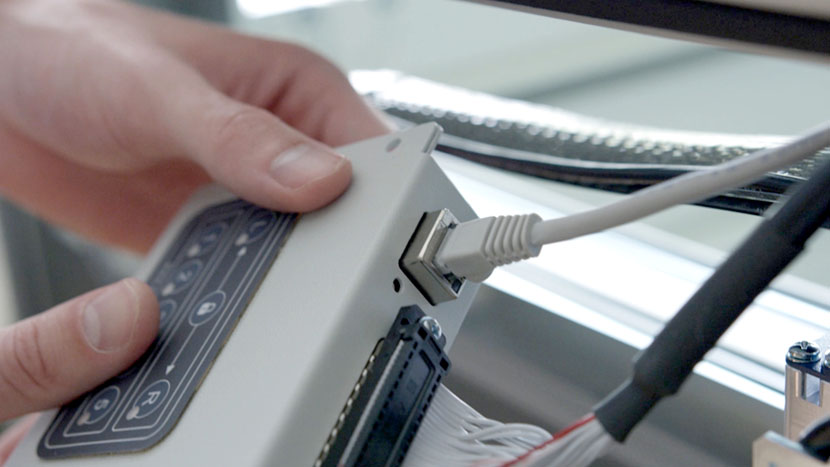
If your machine has a CO2 laser tube, remove the 8-Pin connector that resembles an Ethernet or Telephone jack.
If your machine has a fiber laser tube, remove the larger connector using a Phillips head screwdriver.
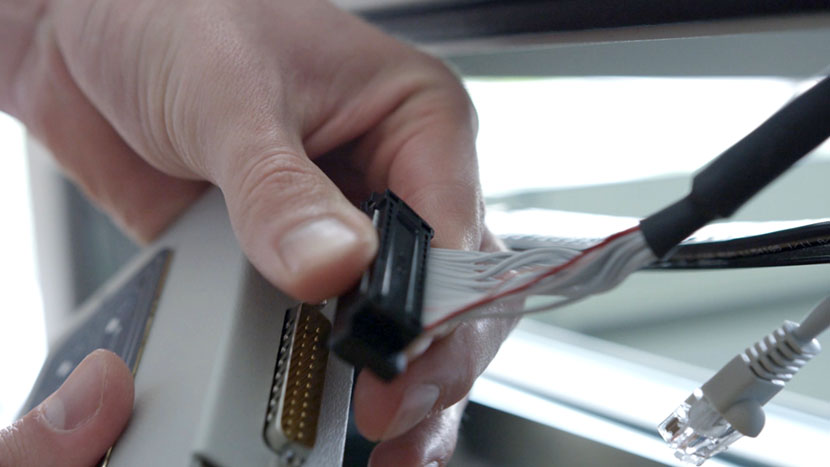
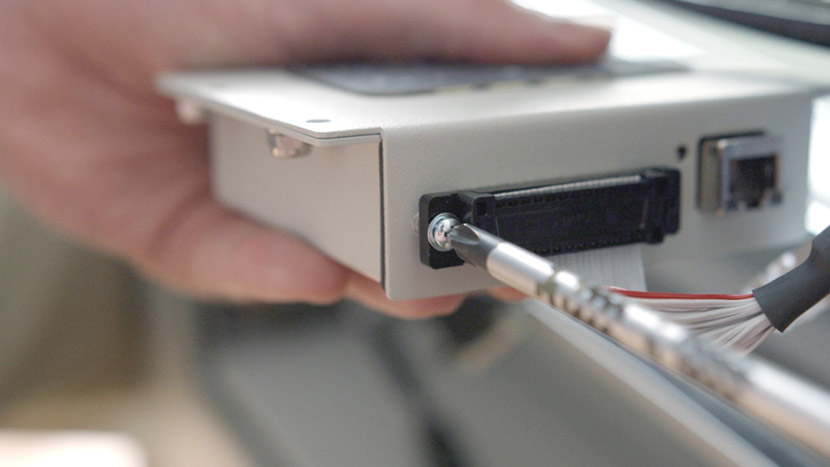
On the other end of the module, use a flat head screwdriver to remove the two remaining connectors.

Set the old safety module aside.
Install New Safety Module
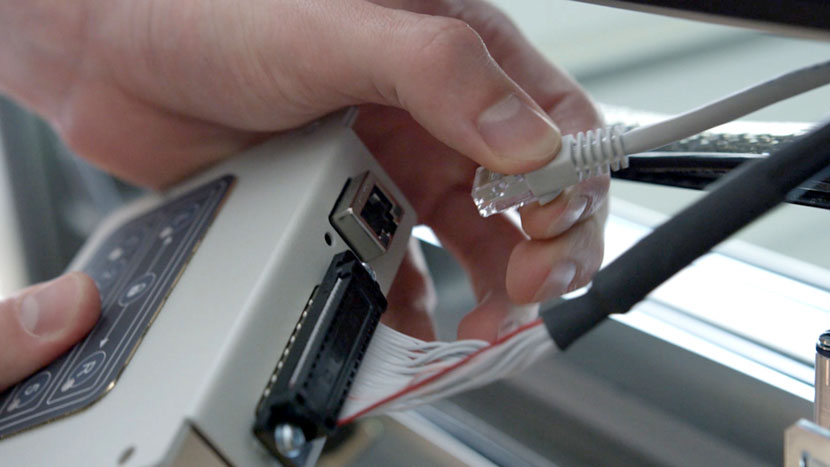
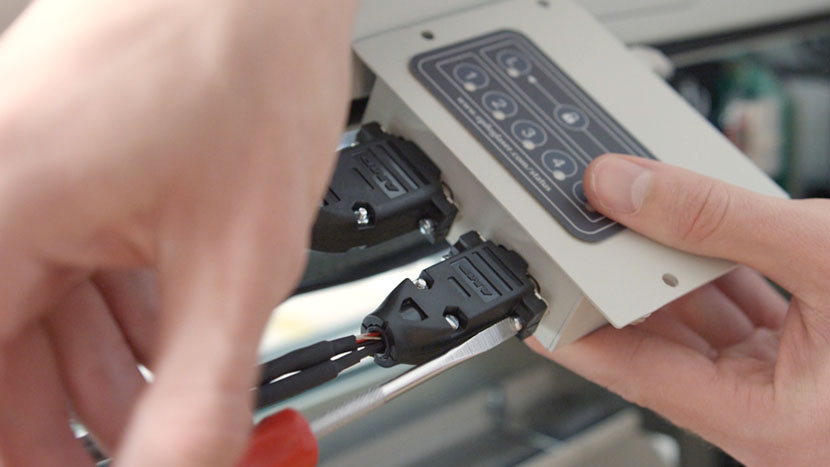
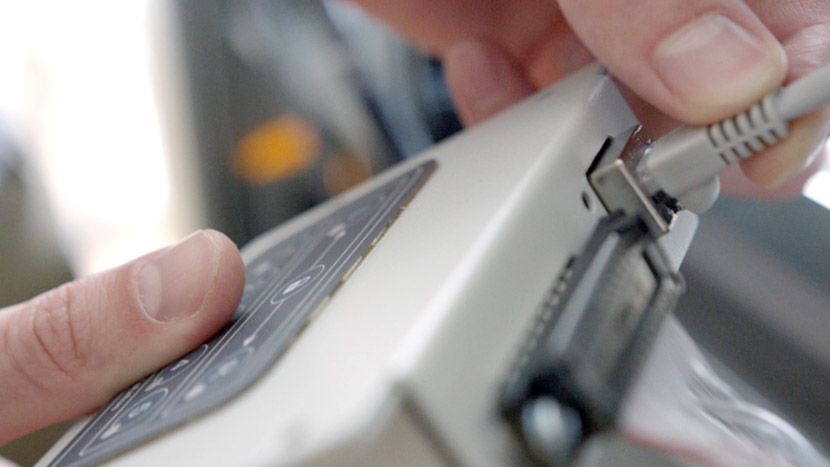
Attach the connectors to the new safety module.
Use a Phillips head screwdriver to attach the fiber laser tube connector.
Then insert the CO2 laser tube connector.
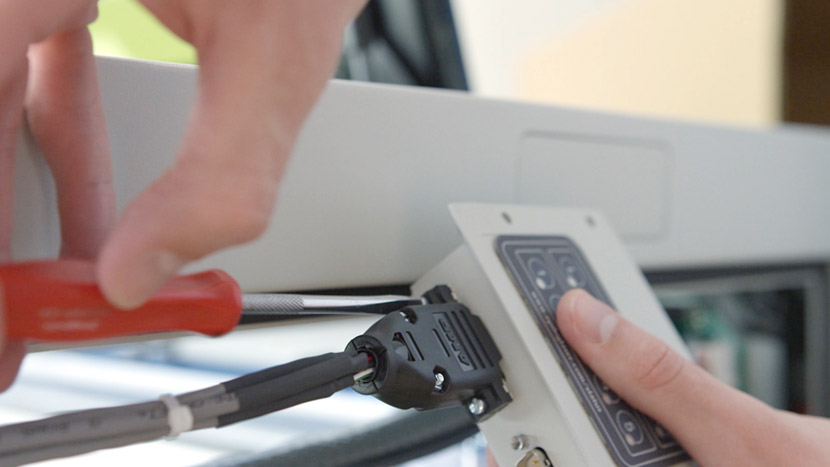
Use a flat head screwdriver to attach the two remaining connectors on the other end of the module.
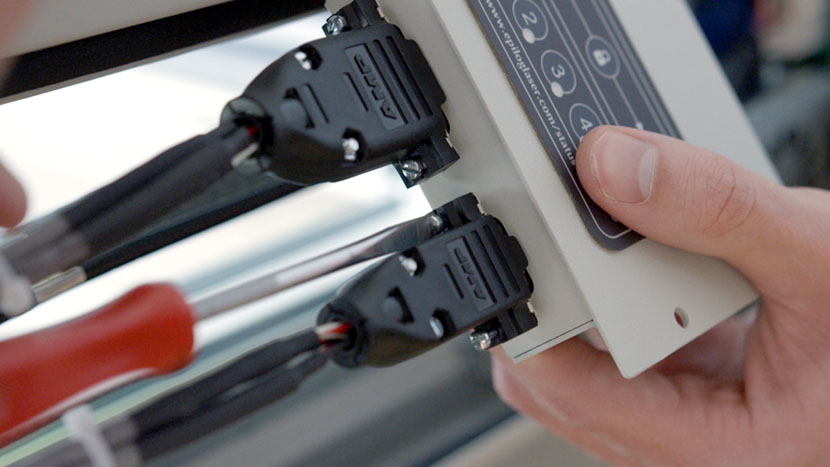
Slide the module up onto the mounting screws and use a 5/16” nut driver to secure the module with the nuts you removed earlier.
Reinstall Panel
Replace the top access panel on the right side of the machine by using a 5/32” hex key to turn the black panel locks ¾ of the way clockwise.
Plug the machine in and turn it on.