As part of your regular maintenance routine, you will need to clean your system's optics.
In this lesson we’ll walk through cleaning the Epilog Fusion M2’s Optics.
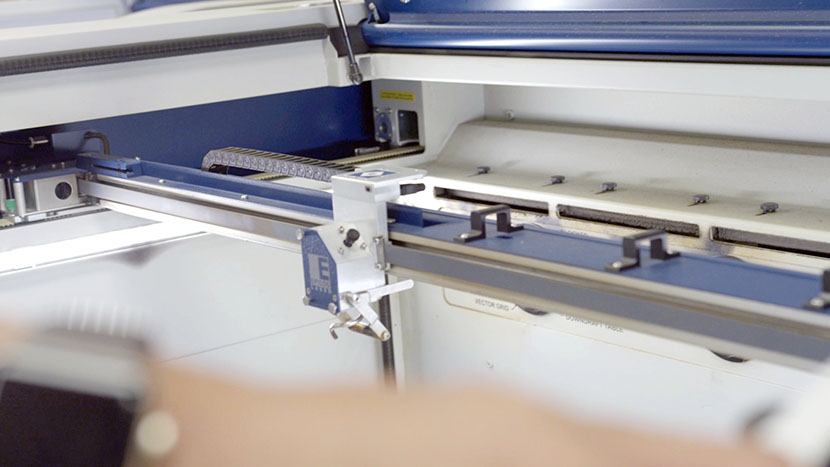
Move X-Axis Assembly
To start the optics cleaning procedure, with the machine powered on, use the control panel to scroll down to ‘Jog.’
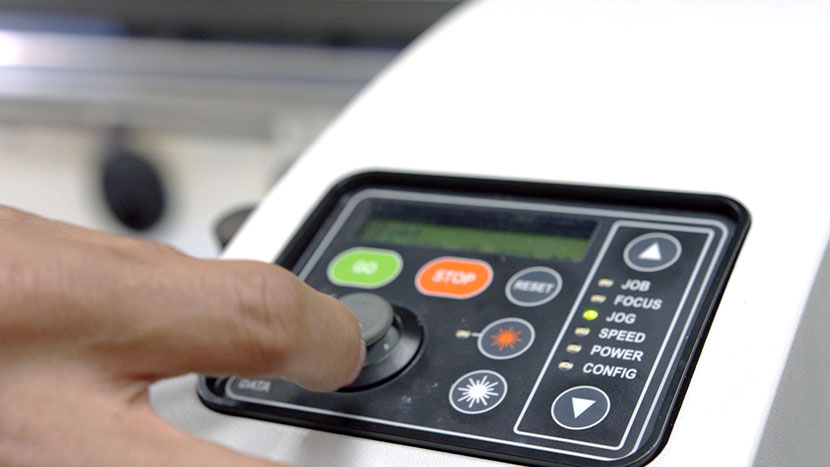
Then use the joystick to move the x-axis assembly toward the middle of the machine to provide you easier access to the lens assembly and mirrors.
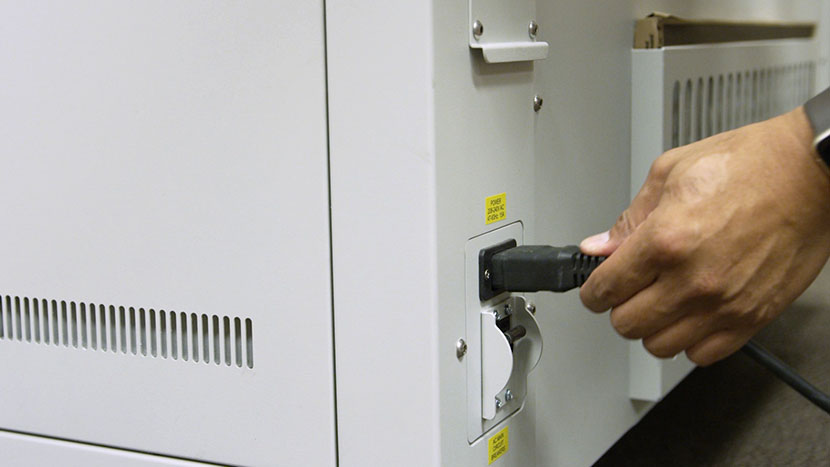
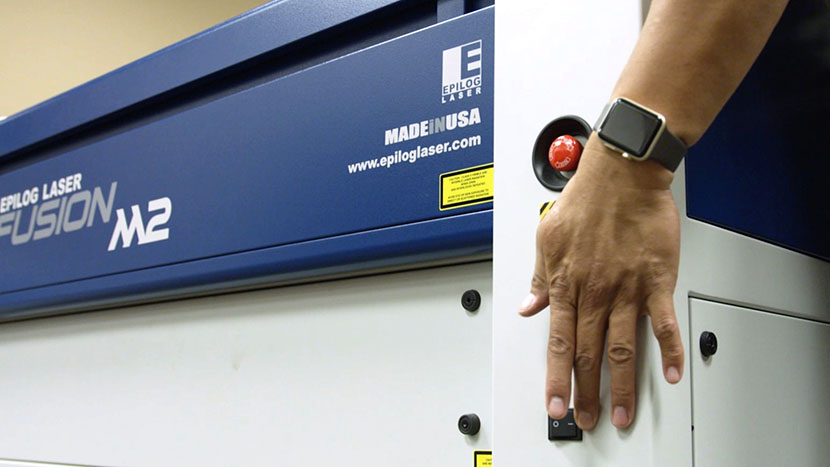
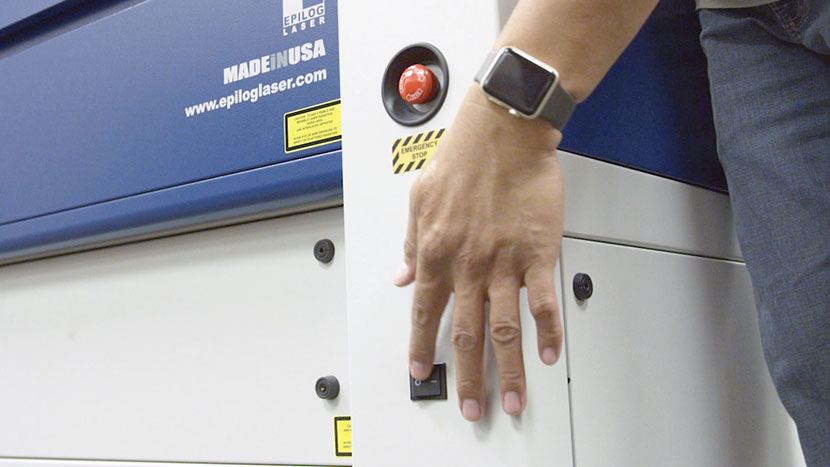
Shut off the laser and remove the power cord from the machine.
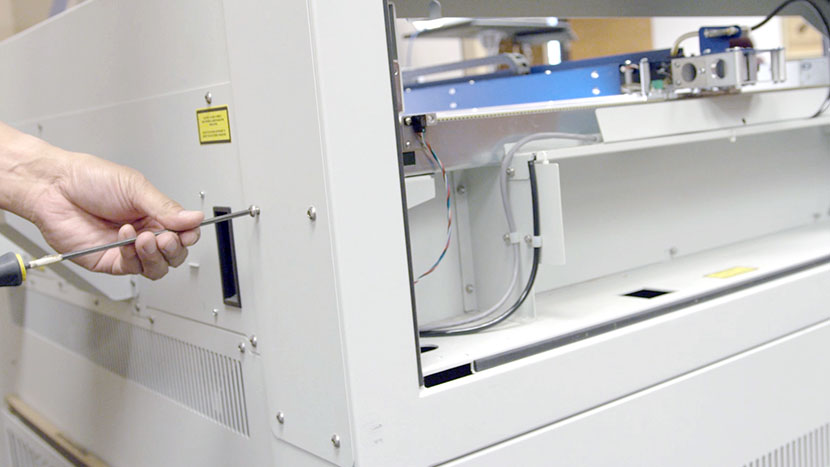
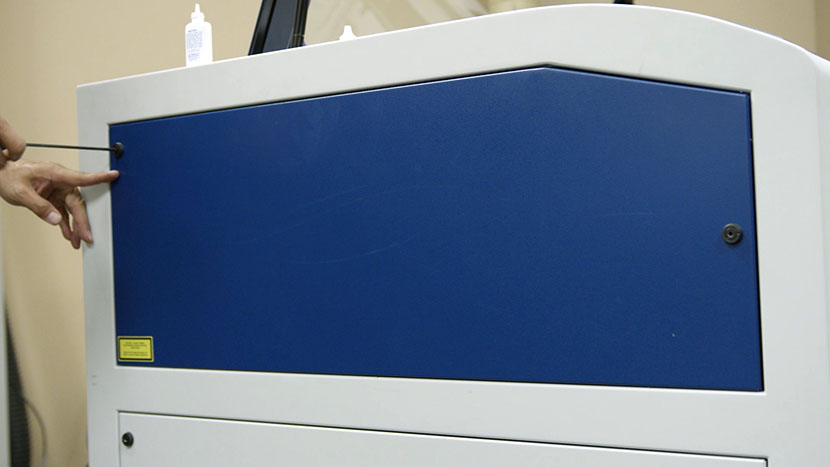
Remove Panels
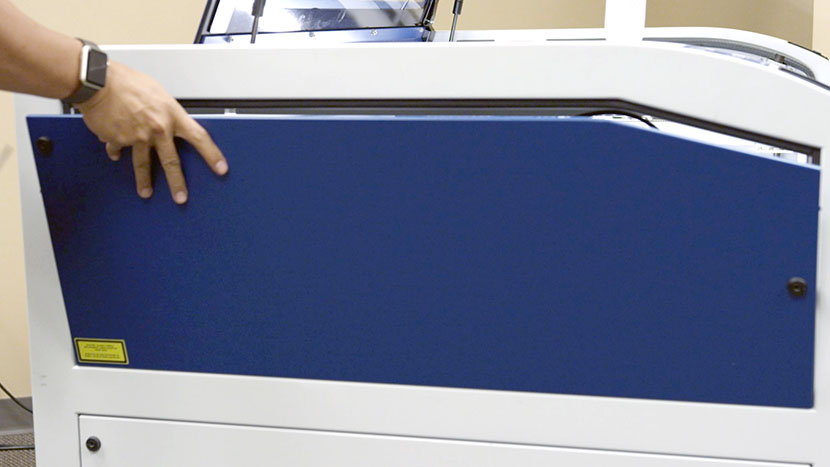
Let’s open up the left side of the machine.
Remove the two panels on the left side of the machine by using a 5/32” hex key to turn the black panel locks ¾ of the way counter-clockwise.

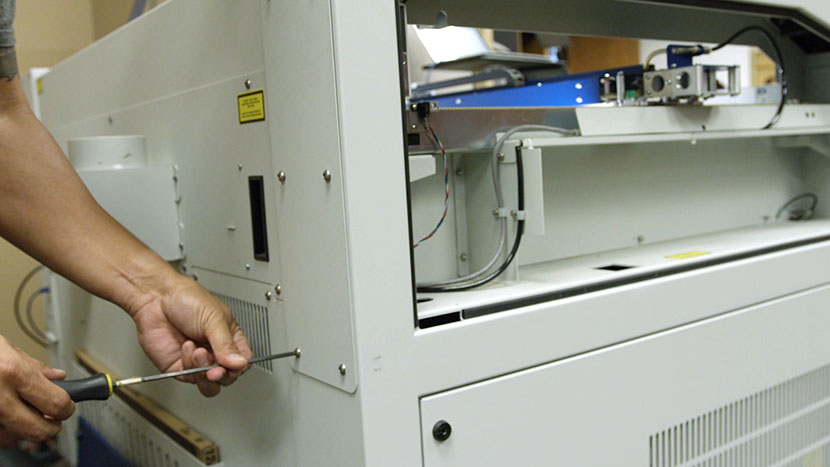
Also remove the panel on the back left corner of the machine by removing the six Phillips-head screws.
Optics Overview
Near the back of the machine is the periscope housing that directs the laser beam from the laser tube to the top of the machine.
This contains a mirror at the bottom and at the top, as well as a window across from the top mirror where the beam exits the housing.
The beam then travels forward to the end of the x-axis assembly, where a third mirror directs it down the x-axis of the machine.
Finally, a fourth mirror directs the beam down toward the work area through the main lens, which focuses the beam for cutting and engraving.


The mirrors in the periscope housing are enclosed, and will likely require cleaning less often than the other components of the optics system.
The other components are exposed to dust, smoke, and other debris and should be cleaned regularly as part of your routine maintenance.
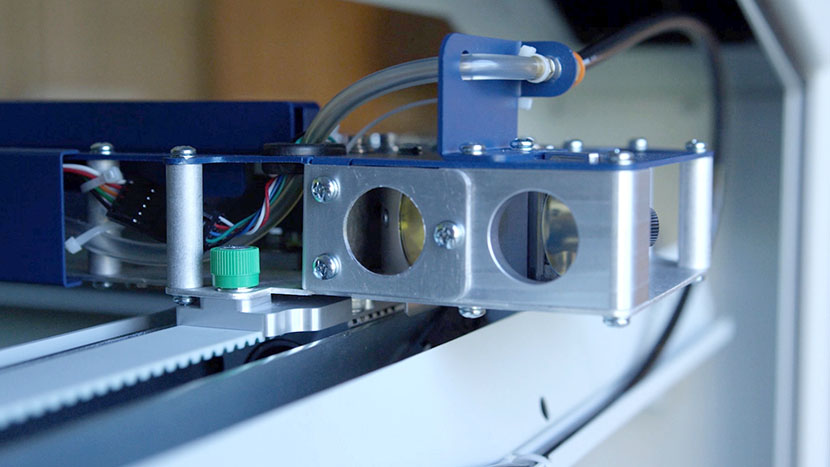
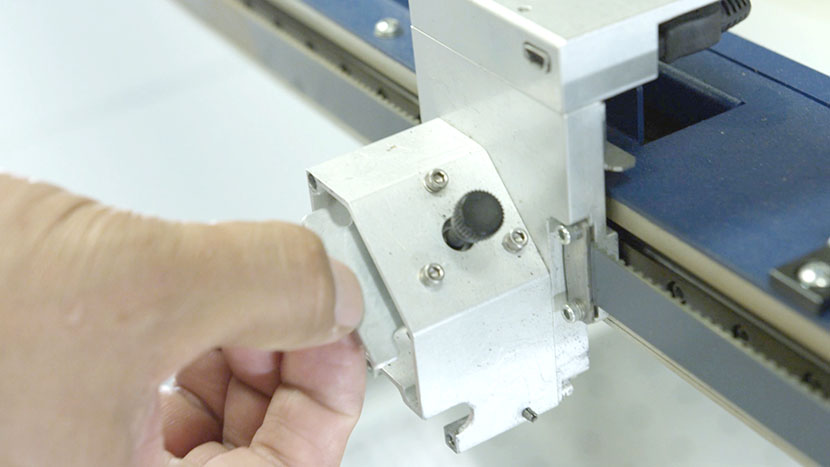
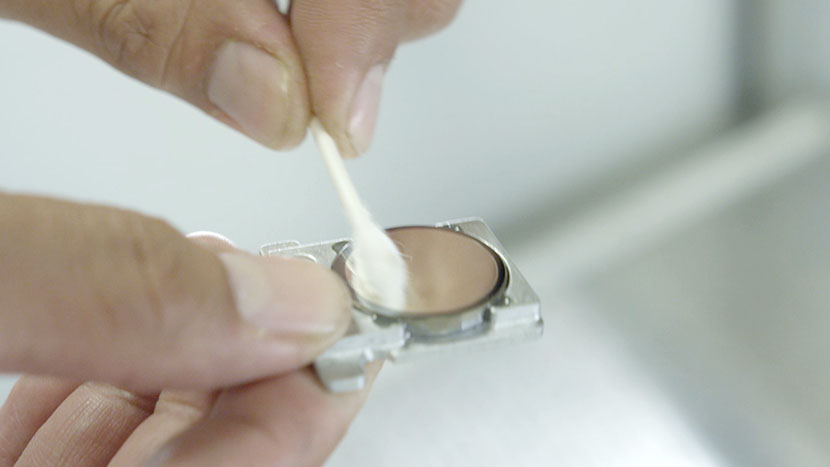
Cleaning Optics in the Lens Assembly
Let’s begin with the lens assembly.
Remove the lens assembly by loosening the three thumb screws on its front face until they spin freely. They are captive screws and will not come out of the assembly.
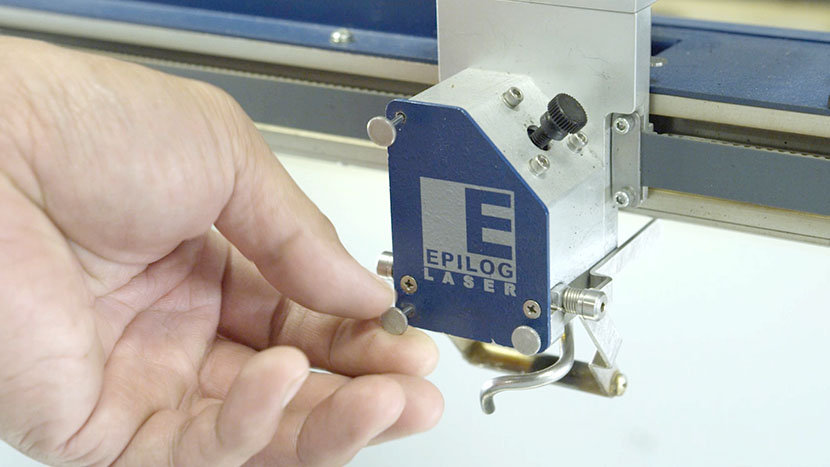
Slide the assembly out of its housing.
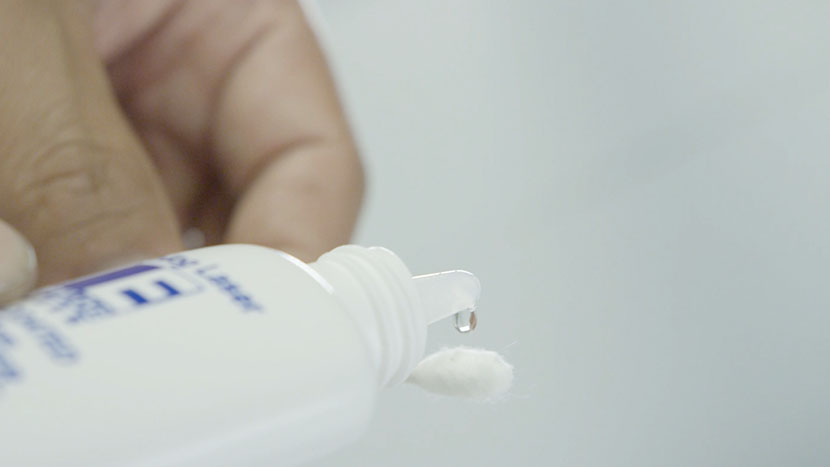
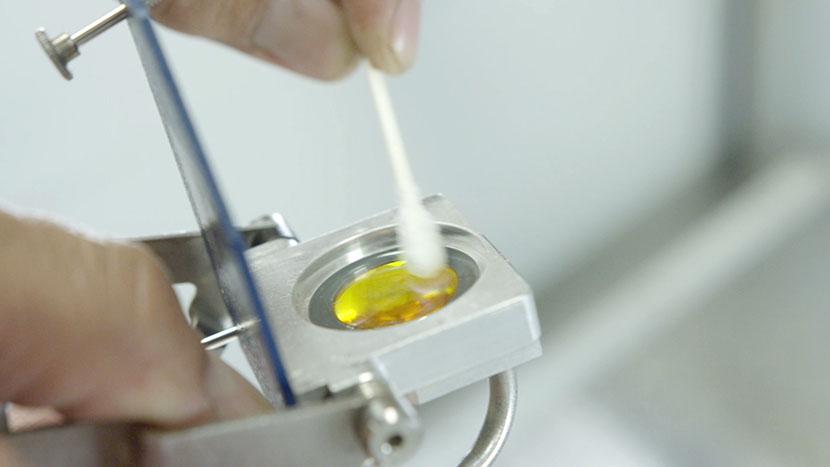
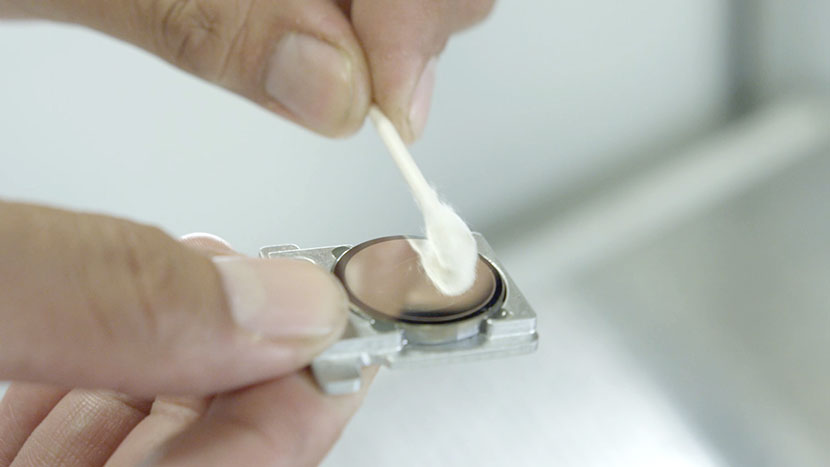
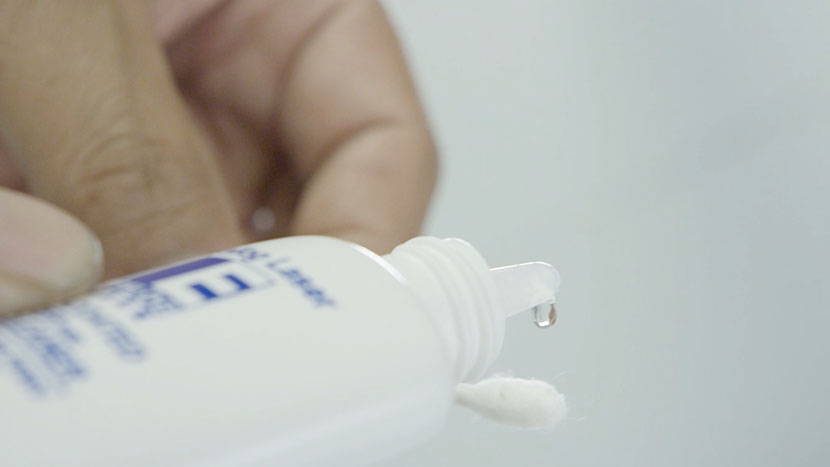
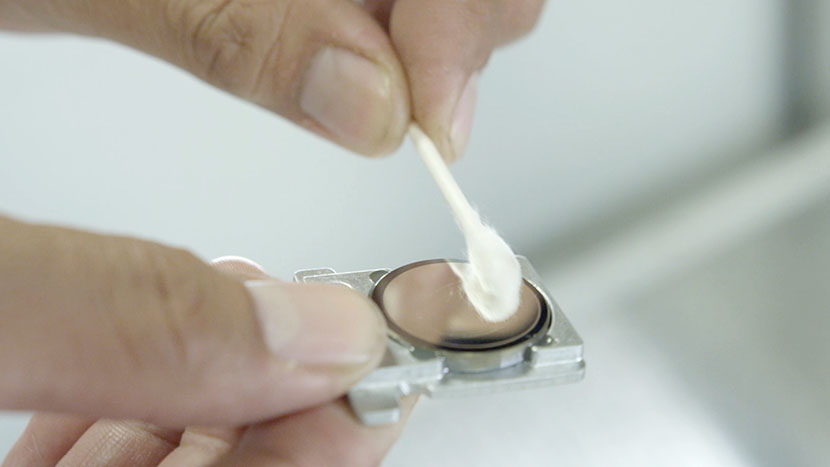
Apply lens cleaner to a cotton swab and use it to gently clean and dry both sides of the lens.
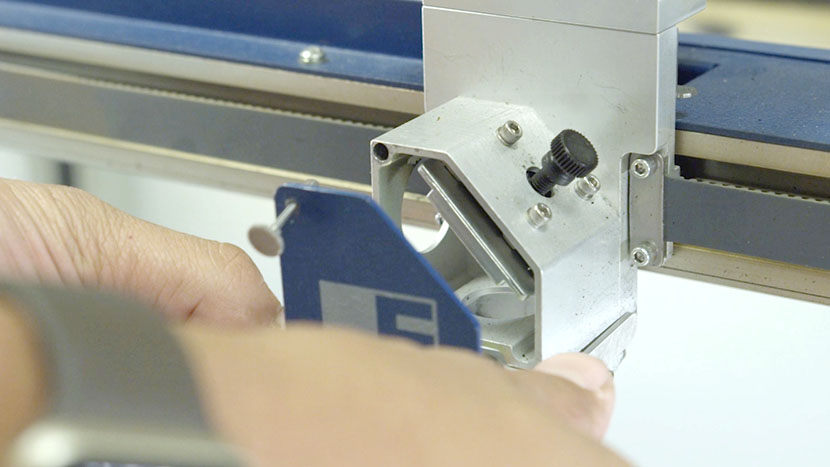
Before returning the lens assembly to its housing, let’s clean the mirror.
Loosen the black screw on top of the lens assembly housing.
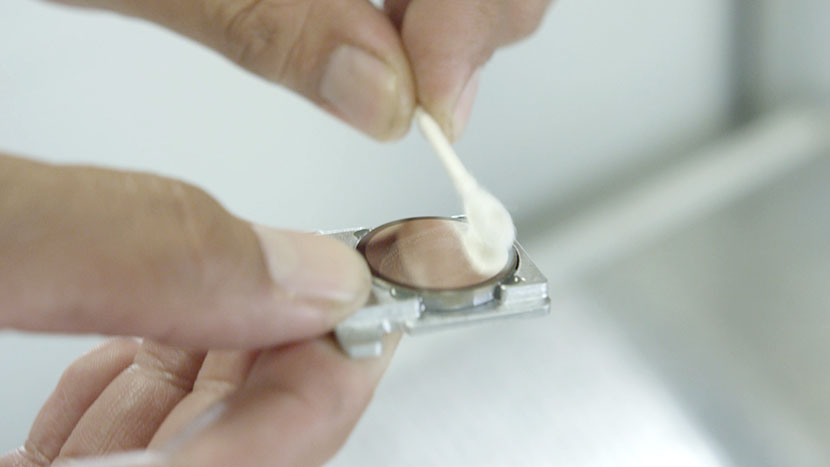
Slide out the mirror and gently clean and dry it with a cotton swab.
Slide the mirror back in and retighten the black screw.
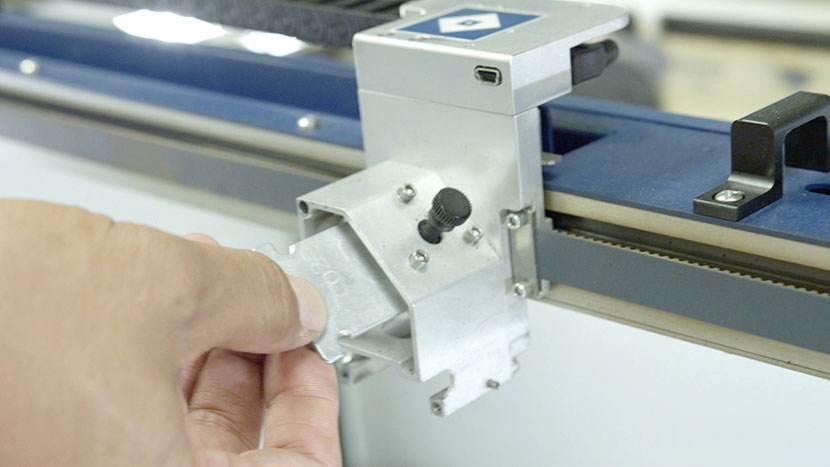
Return the lens assembly to its housing and tighten the three screws on its front face.
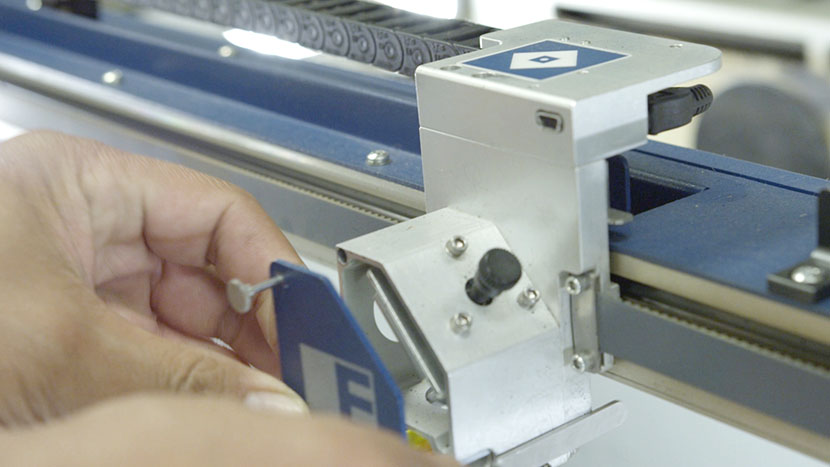
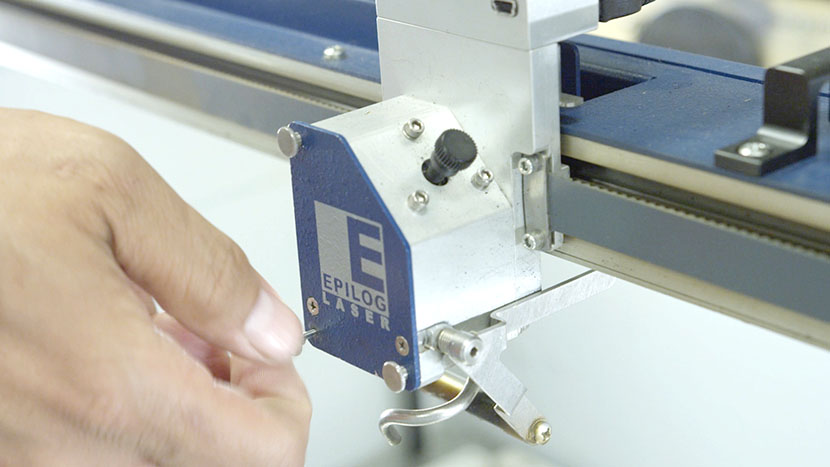
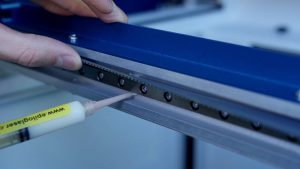
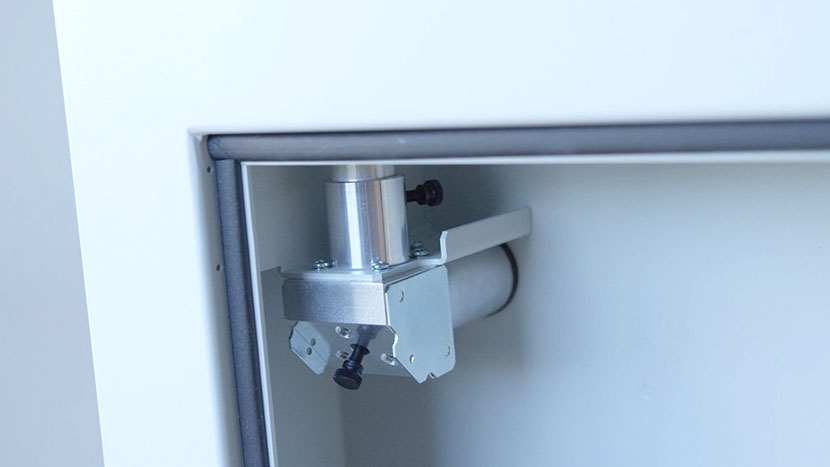
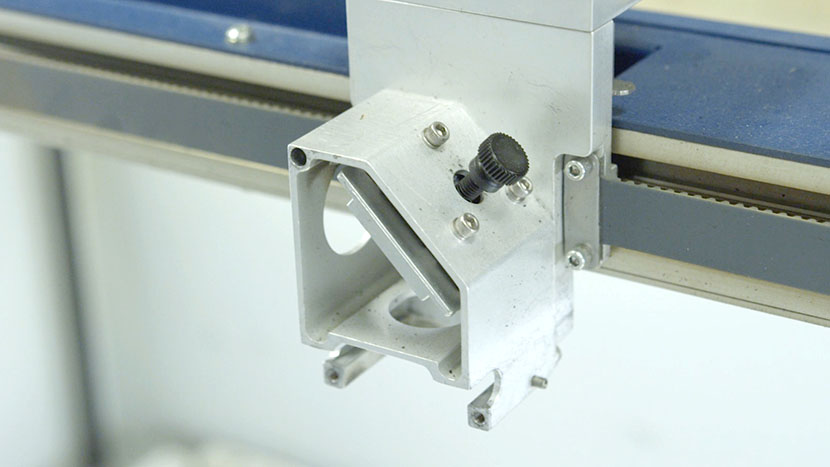
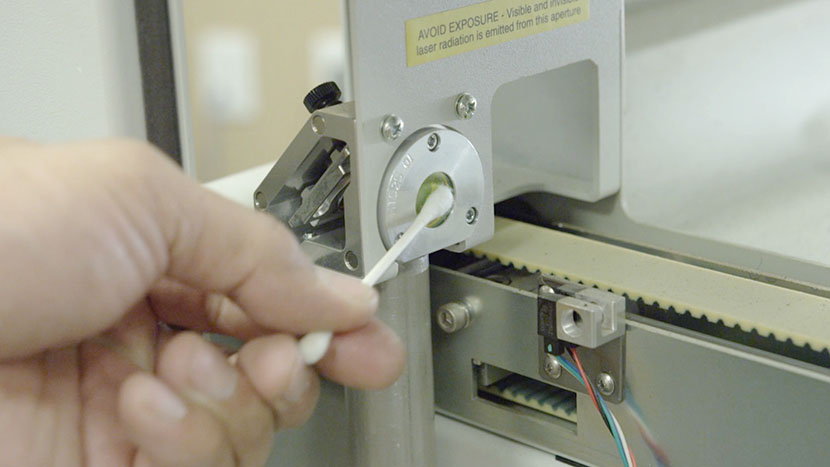
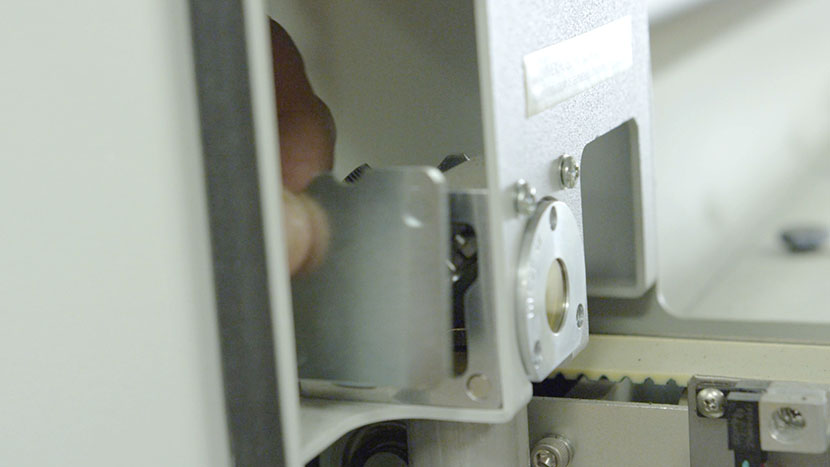
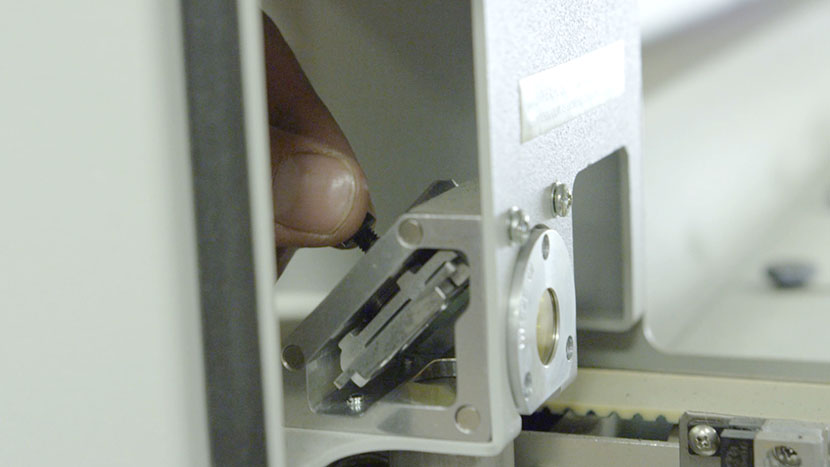
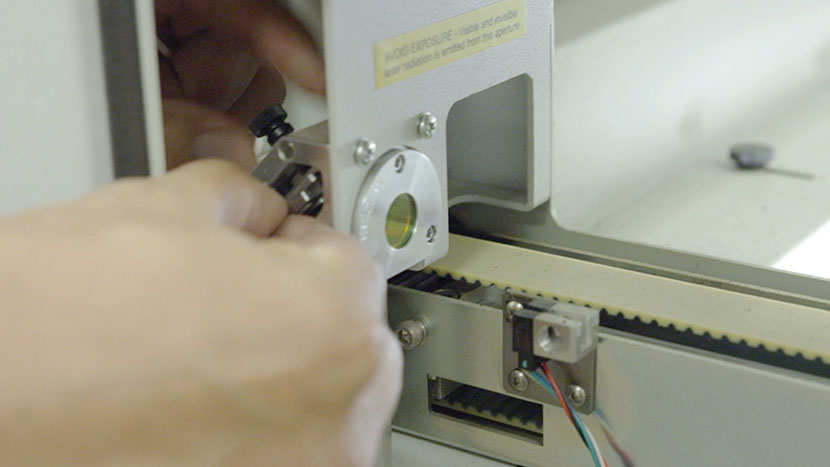
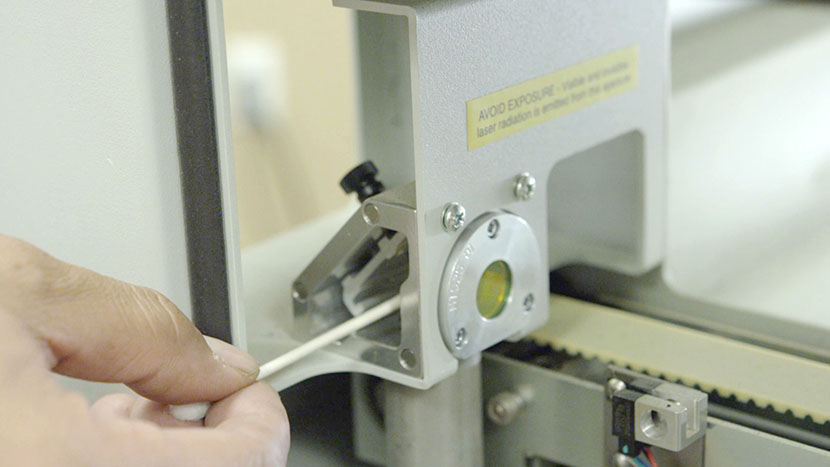
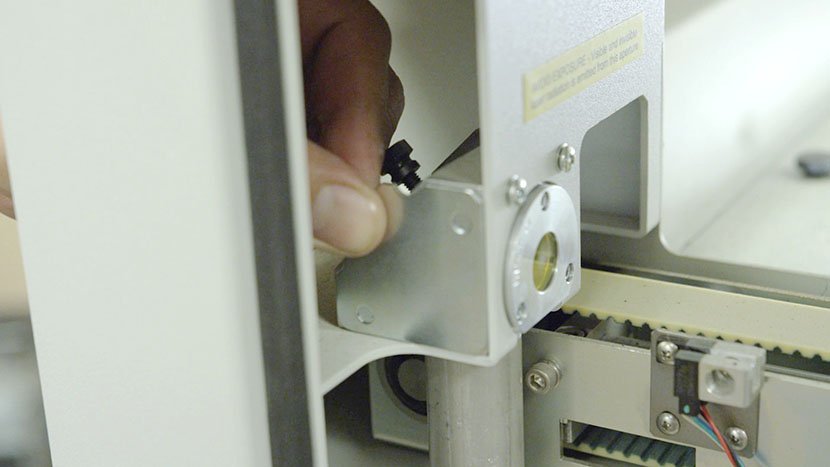
X-Axis Assembly Mirror
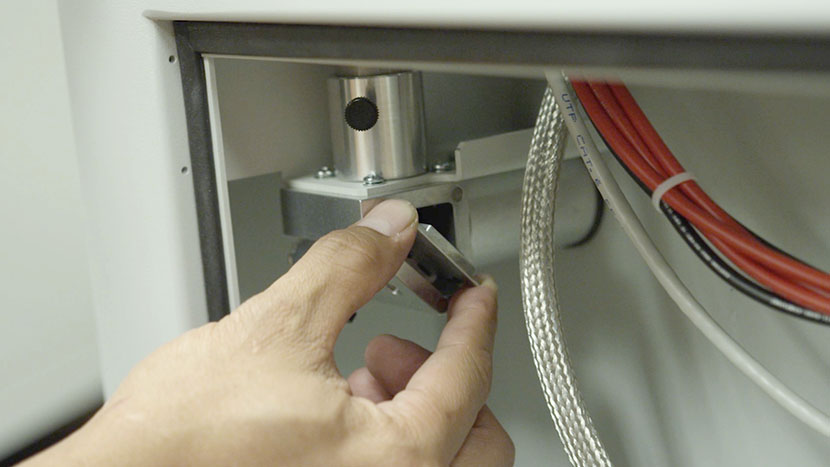
Now we’ll clean the mirror at the left end of the x-axis assembly.
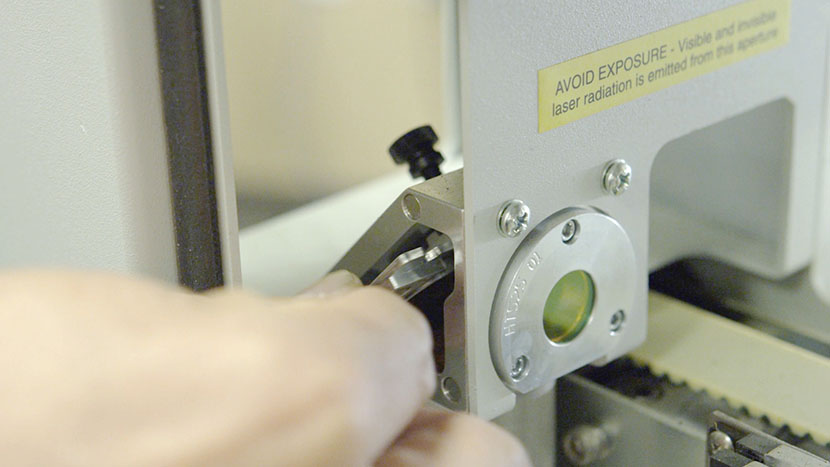
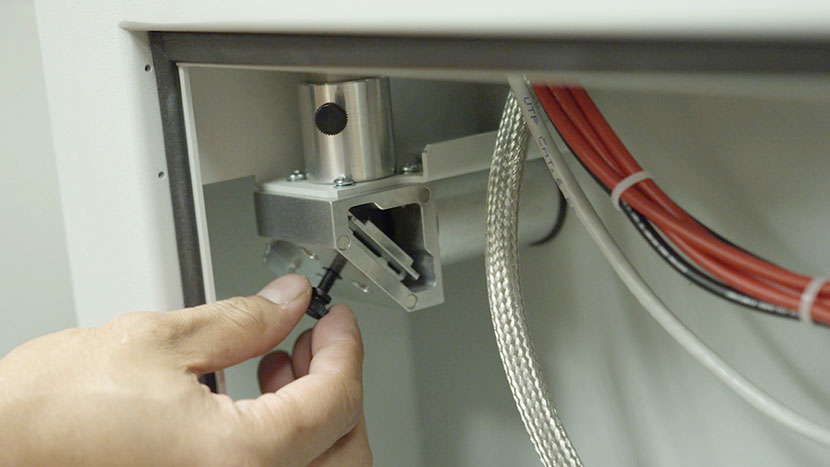
Loosen the black screw on top of the mirror housing.
Slide out the mirror and gently clean and dry it with a cotton swab.
Slide the mirror back in and retighten the black screw.
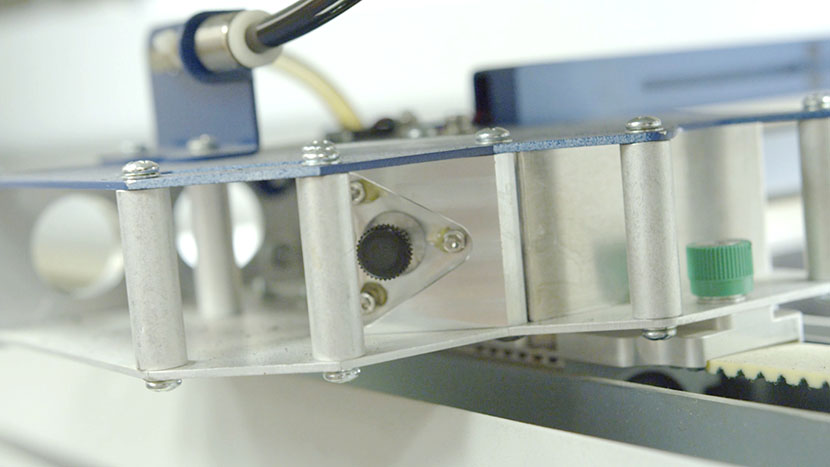
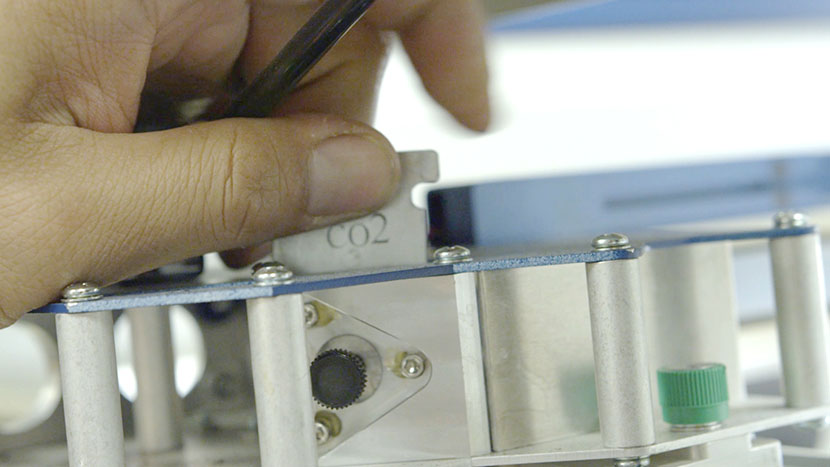
Periscope Housing (Top) Optics Cleaning
For the outside of the window at the top of the periscope housing, gently clean and dry it with a cotton swab.
Next, let’s clean the optics inside the periscope housing.
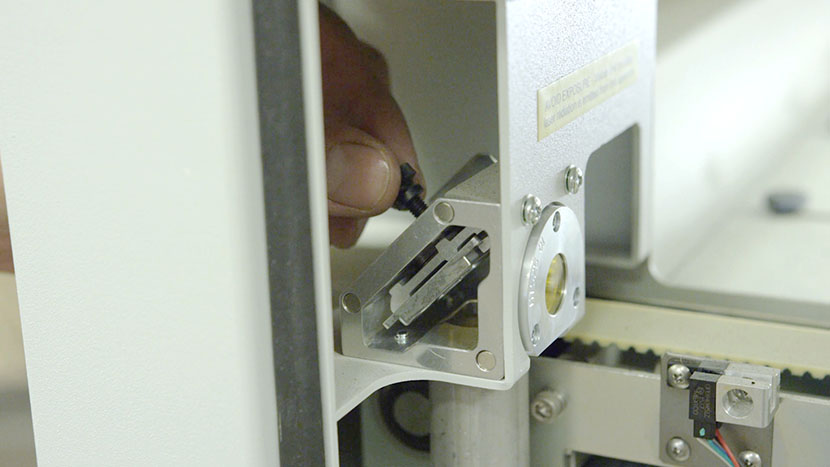
Remove the magnetic cover from the side of the mirror housing at the top of the periscope.
Loosen the black screw on top of the mirror housing.
Slide out the mirror and gently clean and dry it with a cotton swab.
While the mirror is out of its housing, gently clean and dry the inside of the window at the top of the periscope.
Slide the mirror back in and retighten the black screw.
Reapply the magnetic cover to the side of the mirror housing.
Periscope Housing (Bottom) Optics Cleaning
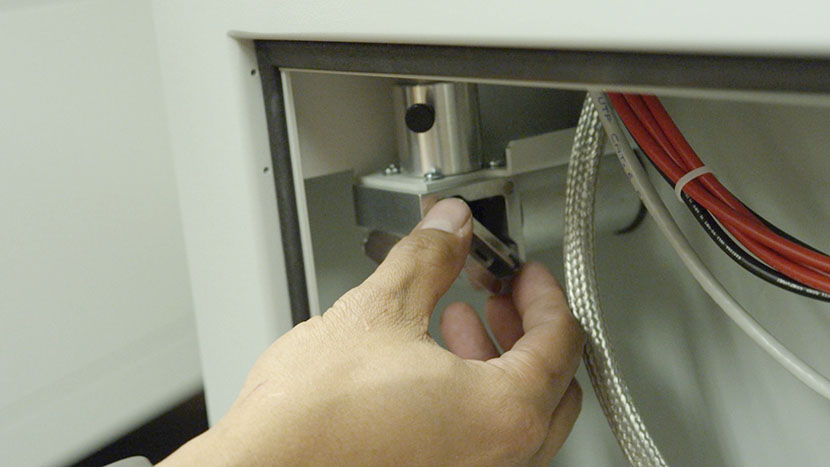
Remove the magnetic cover from the front of the mirror housing at the bottom of the periscope.
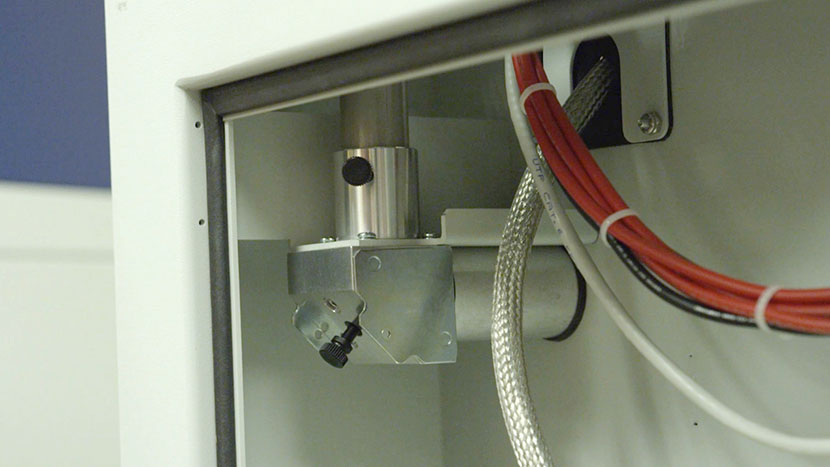
Loosen the black screw on the bottom of the mirror housing.
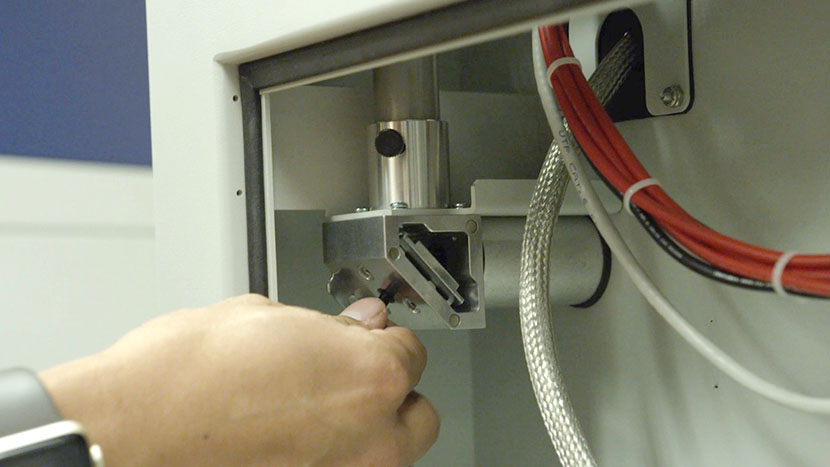
Slide out the mirror and gently clean and dry it with a cotton swab.
Slide the mirror back in and retighten the black screw.
Reapply the magnetic cover to the front of the mirror housing.

Replace Panels
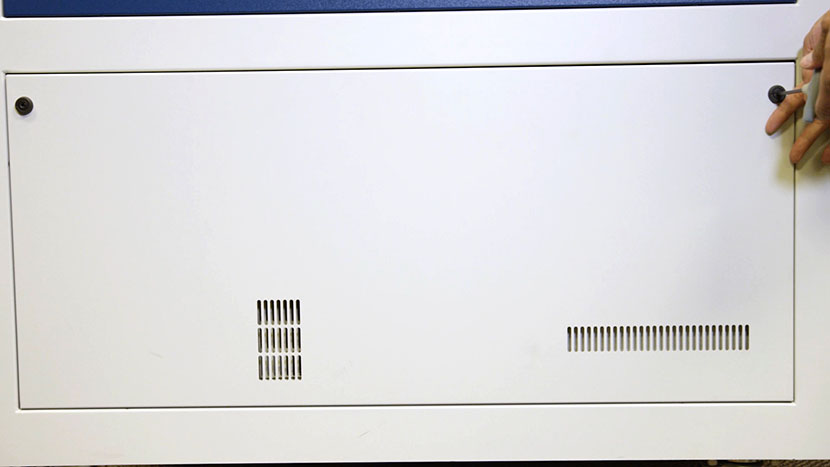
Reinstall the two panels on the left side of the machine by using a 5/32” hex key to turn the black panel locks ¾ of the way clockwise.
Reinstall the panel on the back left corner of the machine by inserting the six Phillips-head screws.
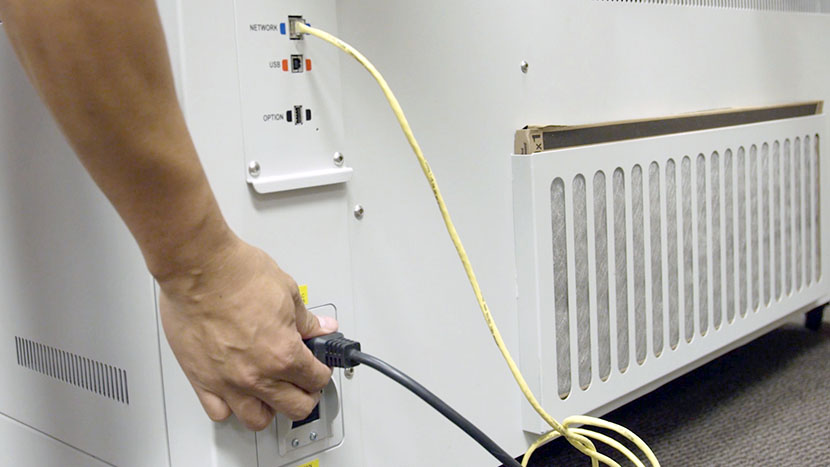
Plug the machine in and turn it on.