In this lesson we’ll walk through replacing the Epilog Fusion M2’s Power Supply assembly.
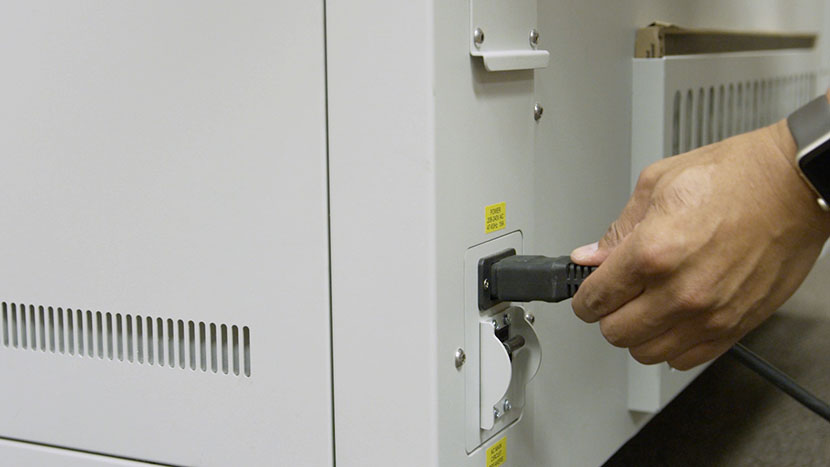
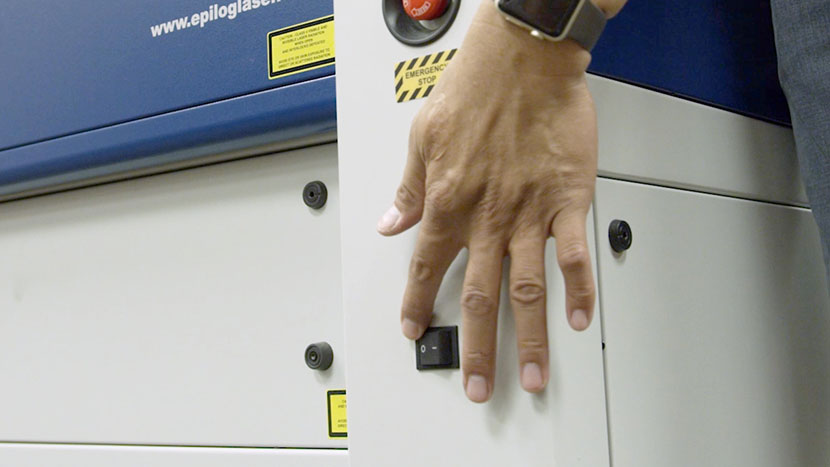
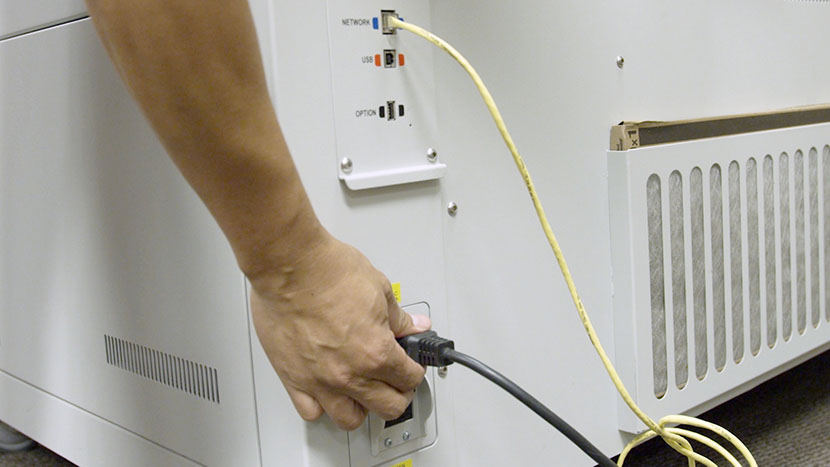
Shut off the laser and remove the power cord from the machine.
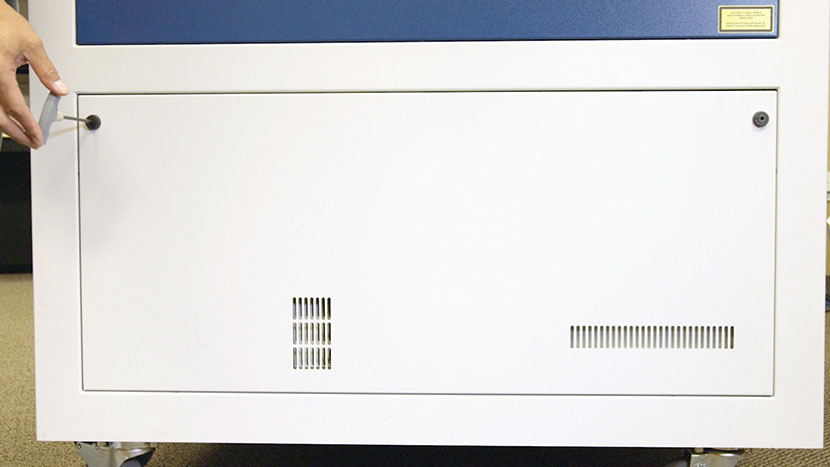
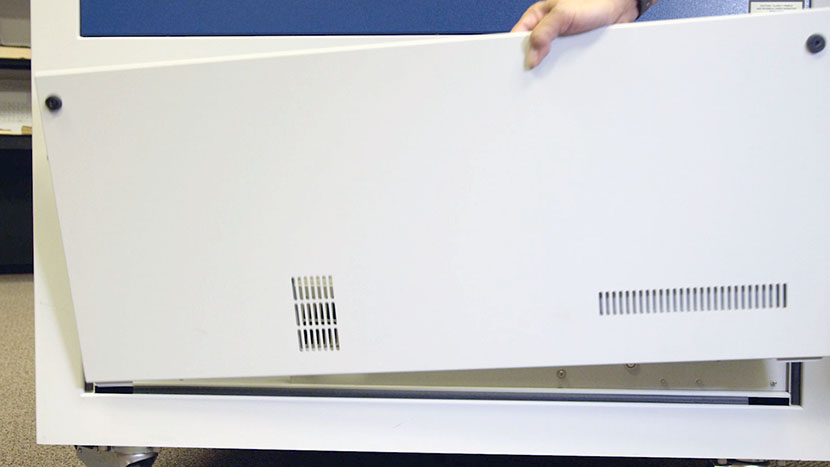
Remove Panel
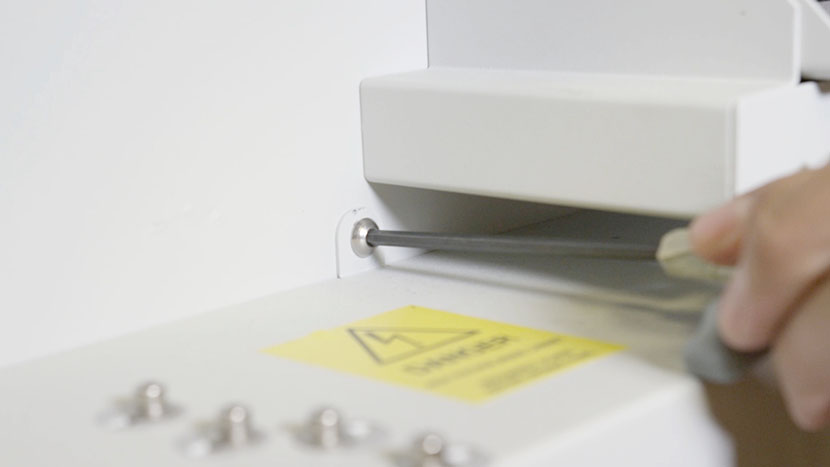
Remove the lower access panel on the right side of the machine by using a 5/32” hex key to turn the black panel locks ¾ of the way counter clockwise.
Remove Old Power Supply
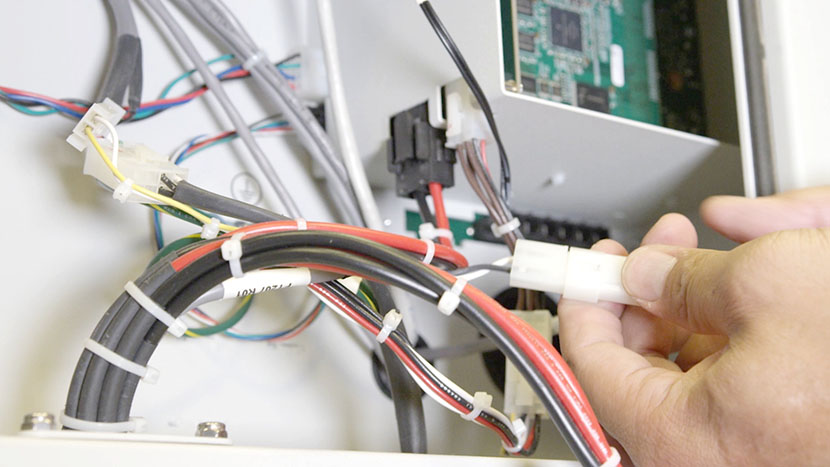
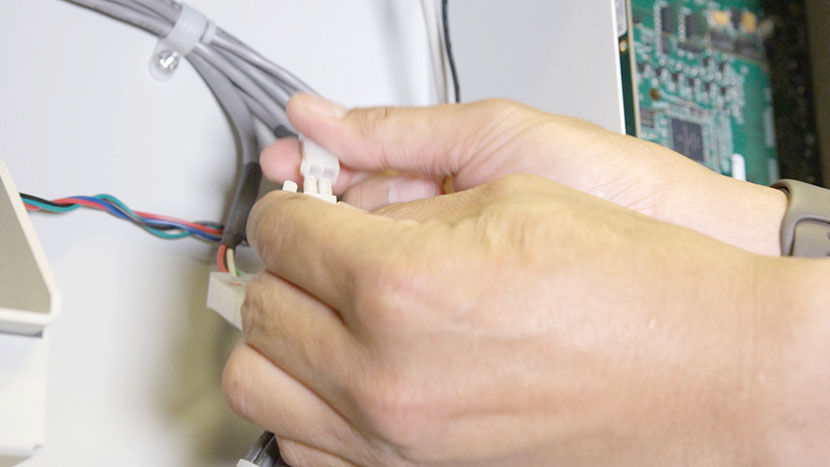
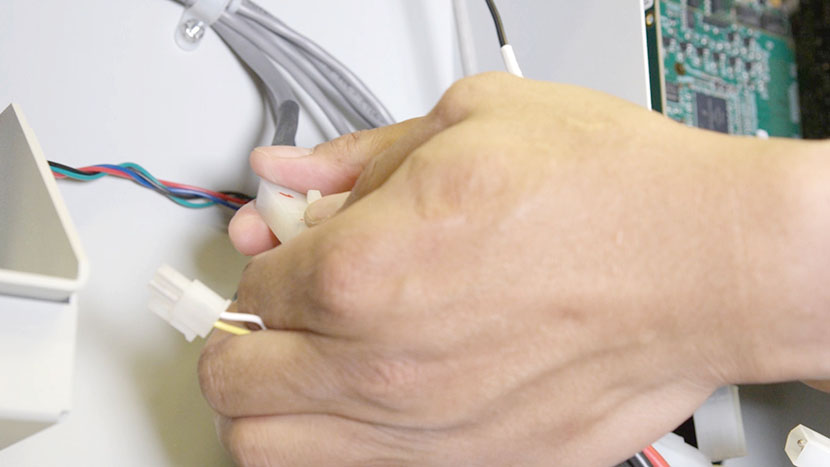
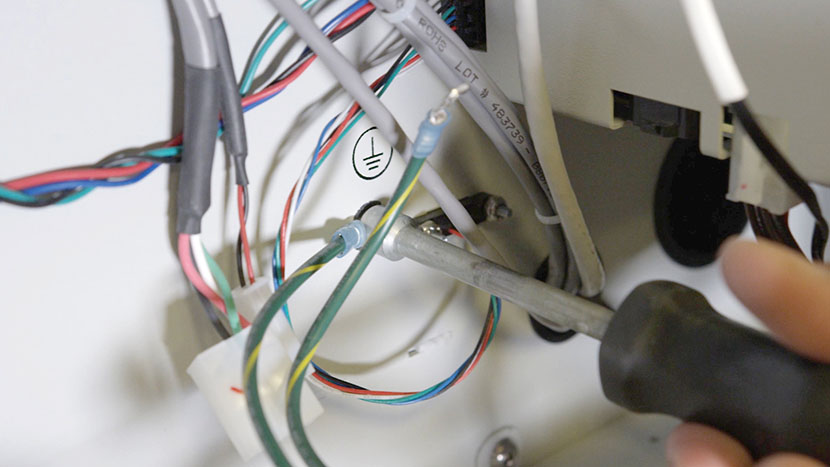
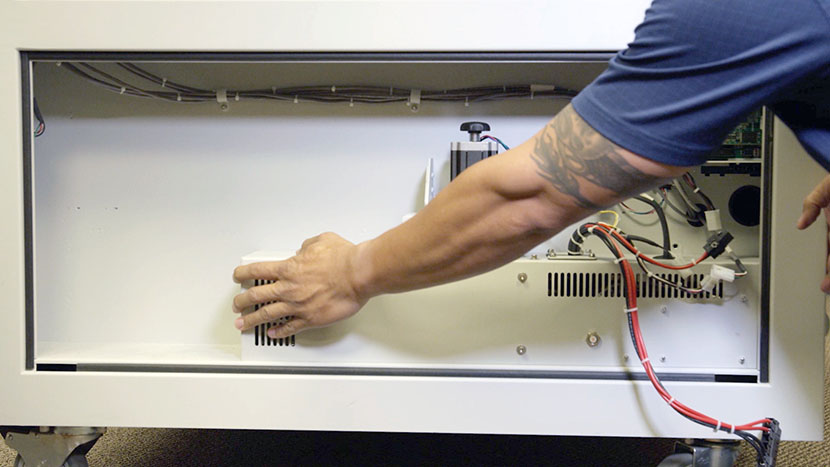
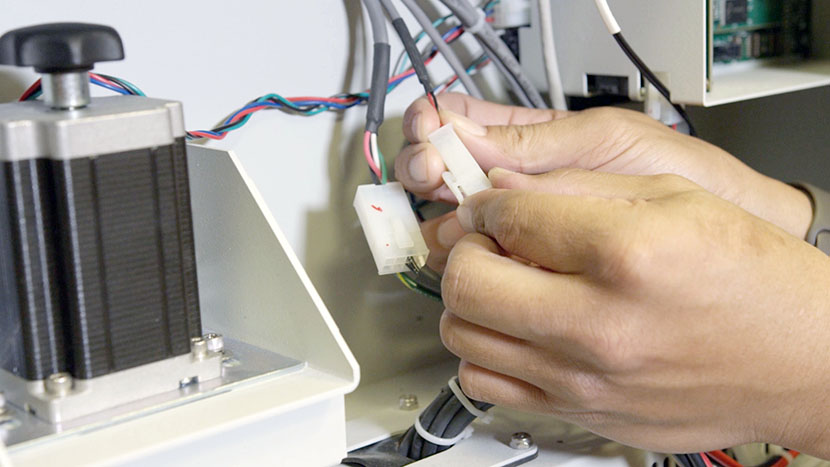
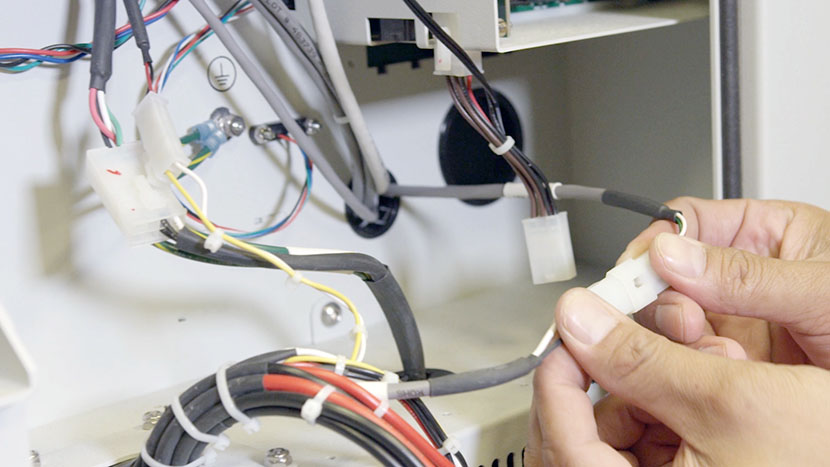
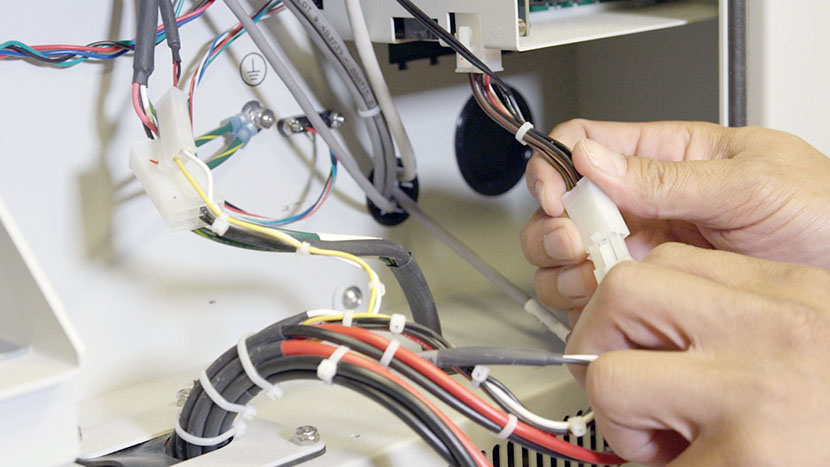
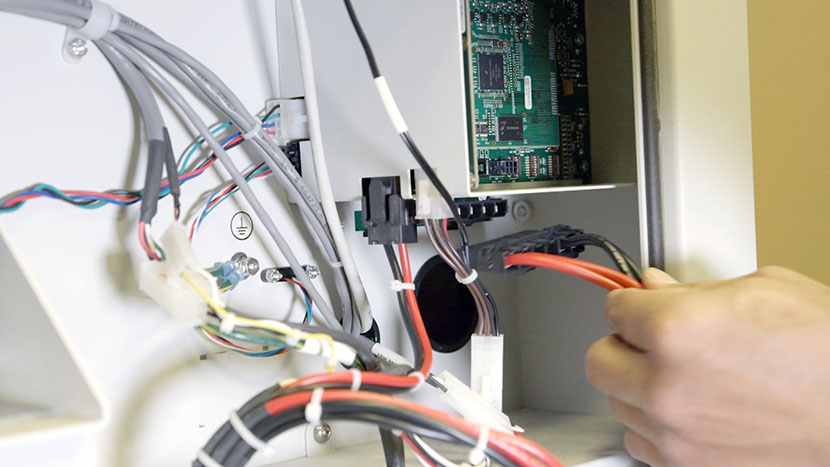
Disconnect the power leads connecting the power supply assembly to the various components of the machine. There are four white connectors and two black connectors.
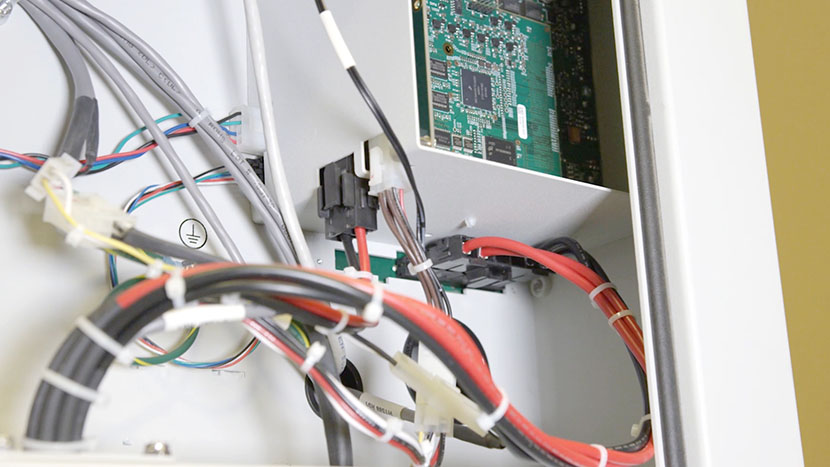
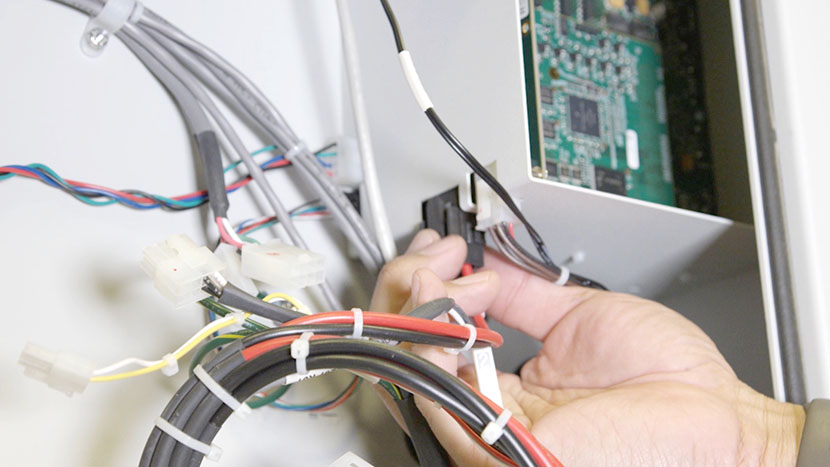
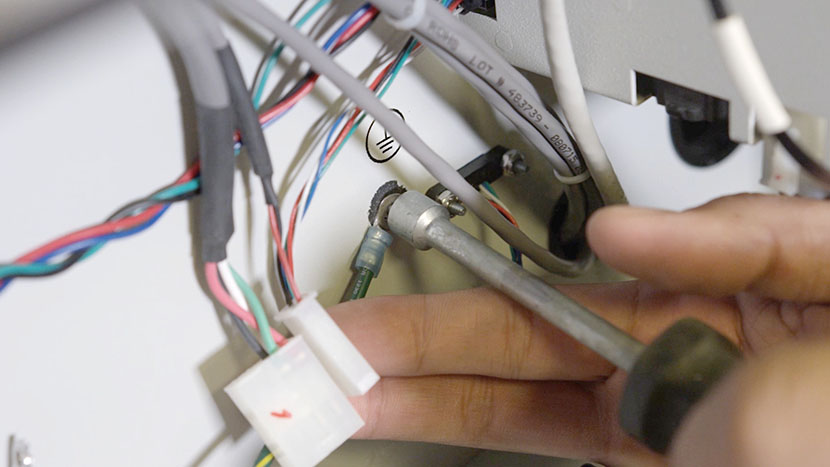
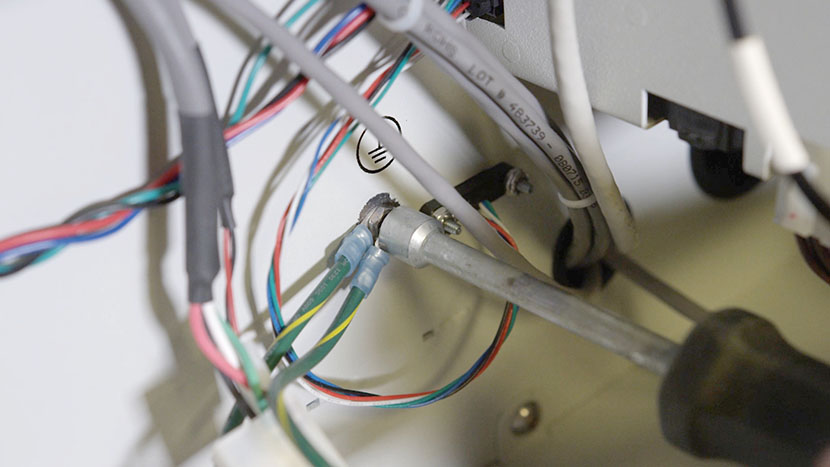
There are also two grounding wires attached via nuts to the side of the machine’s interior. Use a 5/16” nut driver to remove the first nut, then remove the first wire. Then remove the lock washer and the second nut, followed by the second wire. Leave the second lock washer on the grounding screw.
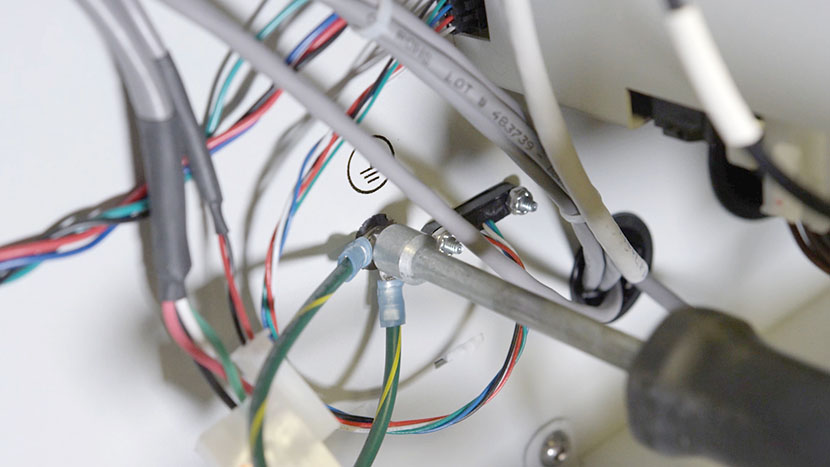
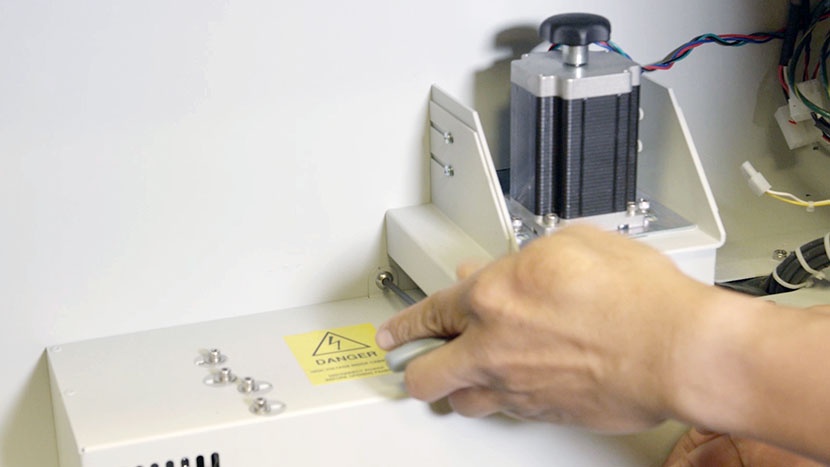
Next, use a 5/32” hex key to remove the two mounting screws attaching the top of the power supply assembly to the interior side of the machine.
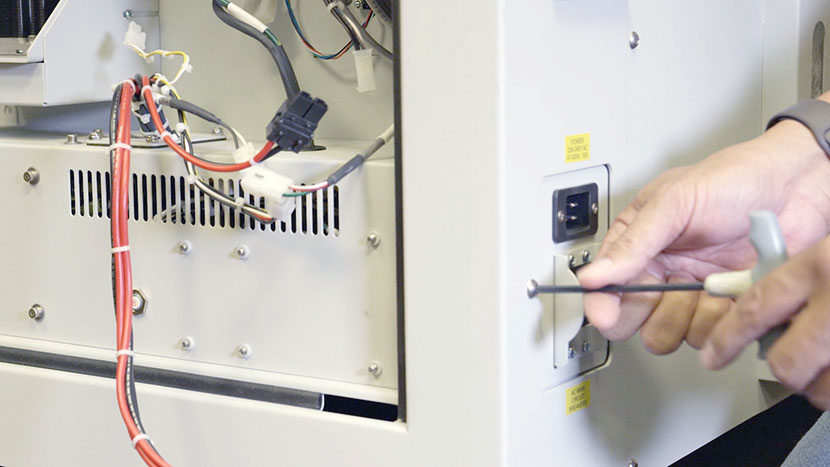
Then use a 5/32” hex key to remove the two mounting screws attaching the back of the power supply assembly to the back of the machine.
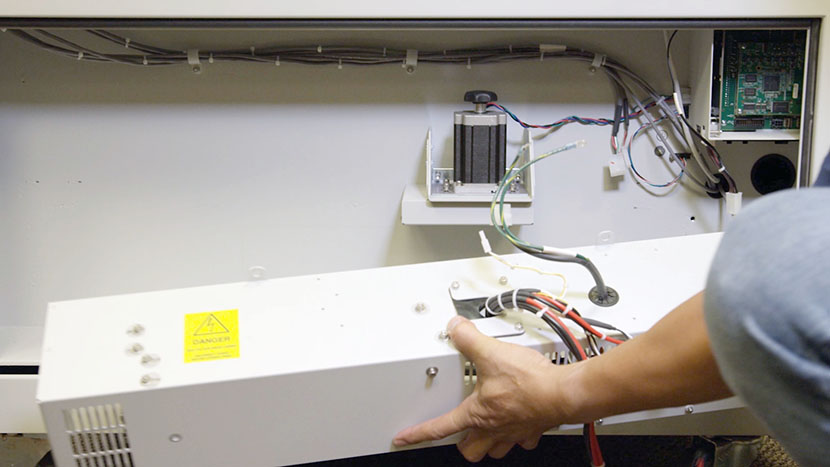
Remove the power supply assembly from the machine.
Install New Power Supply
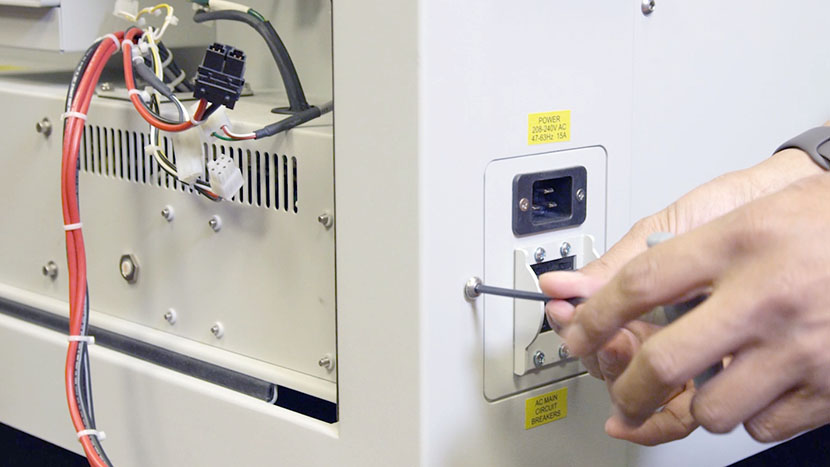
Place the new power supply housing inside the machine’s chassis, placing it as far to the rear of the machine as possible so the circuit breaker and socket are accessible through the chassis’ rear opening.
Use a 5/32” hex key to loosely install the two rear mounting screws.
Use a 5/32” hex key to install and tighten the mounting screws attaching the top of the power supply to the interior side of the machine.
Tighten the two rear mounting screws that were previously loosely installed.
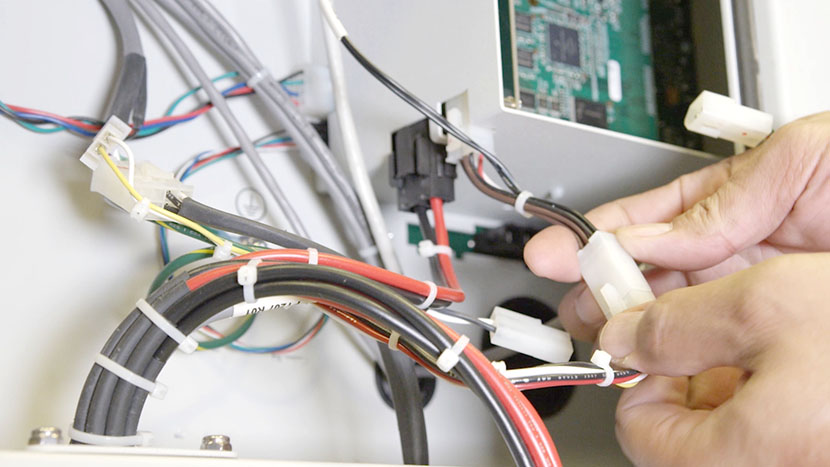
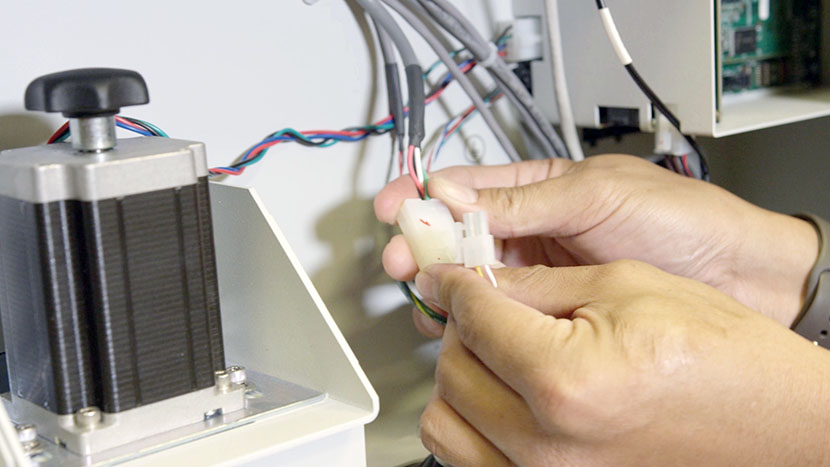
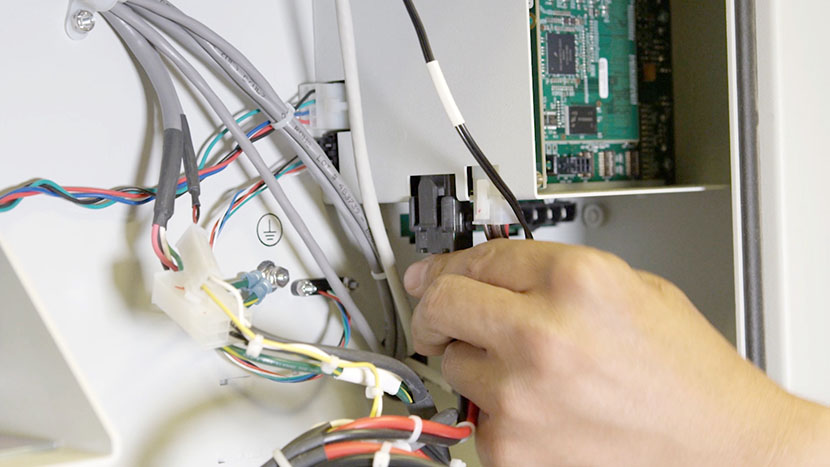
Reconnect the power supply assembly’s black and white power leads to the various components of the machine. Each of these connectors is different, so there is no risk of connecting them incorrectly.
Also reinstall the grounding wires by first placing one wire onto the grounding screw against the lock washer. Use a 5/16” nut driver to install a nut to secure the wire. Install the second lock washer, then the second wire, then the second nut.
Reinstall Panel
Replace the lower access panel on the right side of the machine, using a 5/32” hex key to turn the black panel locks ¾ of the way clockwise.
Plug the machine in and turn it on.