
In this lesson we’ll walk through replacing the Epilog Fusion M2’s Lens.
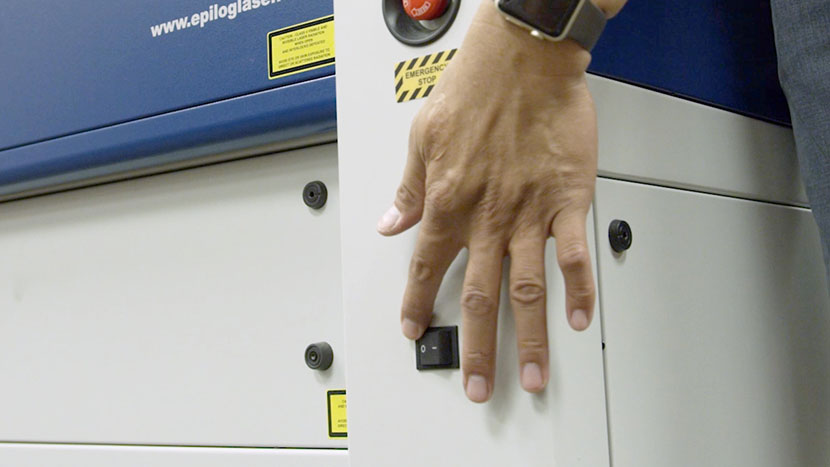
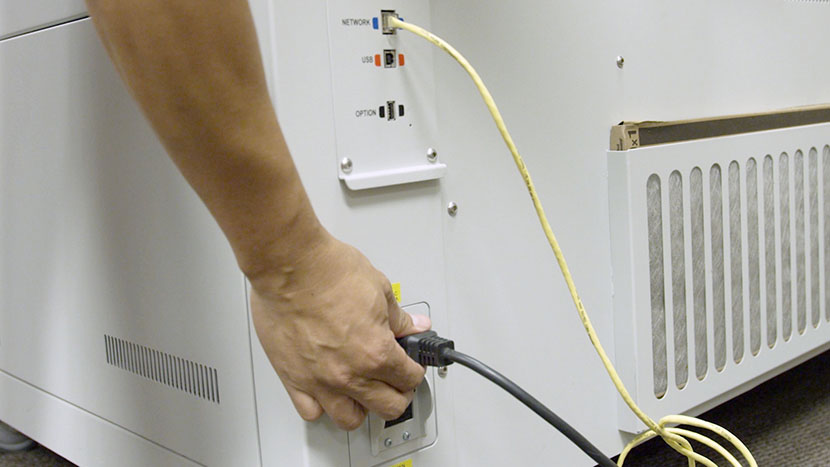
Shut off the laser and remove the power cord from the machine.
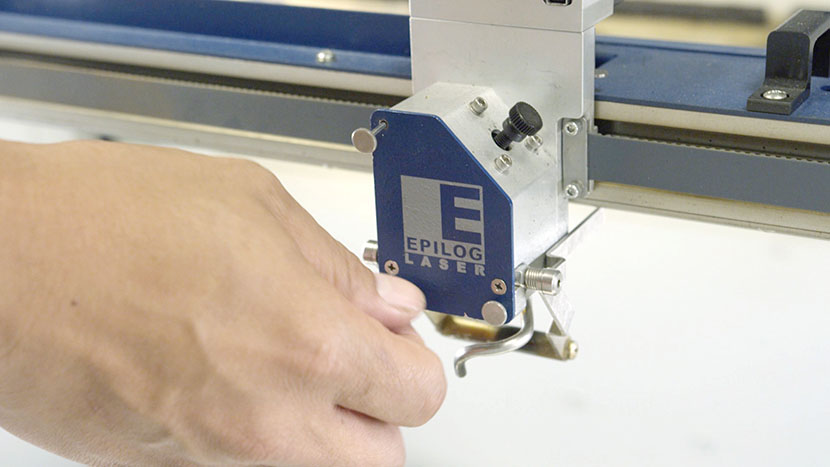
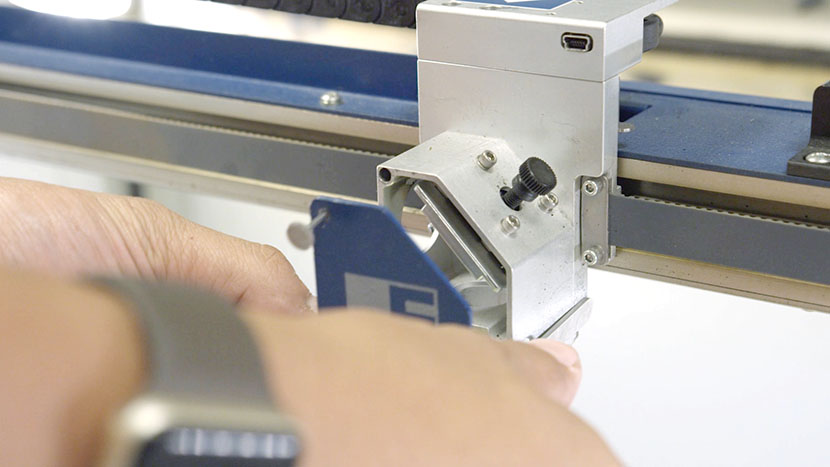
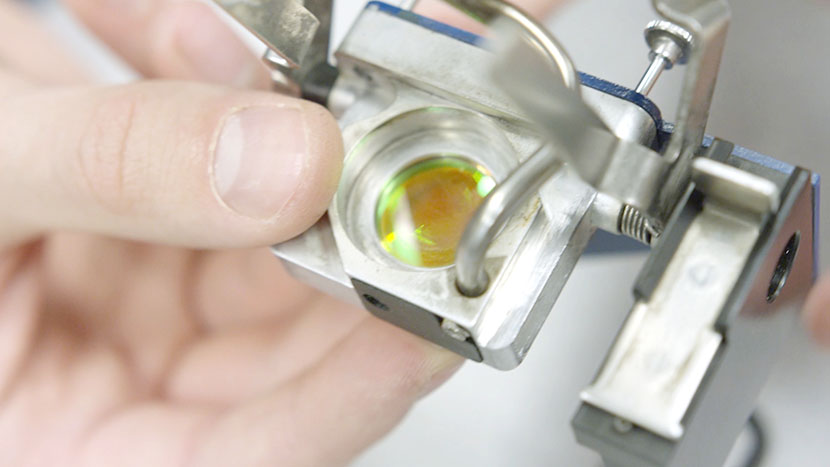
Remove Lens Assembly
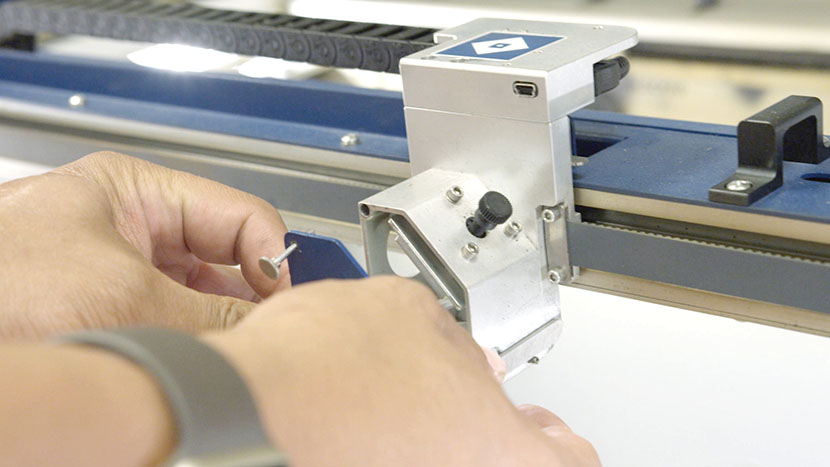
Remove the lens assembly by loosening the three thumb screws on its front face until they spin freely. They are captive screws and will not come out of the assembly. Slide the assembly out of its housing.
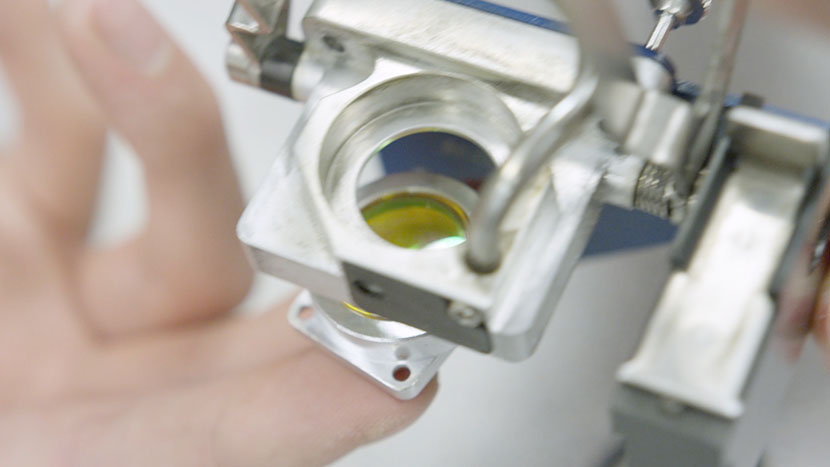
Remove Old O-Ring and Lens
With the lens assembly in the upright position, use a 5/64” hex key to remove the four screws located in the corners around the lens holder.

Support the lens holder as you turn the lens assembly over.
Continue to support the lens holder as you let it drop away from the upturned lens assembly.
Set the lens assembly aside.
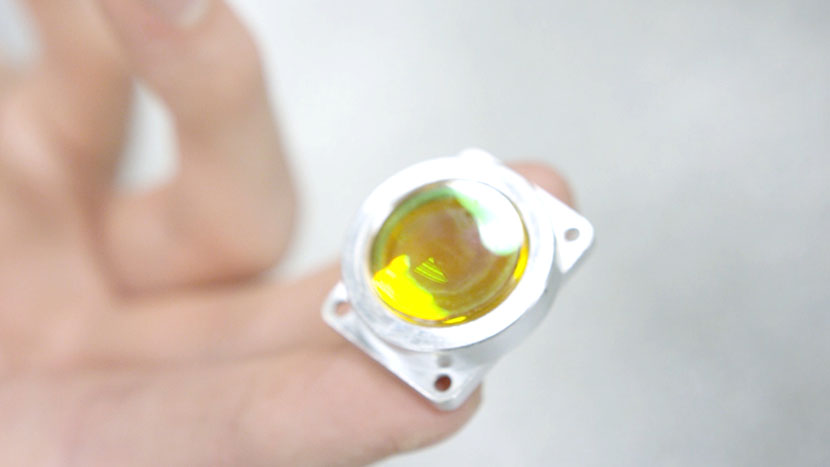
Remove the lens by tipping the lens holder over and catching the lens as it falls out.

Remove the O-ring from the lens holder.

Install New O-Ring and Lens
Lay the new O-ring in the lens holder.

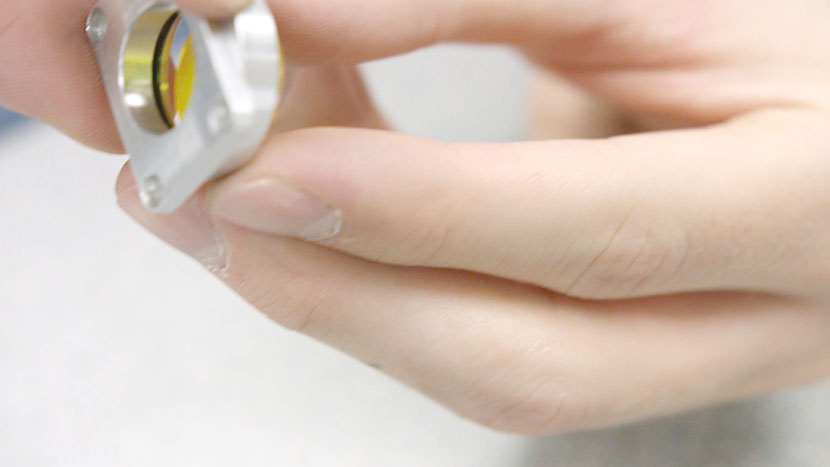
Place the new lens on top of the O-ring, with the curved, convex side facing the O-ring.
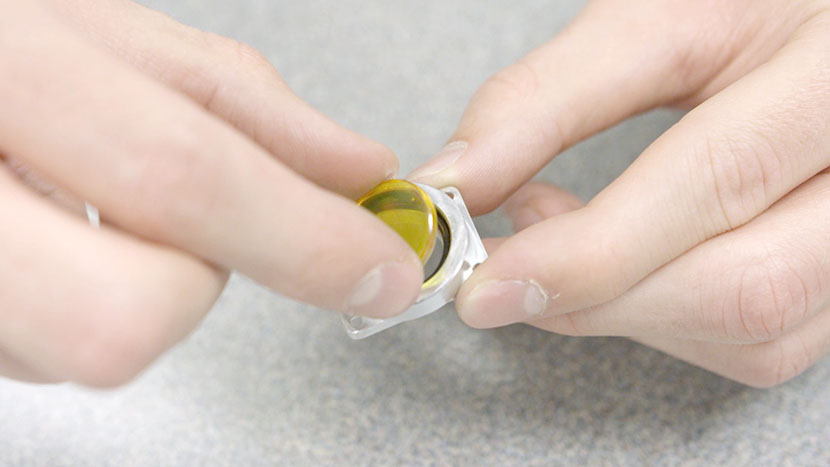
Be sure to handle the lens on its edge rather than either of its faces. This will limit the need for cleaning later.

Slide the lens holder up into the upturned assembly.
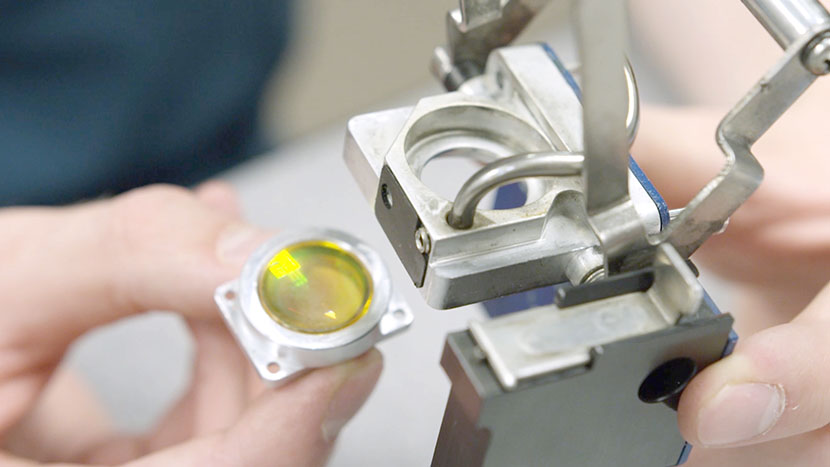

Then flip the entire assembly right side up.

Use a 5/64” hex key to reinsert the four screws located in the corners around the lens holder.

Gently shake the lens assembly.
If you can hear the lens moving inside, a thicker O-ring is needed and you should open the lens assembly back up and replace the O-ring.
Reinstall Lens Assembly
Once the correct O-ring has been installed, return the lens assembly to its housing and tighten the three screws on its front face.

Plug the machine in and turn it on.


