In this lesson we’ll walk through replacing the Epilog Fusion M2’s Y-Axis Sensors.
Depending on your situation, you may only need to replace one of these sensors.
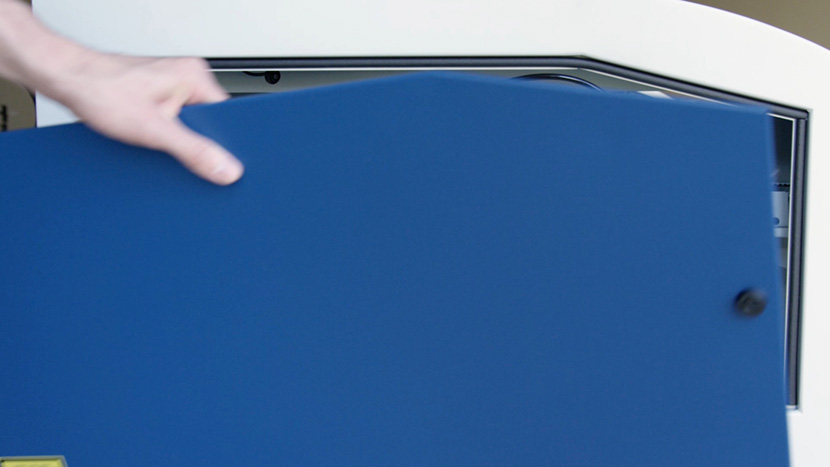
Remove Panel
We’ll start by replacing the front sensor, then move on to the rear sensor.
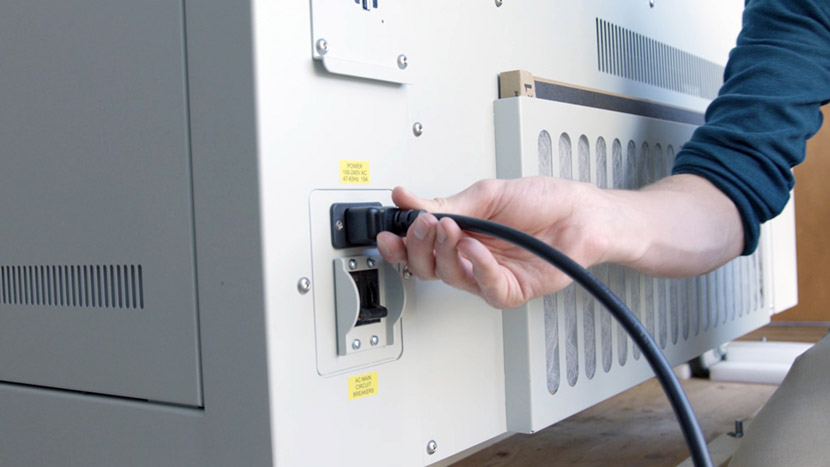
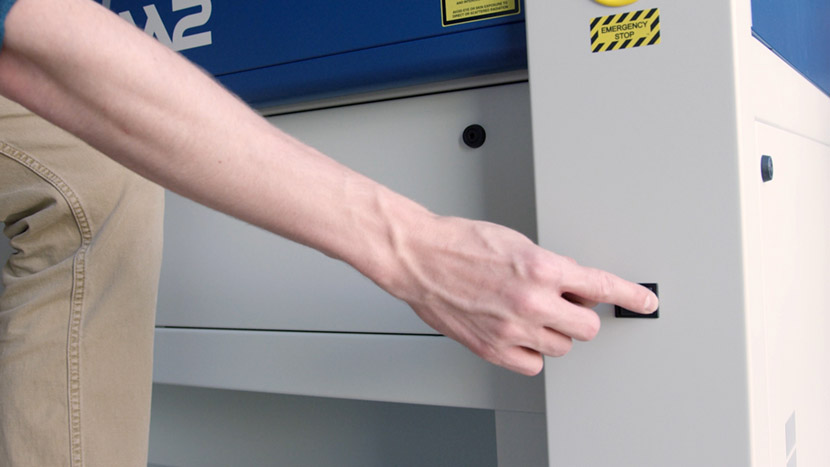
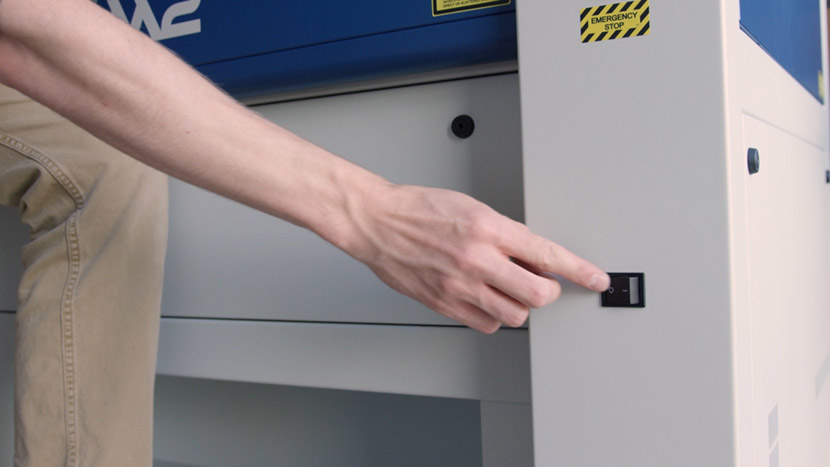
Shut off the laser and remove the power cord from the machine.

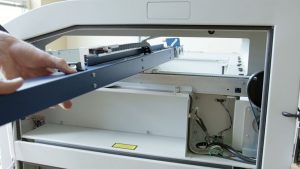
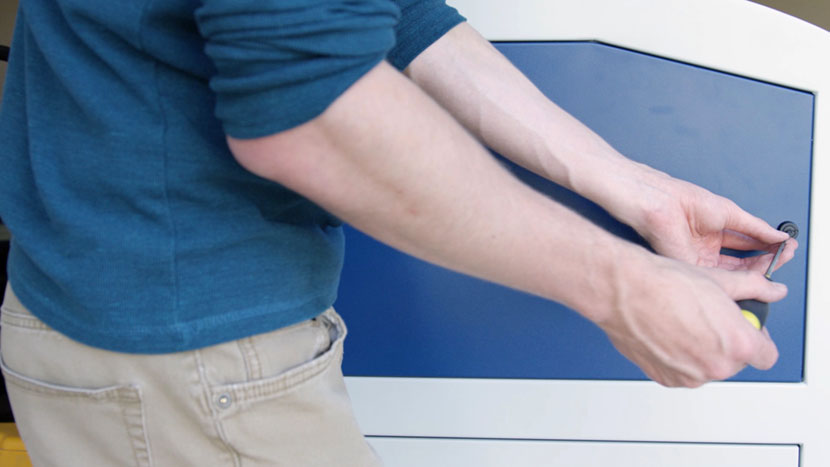
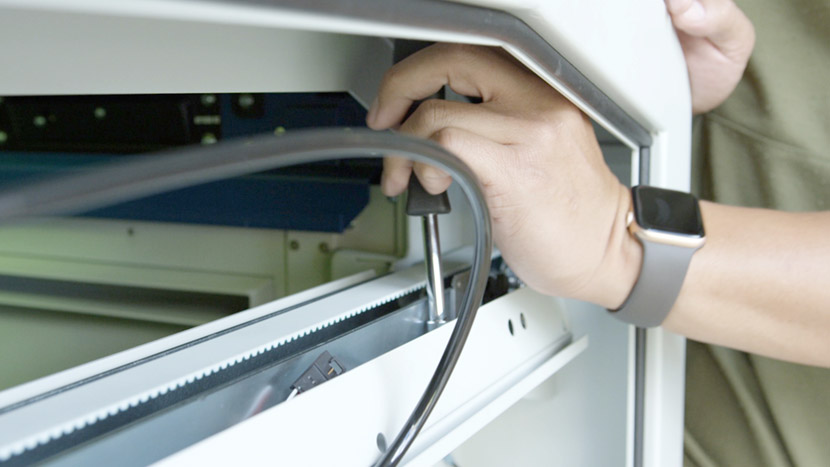
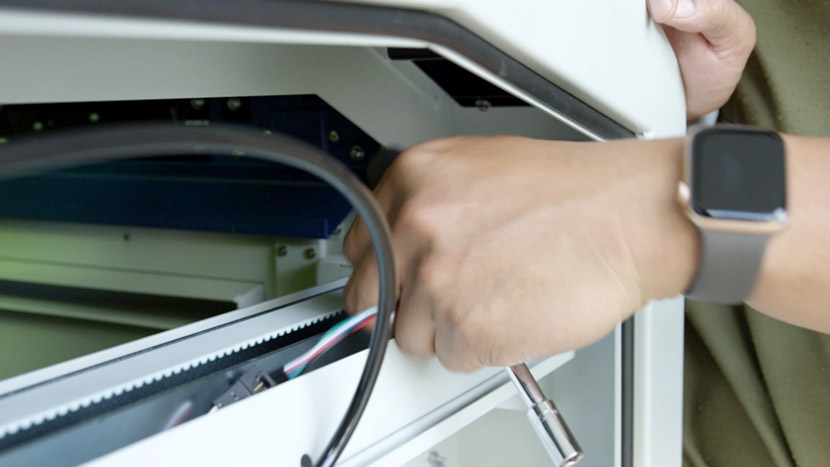
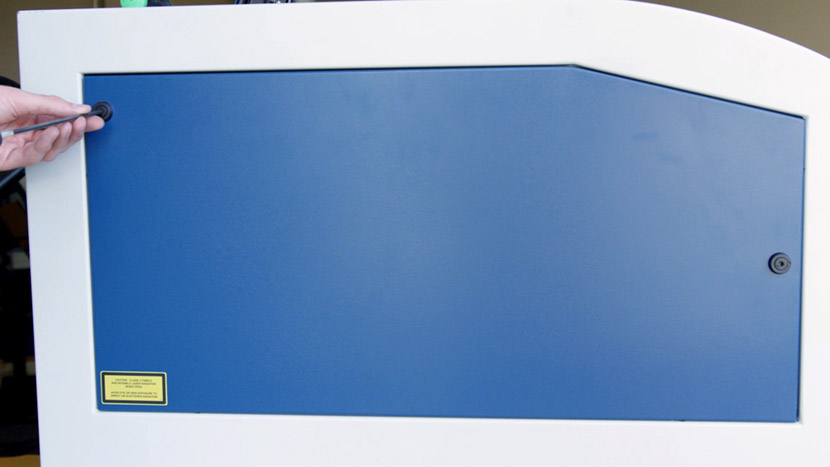
Remove the top access panel on the left side of the machine by using a 5/32” hex key to turn the black panel locks ¾ of the way counter-clockwise.
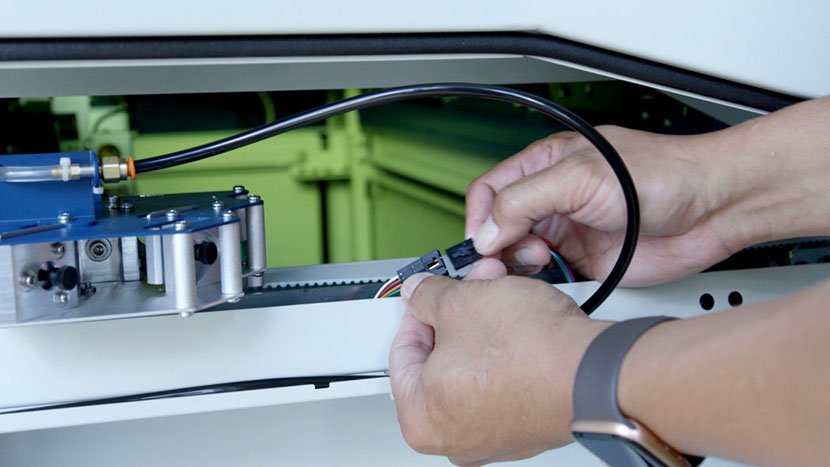
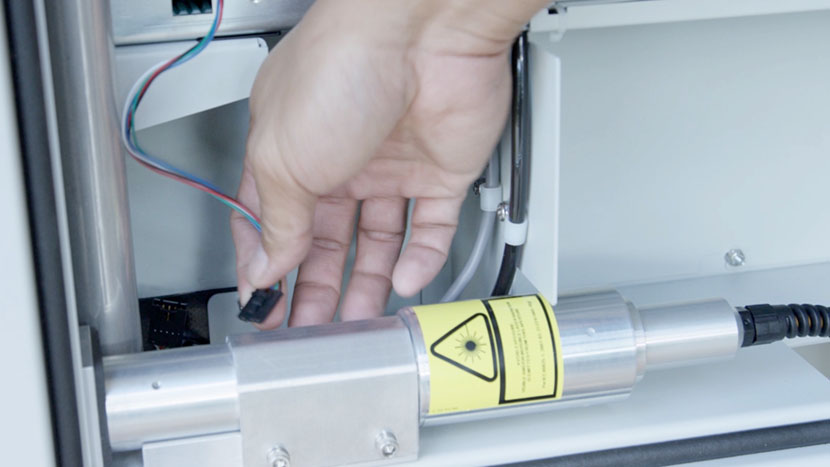
Remove Old Front Sensor
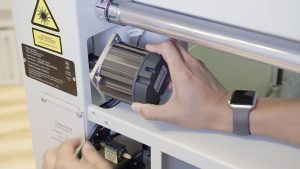
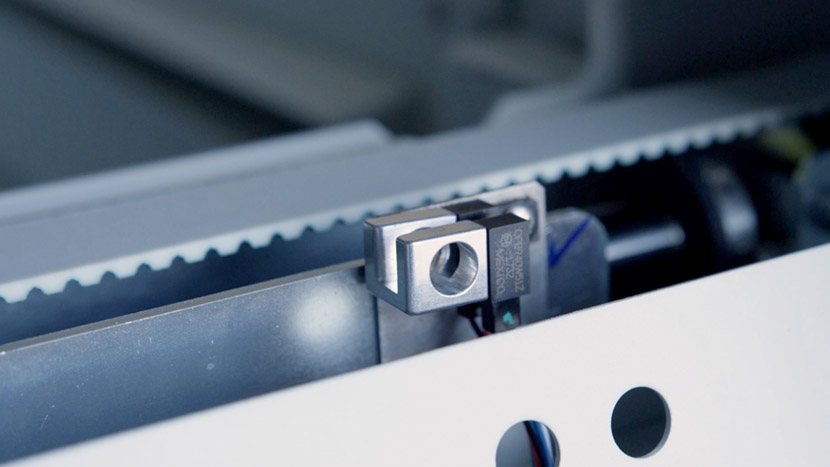
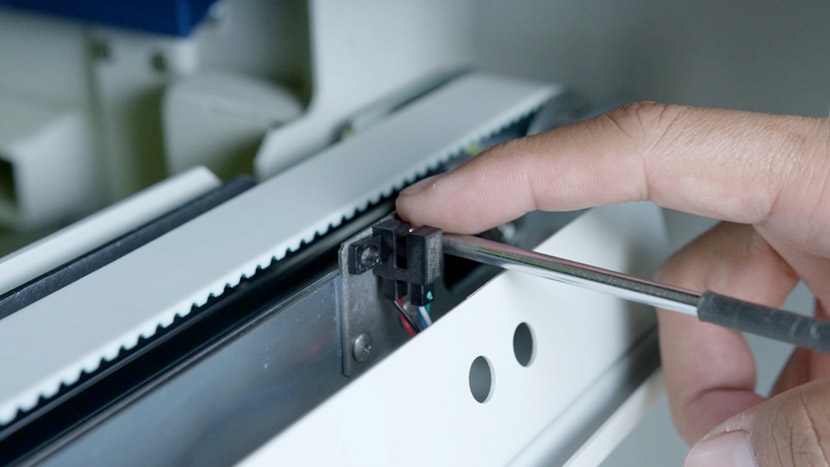
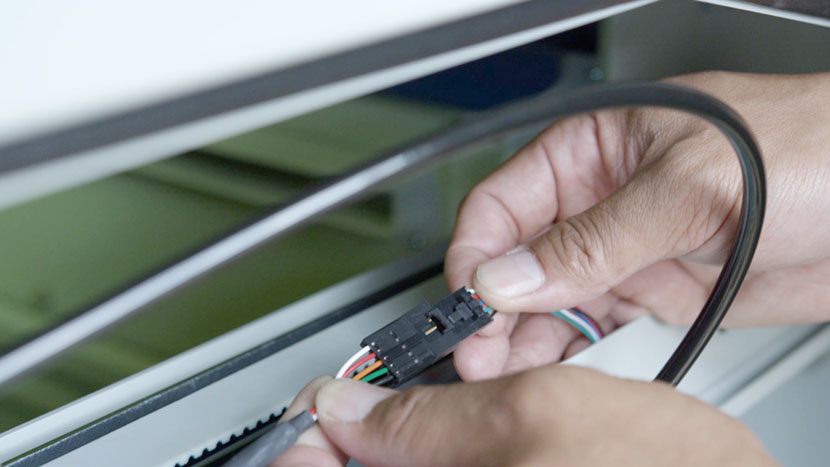
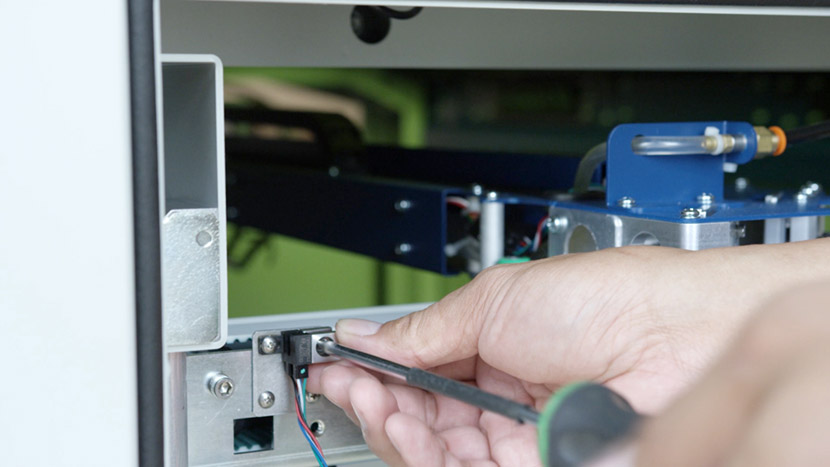
Locate the front sensor and disconnect the black connector that connects the sensor to the rest of the wiring.
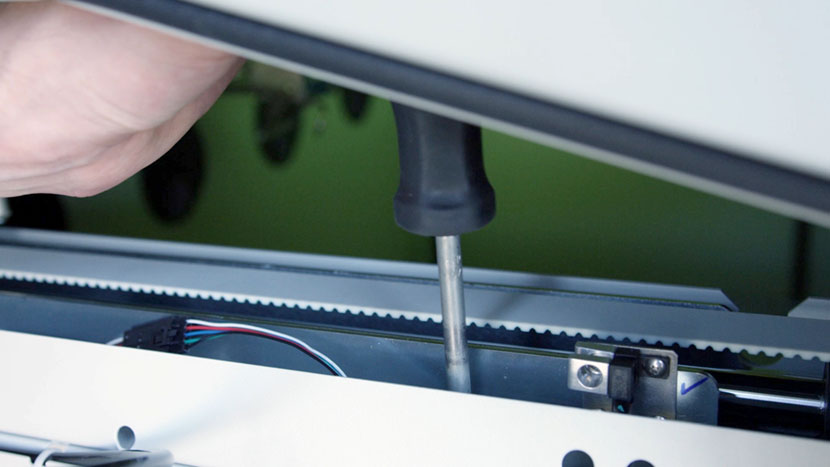
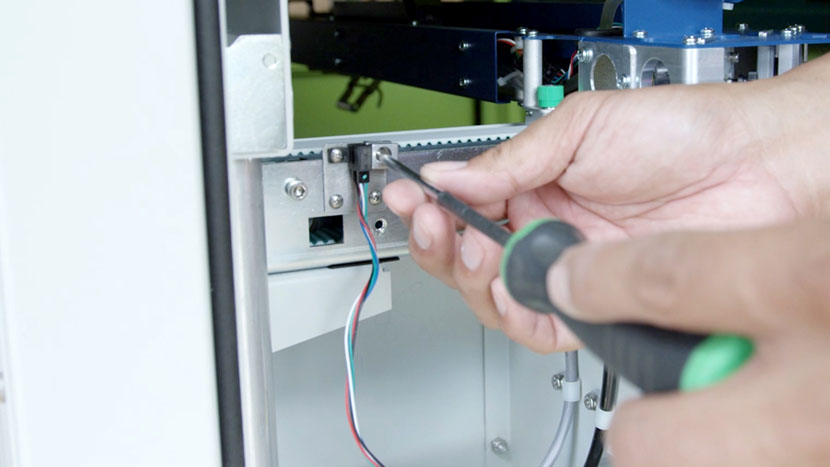
Use a Phillips head screwdriver to remove the two screws holding the sensor in place.
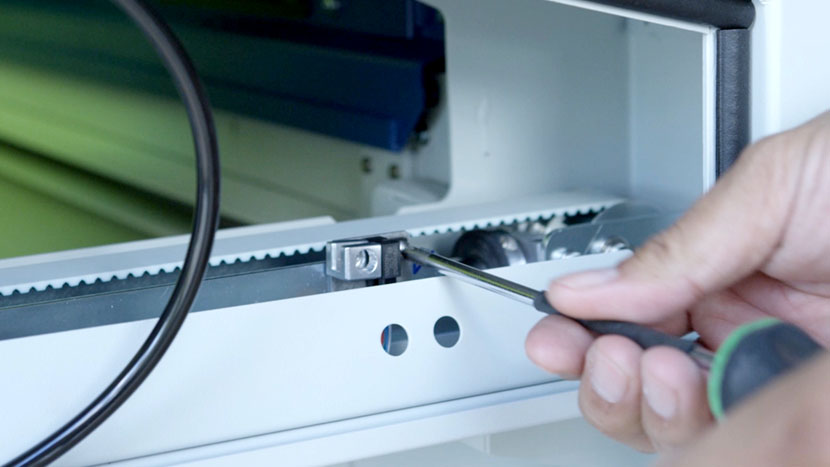

The silver switch guard on the left side of the sensor will come loose once the screw is removed, so be sure not to lose it.
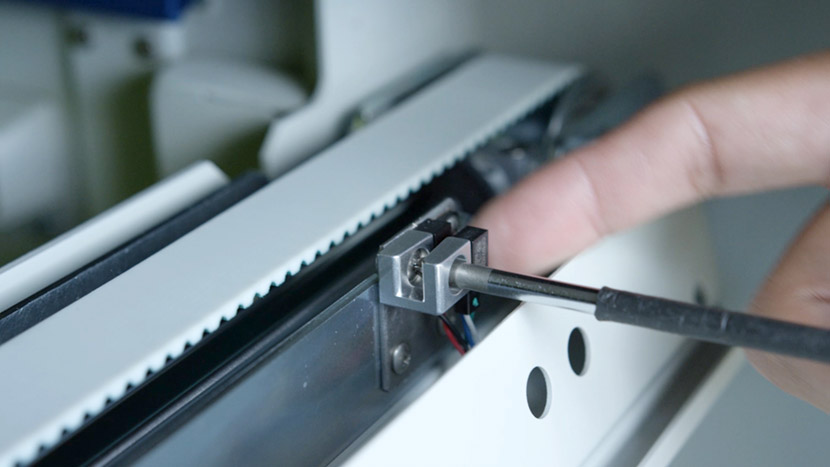
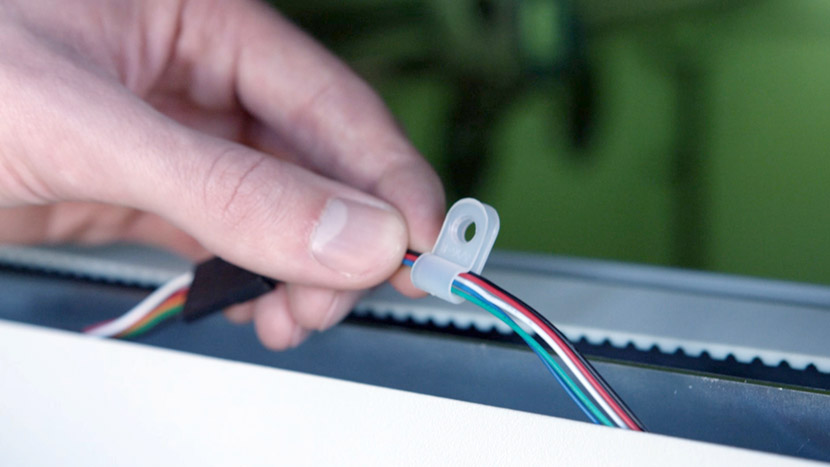
Use a 5/16” nut driver to remove the plastic clamp holding the sensor wires down in the track running alongside the y-axis.
Slide the wires out of the clamp.
Set the old sensor, the clamp, and the switch guard aside.
Install New Front Sensor
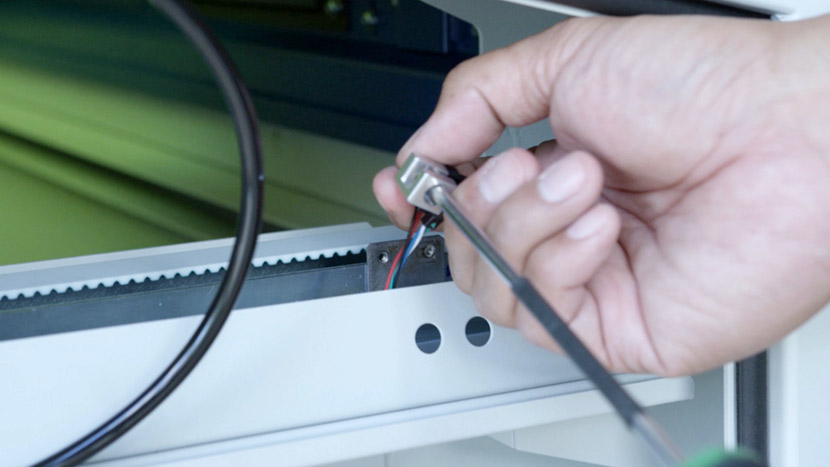
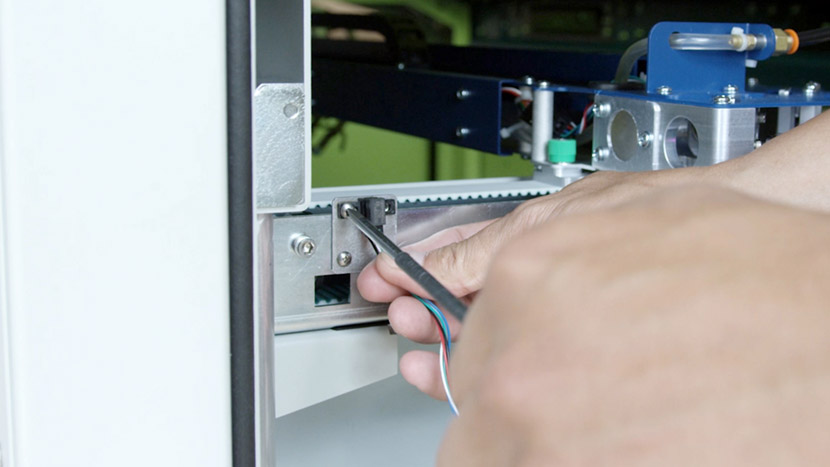
Use a Phillips head screwdriver to insert the two screws and secure the new sensor and the switch guard to the side of the y-axis.
Be sure to affix the switch guard on the new sensor’s left side.
Connect the black connector.
Slide the sensor wires into the plastic wire clamp and use a 5/16” nut driver to reaffix the clamp.
Remove Old Rear Sensor
Now let’s replace the rear sensor.
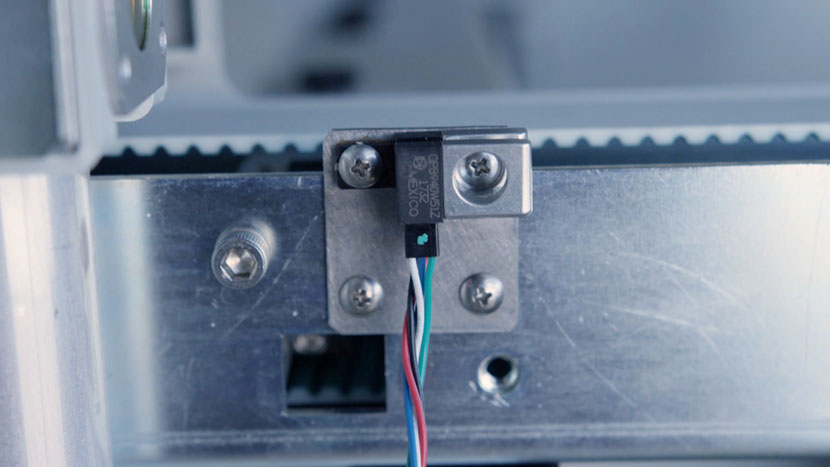
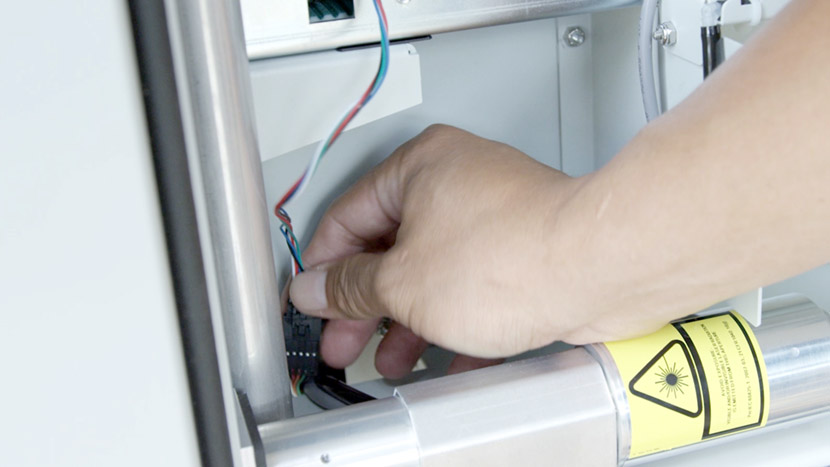
Disconnect the black connector that connects the rear sensor to the rest of the wiring.
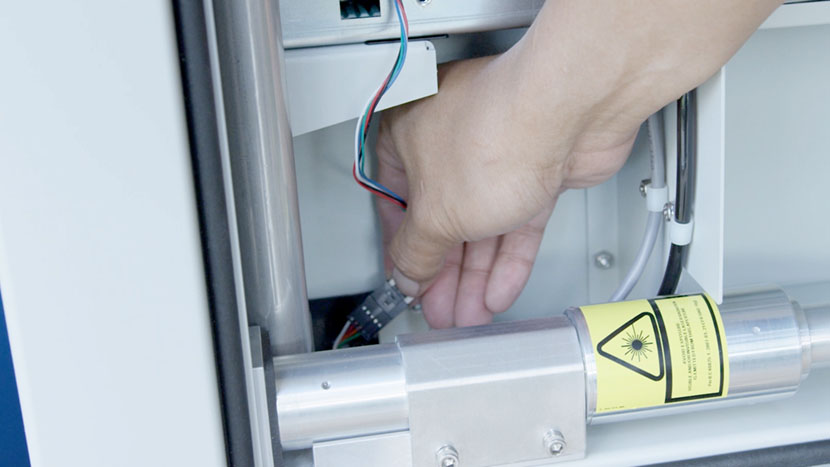
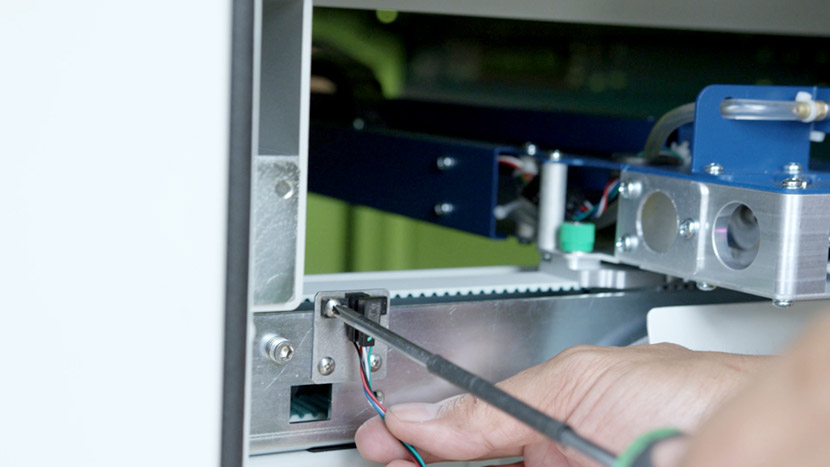
Use a Phillips head screwdriver to remove the two screws holding the sensor in place.
Set the old sensor and the switch guard aside.
Install New Rear Sensor
Use a Phillips head screwdriver to insert the two screws and secure the new sensor and the switch guard to the side of the y-axis.
Be sure to affix the switch guard on the new sensor’s right side.
Connect the black connector.
Reinstall Panel
Replace the top access panel on the left side of the machine, using a 5/32” hex key to turn the black panel locks ¾ of the way clockwise.
Plug the machine in and turn it on.