In this lesson we’ll walk through replacing the Epilog Fusion M2’s Z-Motor.
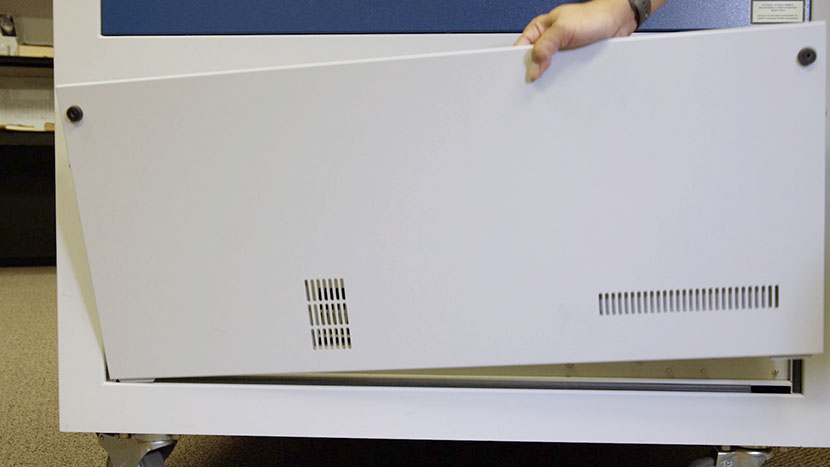
Remove Bottom Right Panel
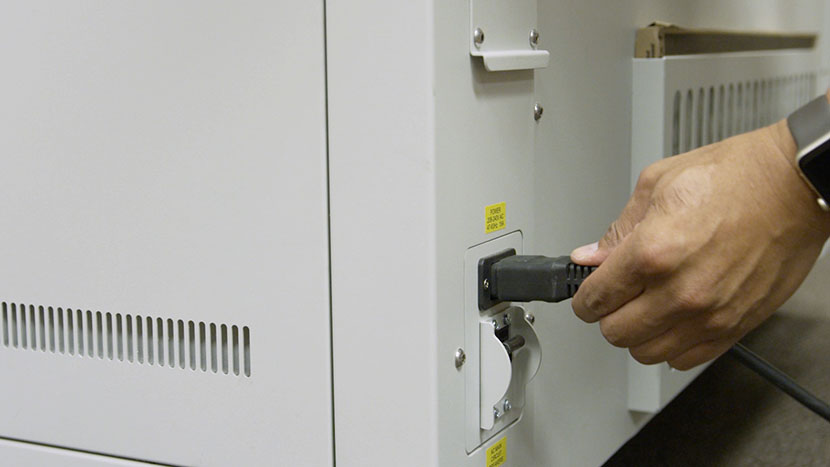
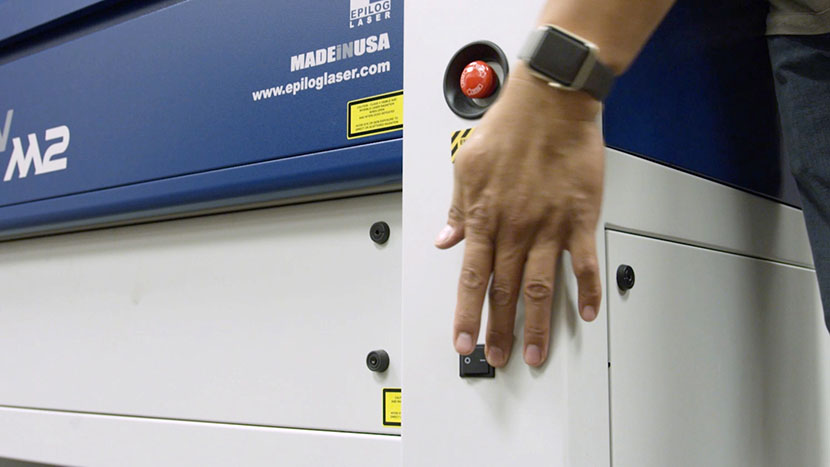
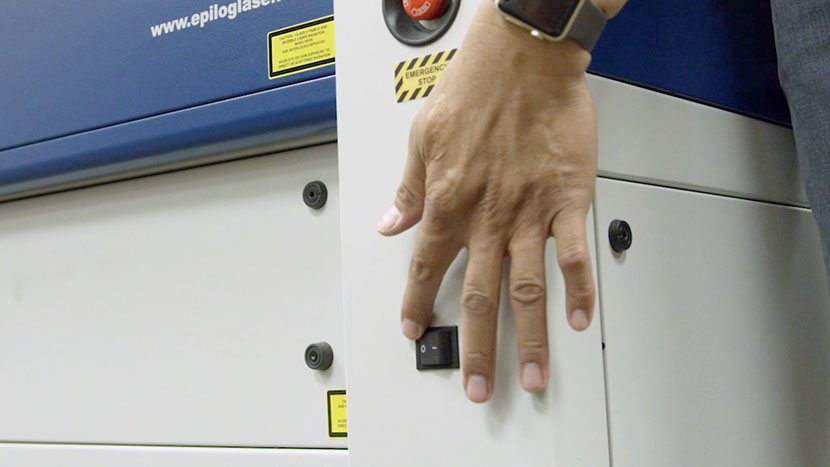
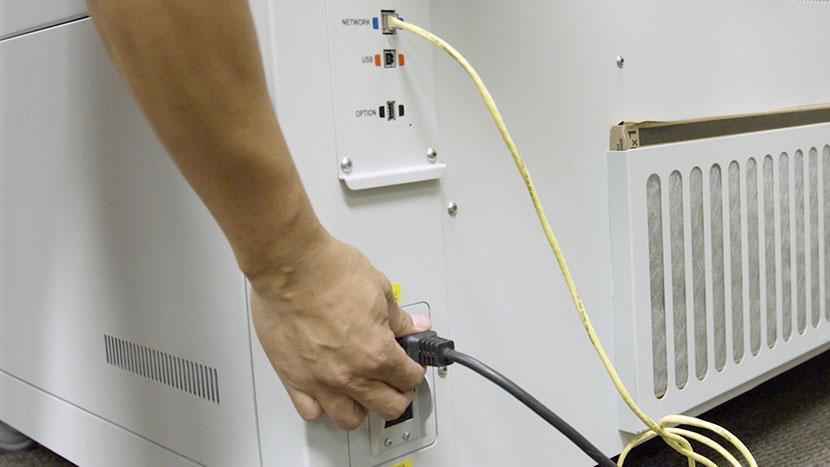
Shut off the laser and remove the power cord from the machine.
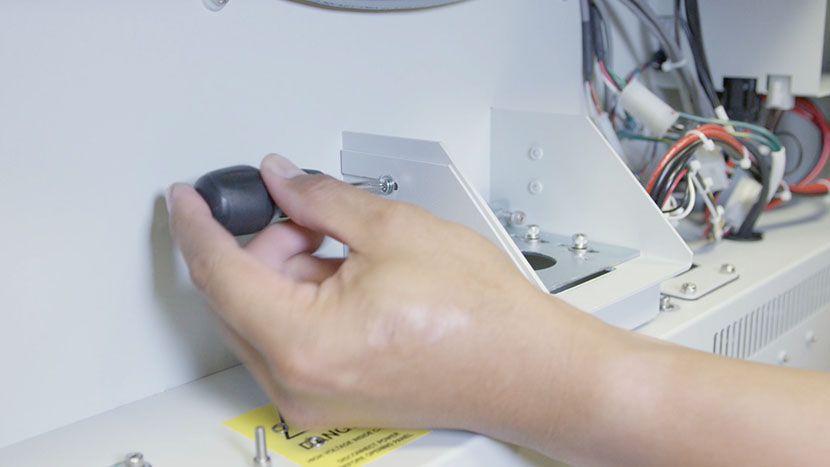
Remove the bottom access panel on the right side of the machine by using a 5/32” hex key to turn the black panel locks ¾ of the way counter-clockwise.
Mark Tensioning Position
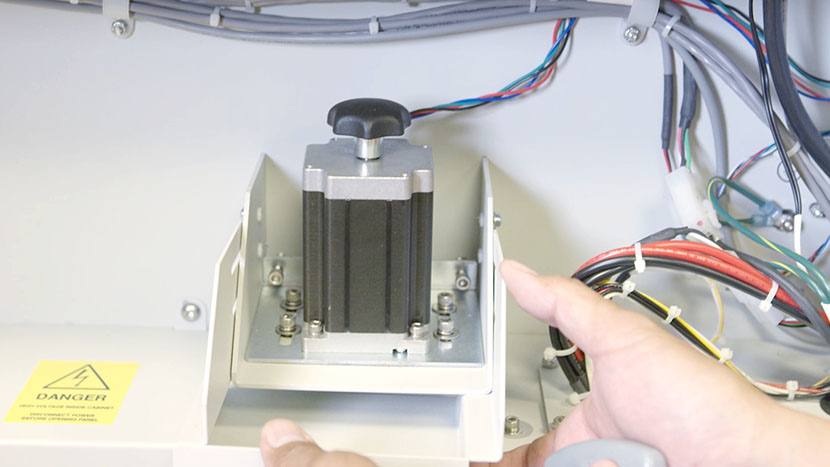
Begin by using a pencil to mark the front edge of the z-motor mounting bracket. This will be used as a guide to return the mounting bracket to the correct position later.

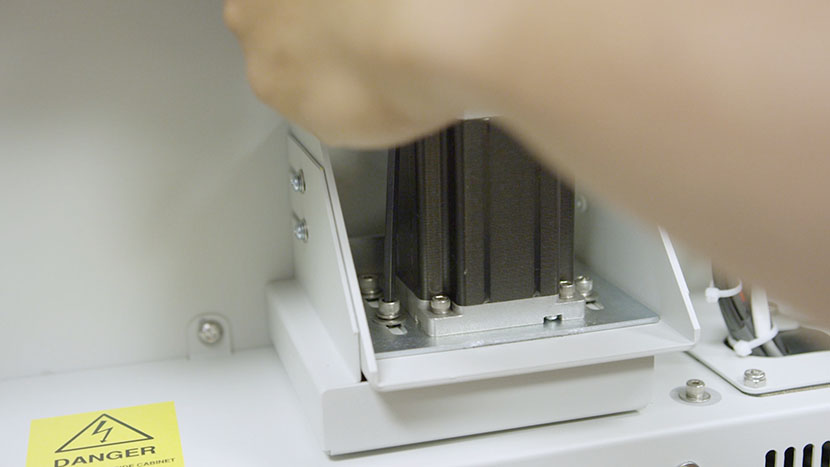
Remove Old Motor
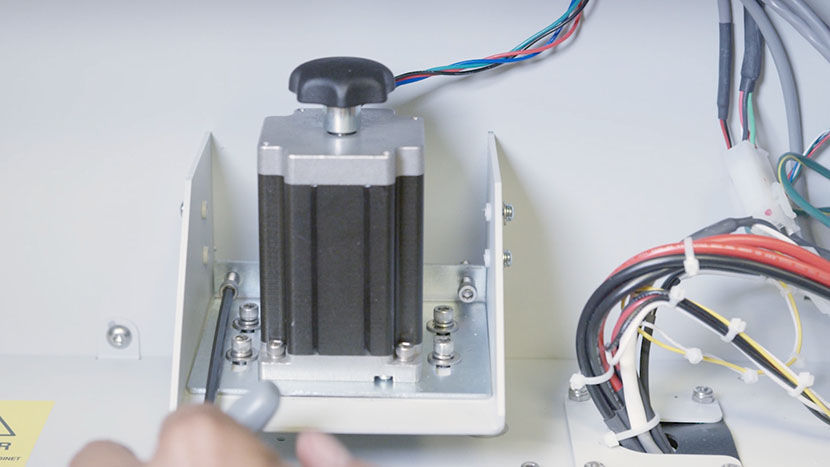
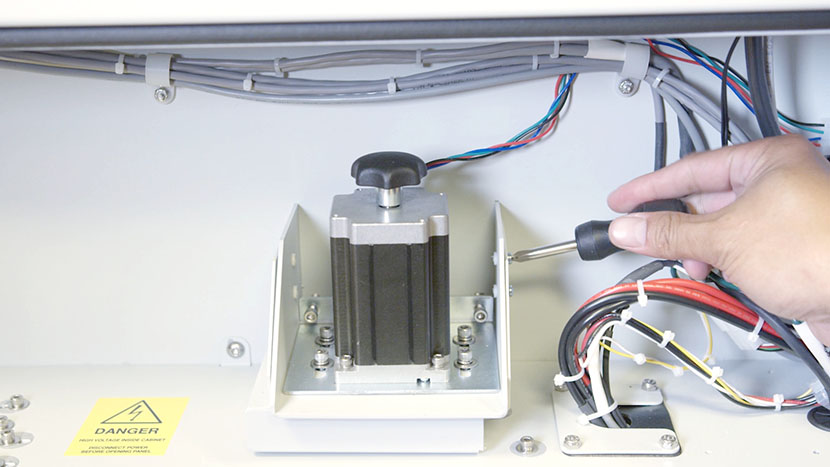
Using a 5/32” hex key, loosen, but do not remove, the four mounting bracket screws located on either side of the z-motor.
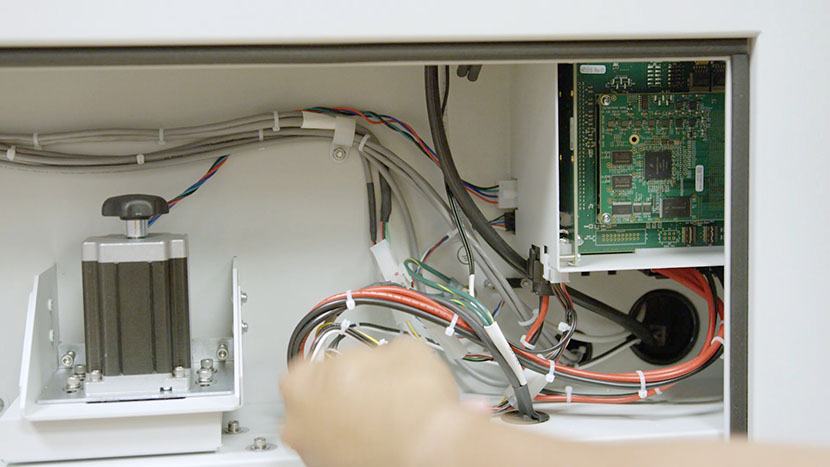
Using a 5/32” hex key, loosen the two tensioning screws located on the back face of the mounting bracket. Be sure to loosen the two screws an even amount.

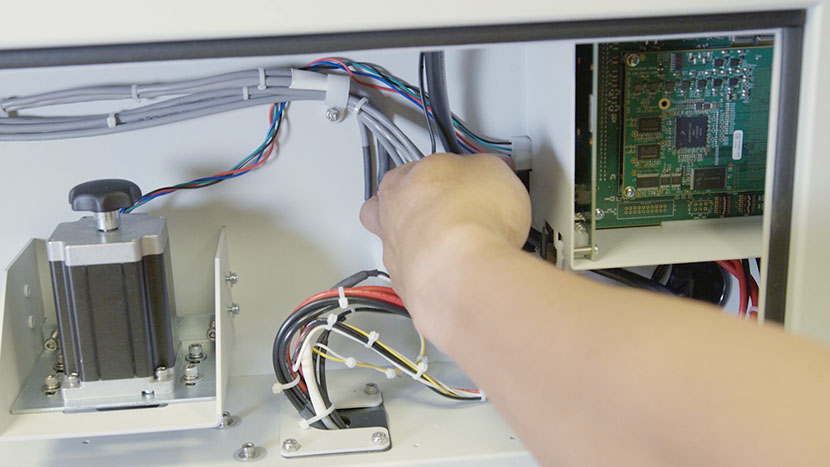
Disconnect the white connector that attaches z-motor to the machine’s control board housing.
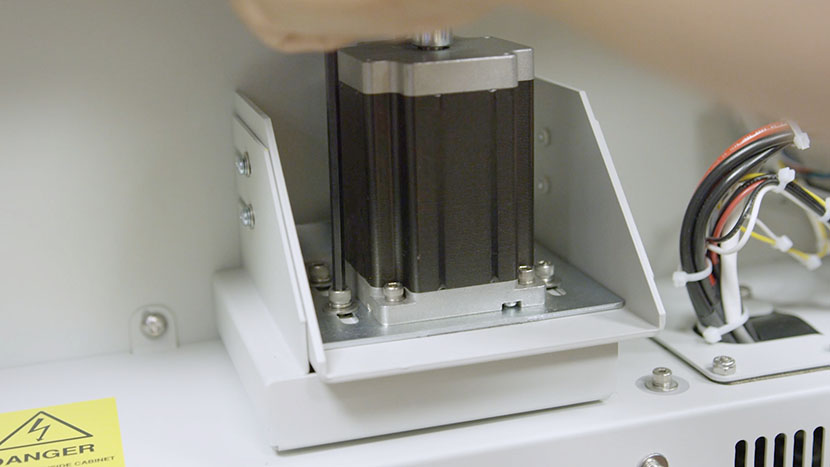
Using a 9/64” hex key, remove the four screws located at the corners of the z-motor.

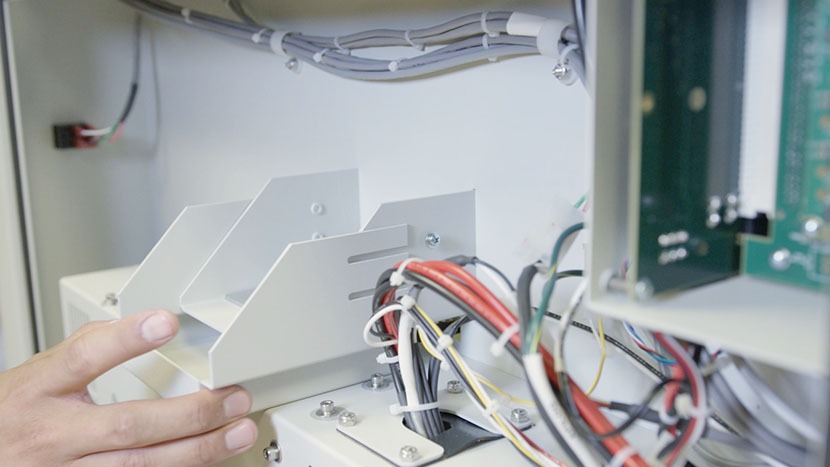
Remove the z-motor.
Uncover Z-Axis Belt
To help you see the z-axis belt when inserting the new z-motor, you may want to remove the outer component of the z-motor housing.
To do this, use a Phillips head screwdriver to loosen, but not remove, the four screws on either side of the z-motor housing.
Slide the outer component out and set it aside.
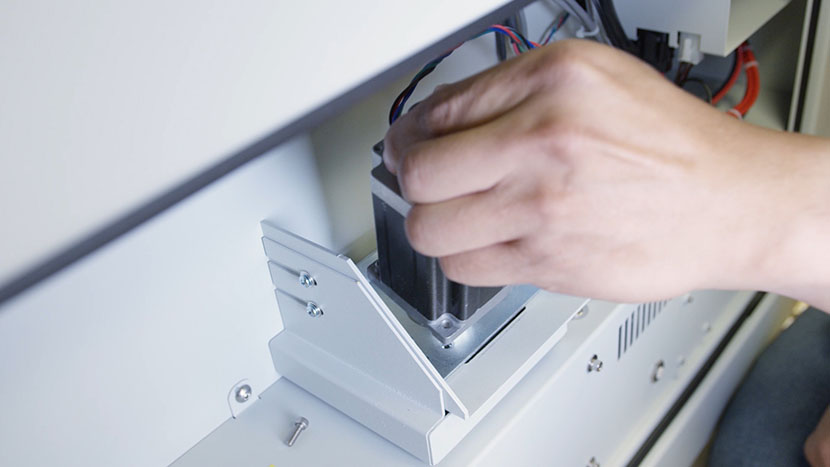
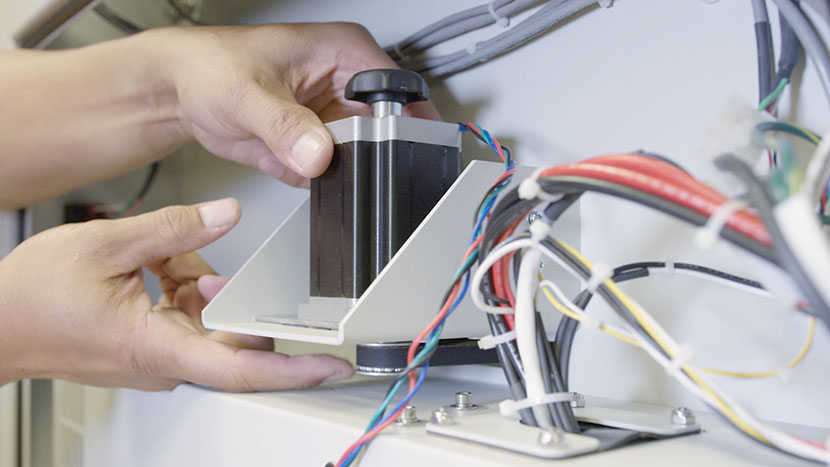
Install New Motor
Insert the new z-motor into the mounting bracket, looping the z-axis belt around the motor’s pulley.
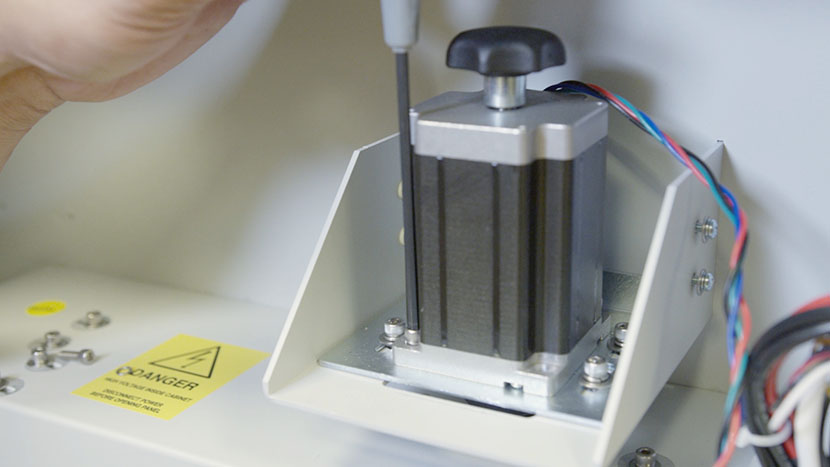
Using a 9/64” hex key, reinsert the four screws located at the corners of the z-motor.
Reconnect the z-motor’s white connector.
Evenly tighten the two tensioning screws on the back face of the mounting bracket. Tighten these screws until the pencil mark you made earlier is visible.
Use a 5/32” hex key to tighten the four mounting bracket screws.
Cover Z-Axis Belt
If you removed the outer component of the z-motor housing, slide it back on and use a Phillips head screwdriver to tighten the four screws.
Reinstall Bottom-Right Panel
Replace the bottom access panel on the right side of the machine by using a 5/32” hex key to turn the black panel locks ¾ of the way clockwise.

Plug the machine in and turn it on.