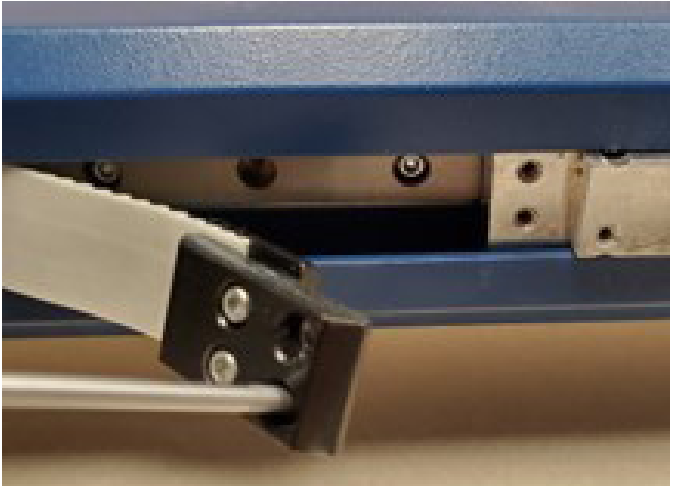
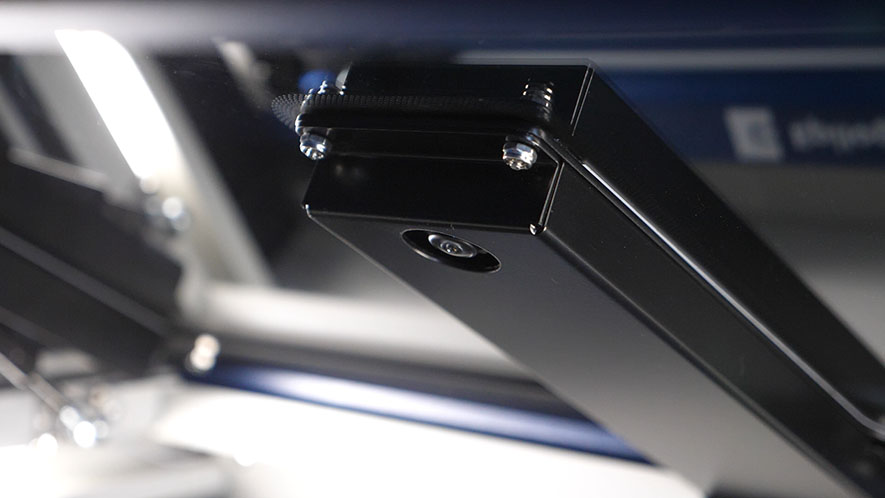
This document outlines the replacement of the x-axis idler in the Fusion Maker, Edge, and Pro 24 and 36.
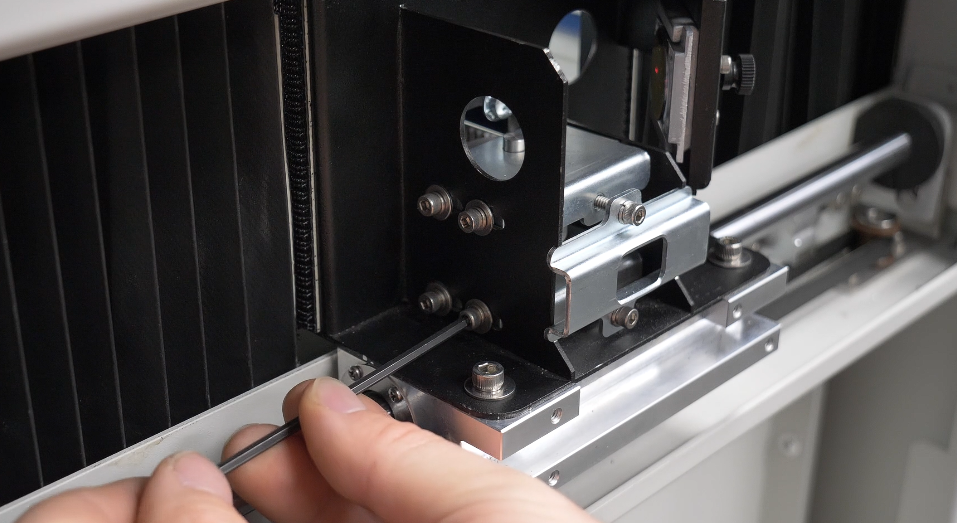
Fusion Maker, Edge, Pro 24 & 36 – Linear Guide (Rev 1 IKO) Replacement
This document provides concise, step‑by‑step instructions for removing and installing the X‑Axis linear guide (IKO rail) on Fusion Edge, Maker, and Pro 24/36 engravers. Read the entire procedure before beginning, observe all safety precautions (power off and disconnect), and have the required hand tools ready. Follow each step in order (...)

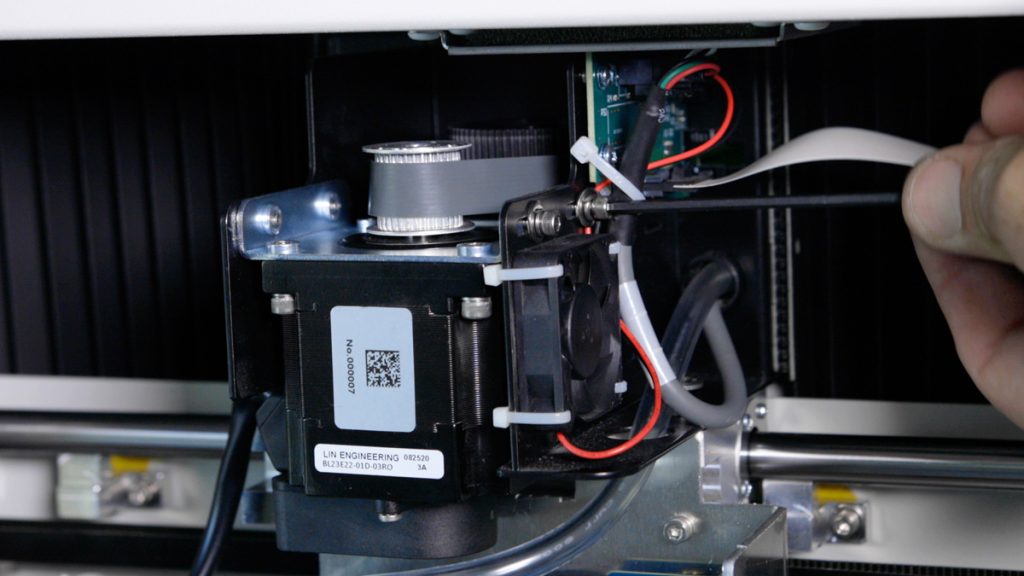
X-Axis Reducer Drive Replacement – Fusion Edge, Pro 24 & 36
This document outlines the replacement of the x-axis reducer in the Fusion Edge and Pro 24 and 36.
Table Belt Replacement
This document outlines the replacement of the z-axis belt in the Fusion Maker, Edge, and Pro 24 and 36.
X-Axis PCB Replacement
This document outlines the replacement of the x-axis PCB in the Fusion Maker, Edge, and Pro 24 and 36.
Fiber Laser Replacement
This document outlines the replacement of the fiber laser in the Fusion Maker, Edge, and Pro 24 and 36. After replacing the fiber laser, complete the laser alignment and focus calibration procedures.
Table Lead Screw Replacement
This document outlines the replacement of the lead screw in the Fusion Maker, Edge, and Pro 24 and 36.
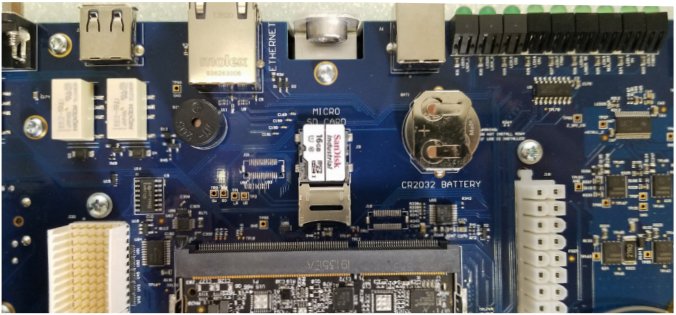
SD Card and Coin Battery Replacement – Fusion Maker, Edge, Pro 24 & 36
This guide provides step-by-step instructions for replacing the SD card and coin battery on Fusion Maker, Edge, and Pro systems. Be sure to follow anti-static precautions and use the required tools for each step. SD Card Replacement (Fusion Maker & Edge) Control Module / SD Card Removal Turn off the (...)
Vision System Repair: Replacing the Overhead Camera
Estimated time: 20–30 minutes • Skill: Intermediate This procedure guides you through removing and replacing the Overhead Camera on Fusion Edge and Fusion Pro engravers. Following these steps ensures the camera assembly is installed correctly, and the system is updated and calibrated for accurate camera-based alignment and job preview functionality. (...)
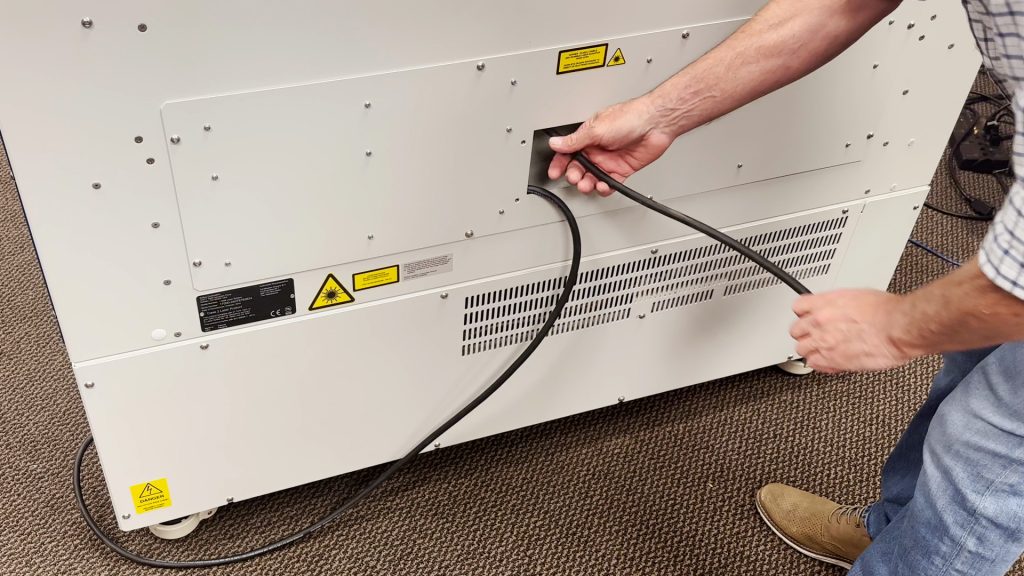
220VAC Power Connections: Core End Type and Photo
Epilog’s laser systems are equipped with auto-switching power supplies that accommodate input voltages ranging from 110 to 240 volts at 50–60Hz. We recommend using a dedicated 15A circuit breaker regardless of the operating voltage to ensure stable and reliable performance. For Systems Operating on 220V in the United States The (...)
How to Laser Engrave and Cut Fabrics
Fabric is quickly becoming a very popular material for both engraving and cutting. Natural fibers, as well as synthetic fabrics, are often cut and engraved with fantastic results with a laser system. This article will give an overview of some popular engraveable fabrics, as well as some fabrics we’ve learned (...)
Easily Remove Engraving Residue from Wood
If you’ve ever run your laser at low speed and high power, you’ve seen the results – sticky sap and varnish covering the areas you’ve already engraved. We wanted to share a product we’ve found that quickly cleans up all of that extra residue, leaving a clean, crisp engraving. Using (...)