Introduced in the Epilog Mini and Helix engravers, laser tickle settings allow the user to customize certain CO2 laser characteristics by modifying the radio frequency (RF) signals sent to the laser tube. The role of the RF signal is to excite and energize the gas mixture within the CO2 laser (...)
Replacing the Laser Tube
Remove Panels Shut off the laser and remove the power cord from the machine. For this procedure you will need access to the back of the machine. Disconnect all exhaust system hoses from the rear of the machine. Using a 5/32” hex key, remove the screws that secure the rear (...)
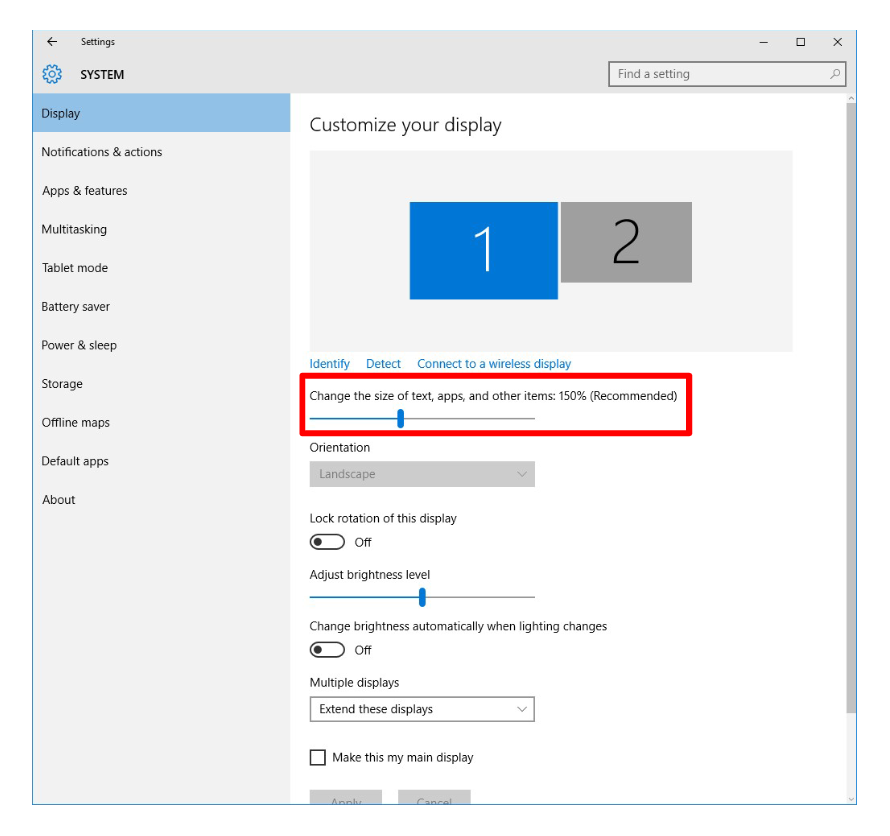
Blurry Driver Screen On Windows 10
This article explains how to fix an Epilog print driver window that looks very small or blurry on a Windows 10 computer. The problem is usually caused by the computer’s display driver or display scaling settings, not by the Epilog driver. Issue Summary After upgrading to Windows 10, or after (...)
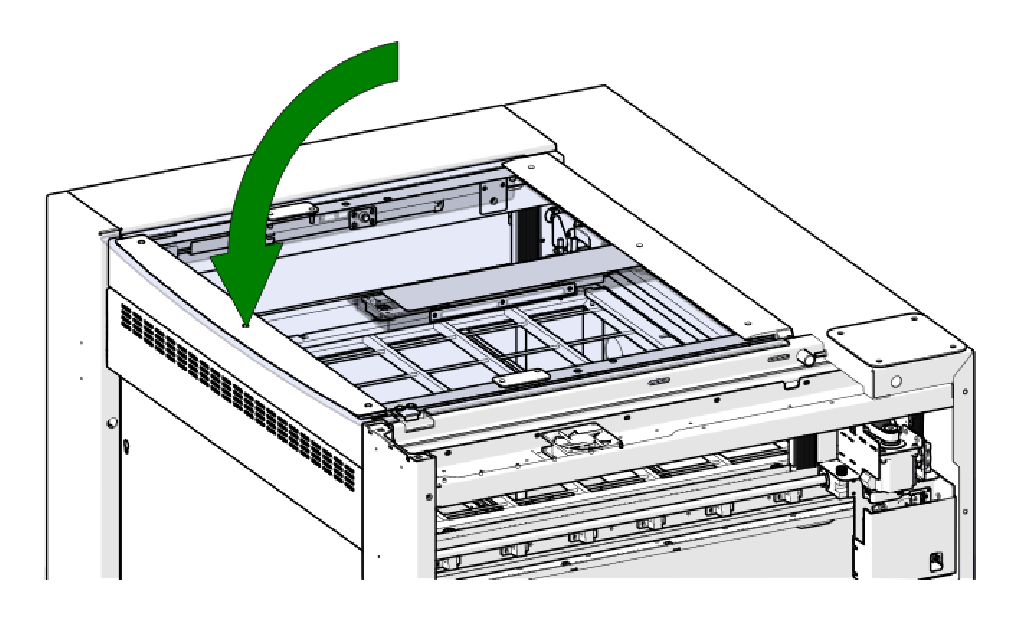
Top Door Replacement
This guide covers removing and replacing the top door on the Fusion Edge 24. The control panel and right top cover are removed to reach the right hinge. All directions are given as if you are standing at the front of the engraver. Parts Required Replacement Top Door Tools Required (...)
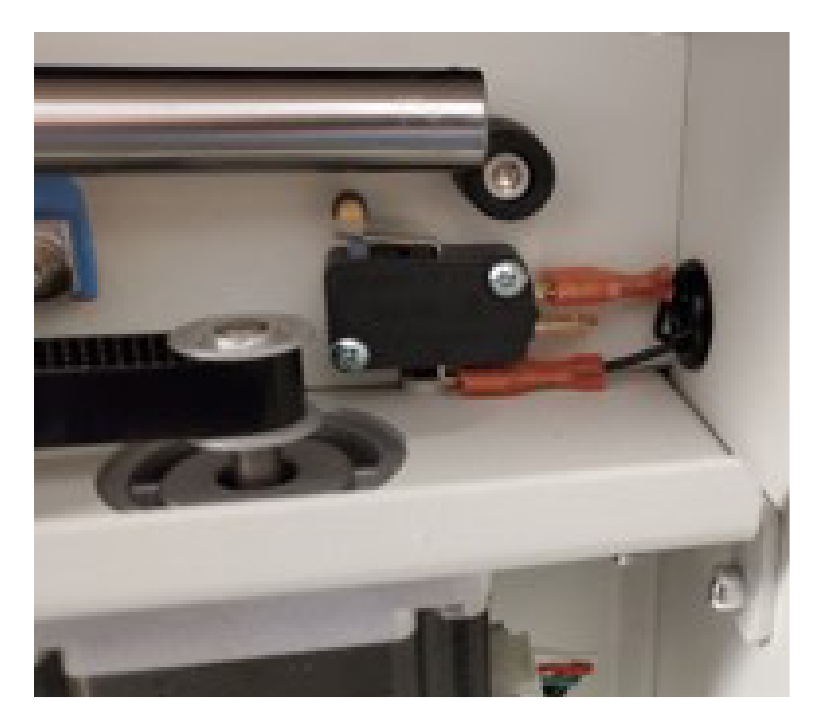
Y-Axis Home Switch Replacement
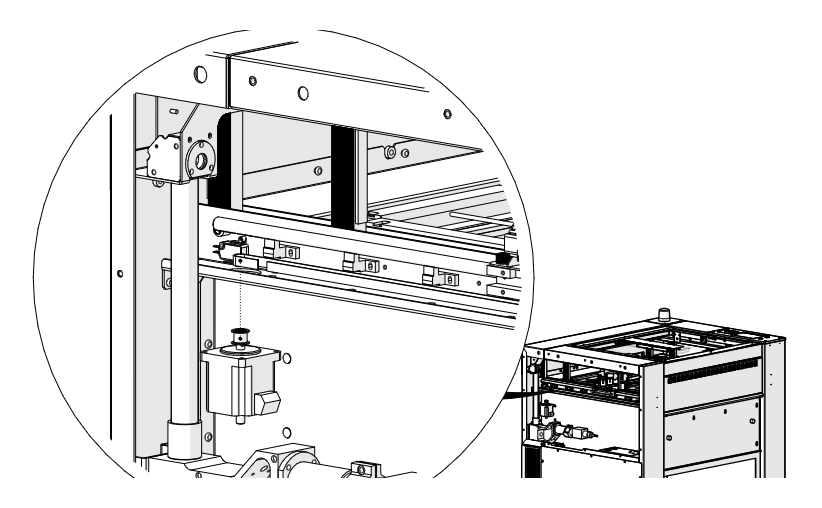
This guide covers replacing a y-axis home switch on the Fusion Maker, Fusion Edge and Fusion Pro 24 and 36. The roller-lever home switch is mounted at the rear of each y-axis assembly. Parts Required LC0047 – Switch, Y-Home, Roller Lever Tools Required 5/32" Allen Wrench Phillips Screwdriver Safety First: (...)
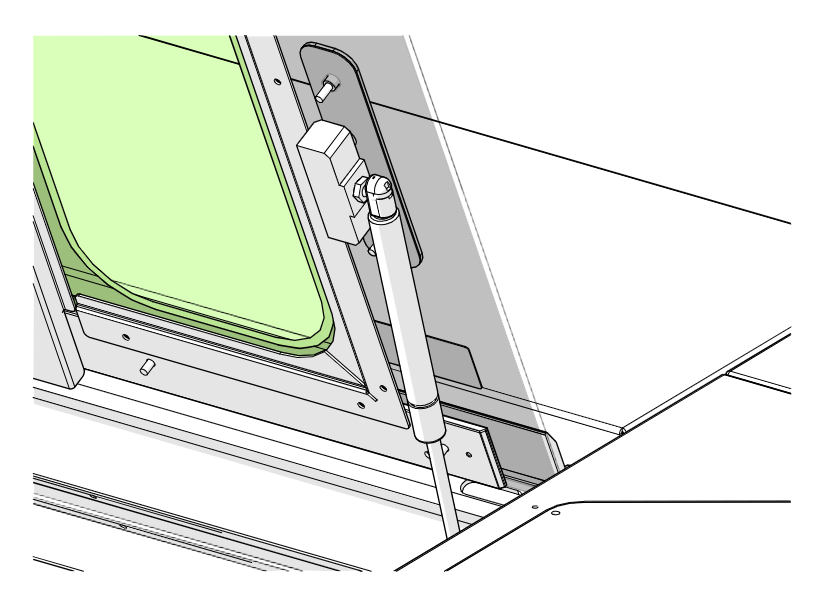
Top Door Gas Shock Replacement – Fusion Maker, Edge, Pro 24 & 36
This guide covers replacing a top door gas shock on the Fusion Maker, Fusion Edge and Fusion Pro 24 and 36. The gas shock snaps onto ball studs and is held by a locking clip at each end. Parts Required LC0589 – Gas Spring, 15x6mm Tools Required Small Flathead Screwdriver (...)
Power Supply Replacement – Fusion Maker, Edge, Pro 24 & 36
This guide covers replacing the power supply on the Fusion Maker, Fusion Edge and Fusion Pro 24 and 36. It has separate procedures for the Edge 12, the Edge and Pro 24 and 36, and the 48V-to-24V fiber power supply used on fiber and dual source engravers. Parts Required LC0403 (...)
Y-Axis Bearing Block Assembly Replacement
This guide covers replacing a y-axis bearing block assembly on the Fusion Maker, Fusion Edge and Fusion Pro 24 and 36. The x-axis assembly is lifted off the bearing blocks, and the y-axis assembly is removed from its guide rail supports. Parts Required Y-axis bearing block assembly (varies by model) (...)
Table Switch Board Replacement
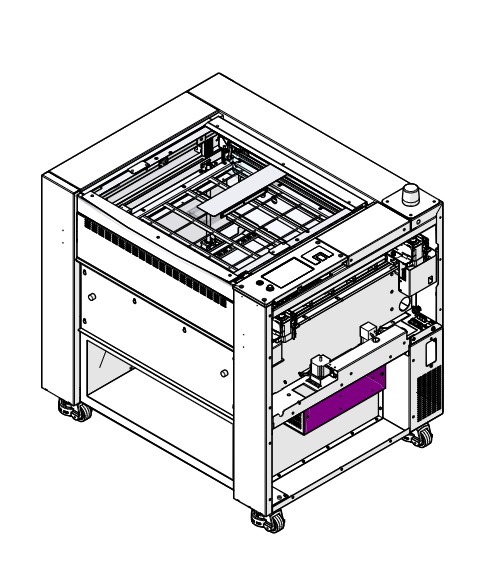
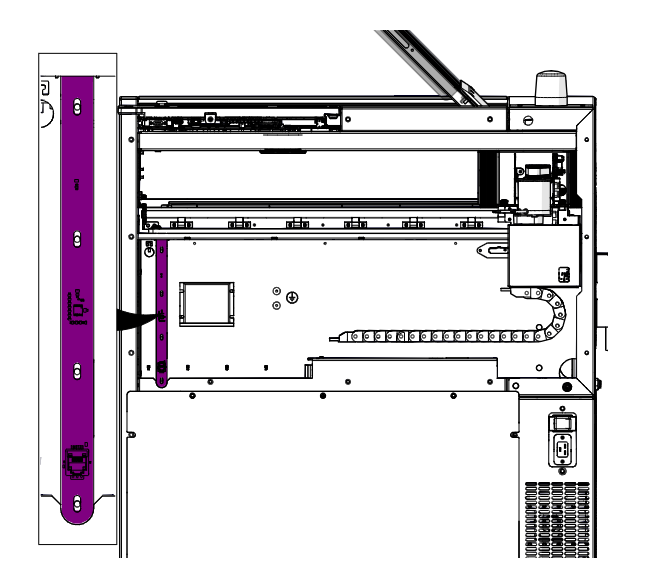
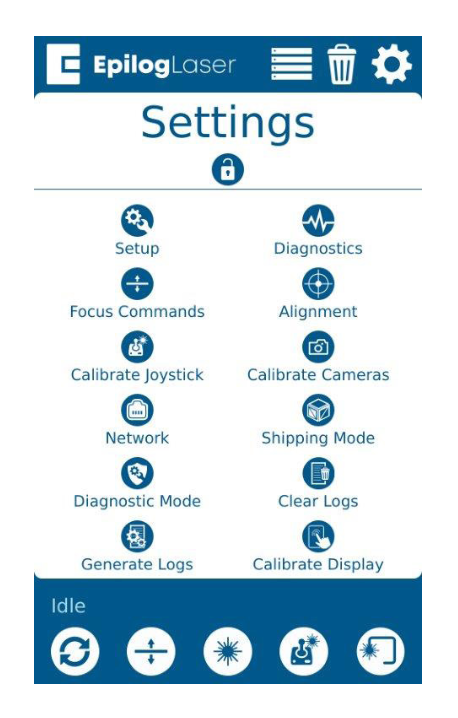
This guide covers replacing the table switch board (z-axis PCB) on the Fusion Maker, Fusion Edge and Fusion Pro 24 and 36. The board is mounted at the front right of the engraver. After replacing it, the focus calibrations must be completed. Parts Required LC0802 – PCBA, Z Switch (24 (...)
Updating the IRIS Camera System
This guide covers updating the IRIS camera system software from the display on the Fusion Maker, Fusion Edge and Fusion Pro 24, 32, 36 and 48. Parts Required None Tools Required None When to Update The camera update refreshes the software the IRIS camera system runs on. No internet connection (...)
Air Assist Tubing Replacement – Fusion Maker, Edge, Pro 24 & 36
The Air Assist (AA) Tubing in your engraver plays a crucial role in ensuring optimal performance by directing a stream of air to the engraving area. Over time, this tubing may wear out or become damaged, necessitating a replacement. This guide provides a step-by-step process for safely removing and installing (...)
X-Axis Reducer Belt Replacement – Fusion Edge, Pro 24 & 36
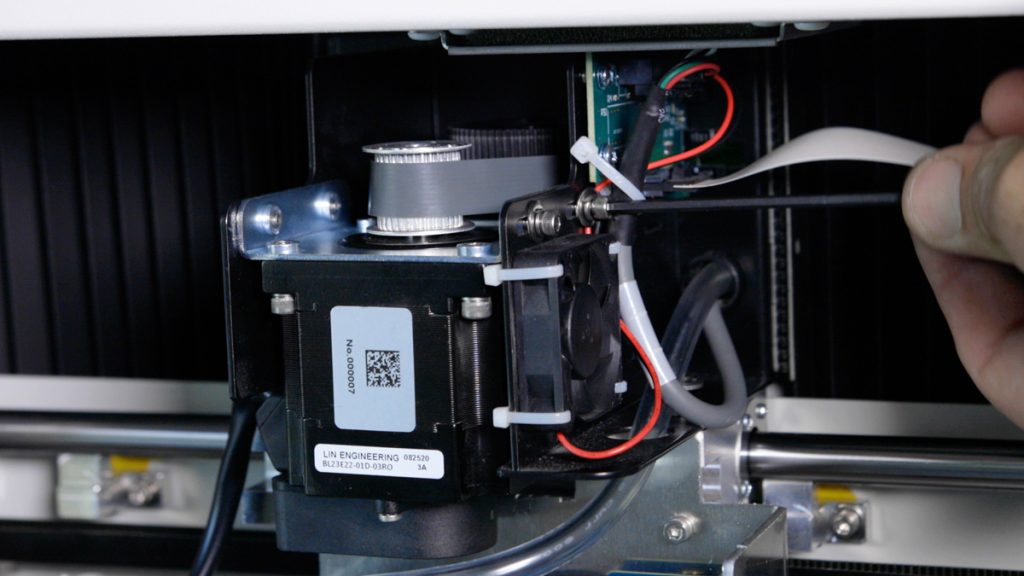
The X-Axis Reducer Belt is a crucial component in ensuring the smooth and precise movement of the engraving machine. Over time, it may require replacement due to wear and tear, ensuring that the engraver continues to perform at optimal efficiency. This guide provides step-by-step instructions for safely removing and installing (...)