Estimated time: 10–15 minutes • Skill: Basic
This guide explains how to install the strain relief kit on the lens carriage of your Epilog Laser system. The kit includes a harness clamp and mounting hardware designed to guide and secure the autofocus and camera cables as they move with the lens carriage. By installing this kit, you’ll reduce cable strain, prevent mechanical stress, and improve the long-term reliability of your machine’s internal wiring.
To complete this process, you’ll need a Phillips head screwdriver and a 3/32″ hex key. Follow the step-by-step instructions below and refer to the photos for visual guidance. The installation takes approximately 10–15 minutes and requires only basic tools and skills.
Installation
-
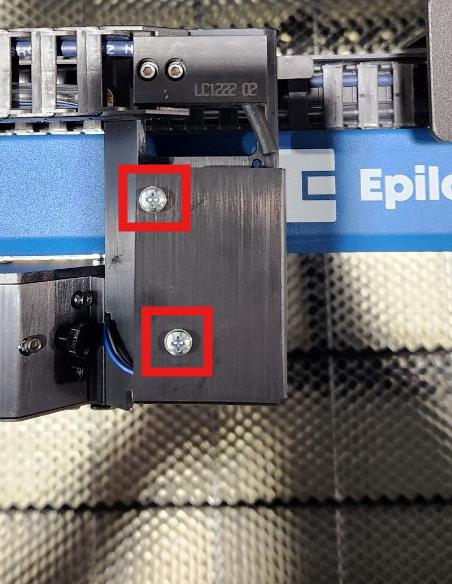
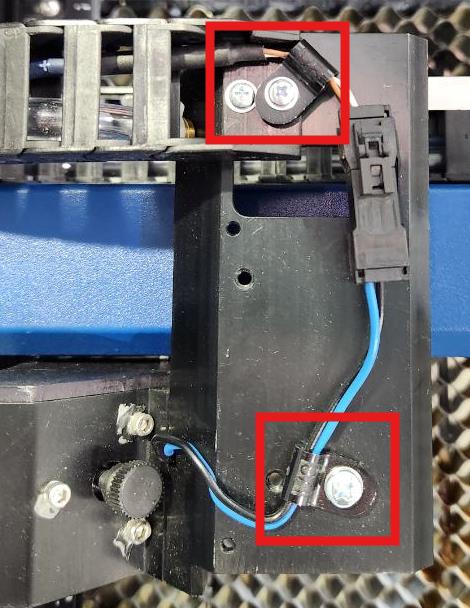
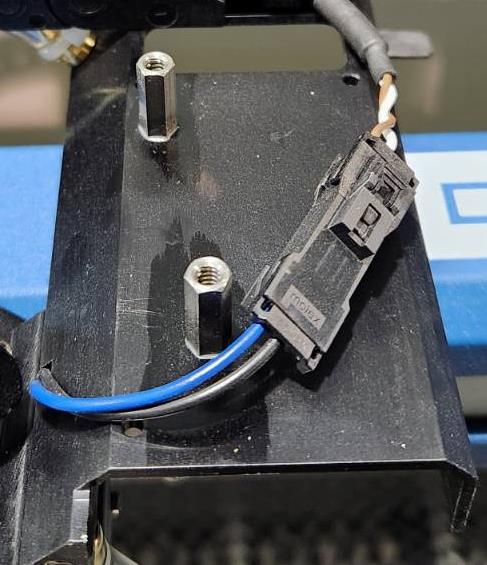
Remove screws and cable clamps.
Remove 3–4 Phillips head screws and any cable clamps securing the harness to the lens carriage.

-
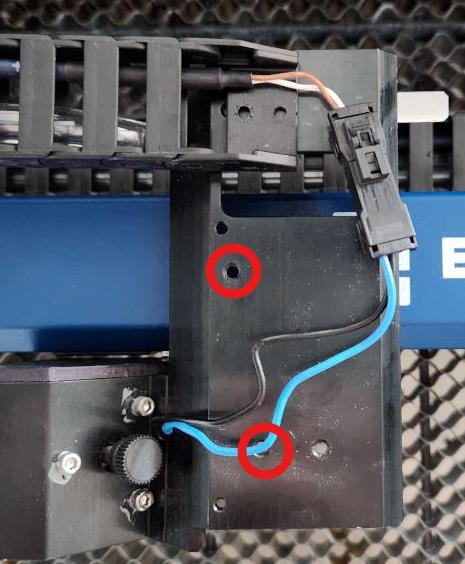
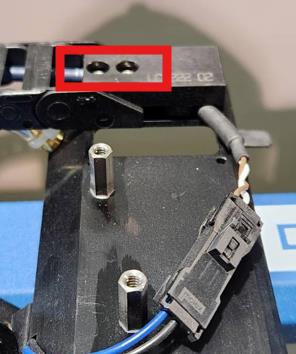
Install standoffs.
Install and tighten the two standoffs into the indicated holes on the carriage.
-
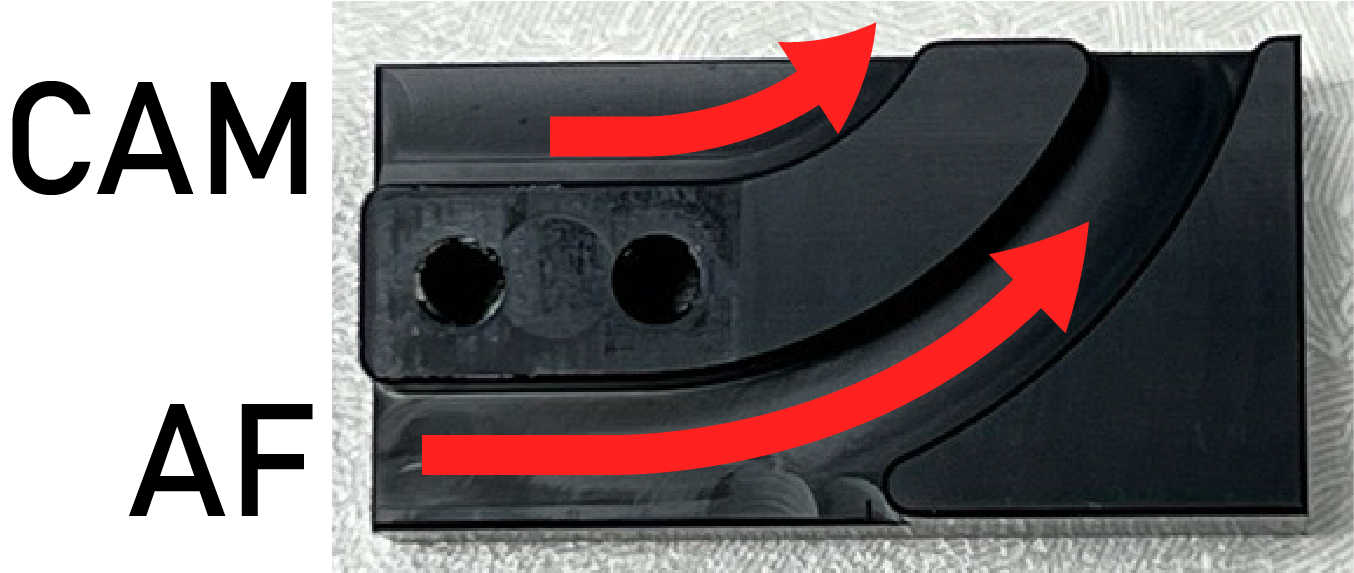
Position the harness clamp.
Set the harness clamp over the cable(s), ensuring each cable is fully seated in its groove before securing.
Note: If you have a Pro model, there will be an additional camera cable that must be routed through the clamp. Make sure to include this cable in the additional clamp groove as shown in the images below.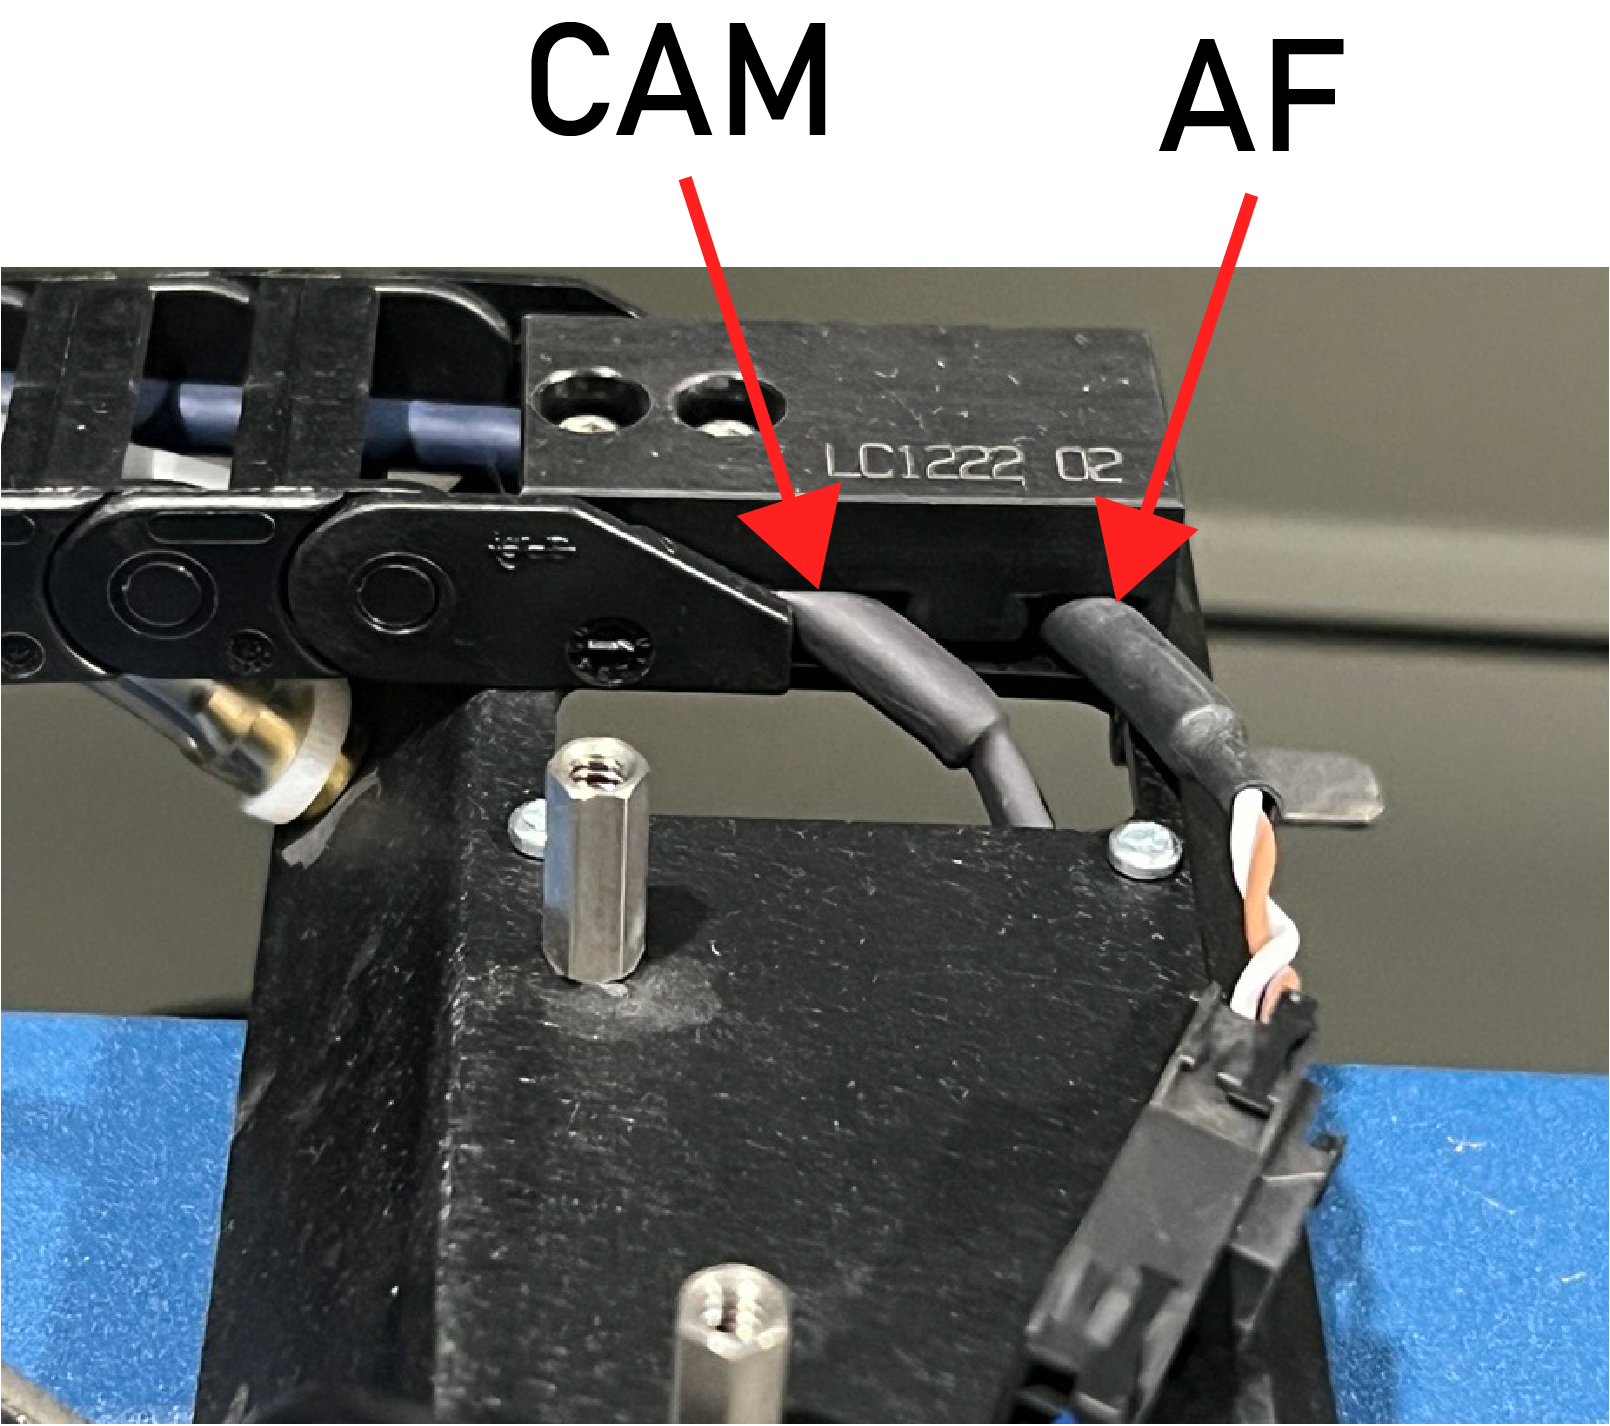
-
Fasten hex screws.
Install and tighten the two 3/32″ hex screws to secure the clamp to the standoffs.
-
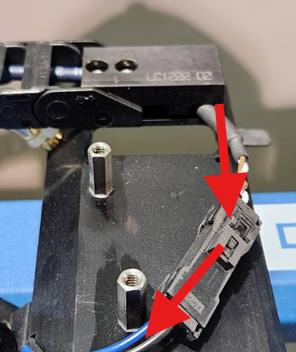
Route the harness.
Route the harness to the right of the two standoffs to prevent cable stress and allow full carriage travel.
-
Install beauty cover.
Place the beauty cover on the lens carriage and install the two Phillips head screws removed earlier.