This video looks at how to use the Fusion Pro’s IRIS™ Cameras to find printed registration marks to accurately cut preprinted acrylic artwork on your Epilog Laser System.
Setup Files
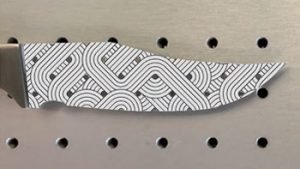
Here we have a sheet of keychains to cut out of an acrylic sheet we had preprinted with the flower design.

In CorelDRAW, you can also see the file we printed, along with the four registration marks printed at the corners of the design.

First, we’ll turn on the Objects docker by going to Window > Dockers > Objects.

There are three groups of objects: printing, cutting, and registration marks at the laser.

We’ll turn off the printing objects layer and turn off printing of that layer.
Next, we’ll turn on the view of the cutting objects and printing of that layer.
And repeat this process for the registration marks.

The registration marks for the laser are an outline of the printed black circles.
We’ll just use two here to save time when setting up the job.

Print the file to the laser.
Define Laser Settings
There are two processes: Engrave and Vector.

Click the Registration marks symbol for the Engrave layer.

On the Vector layer, import the settings for acrylic cutting 1/8”.

Click Send to Job Manager to continue with your project using the registration camera.
Connect Registration Marks
In the Job Manager, select the flower-keychains.cdr file in the uncategorized files section.

In the job preview window you will see a pink registration mark highlighted.

Find the corresponding mark in the camera view and select it.

Once selected, the second registration mark is highlighted. Choose the corresponding mark.

Now confirm that the outlines are roughly positioned over the actual cut lines and click Confirm.

The hunting routine will begin with the camera exactly positioning the artwork using the registration marks.

When the screen closes, it has been sent to the laser.
Run the Job
Select the flowers-keychain job at the laser and press the start button.

The laser will cut the keychains out of the acrylic precisely regardless of where the sheet is on the table.

And you have great personalized keychains ready to sell!