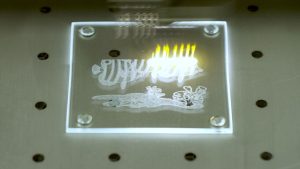
Welcome to your first project on your Fusion Pro laser! In your training site packet you received with your machine, you’ll find some sample pieces to work. For this project, we’ll start with the wood square.
We’re going to walk you through how to set up your first file in CorelDRAW. We’ll cover several concepts in this tutorial, including:
- Importing images
- Centering images
- Resizing images
- Adding and formatting text
- Zooming in and out on the workspace
- Keyboard shortcuts
- Printing to the laser
Setting Up Your Page
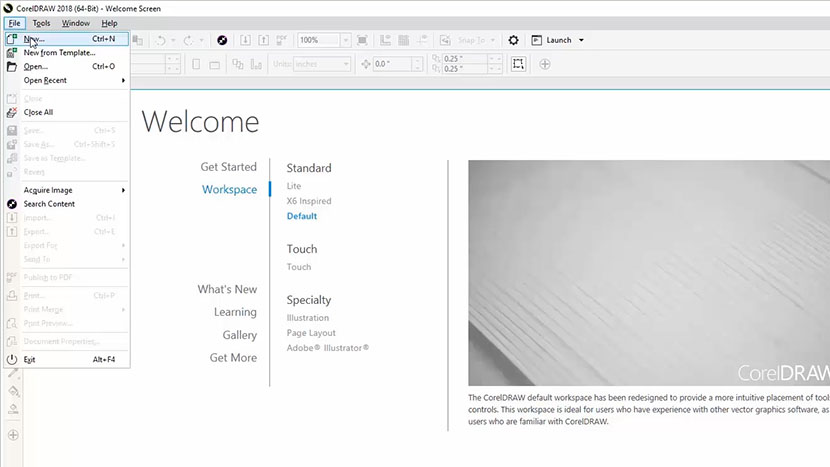
Let’s start by creating a new file in CorelDRAW. Click File in the menu bar at the top of the screen. Then select New from the drop-down list.
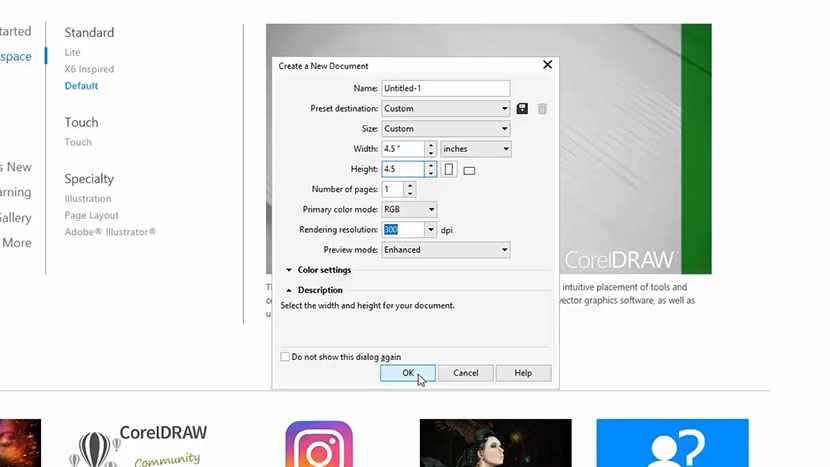
Now enter your page size. Enter 4.5” for the page width and 4.5” for the page height. Then click OK.
Importing and Resizing a Graphic
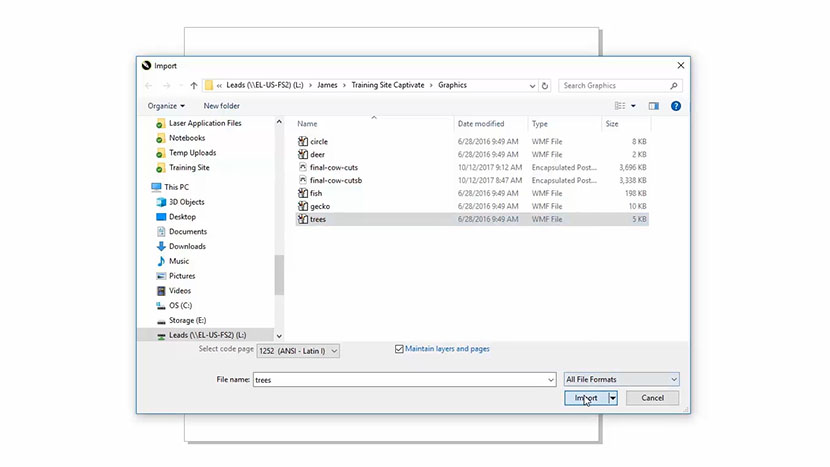
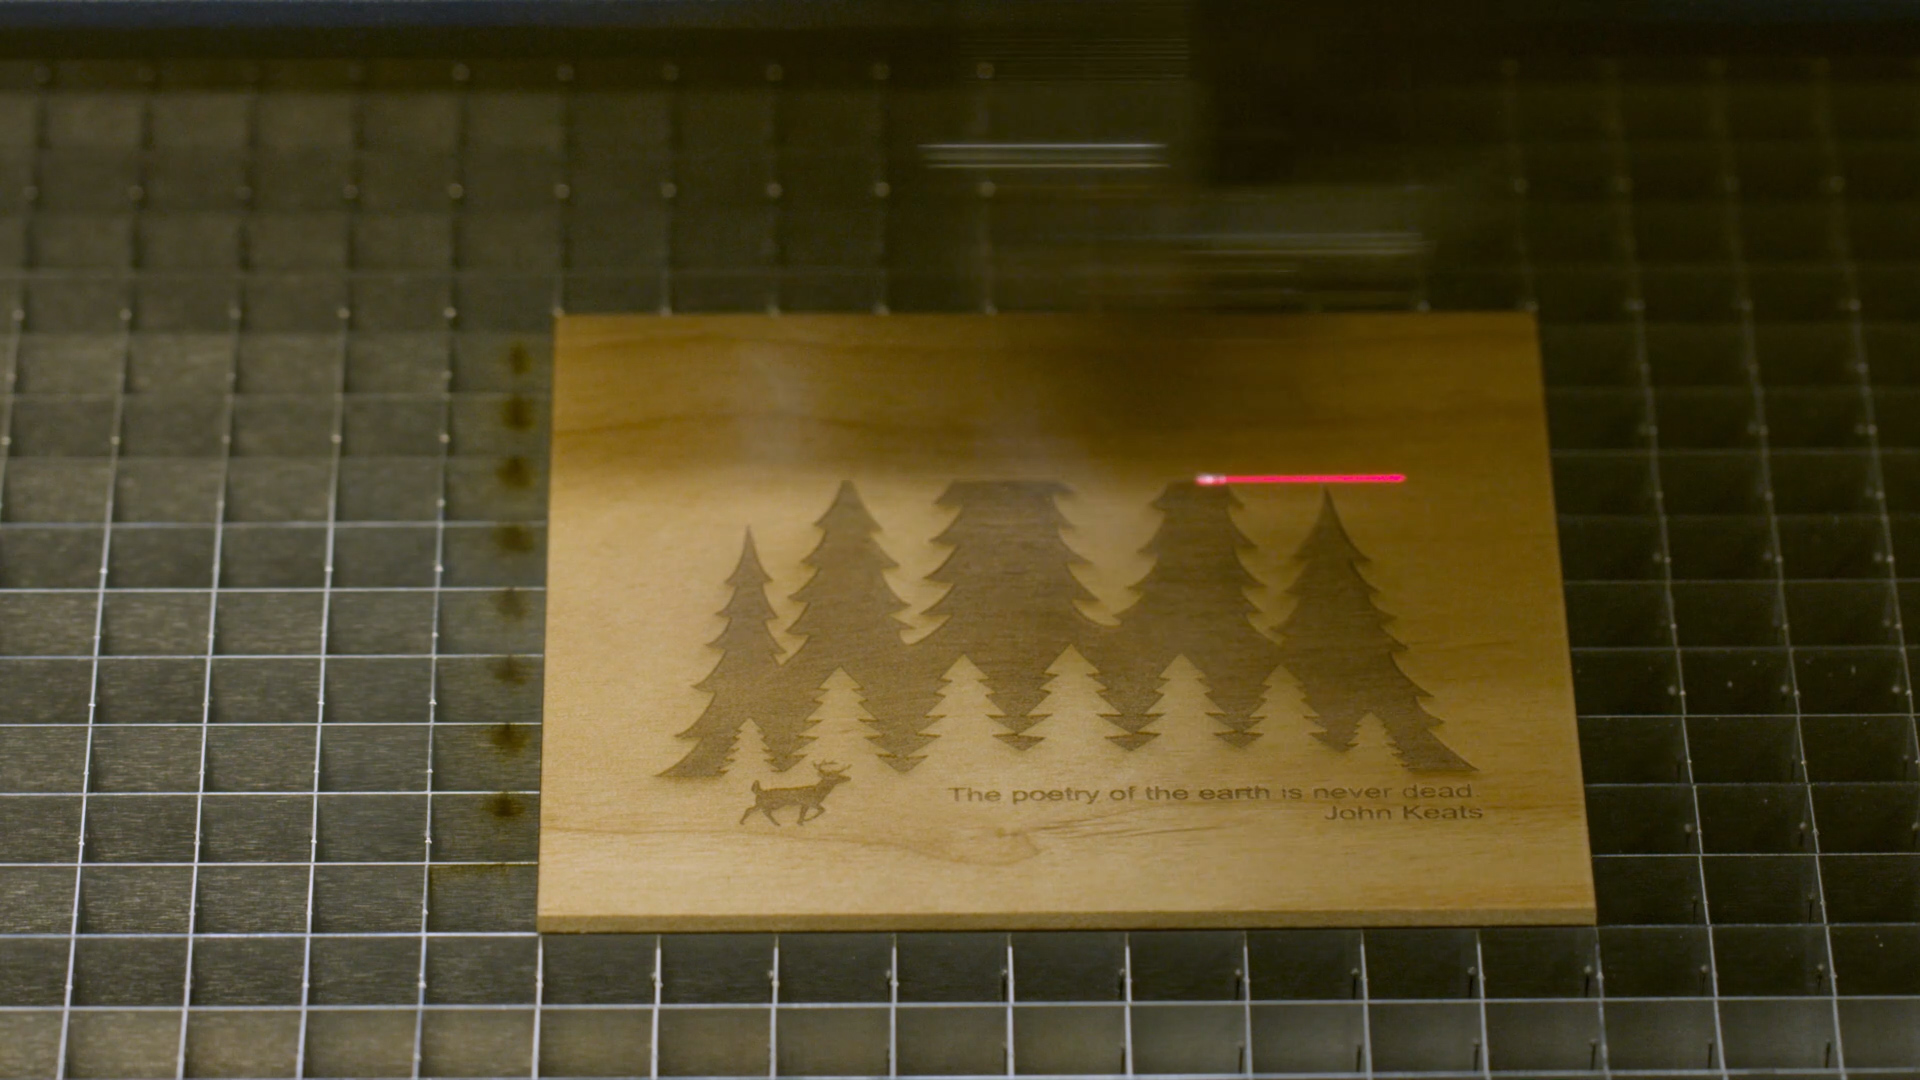
Now we’re going to import a graphic onto the page. For this example we will use trees.wmf, but you can use any graphic you prefer.
Start by clicking File at the top of the screen, then select Import from the dropdown menu.
Navigate to the file you’d like to Import and select the file, then click the Import button.
Now, click anywhere on the page to place your graphic.

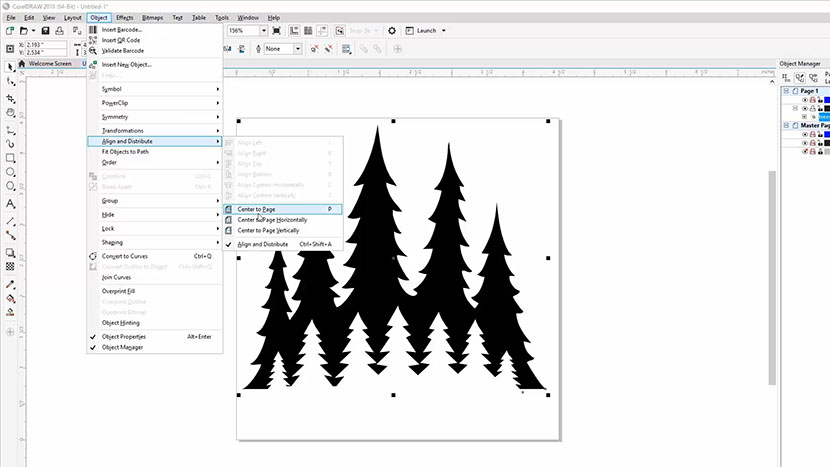
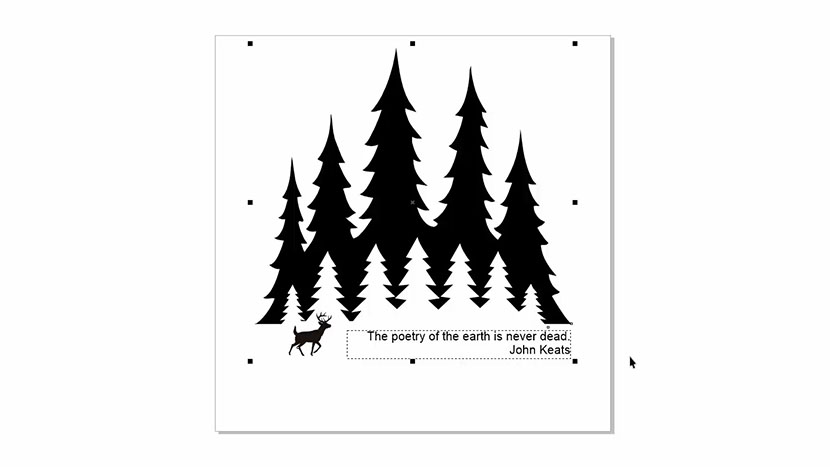
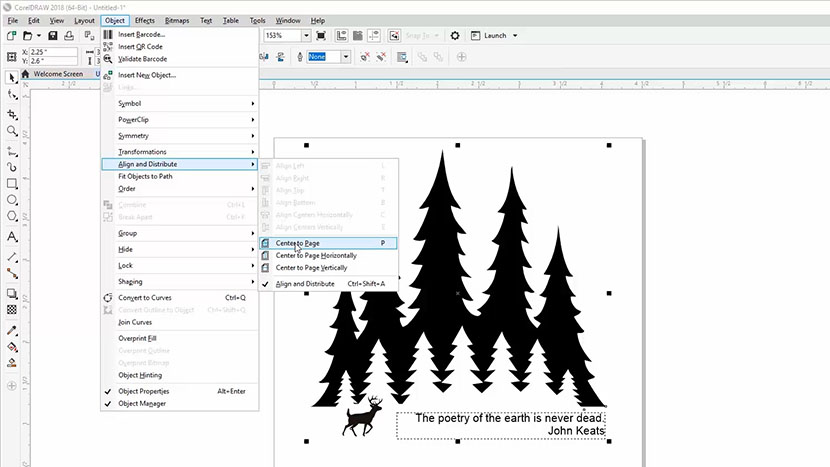
To center the image on the page, select Object from the menu bar.
Then select Align and Distribute, then Center to Page.
Now we’ll click and drag on the bottom right sizing handle to resize the image, and make it smaller. By holding down the shift key then clicking on the handle and dragging, we can keep the proportions of the image the same.

Next we’ll reposition the image by moving it up by about 1” on the page by clicking on the graphic and dragging it up.

Importing a Second Graphic
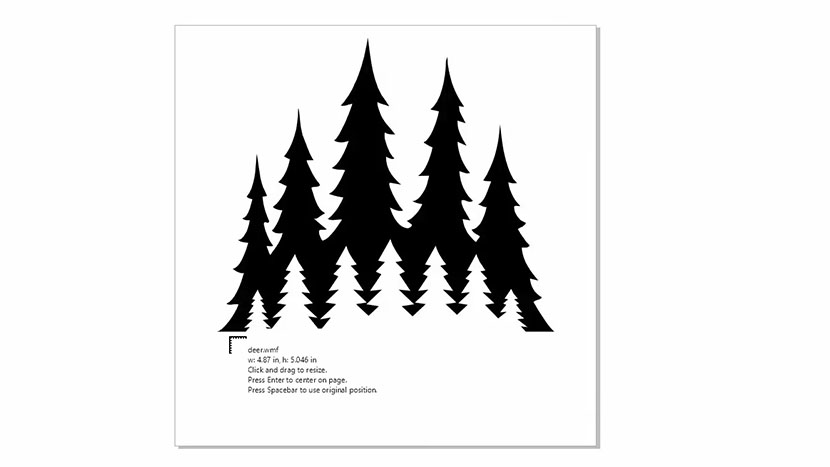
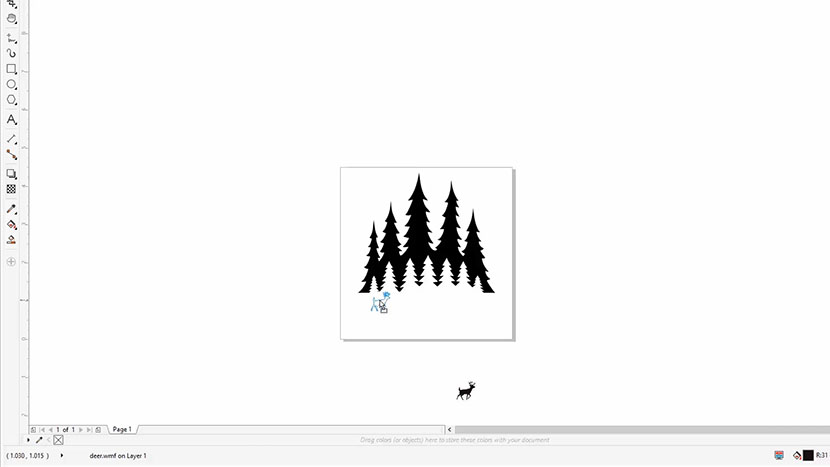
Now let’s import another image. Go to File > Import, and we’ll choose the deer file (deer.wmf). Then Press the Import button.

Click anywhere on the page to place the graphic.
This time we’ll use another way to resize the deer. Click the Lock Ratio button to keep the dimensions the same as we resize the graphic.
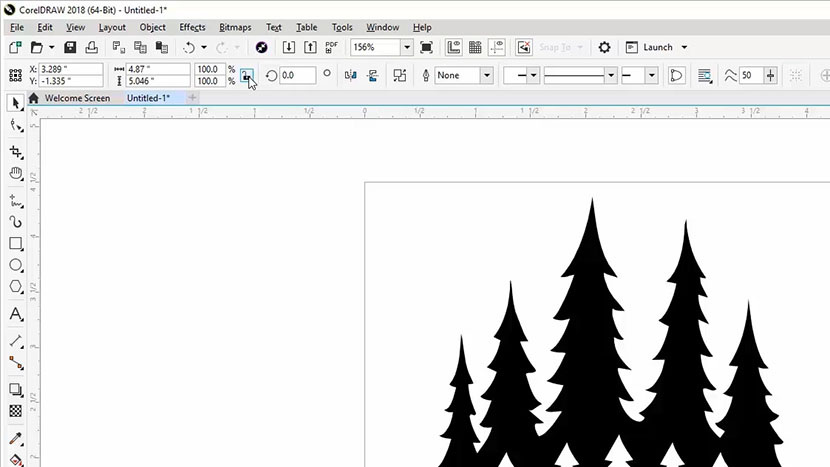
Enter 10% as the scale factor and press Enter to resize the image to 10% of its original size.
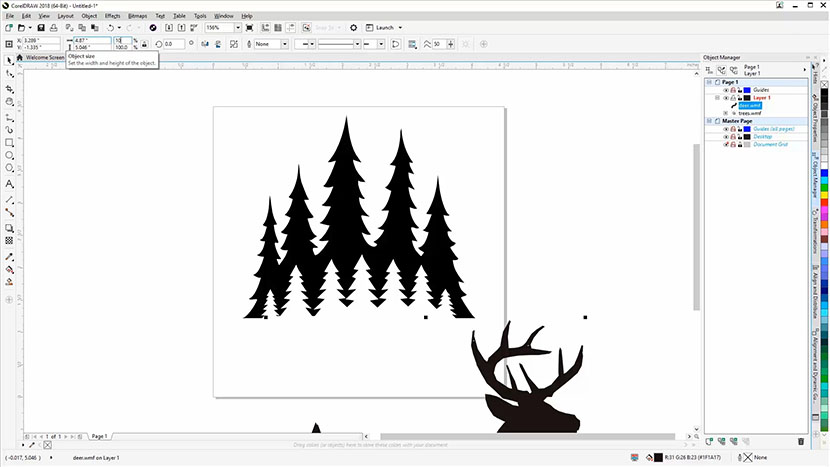
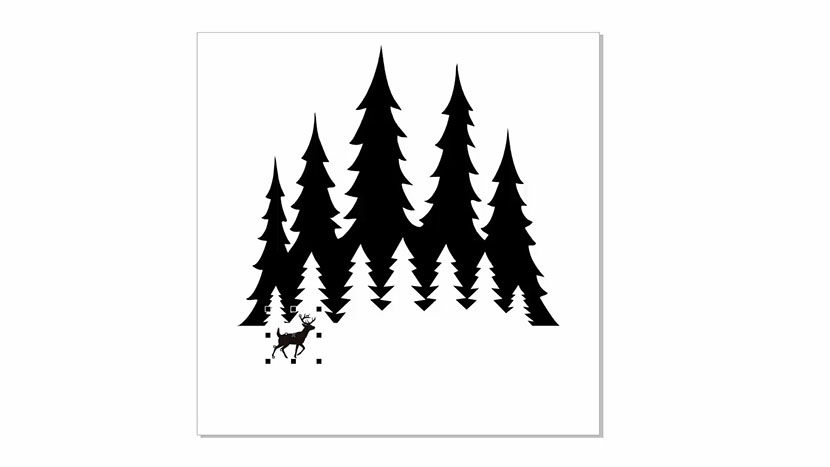
We’ll position the deer image to the bottom left side of the trees.
Adding Text to the Artwork
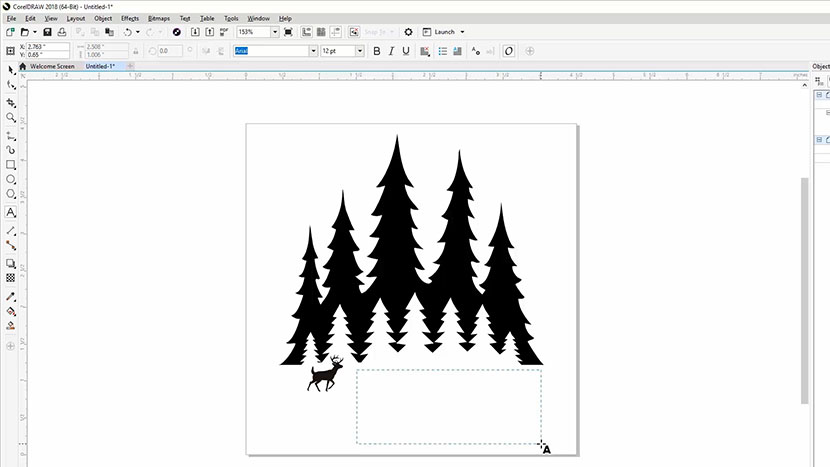
Now we’re ready to add text. Click on the text tool in the tool bar on the left.
Create a text box by clicking and dragging a rectangle next to the deer.
We’ll enter our text “The poetry of the earth is never dead.” Then press Enter and type “John Keats”.
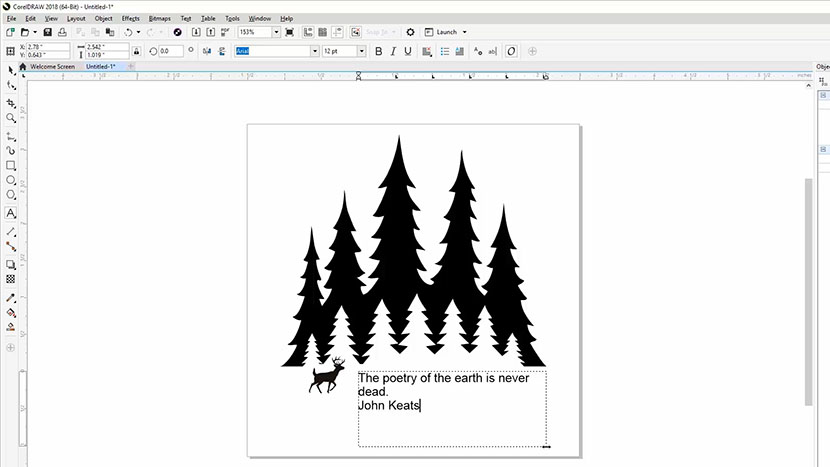
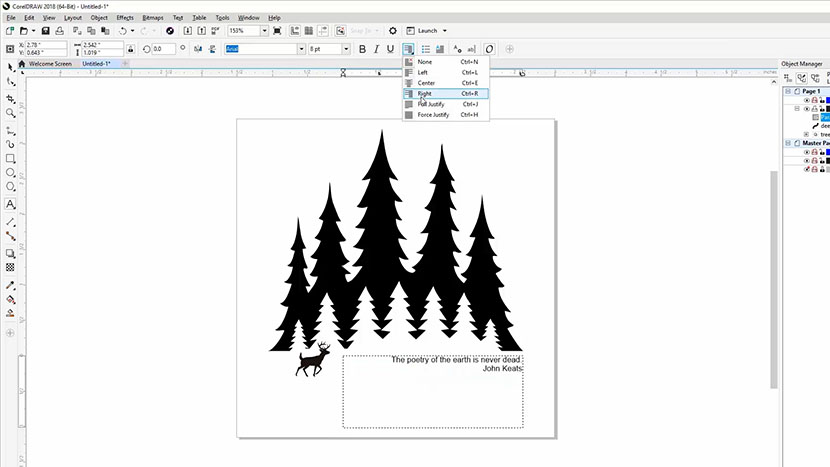
Select the pick tool, select the text, and then change the font size to 8 pt.
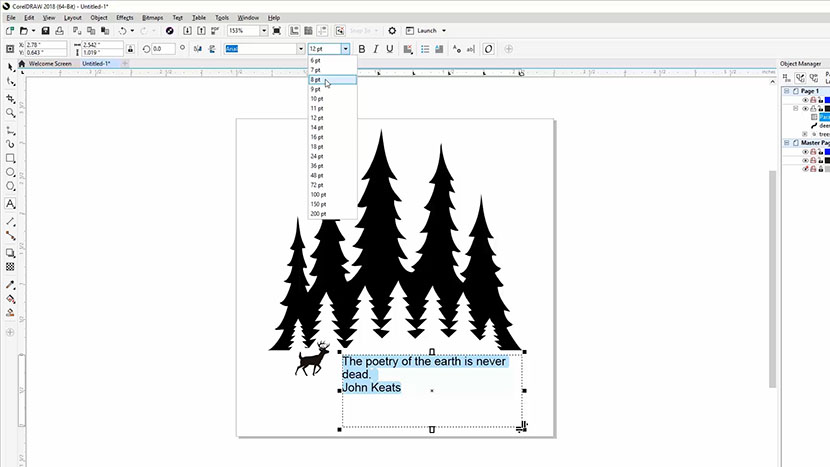
Next select the right justify option to align the text to the right side of the text box. 8 pts. is a little small so we’ll go ahead and change that to 10 pts.
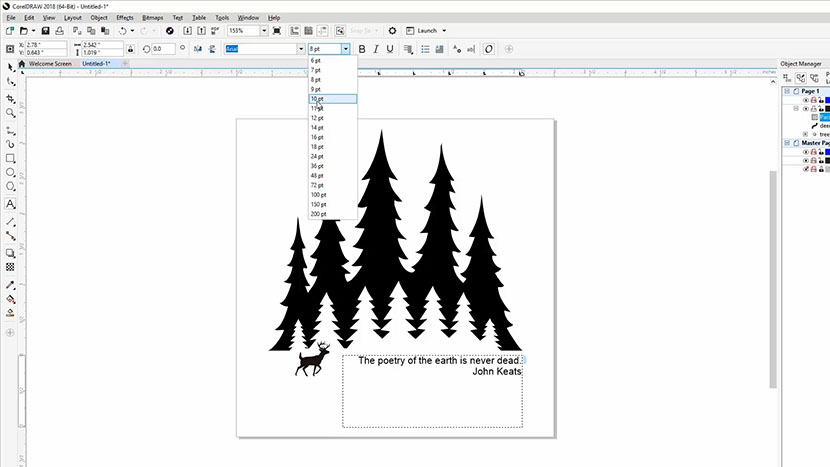
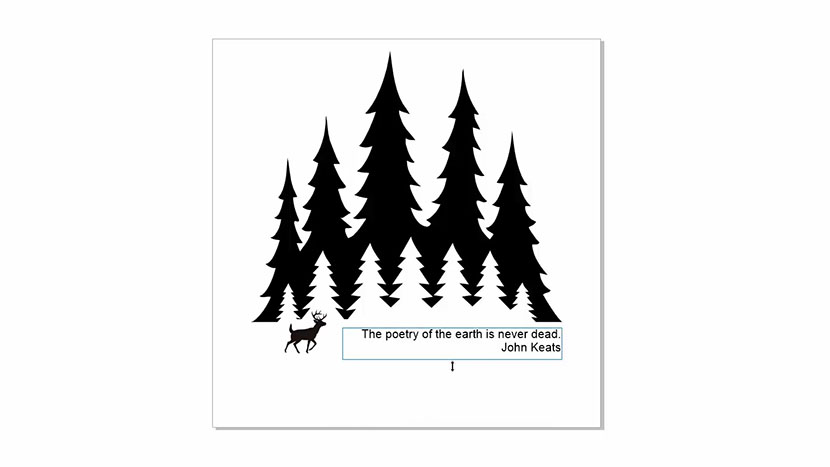
Before we move on let’s make the text box a little smaller. Select the Pick Tool, then click on the text box. Now click on the bottom middle sizing handle and drag it up to make the text box a little smaller.
Selecting, Grouping, and Resizing
Press Ctrl and A to select everything on the page.
Next we’ll group the items so they all stay together when we make changes. Click Object in the menu bar, then Group, then Group Objects.

Now we’ll center the images. Click Object, Align and Distribute, Center to Page.
Creating a Cut Line
Now let’s create a cut line. Click the rectangle tool, and then click and drag a rectangle around the image.

We’ll center the box we’ve drawn by using the shortcut of pressing the letter P on the keyboard. This will center the box to the page.
At the Laser
Next we’ll print the file to the laser.
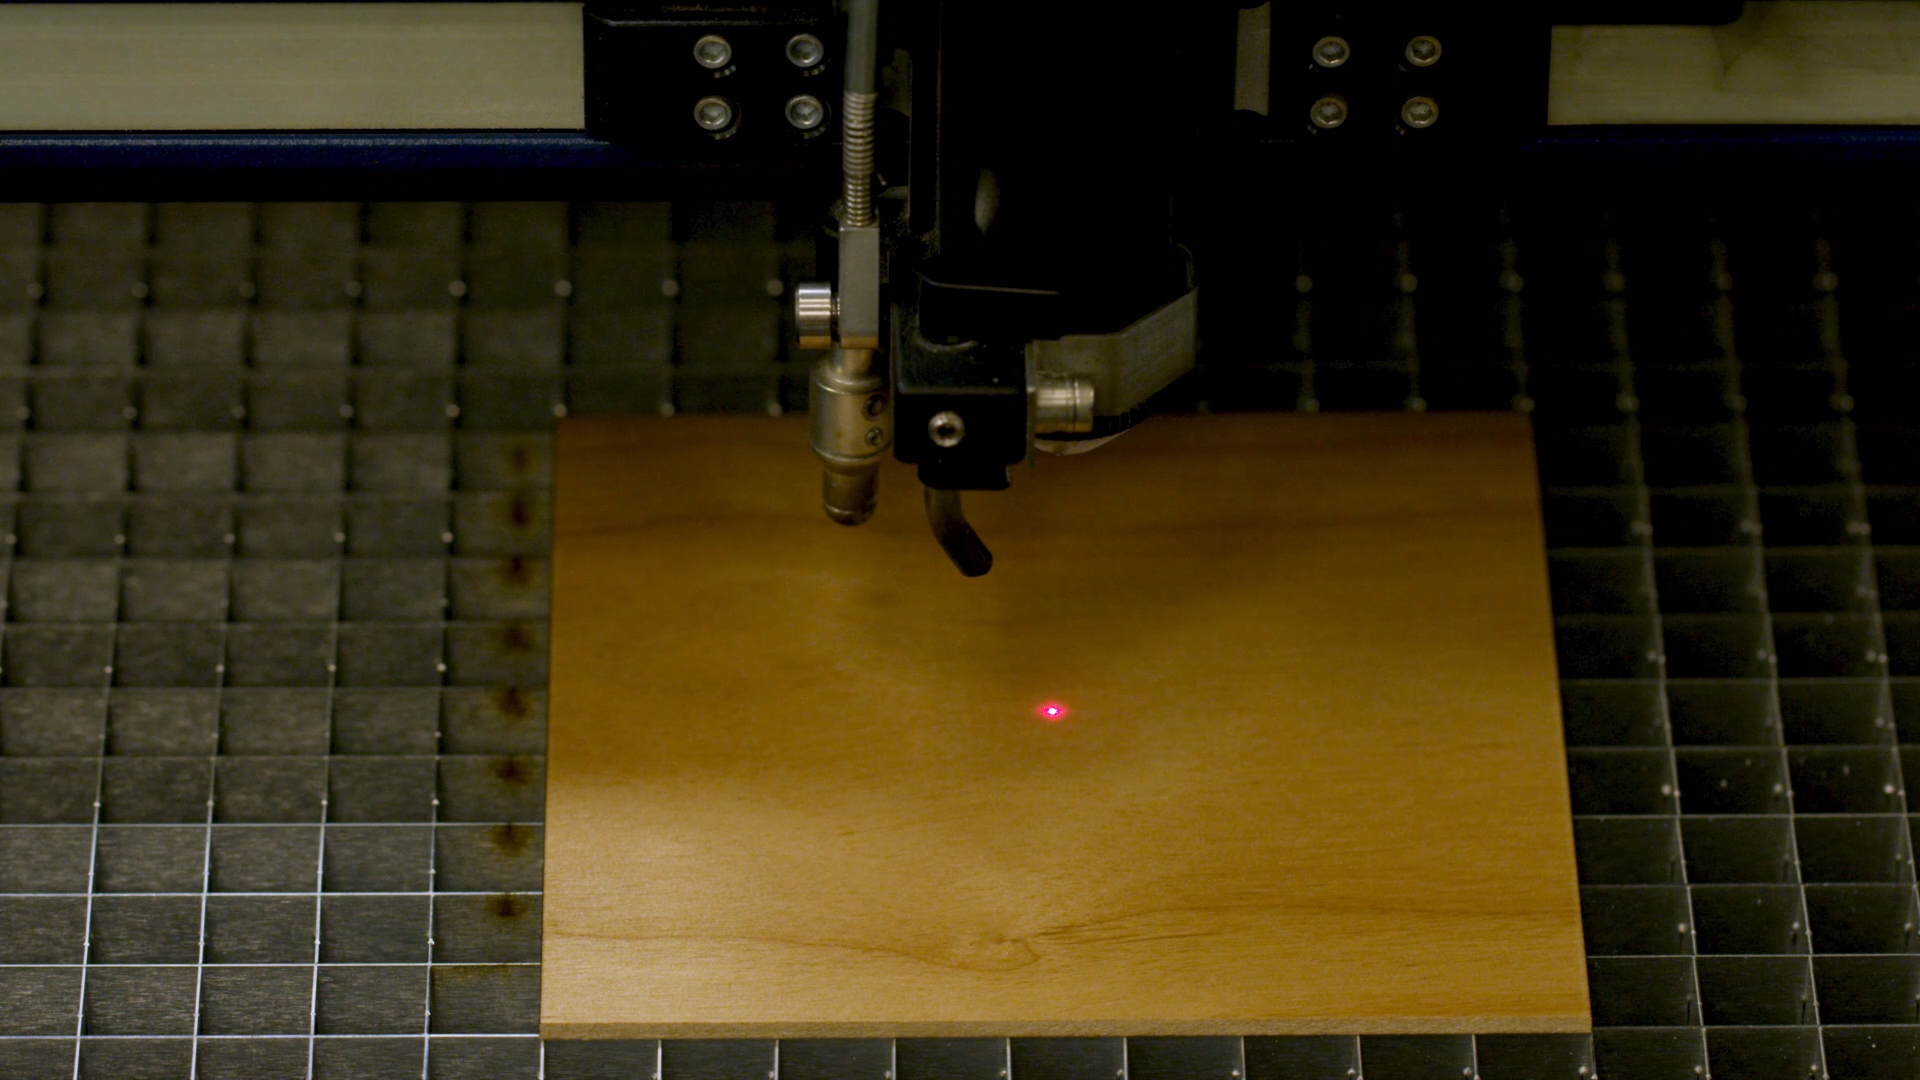
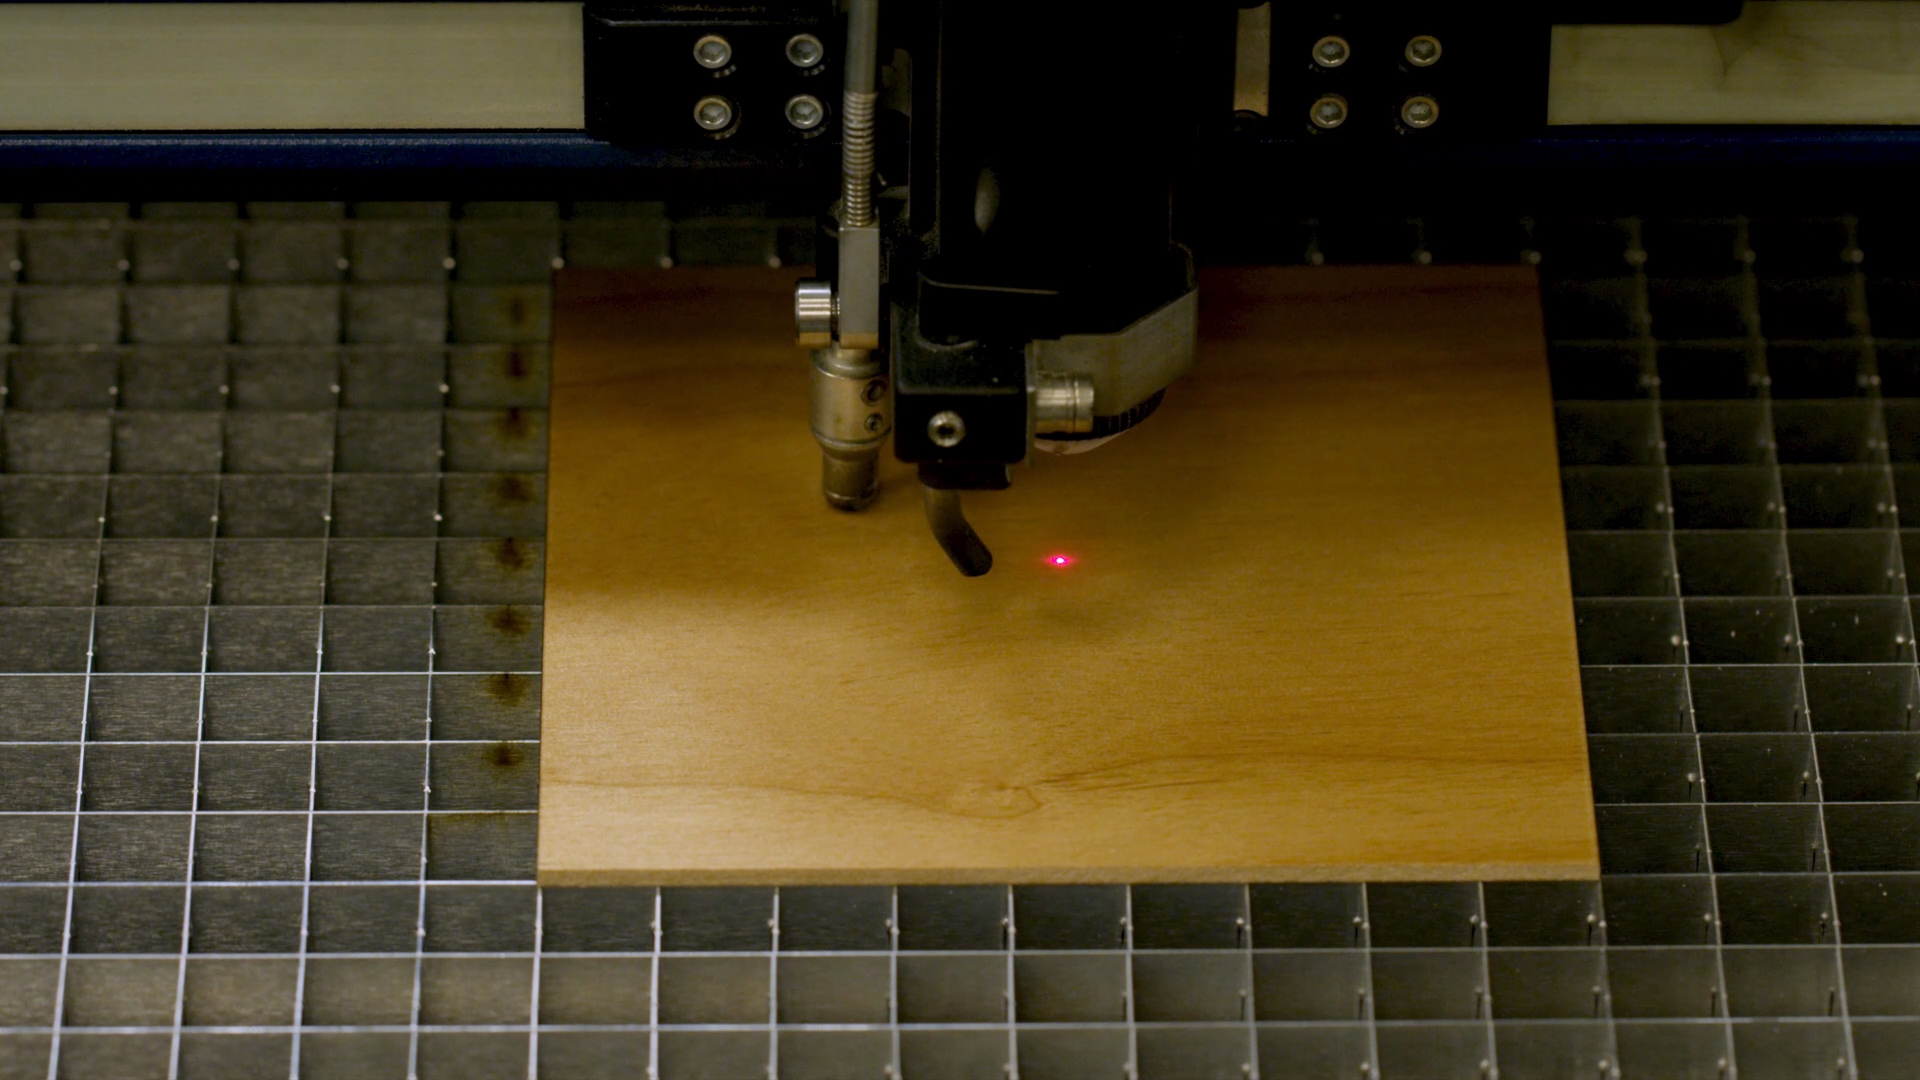
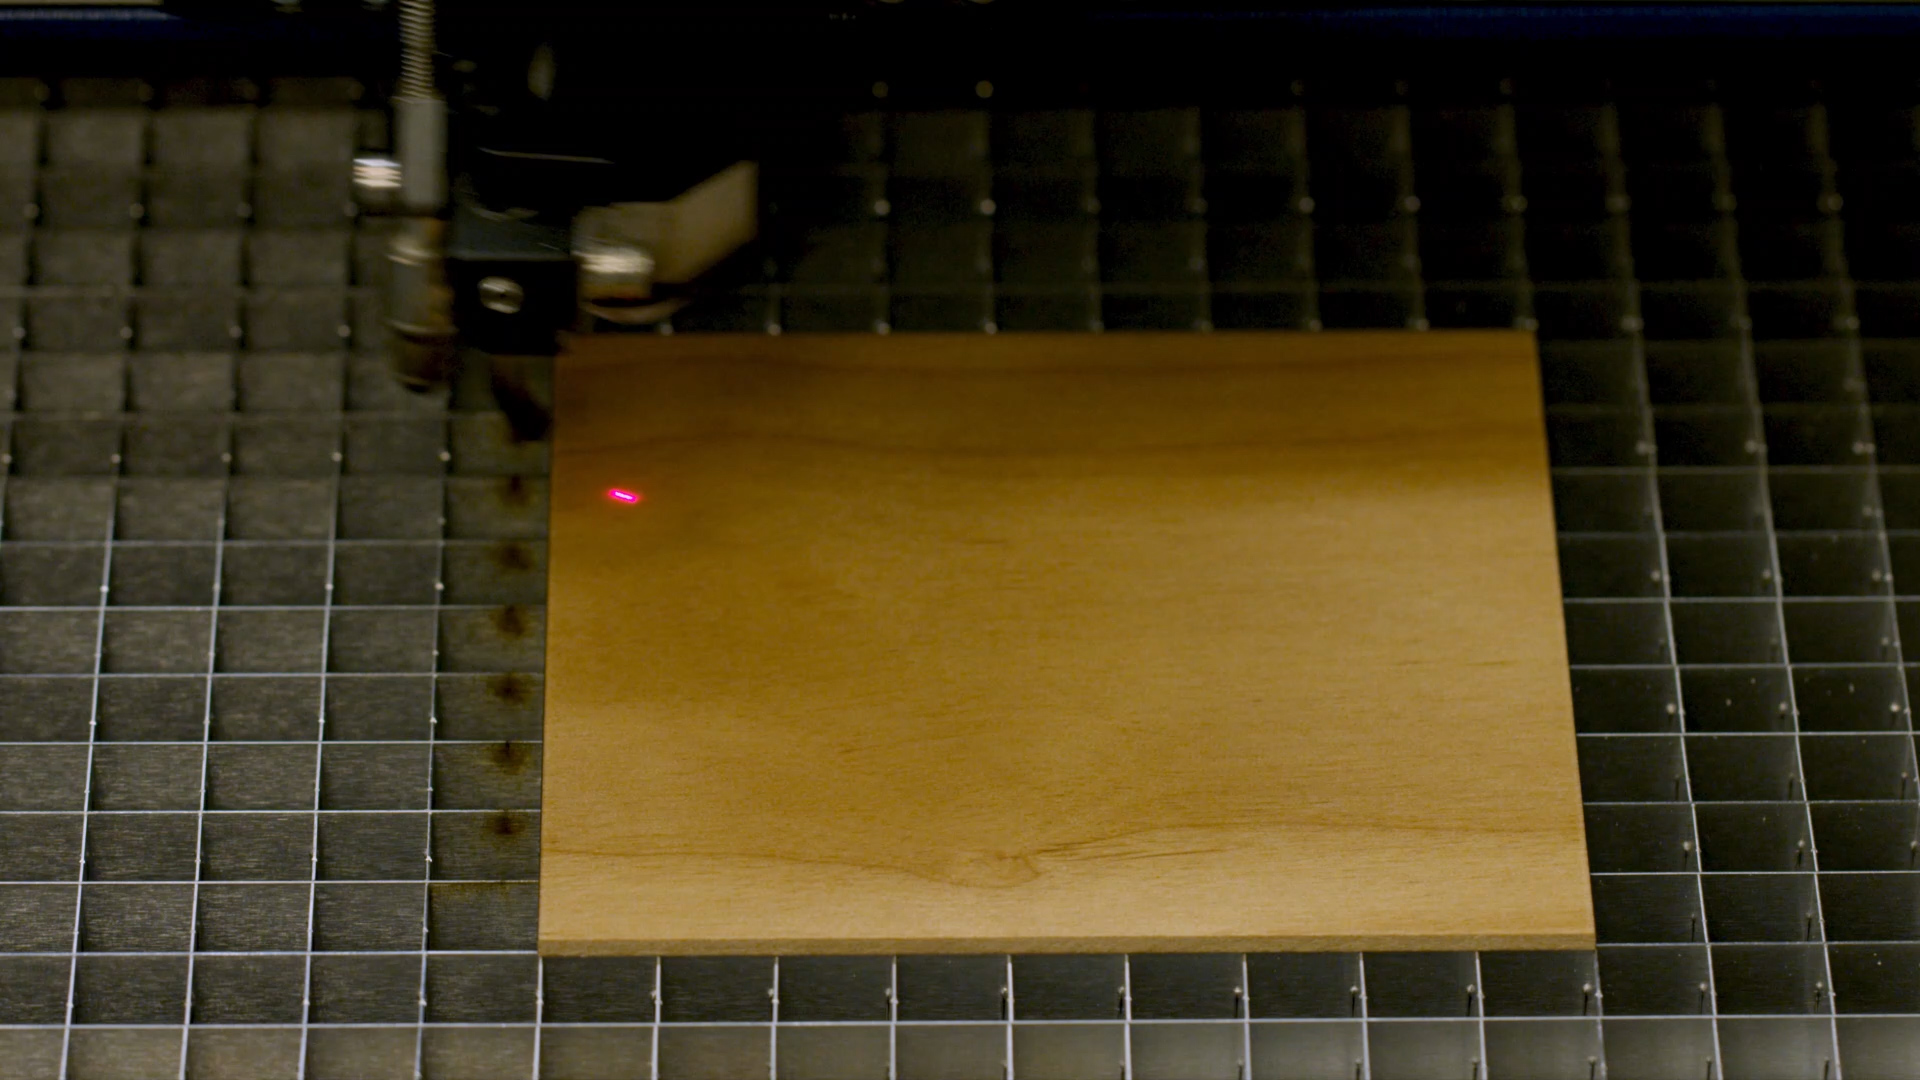
At the laser, we’ll place the 4” wood square onto our work area.
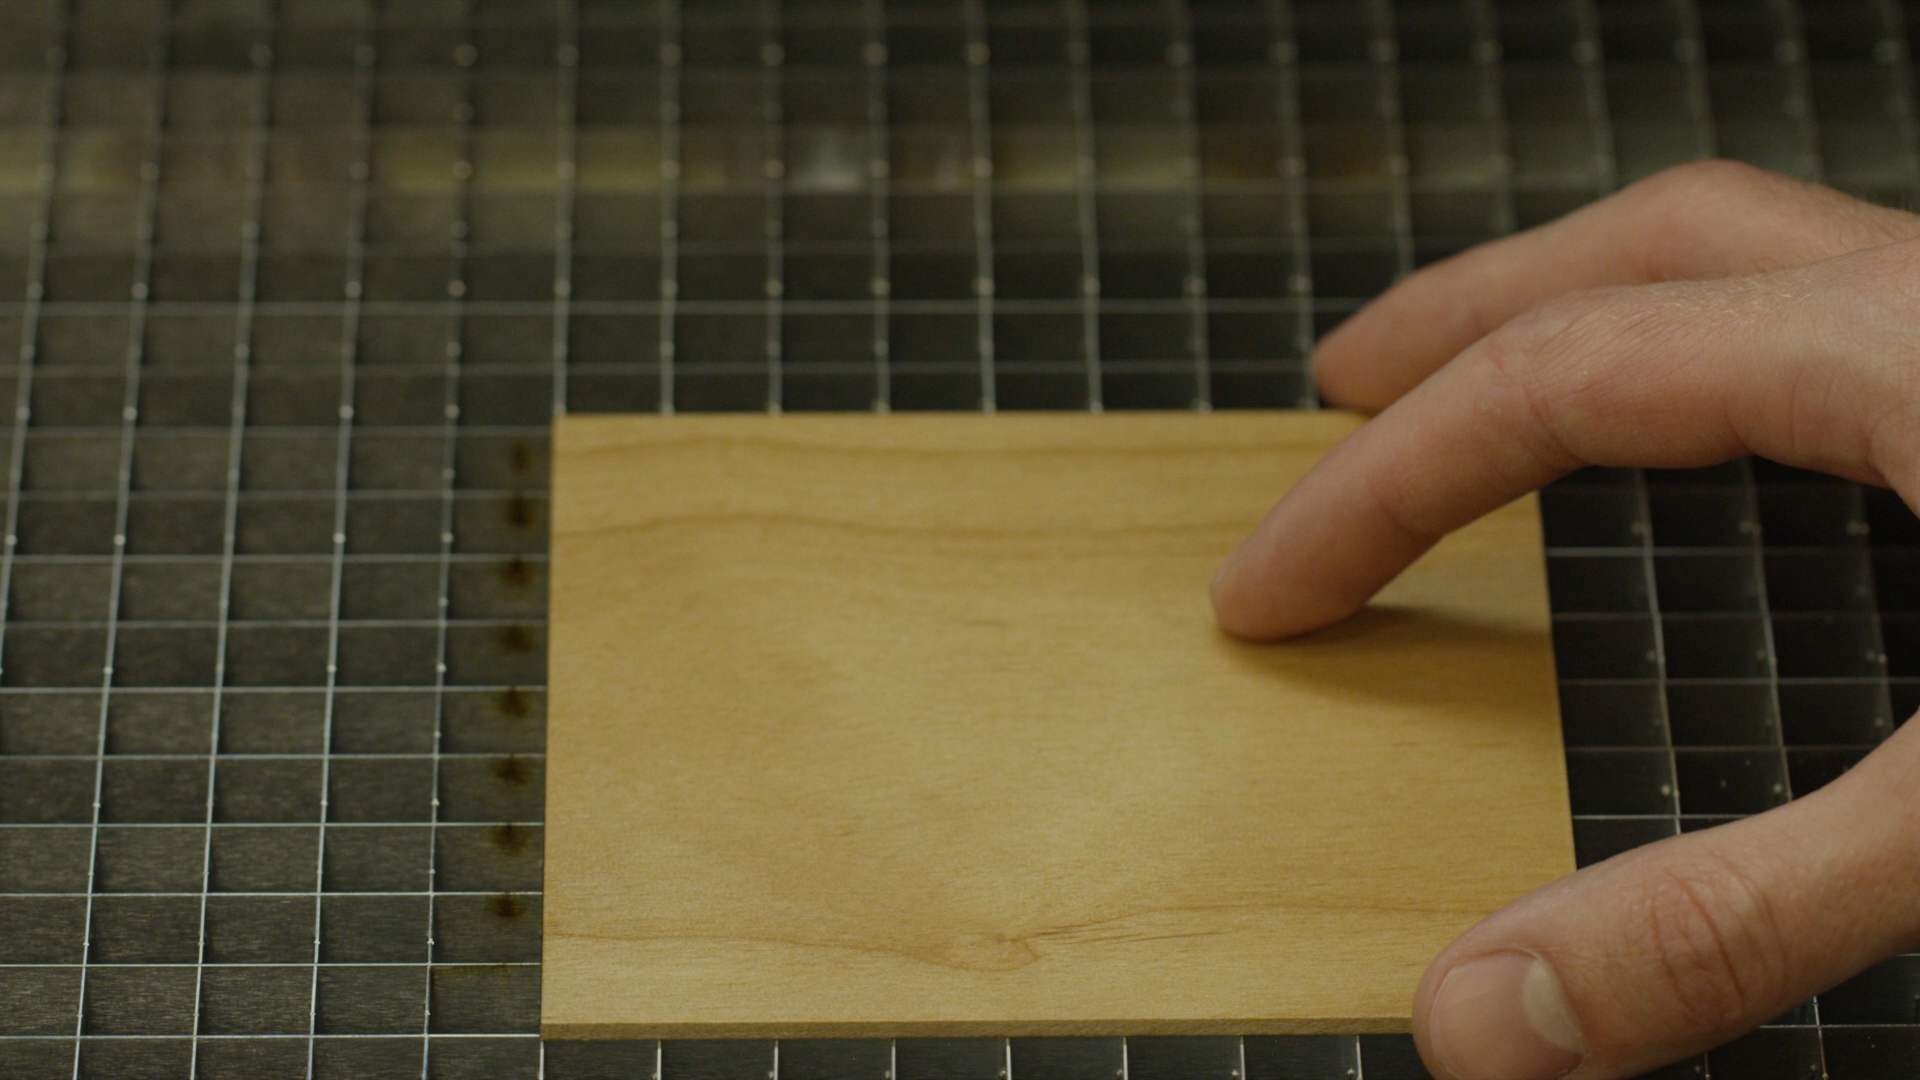
For the best results, place the square under one of the overhead IRIS positioning cameras.
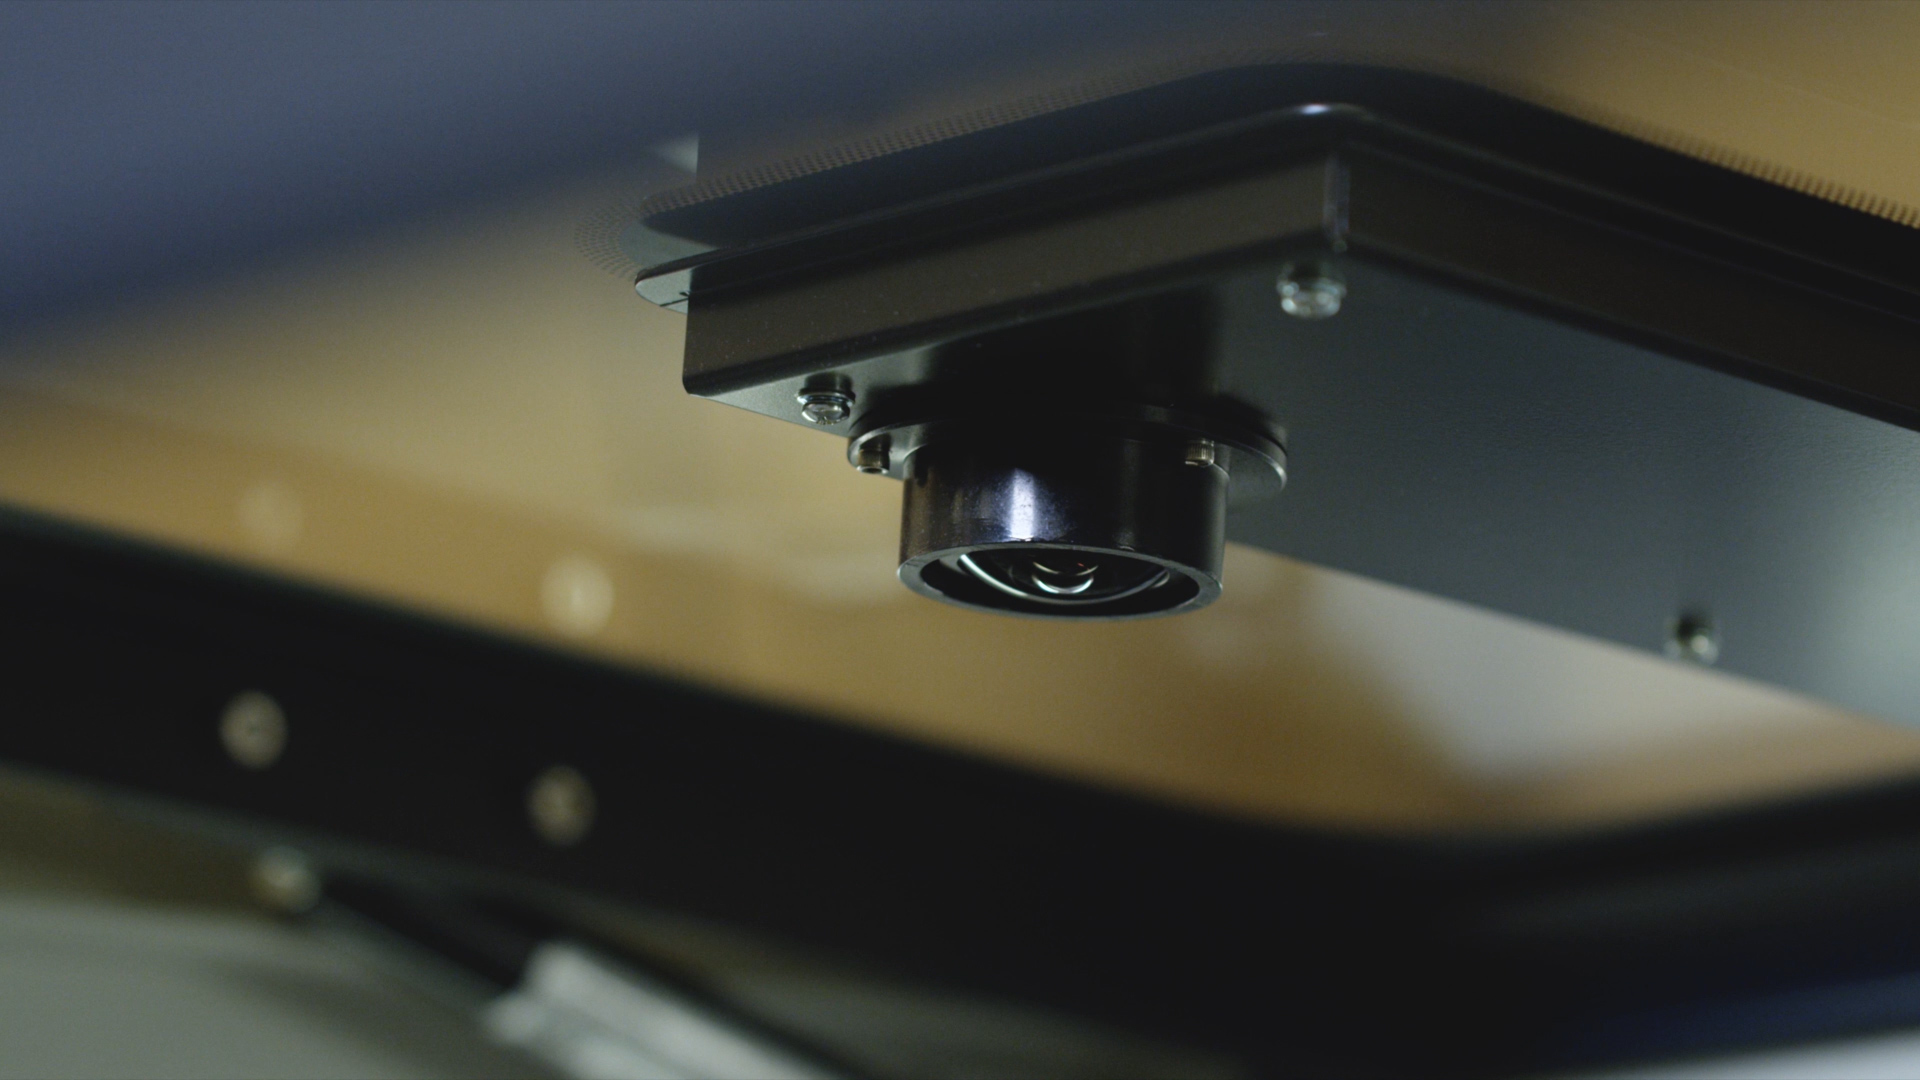
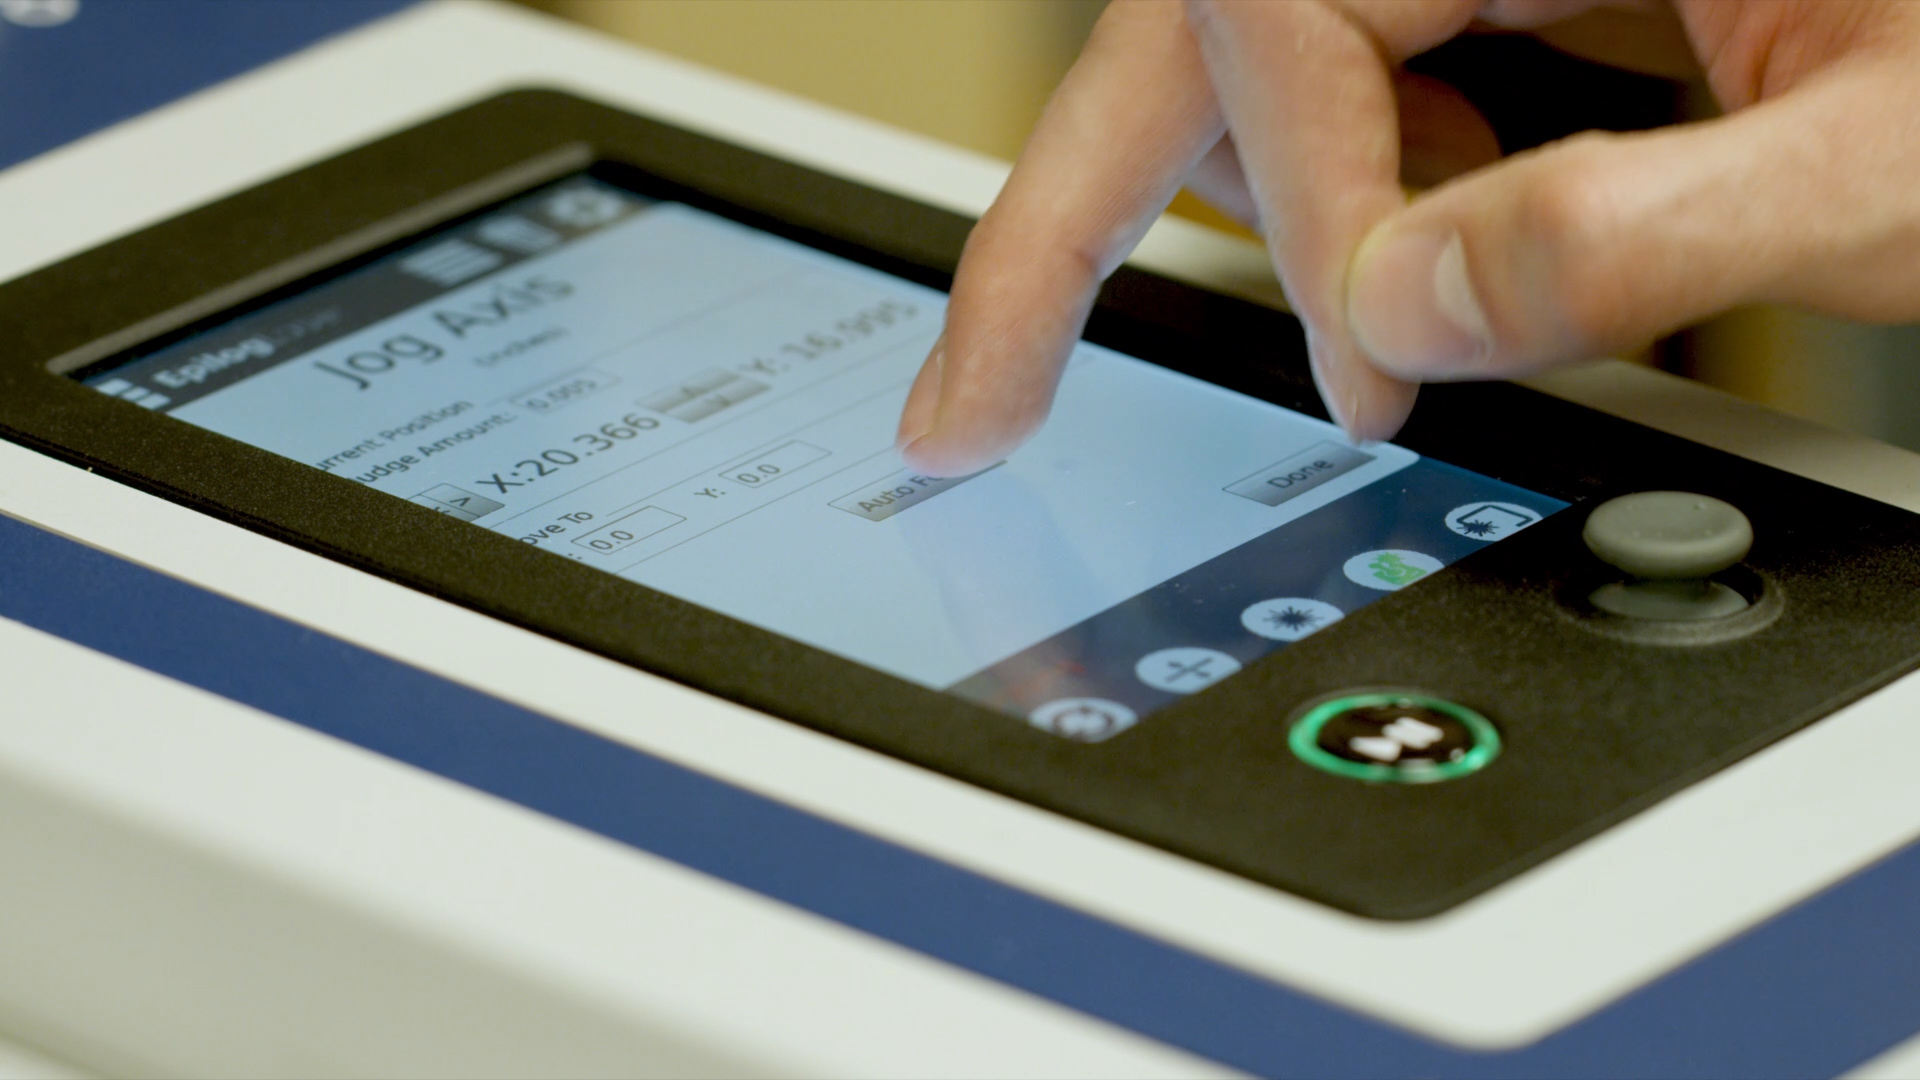
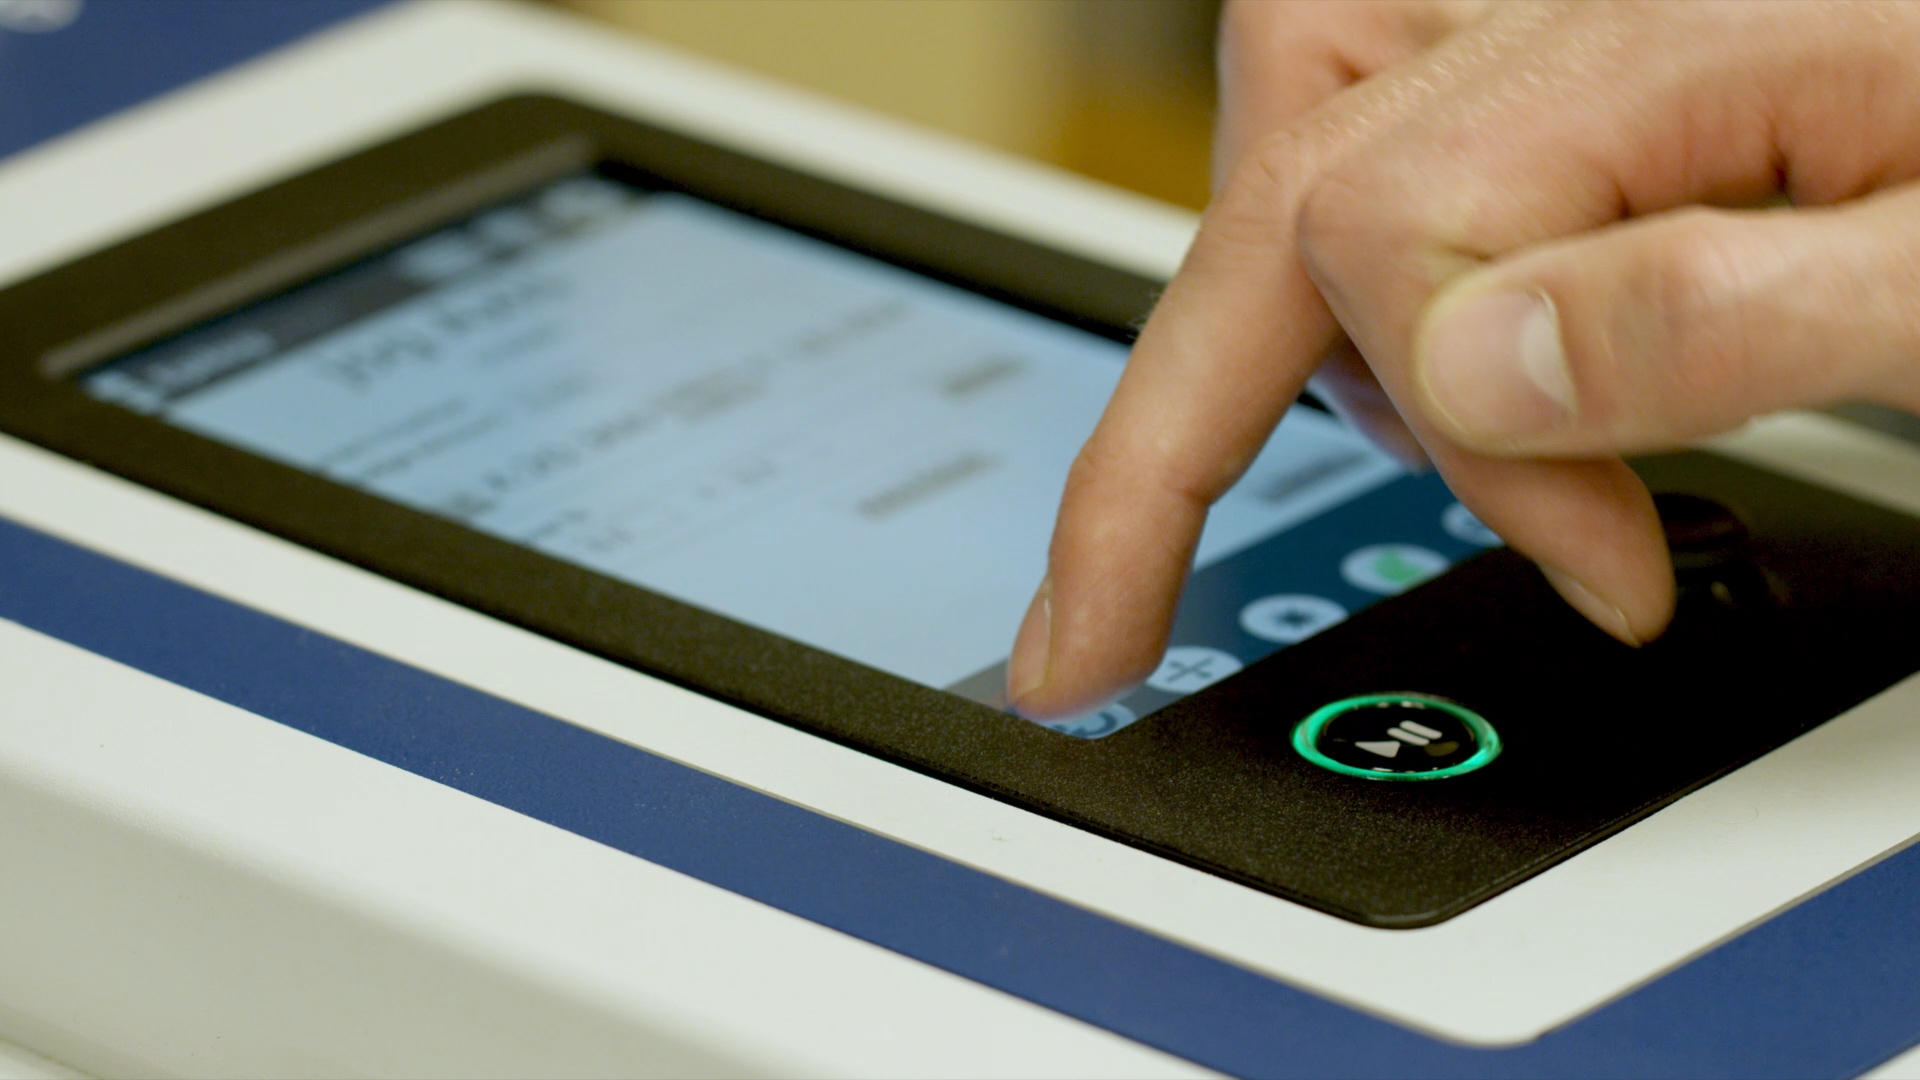
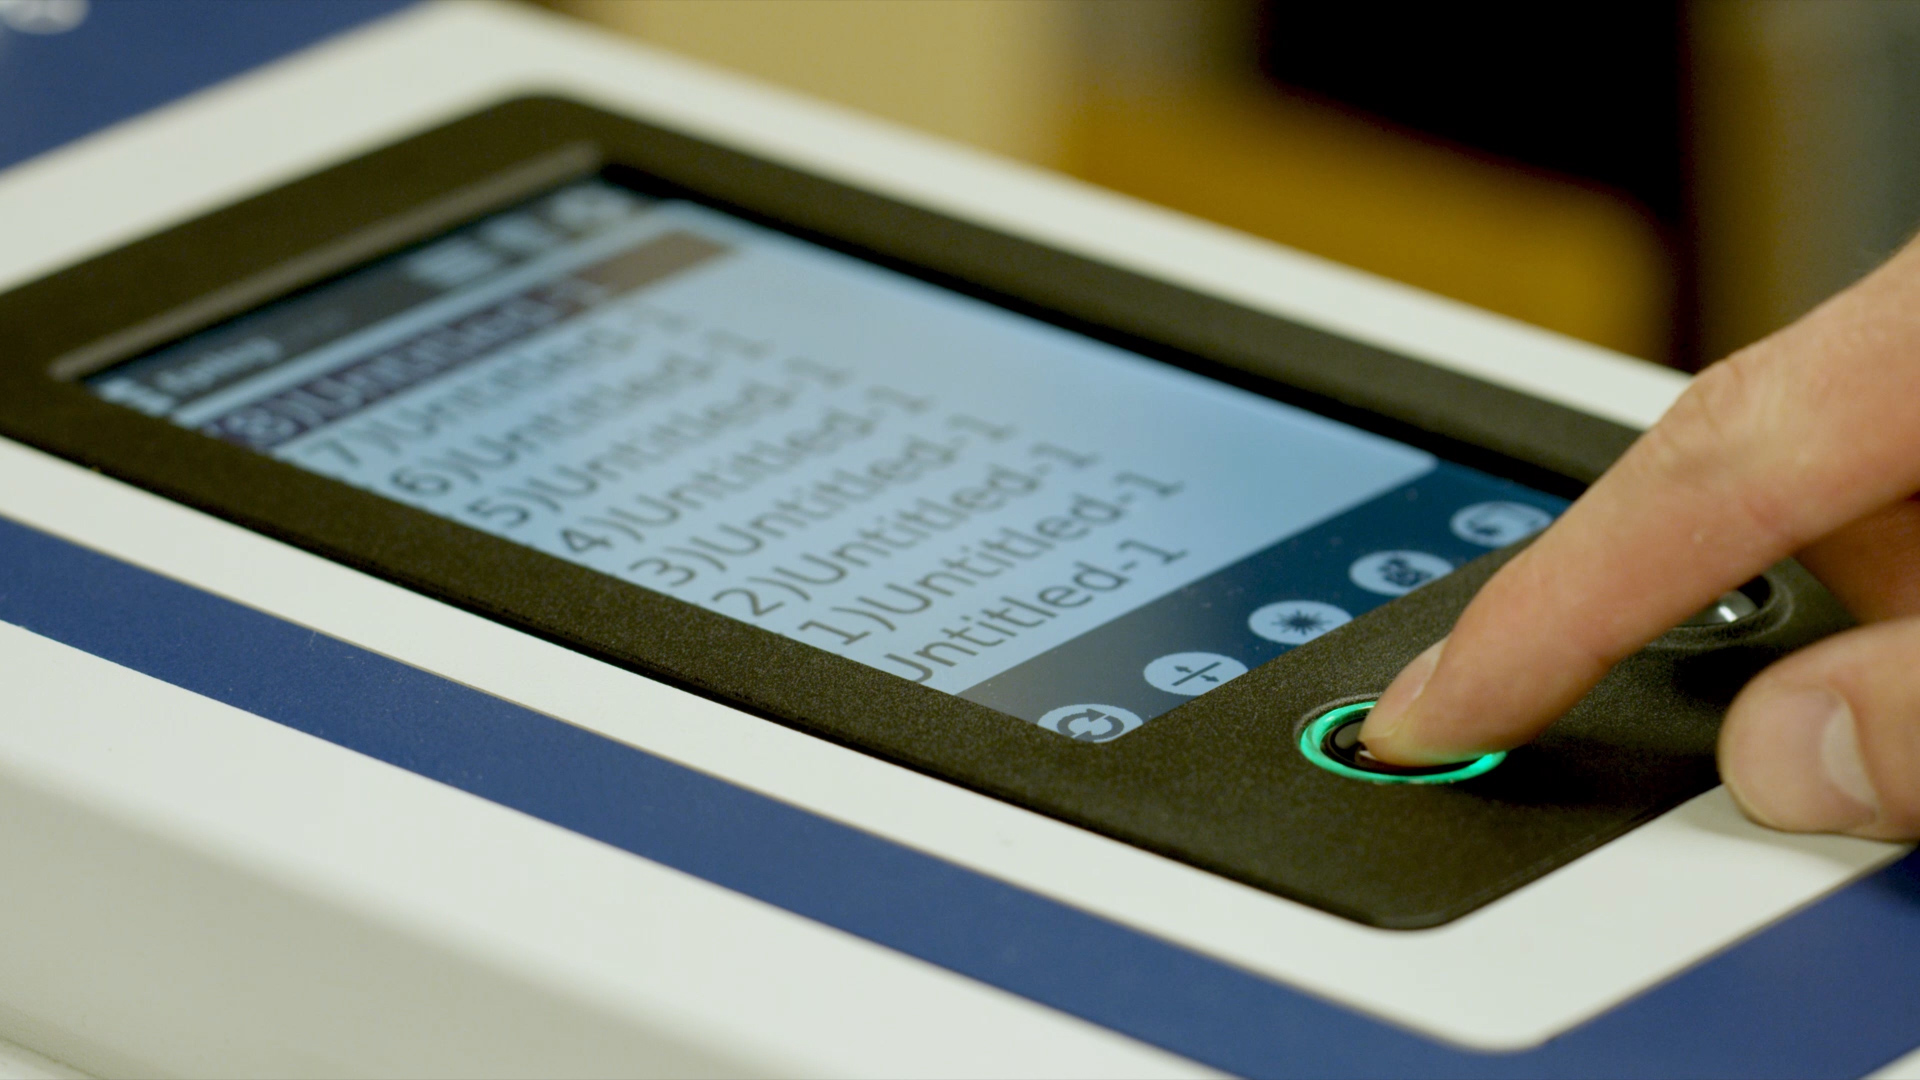
At the control panel, select the Jog icon, then use the Joystick to position the laser head over the wood square.
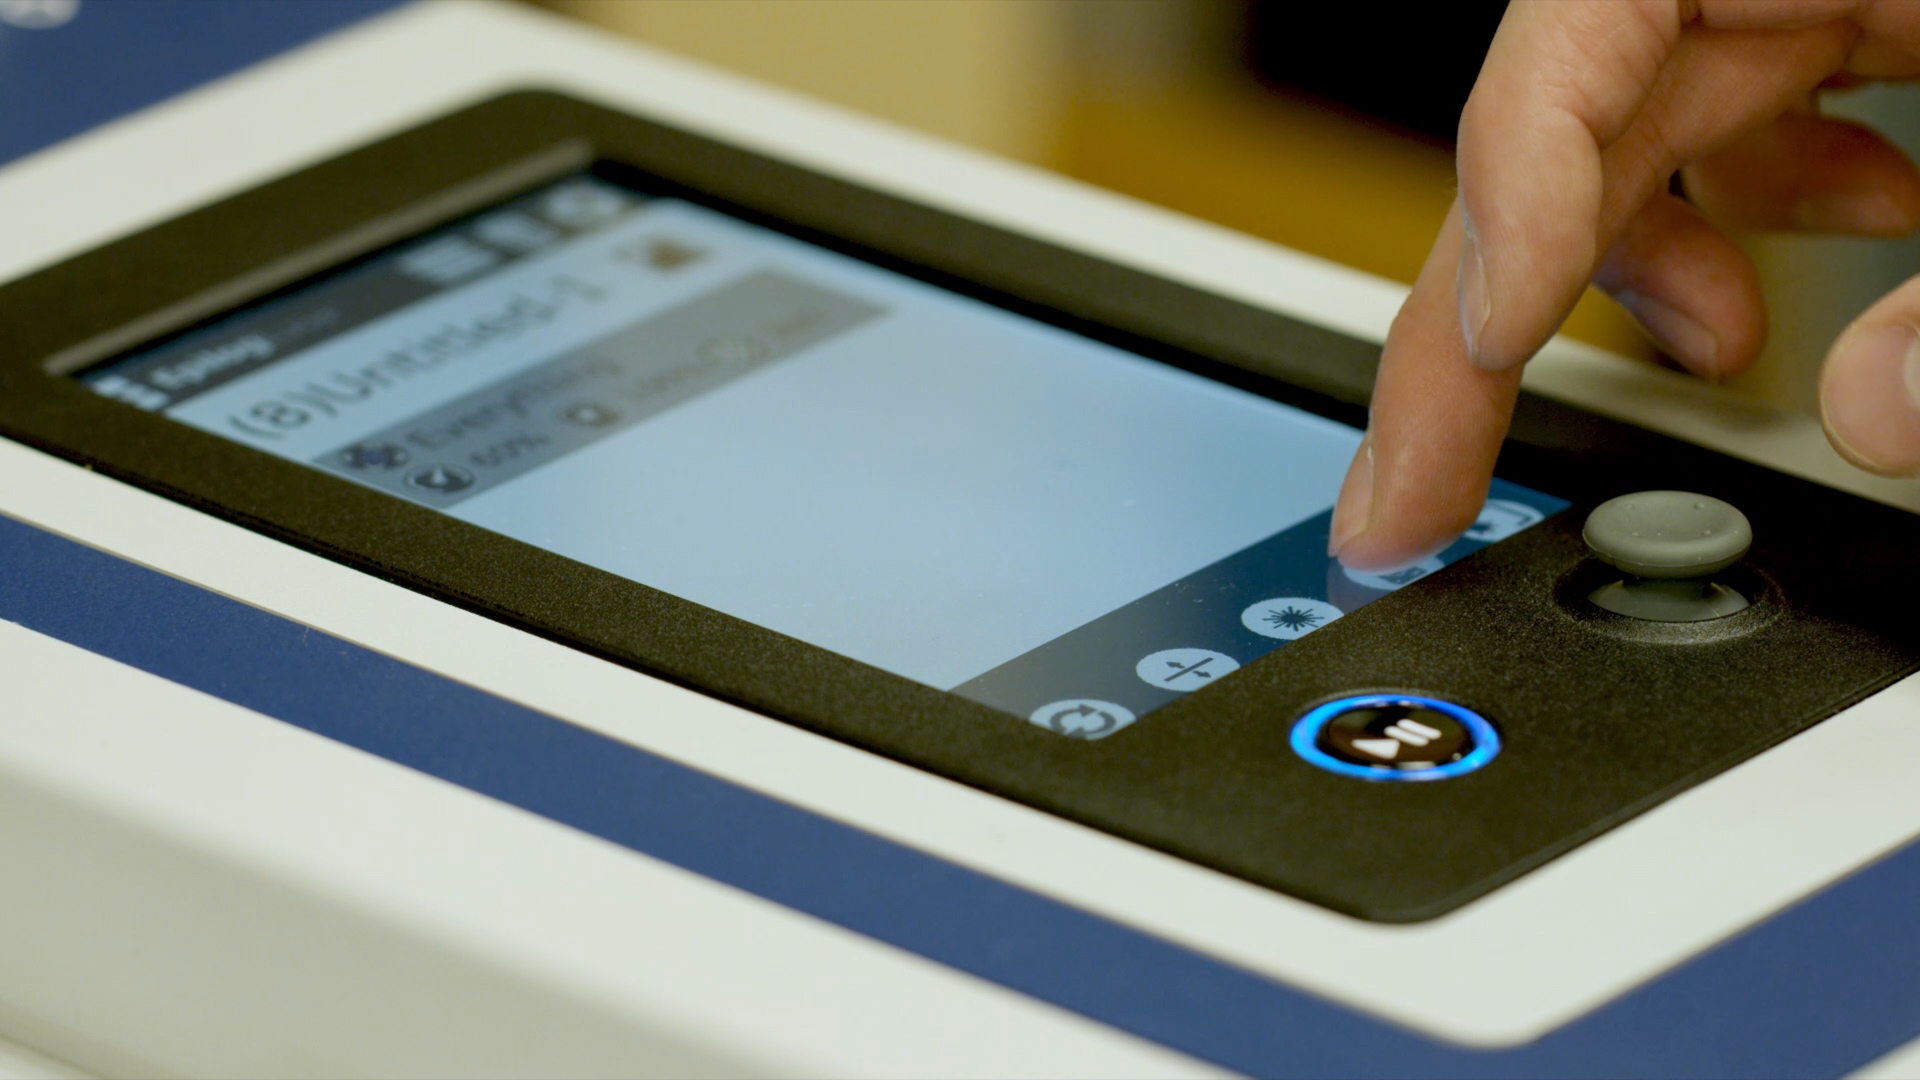
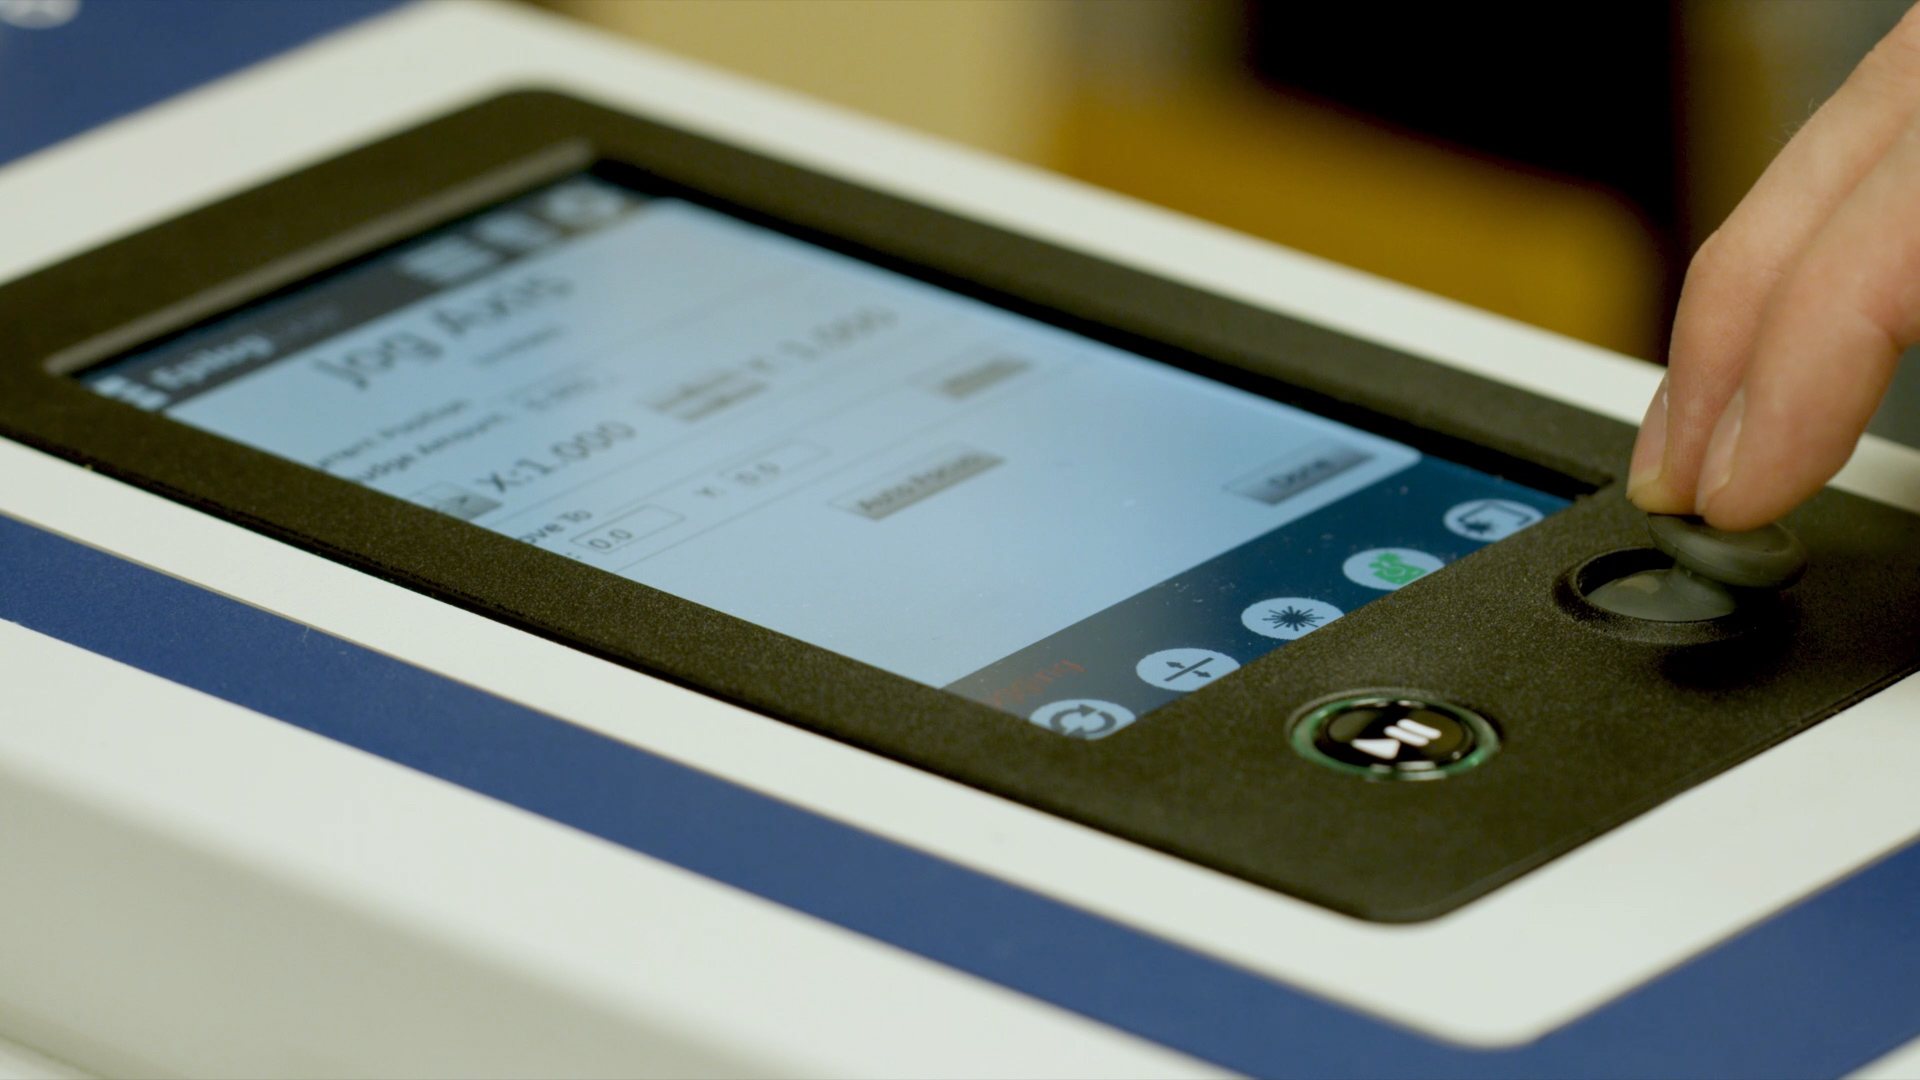
From the open Jog menu, select “Auto Focus.”
The machine will automatically adjust the height of the table by first using the plunger to detect the material, then moving the table to the correct focal distance.
Select the Reset icon to reset the laser head.
Printing to the Laser
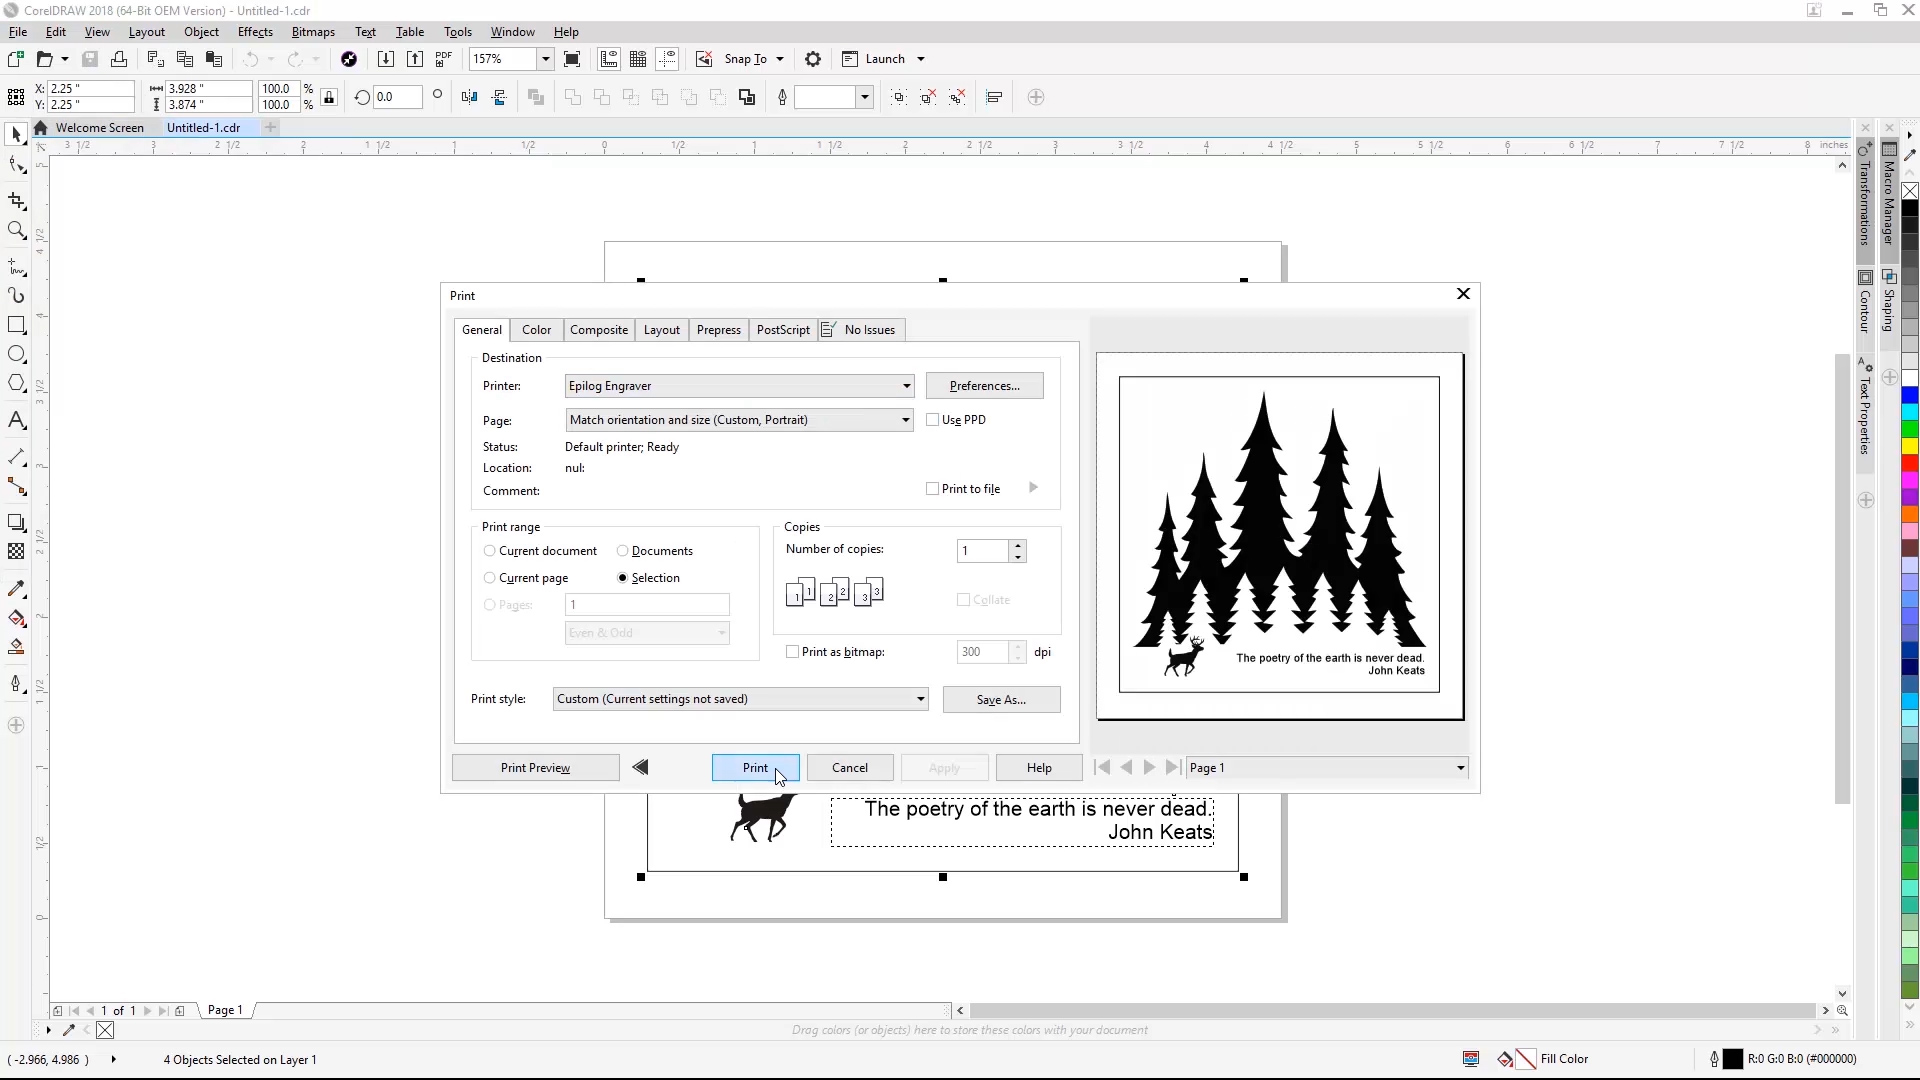
Back in the CorelDRAW, select File, then Print from the dropdown menu.
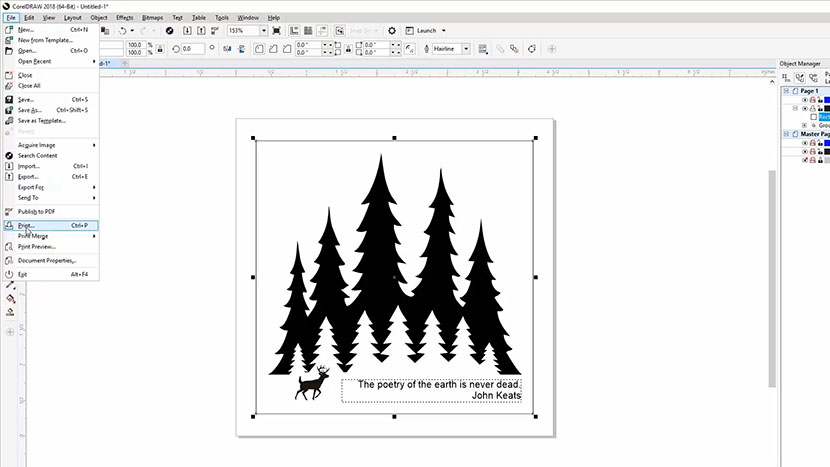
Set Epilog Engraver as your printer, and make sure “Match orientation and size” is selected as the Page setting. Then click the Print button.
The Epilog Dashboard will open with our file and the IRIS camera feed.
Click and drag the colored lines to expand the engraving area to include the wood square.

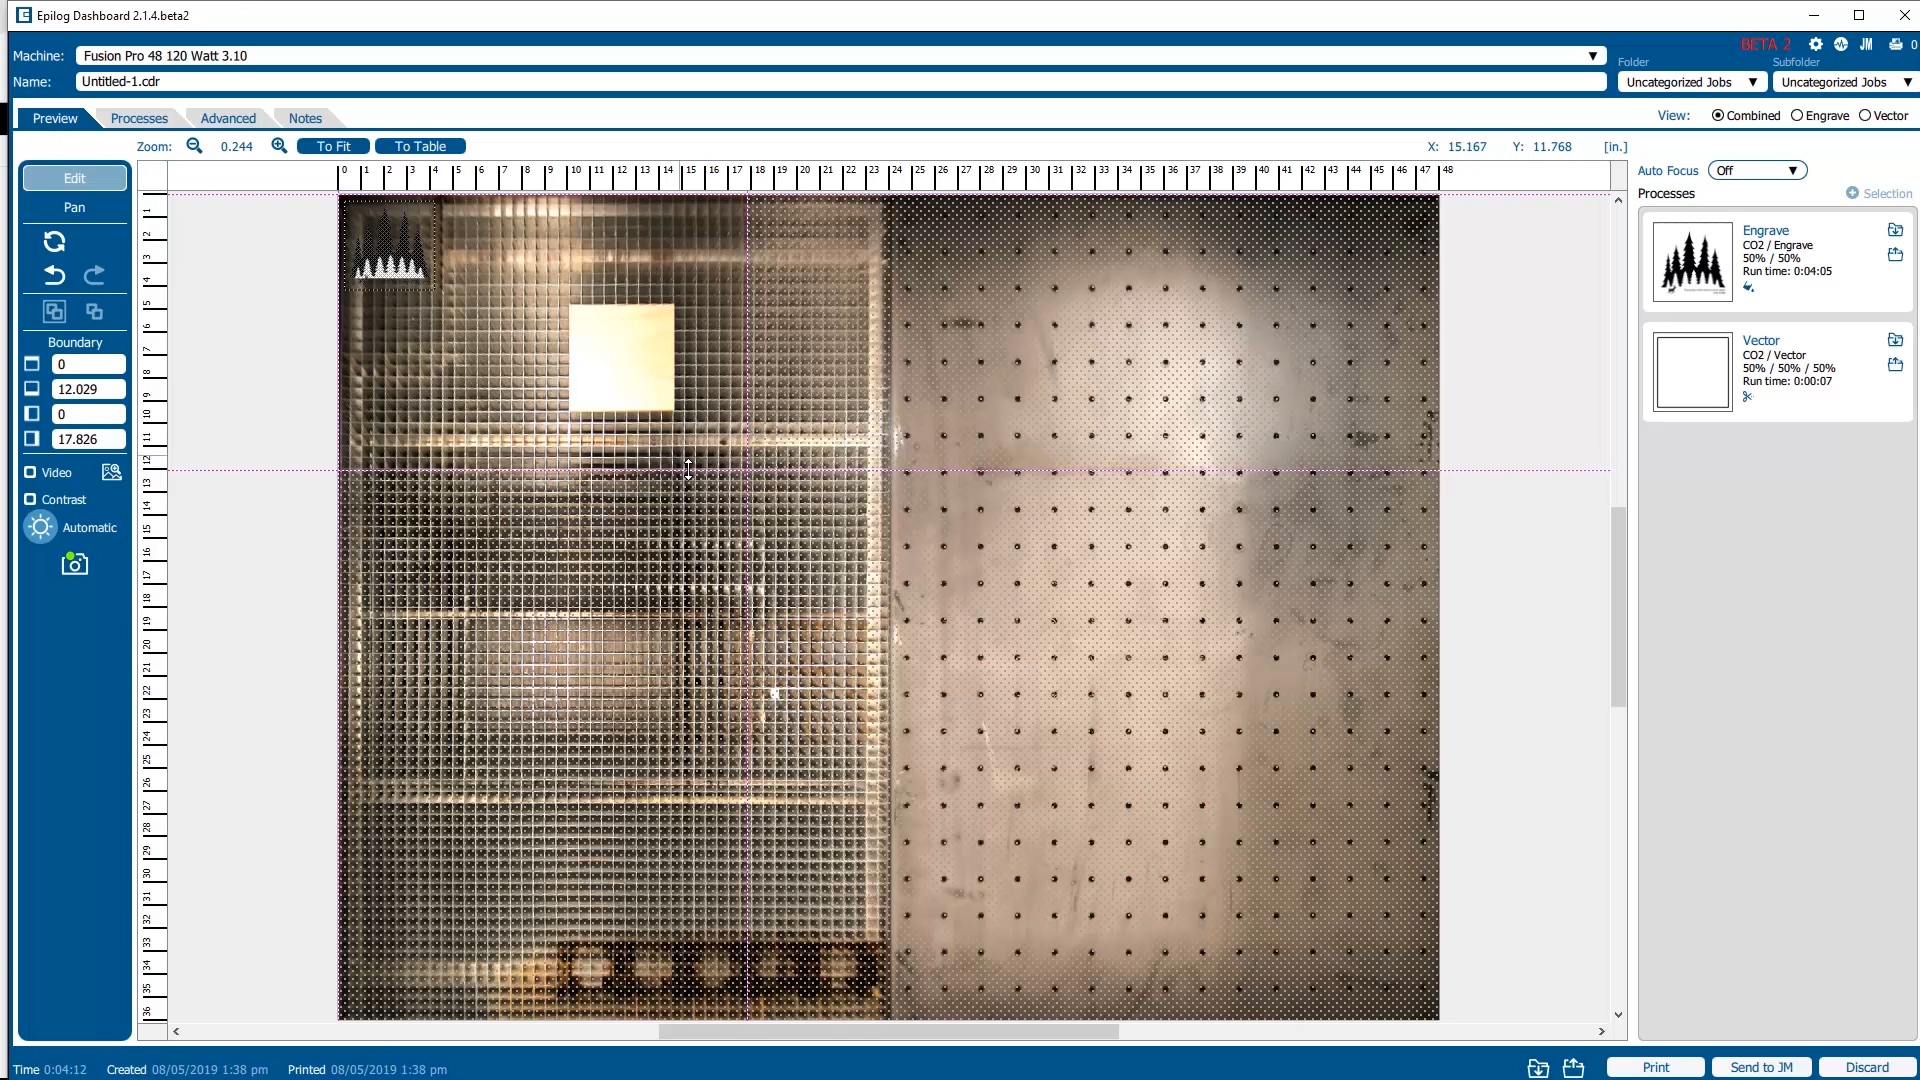
Let’s zoom in a bit with our mouse scroll wheel.

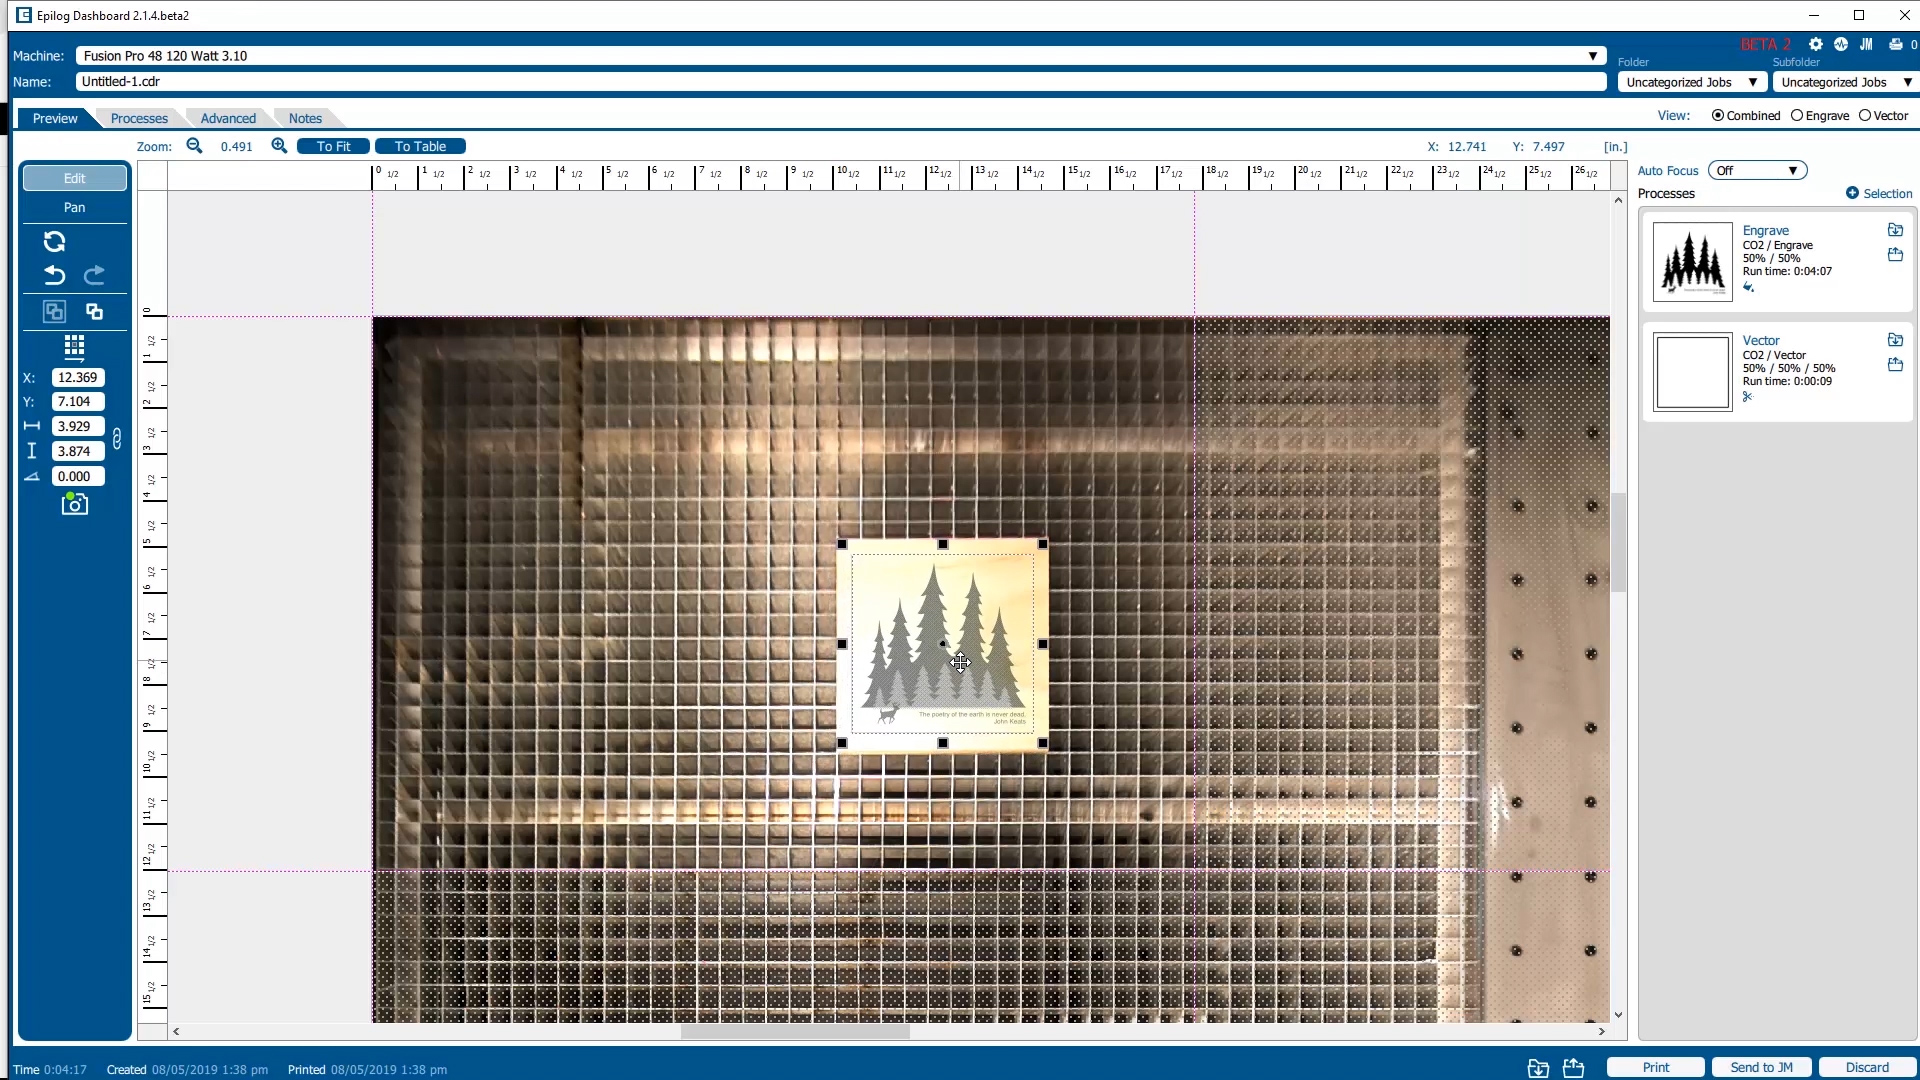
Now click and drag to select the entire graphic, and click and drag to position the graphic onto the wood square.

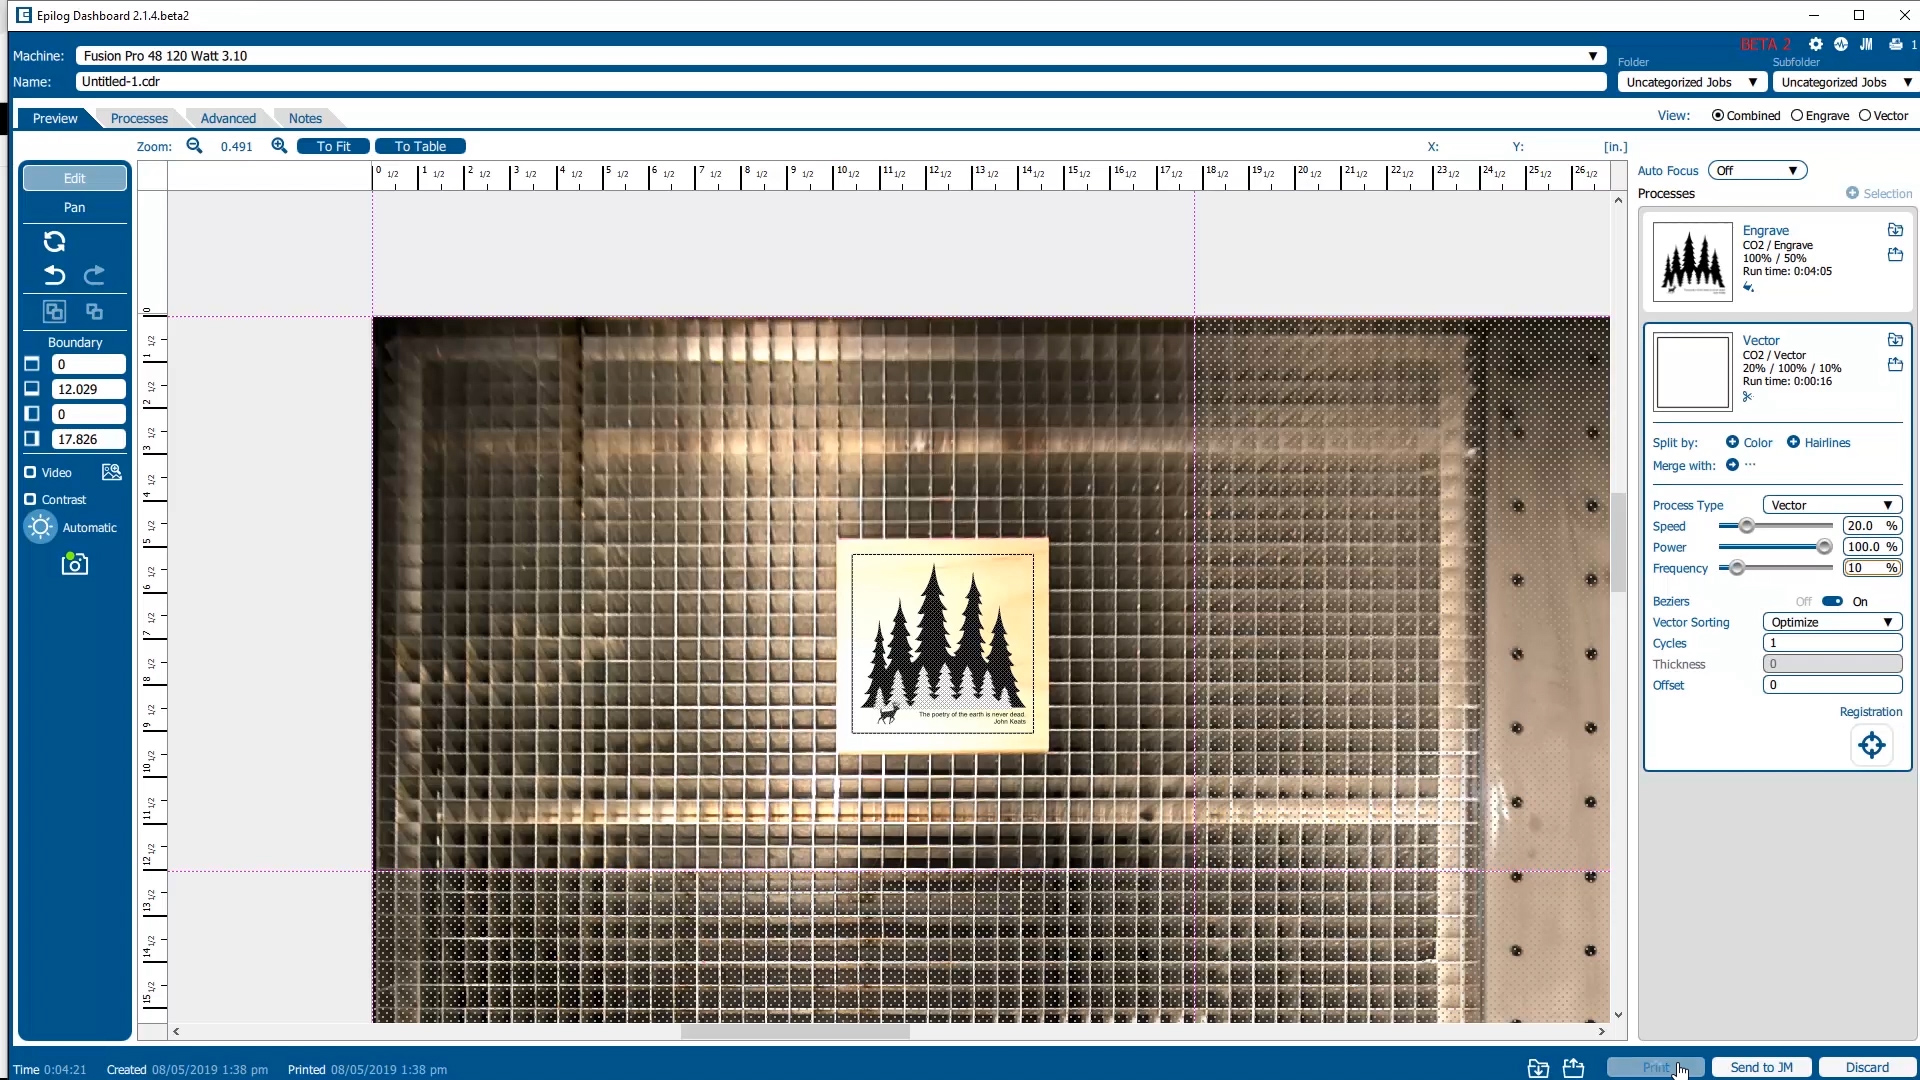
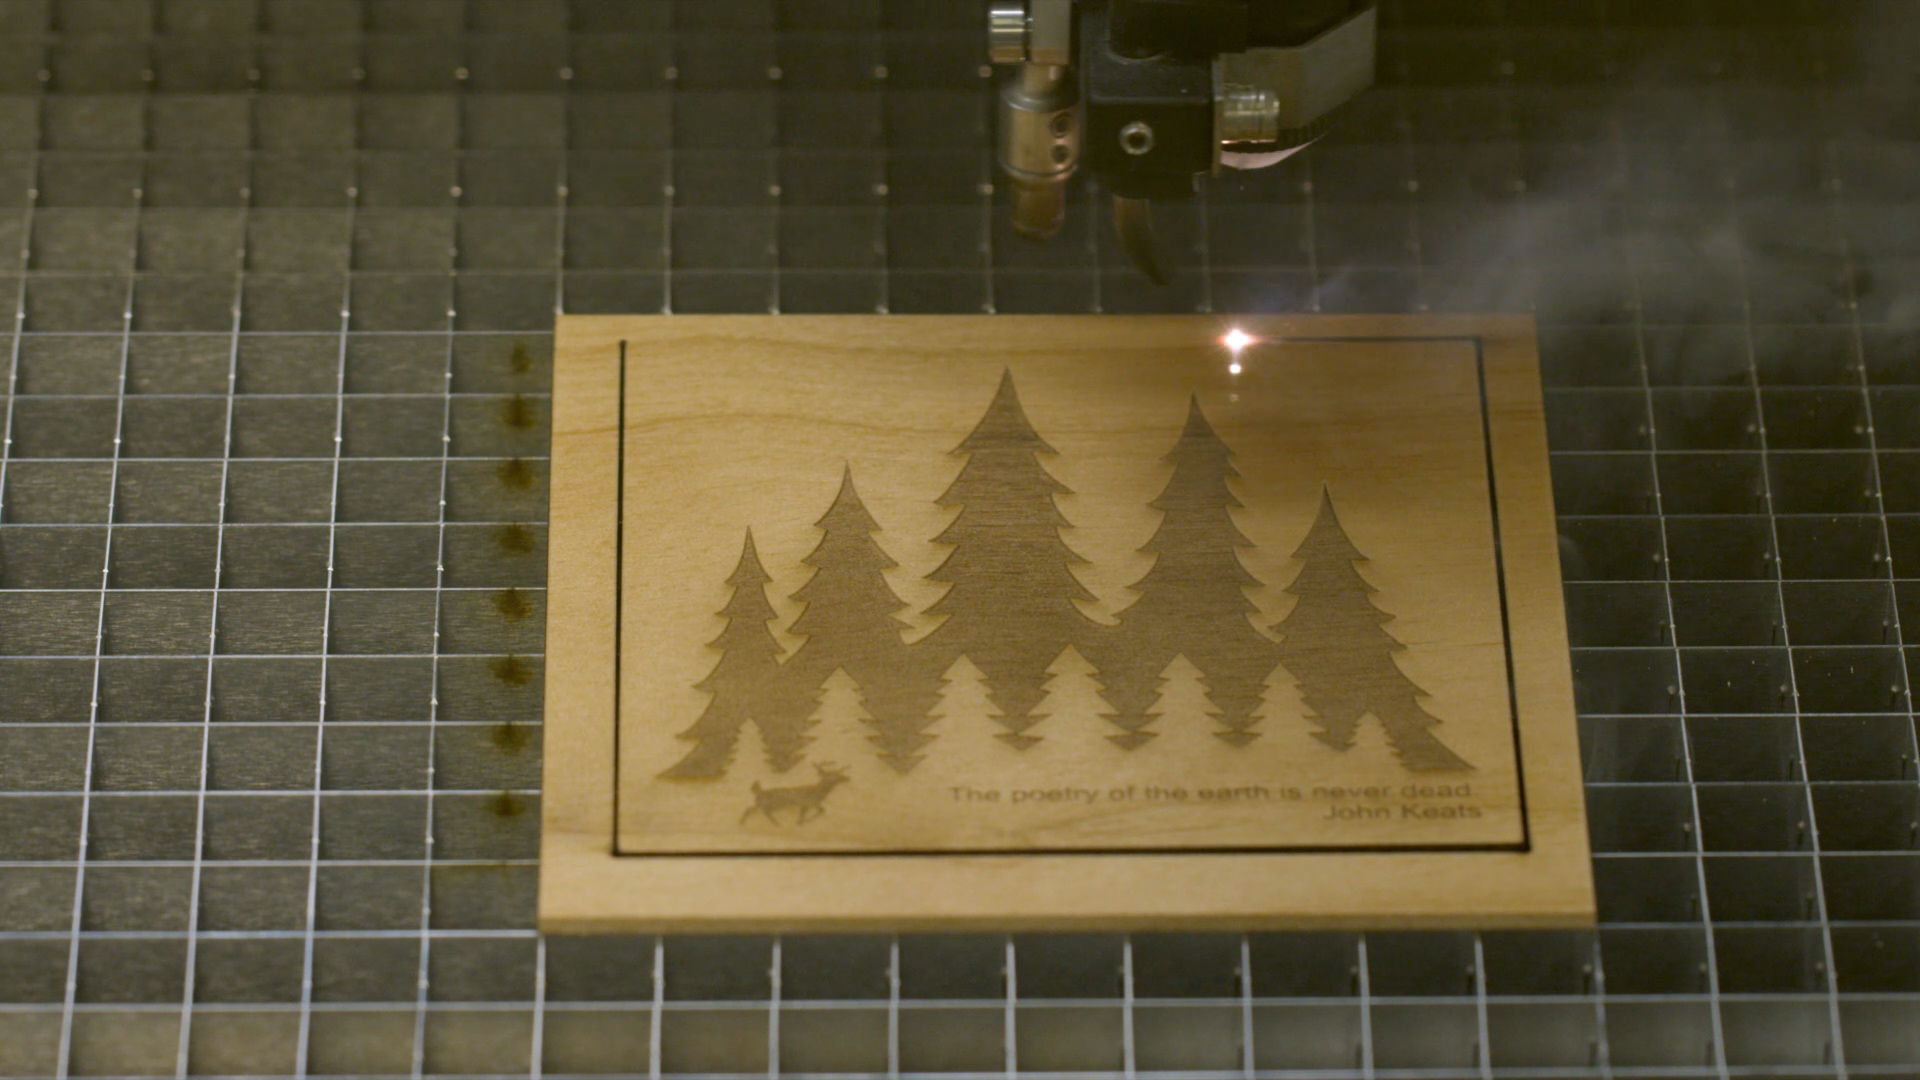
Click the ‘Engrave’ process in the right-hand sidebar and let’s set our engraving parameters. We’re using a 120w laser, so we’ll set our resolution to 500 DPI, our speed to 100%, and our Power to 50%. Let’s also set our Dithering type to Stucki and our Engraving Direction to Bottom-Up.

Next open the ‘Vector’ process and set the Speed to 20%, the Power to 100%, and the Frequency to 10% as well.

Refer to your system manual for the recommended settings for your wattage of laser.
Now that our settings are good to go, we can click ‘Print’ to send the job to the laser.
Running the Job
At the laser, select the Job menu icon, then select the name of the current job. Press the Go/Stop button to start the Job.
The Fusion Pro will run the engraving process first, then it will run the vector cutting process.
Once the laser is finished, use a damp sponge or towel to remove any leftover residue or debris, and then you’re done!