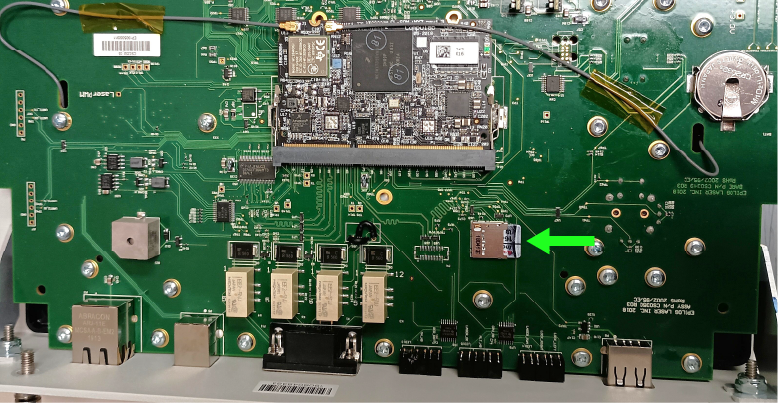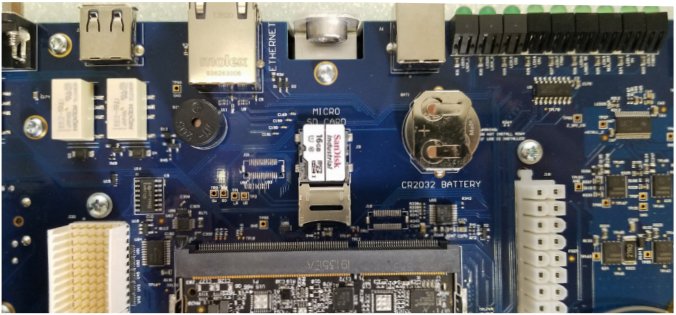
This guide outlines the steps for flashing an SD card for your laser system. A technician must provide the required disc image file to complete this process. Do not proceed without first obtaining the correct file specific to your machine. Flashing SD Cards SD Card Removal Remove the control board (...)
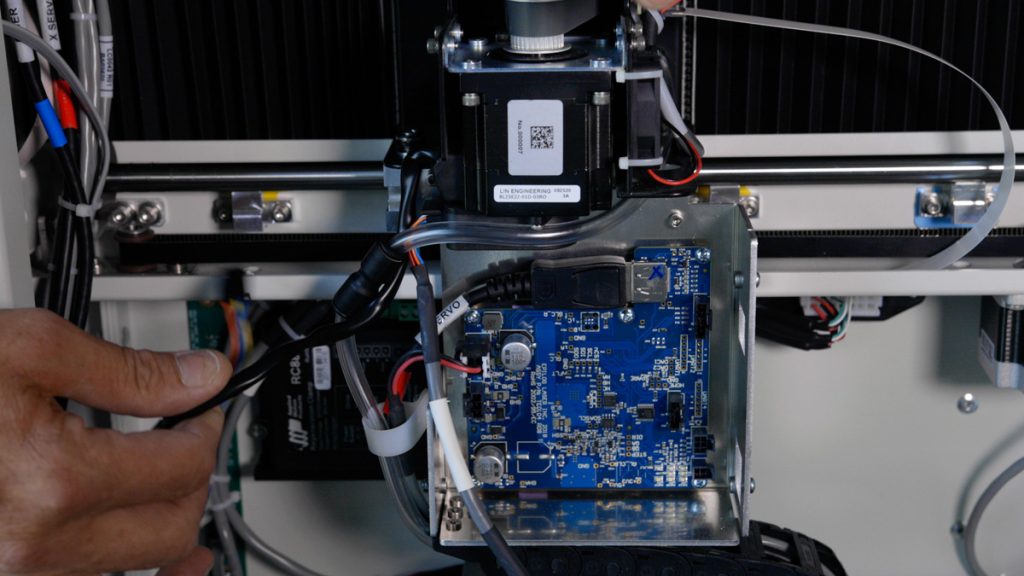
How to Replace the X-Axis Motor Driver: Step-by-Step Guide
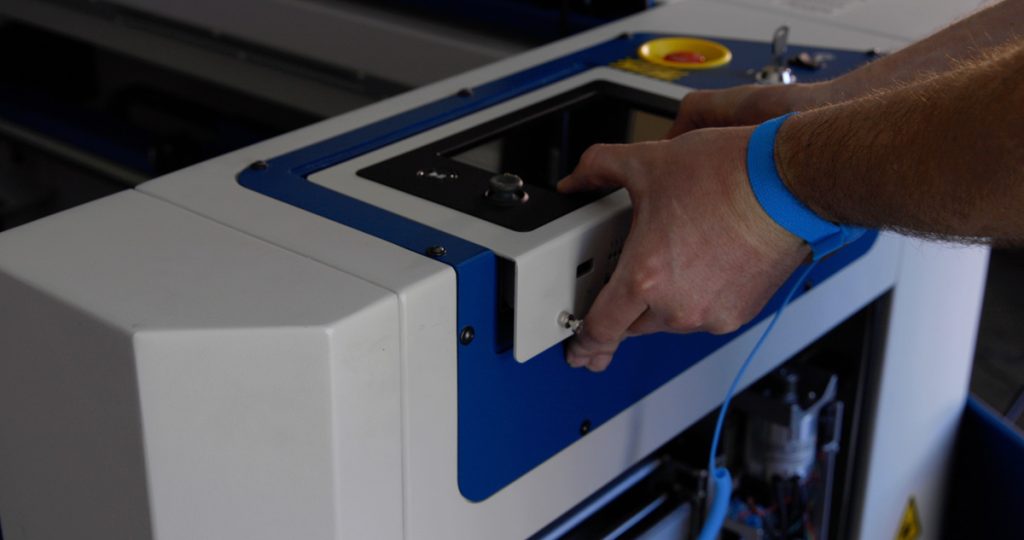
This guide will walk you through the process of removing, installing, and programming the X-Axis Drive Board for Fusion Edge and Pro 24 / 36 models. Proper precautions, including the use of an anti-static strap, are essential to ensure the safe handling of electronic components. Drive Board Replacement Procedure Models: (...)
Control Module Replacement – Fusion Edge, Maker, Pro
The control module is a crucial component of your Fusion Maker, Fusion Edge, or Fusion Pro engraver, enabling seamless operation and precise control. This guide provides step-by-step instructions for safely removing and installing a new control module to ensure optimal performance. Following these procedures will help you maintain your engraver’s (...)
Control Module Replacement – Fusion Pro 32 & 48
This document provides a step-by-step guide on how to replace the control board in your laser system. Replacing the control board is a crucial process that ensures your laser operates efficiently and reliably. Follow these instructions carefully to safely remove the old control board and install the new one, getting (...)
Replacing the Control Panel
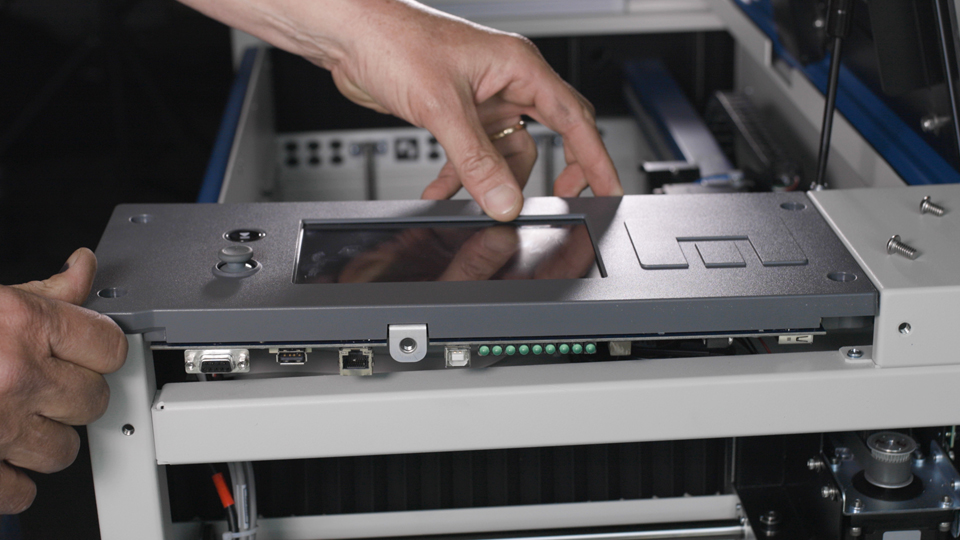
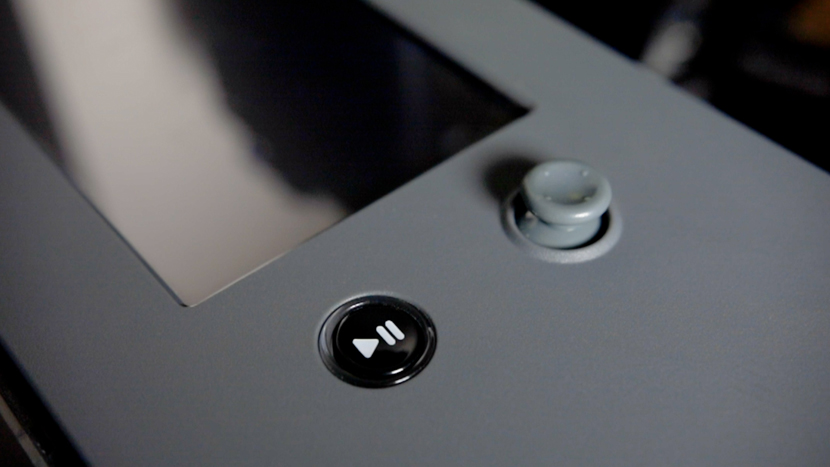
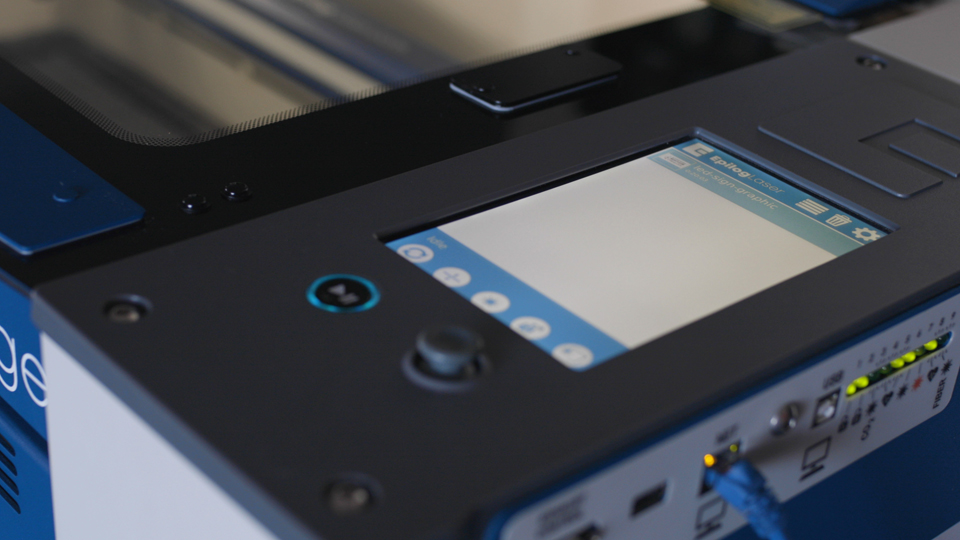
Replacing the Control Panel Before we begin, turn off and unplug the Fusion Pro. Using a 5/32” Allen Key, remove the right side panel from the machine. Open the display panel package you received and put on the anti-static strap. Clip the strap onto any metal part of the machine. (...)
SD Card and Coin Battery Replacement – Fusion Pro 32 & 48
This guide provides instructions for replacing the SD card and coin battery in the control module of Fusion Pro 32 and 48 systems. Always follow proper anti-static precautions and use the correct tools and parts. Control Module Removal Turn off the engraver. Disconnect the engraver from the power source. Disconnect (...)
Floating Backplane Upgrade
Applies to: Fusion Pro 32 • Fusion Pro 48 This guide provides step-by-step instructions for upgrading the floating backplane board in Fusion Pro 32 and 48 engravers. Designed for models manufactured before mid-2020, this procedure ensures proper installation and configuration of the new backplane board. By following these instructions, you (...)
Backplane Board Replacement – Fusion Pro 32 & 48
This document outlines the replacement of the backplane board in the Fusion Pro 32 and 48.
Lens Camera Board and USB-C Cable Replacement – Fusion Pro 32 & 48
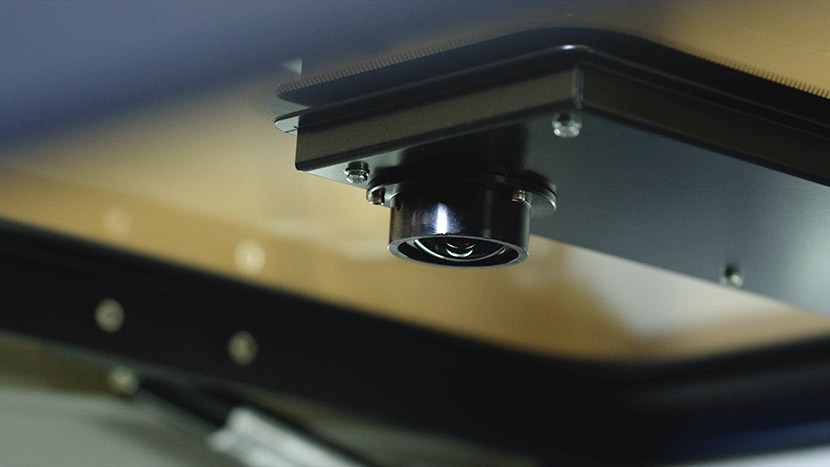
This procedure outlines how to replace both the Carriage Camera PCB and the X-Axis USB-C cable on a 16000 Series Fusion Pro laser system. The Carriage Camera PCB also integrates the Auto Focus sensor, which is critical to system performance. Follow each step carefully to ensure proper installation and avoid (...)
X-Axis PCB Replacement
This document outlines the replacement of the x-axis PCB in the Fusion Maker, Edge, and Pro 24 and 36.
Backplane Board Replacement
This document provides step-by-step instructions for the removal and installation of the backplane board for Fusion Pro 24 & 36 engravers. It includes all the necessary parts, tools, and materials required for the process, as well as detailed guidance on disconnecting electrical components, handling the board with care, and reassembling (...)
SD Card and Coin Battery Replacement – Fusion Maker, Edge, Pro 24 & 36
This guide provides step-by-step instructions for replacing the SD card and coin battery on Fusion Maker, Edge, and Pro systems. Be sure to follow anti-static precautions and use the required tools for each step. SD Card Replacement (Fusion Maker & Edge) Control Module / SD Card Removal Turn off the (...)