This guide provides instructions for replacing the SD card and coin battery in the control module of Fusion Pro 32 and 48 systems. Always follow proper anti-static precautions and use the correct tools and parts.
Control Module Removal
- Turn off the engraver.
- Disconnect the engraver from the power source.
- Disconnect all cables (USB, Ethernet, fan control, etc.).
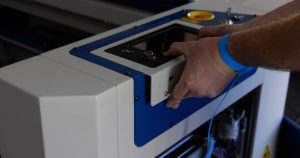
- Put on the anti-static strap and attach it to a bare metal surface on the machine.
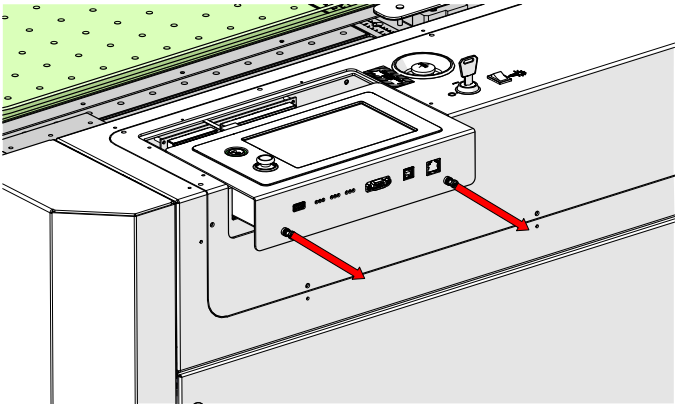
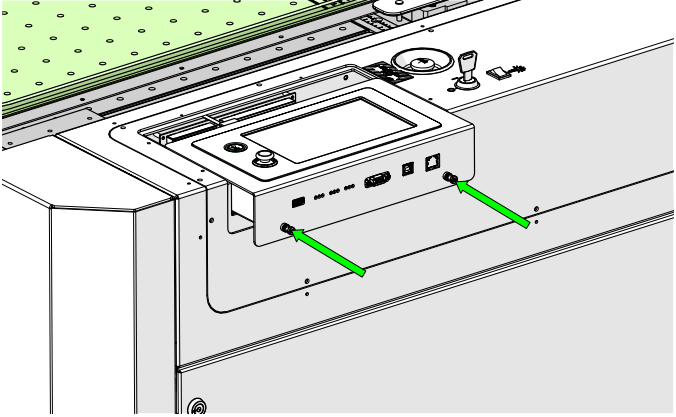
- Loosen the two Phillips screws on the control module.
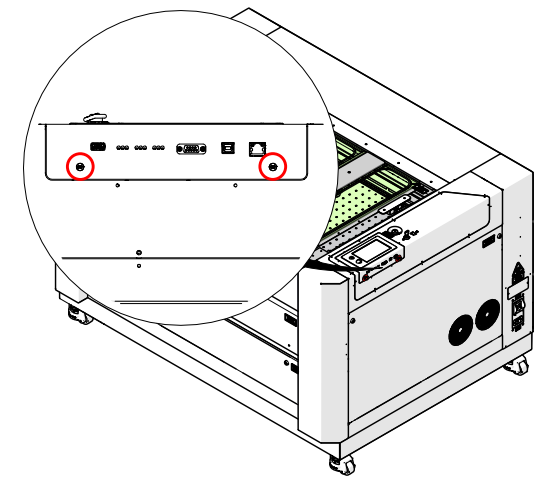
- Grip the screws and gently pull the module straight out, keeping it parallel with the engraver.
The control module slides into tracks on both sides of the housing.
Do not lift or tilt the module during removal or installation. Slide it straight in or out, parallel to the top of the engraver.
SD Card Replacement
- Wear your anti-static strap and attach it to a metal surface.
- Place the control module face-down on a soft surface.
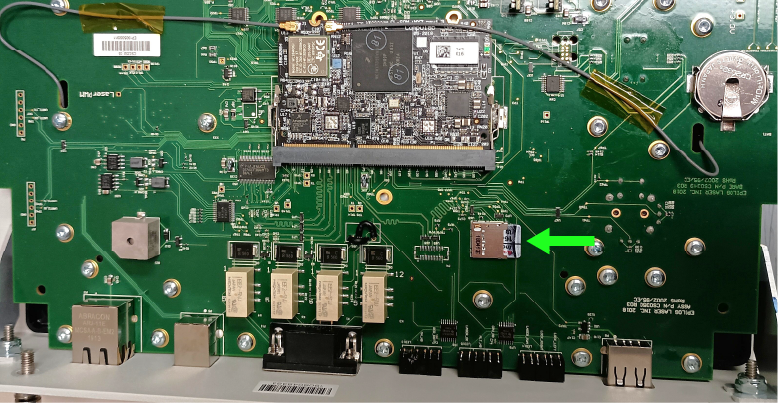
- Locate the SD card holder on the underside of the module.
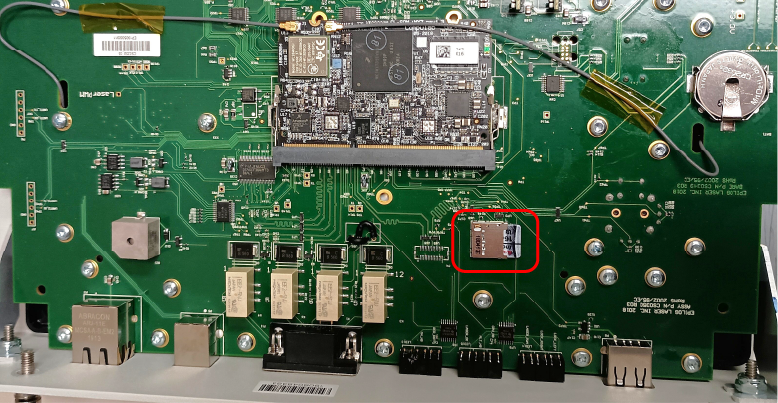
- Slide the SD card out.

- Insert the new SD card with copper terminals facing the control board.
Coin Battery Replacement
- Wear your anti-static strap and attach it to a metal surface.
- Place the control module face-down on a soft surface.
- Locate the coin battery holder.
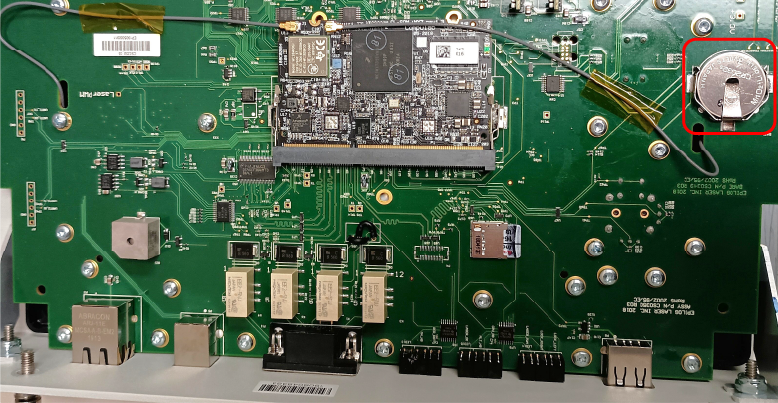
- Remove the old battery.
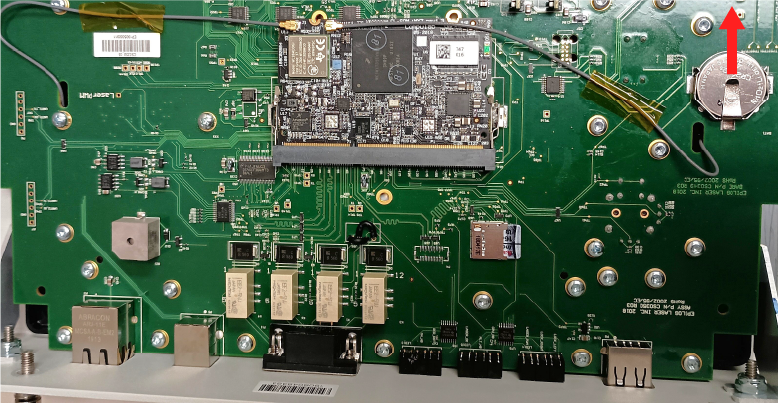
- Insert the new battery with the positive terminal facing away from the control board.

Control Module Reinstallation
- Wear your anti-static strap and attach it to the machine.
- Align the control module with the left and right housing tracks.
- Slide the control module back into place gently.
- Tighten the two Phillips screws.
- Reconnect to power and turn on the engraver.
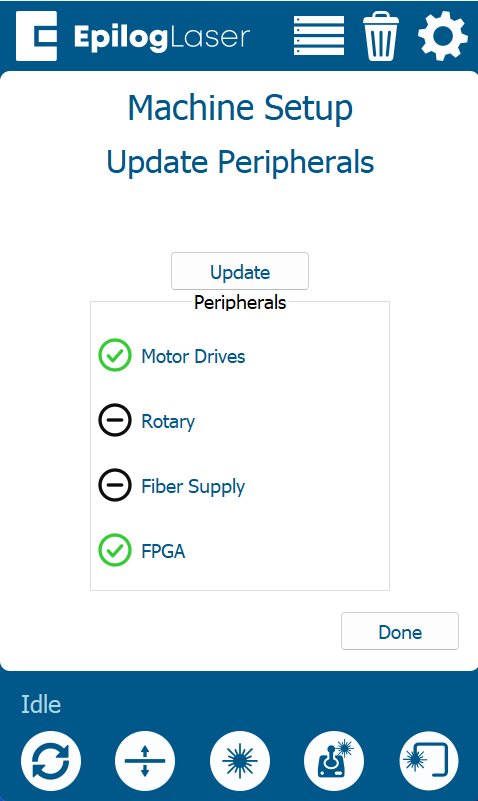
Programming Peripherals
-
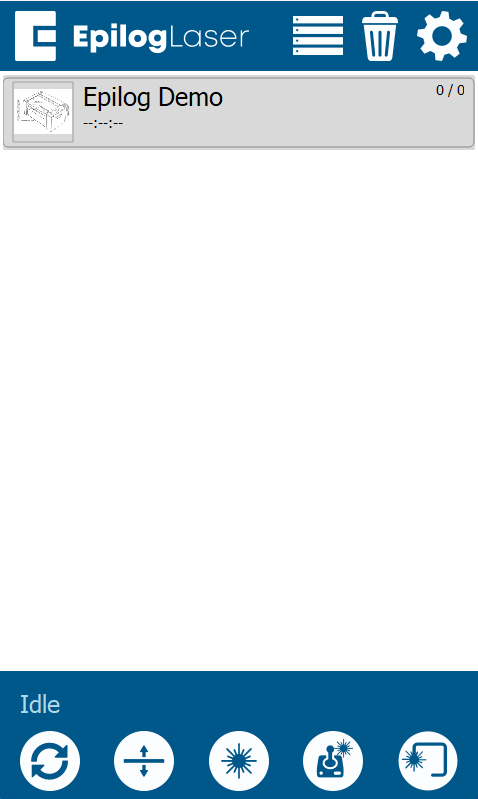
At the display panel, press the gear icon in the upper-right corner to open the Settings menu.
-
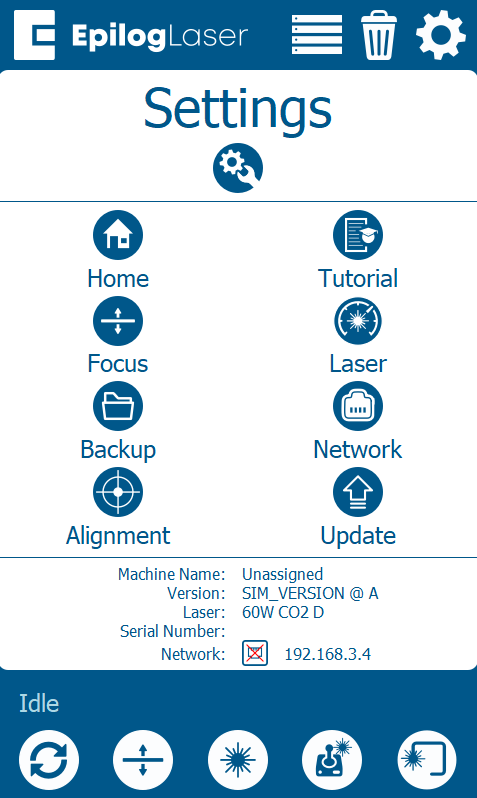
Press Update.
-
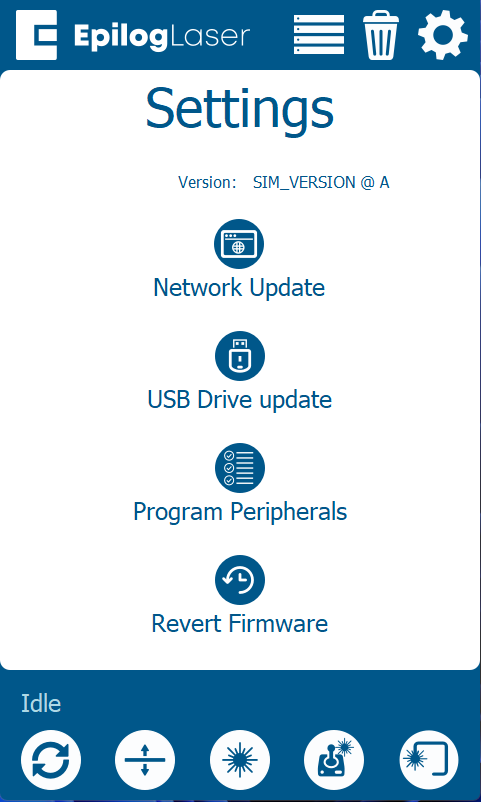
Press Program Peripherals.
-
Once in the Peripheral Update menu, select All Available Peripherals and press Update.
-
Allow the engraver to complete the update process.
Warning: Do not power off the engraver during the update. The screen may go dark temporarily—this is normal. Once the update is complete, the system will prompt you to restart the engraver.
-
When prompted, power cycle the engraver to complete the update.