In this tutorial we will walk you through how to set up your 200w Fusion Pro laser machine.
Exhaust Port Setup
After uncrating your machine, you’re ready to set up your Fusion Pro laser machine.
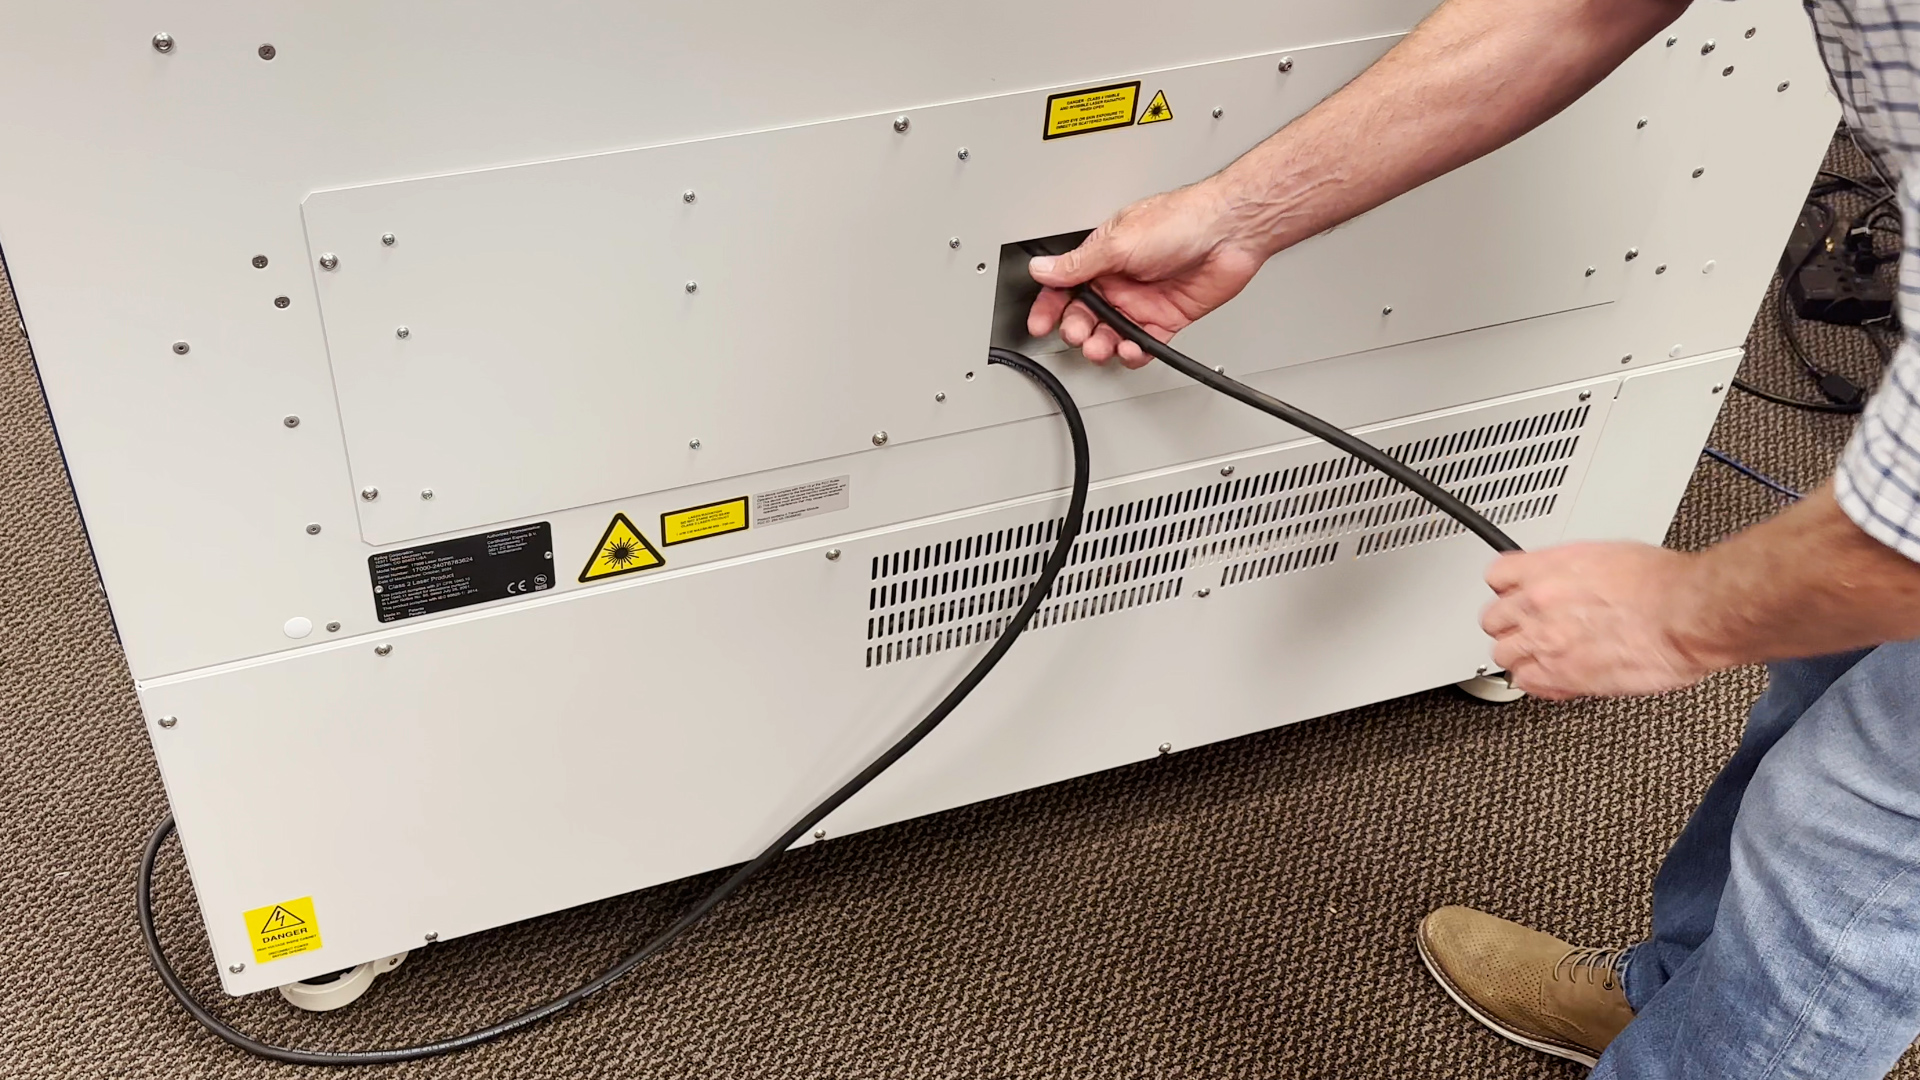
The plug to your laser machine is located at the back of the machine and will be placed inside the exhaust port. The plug is a 220 Volt 20 Amp plug. Remove the plug from the machine.
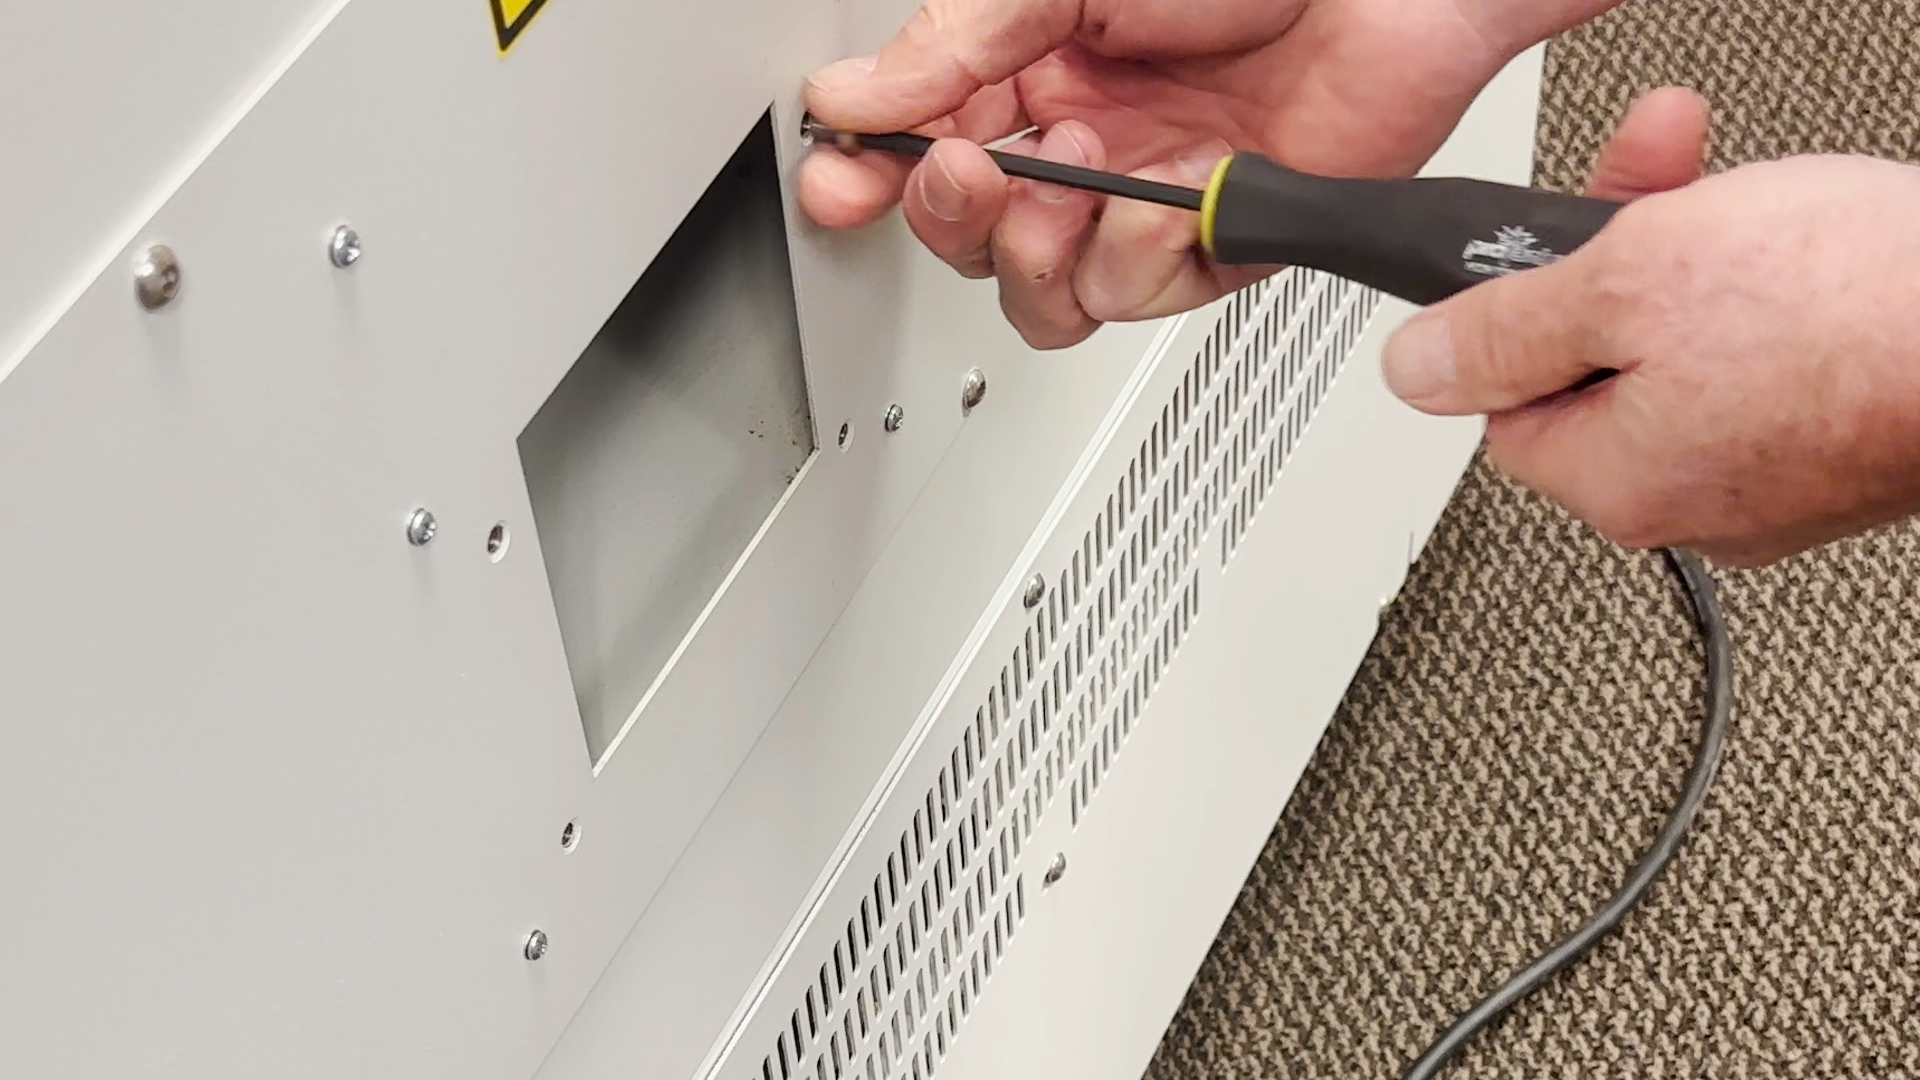
Remove the four hex screws from around the exhaust opening.
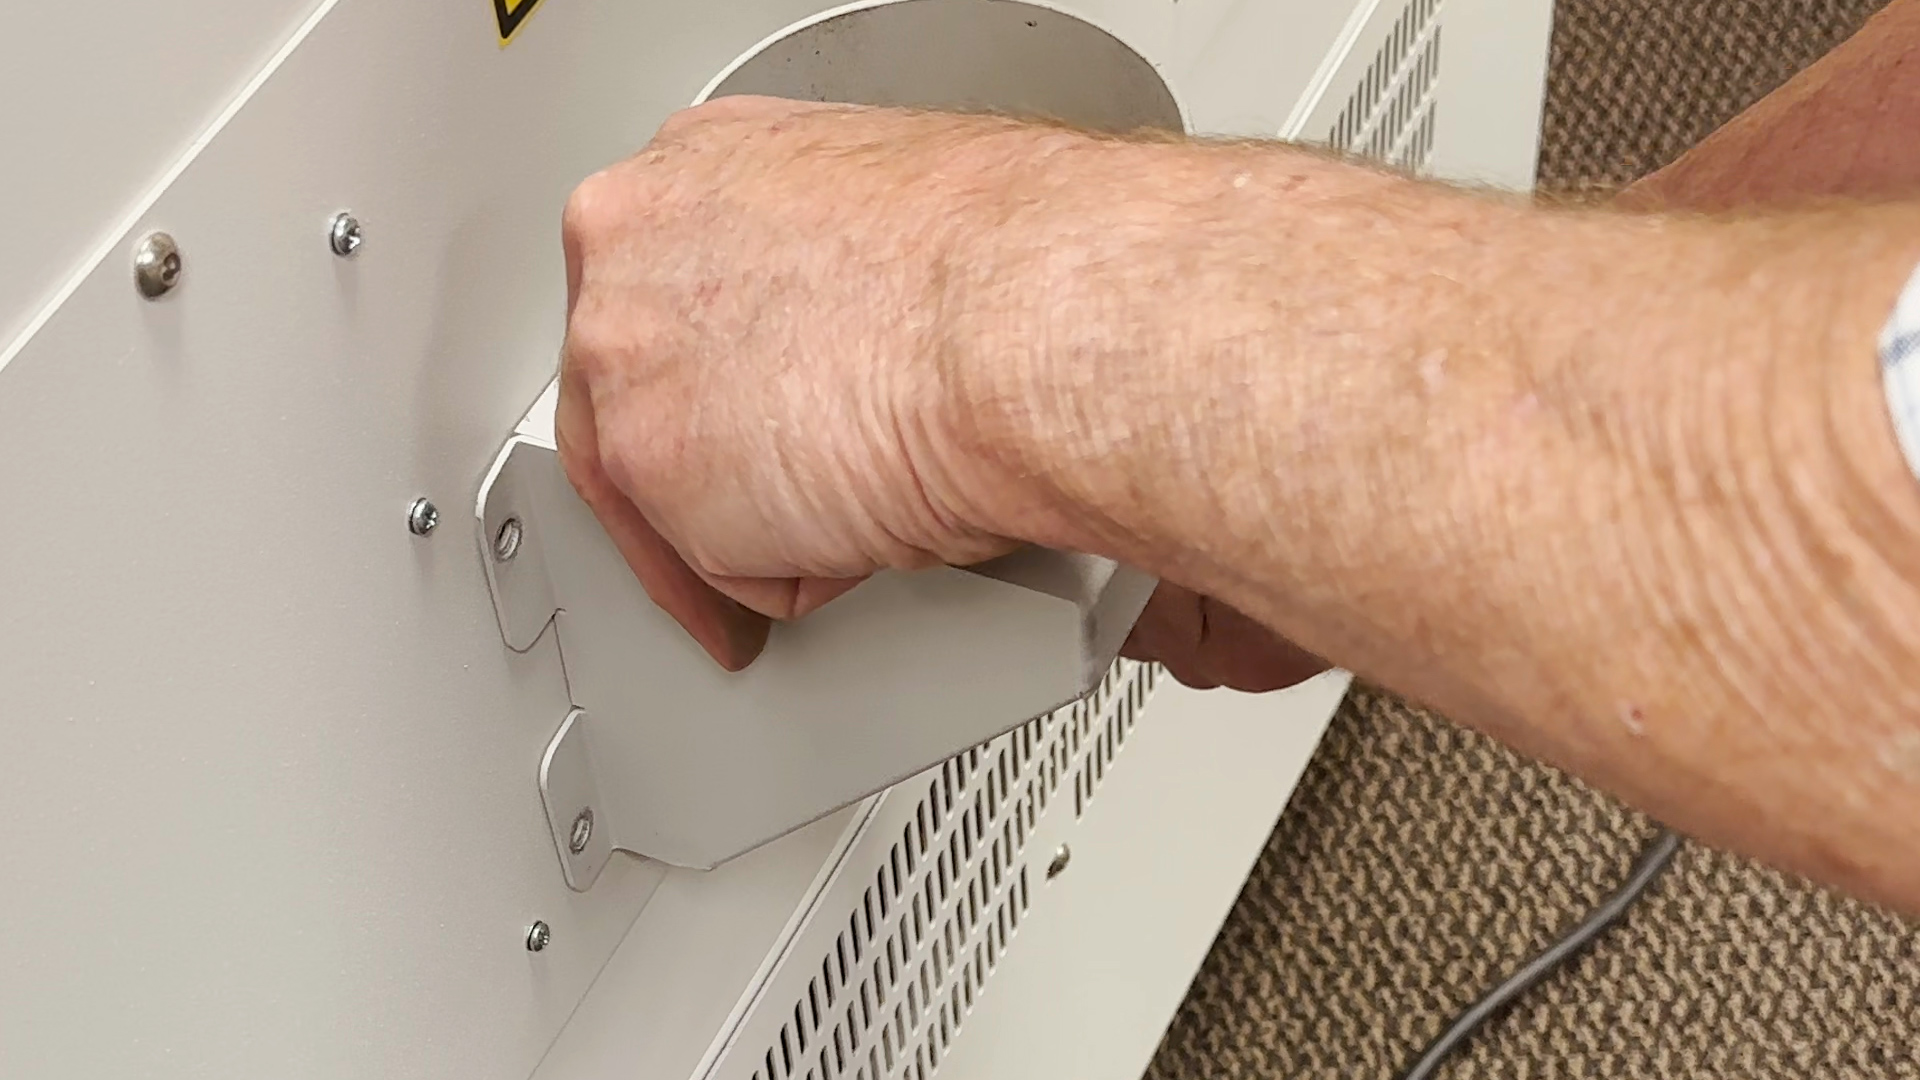
Take the exhaust port from the accessories box and attach it to the machine. On the Fusion Pro 36 there will be one exhaust port and three on the Fusion Pro 48.
Air Compressor Setup
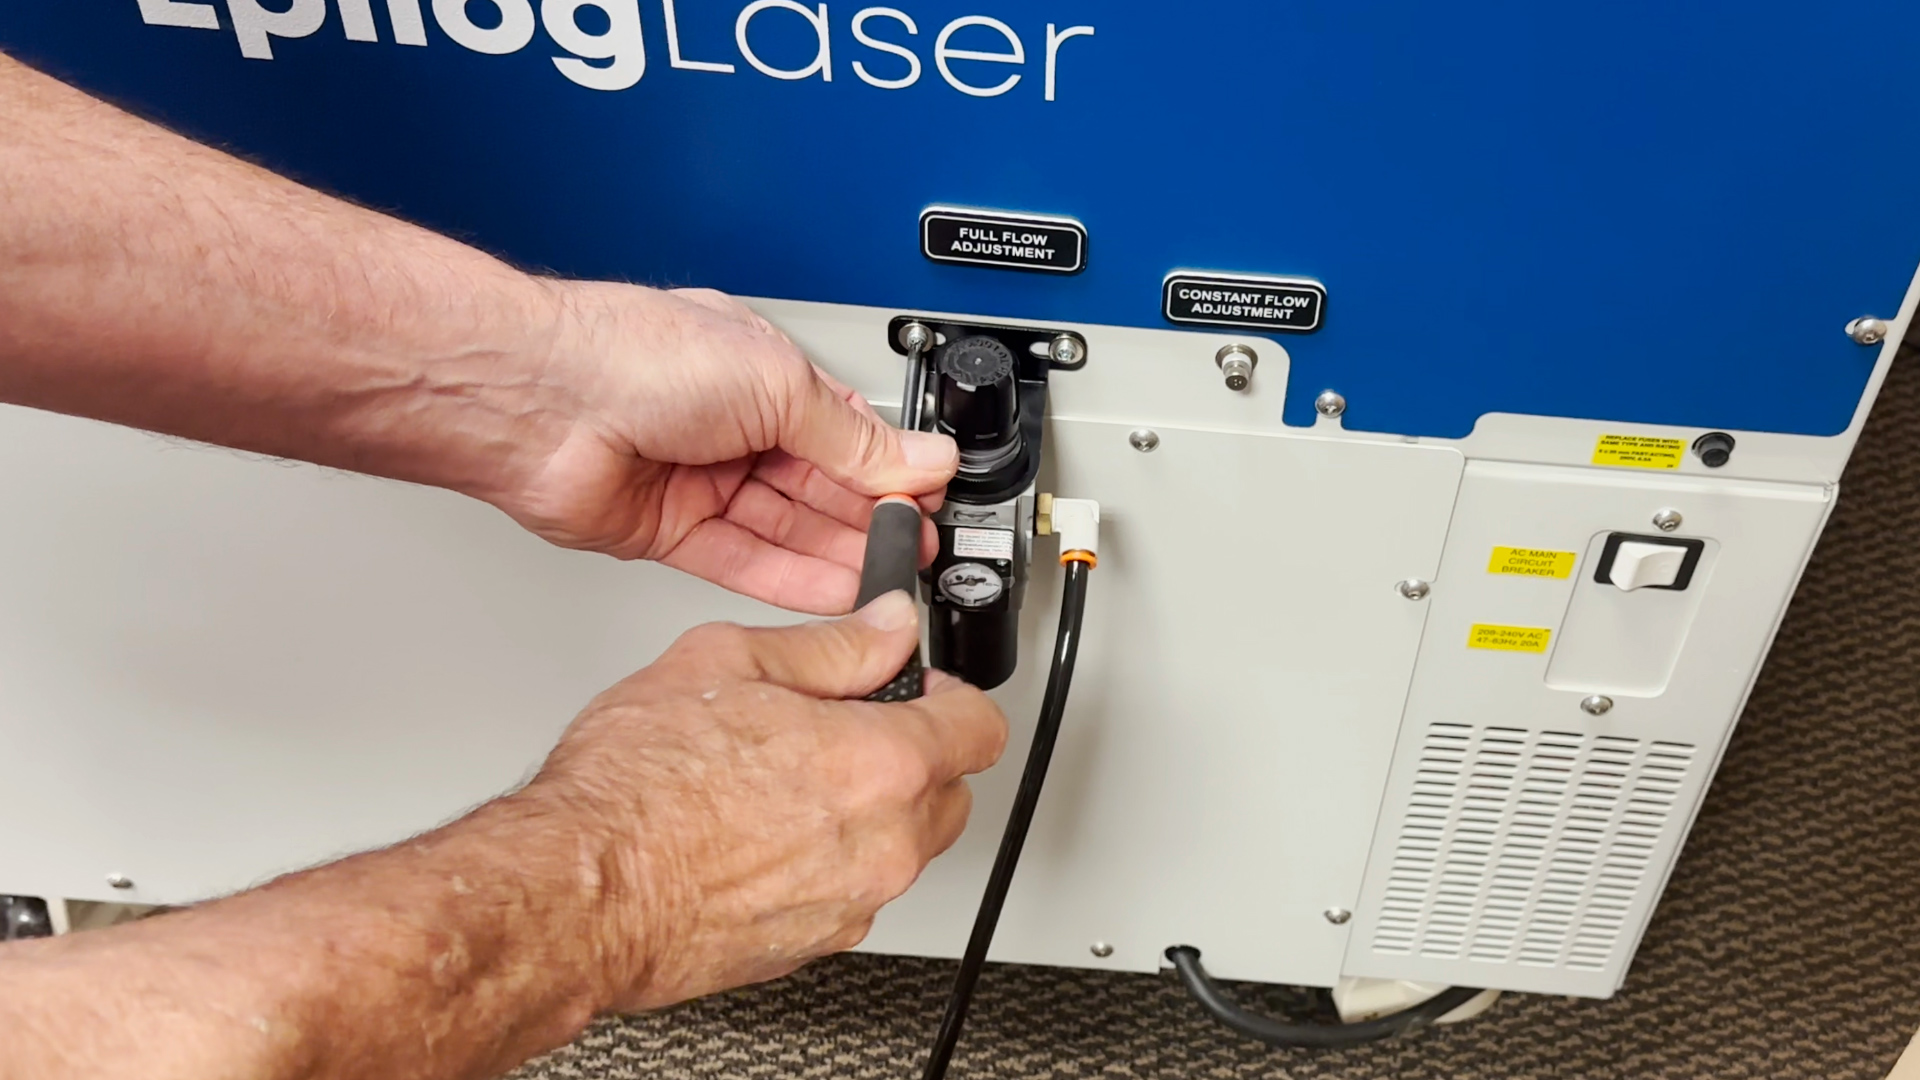
Take the Air Compressor Regulator from the air compressor box and attach it to the laser machine. On the Fusion Pro 36 this will be located on the lower right section on the side of the laser machine.
On the Fusion Pro 48 it is located at the top left section on the side of the laser machine.
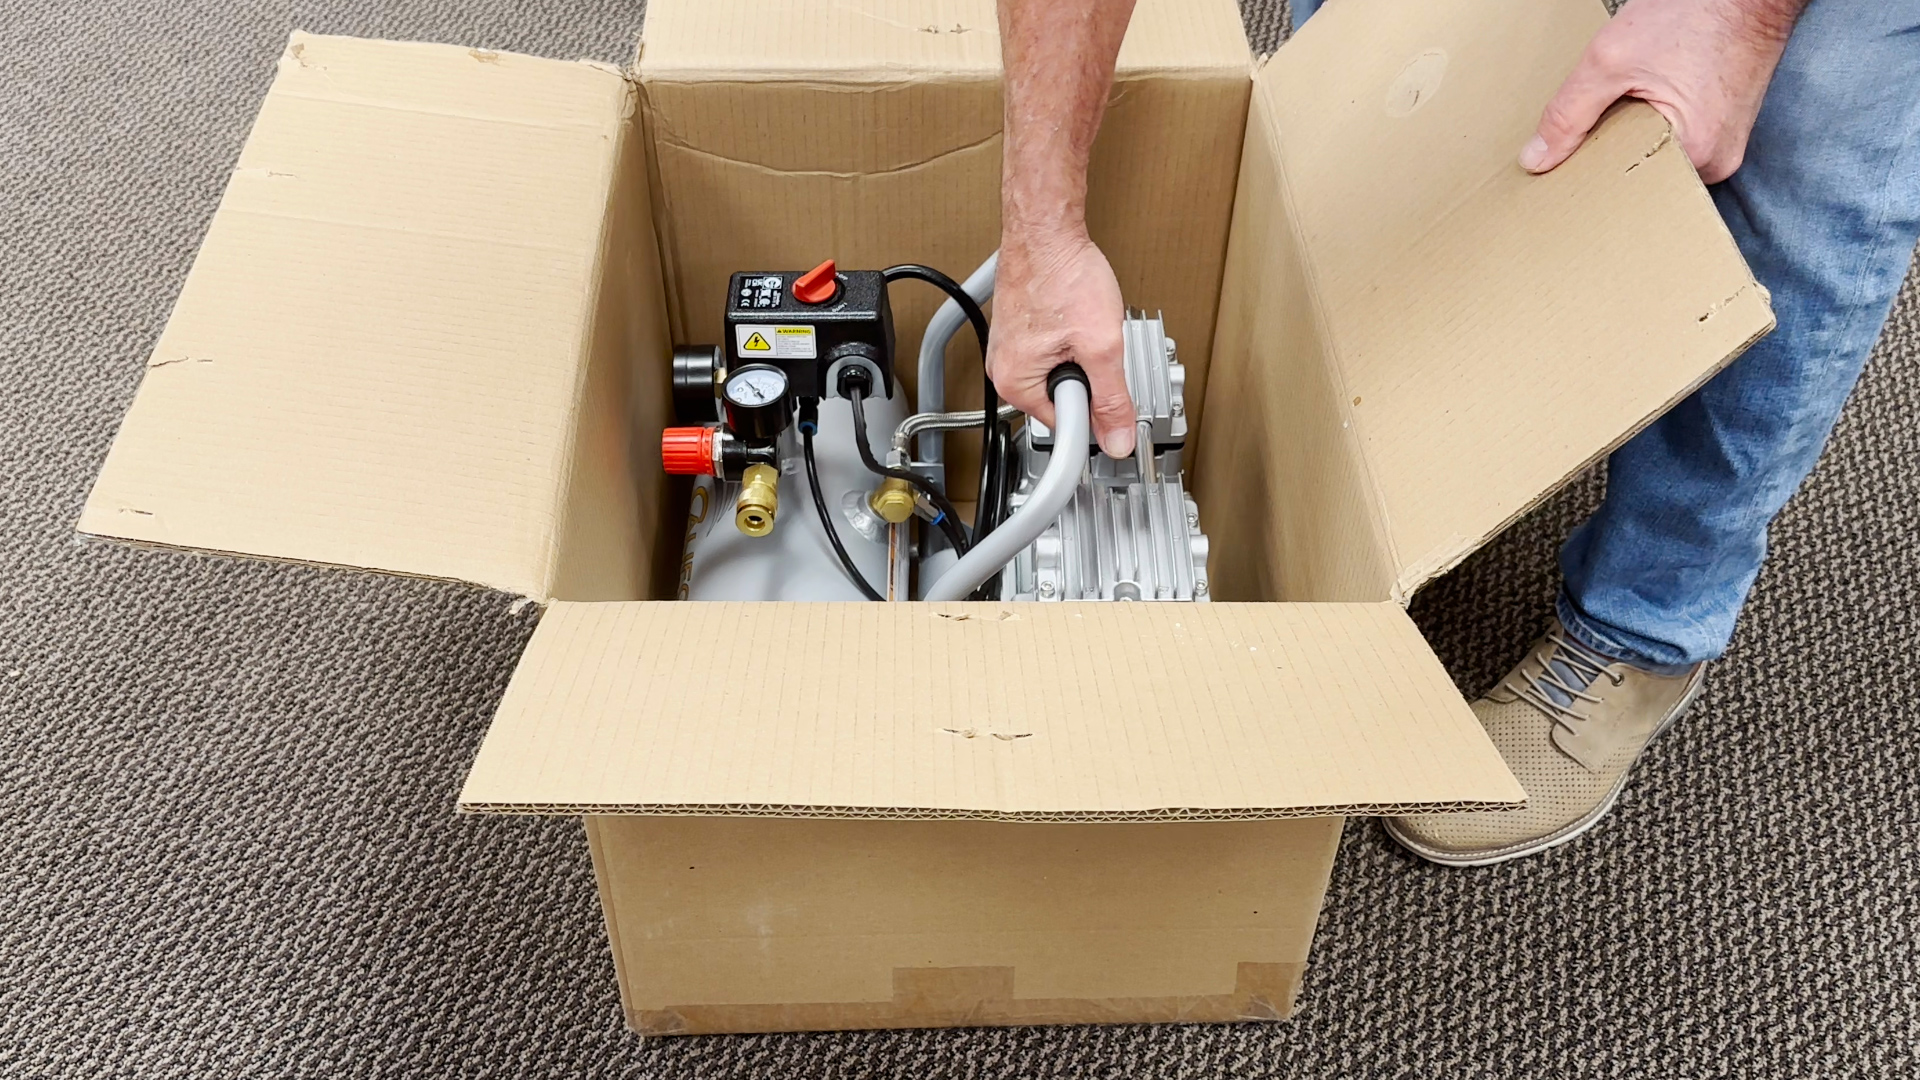
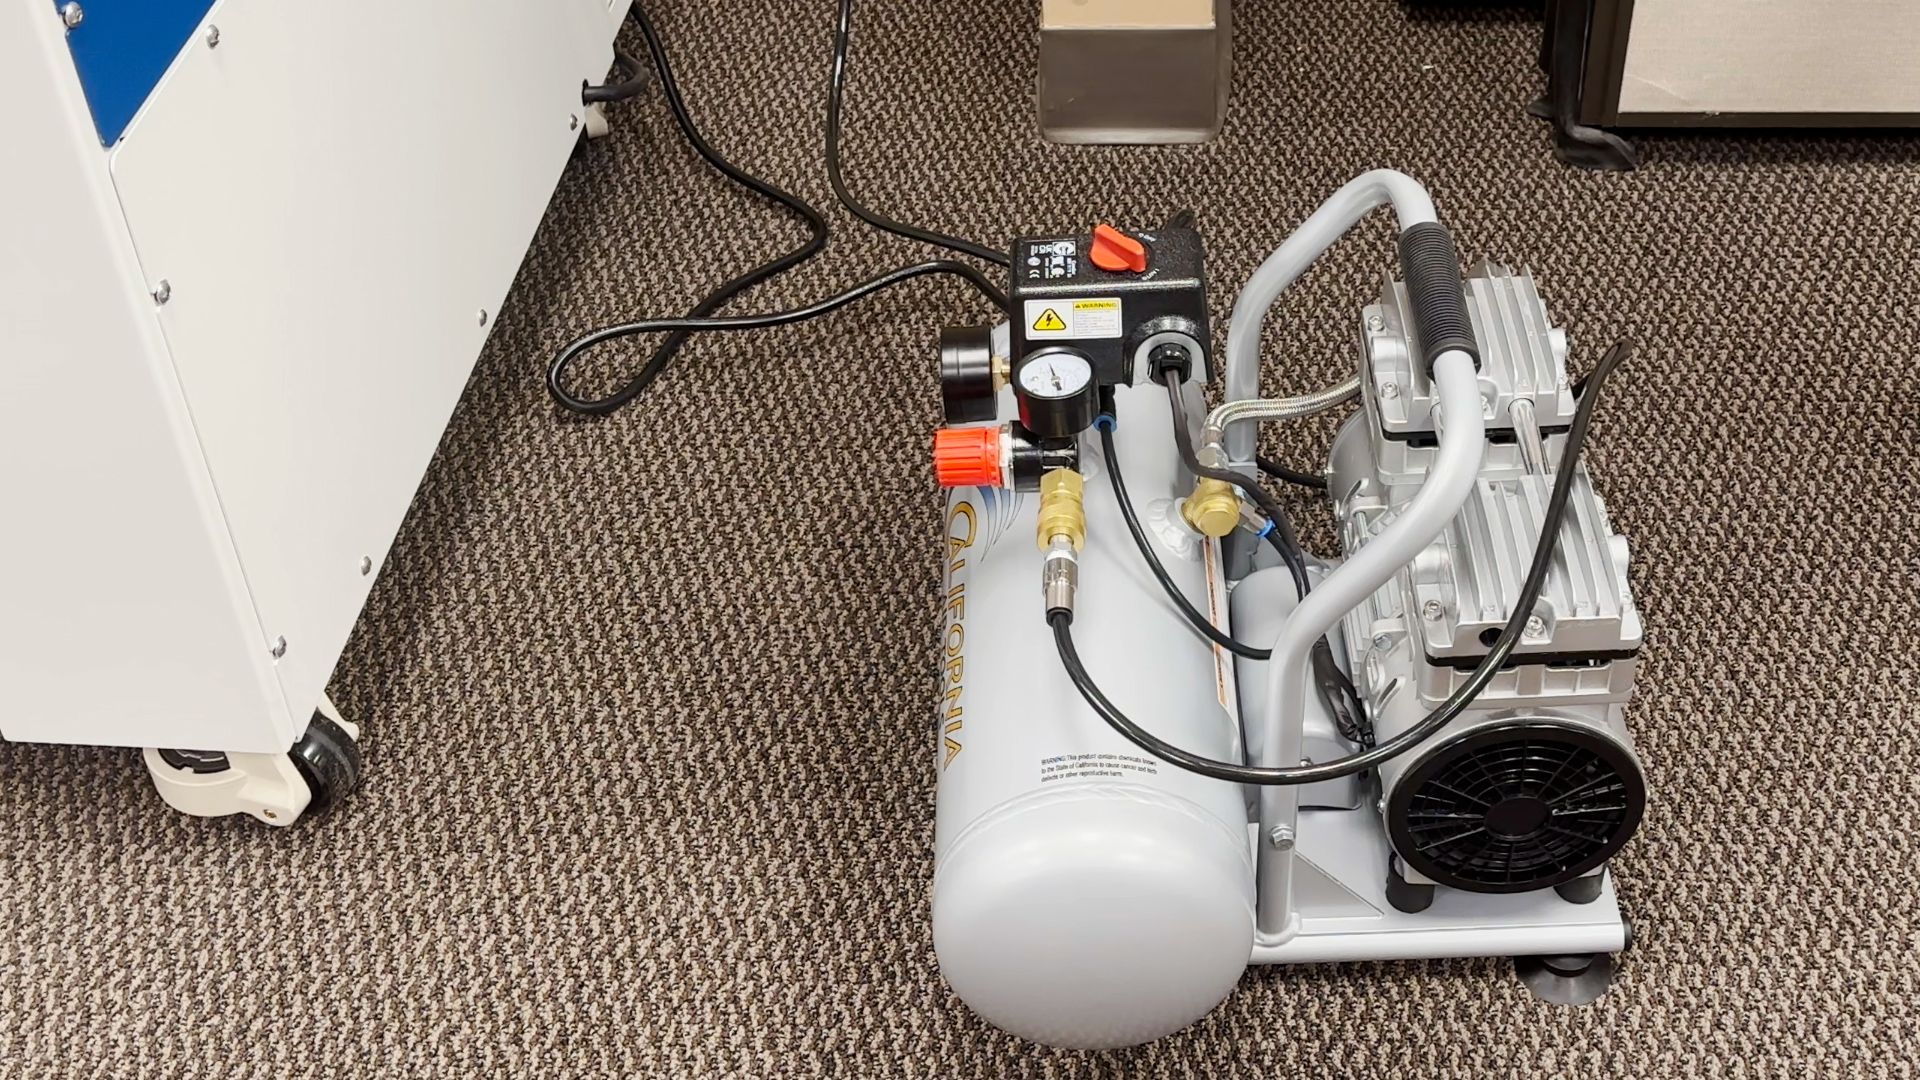
Remove your air compressor from the box.
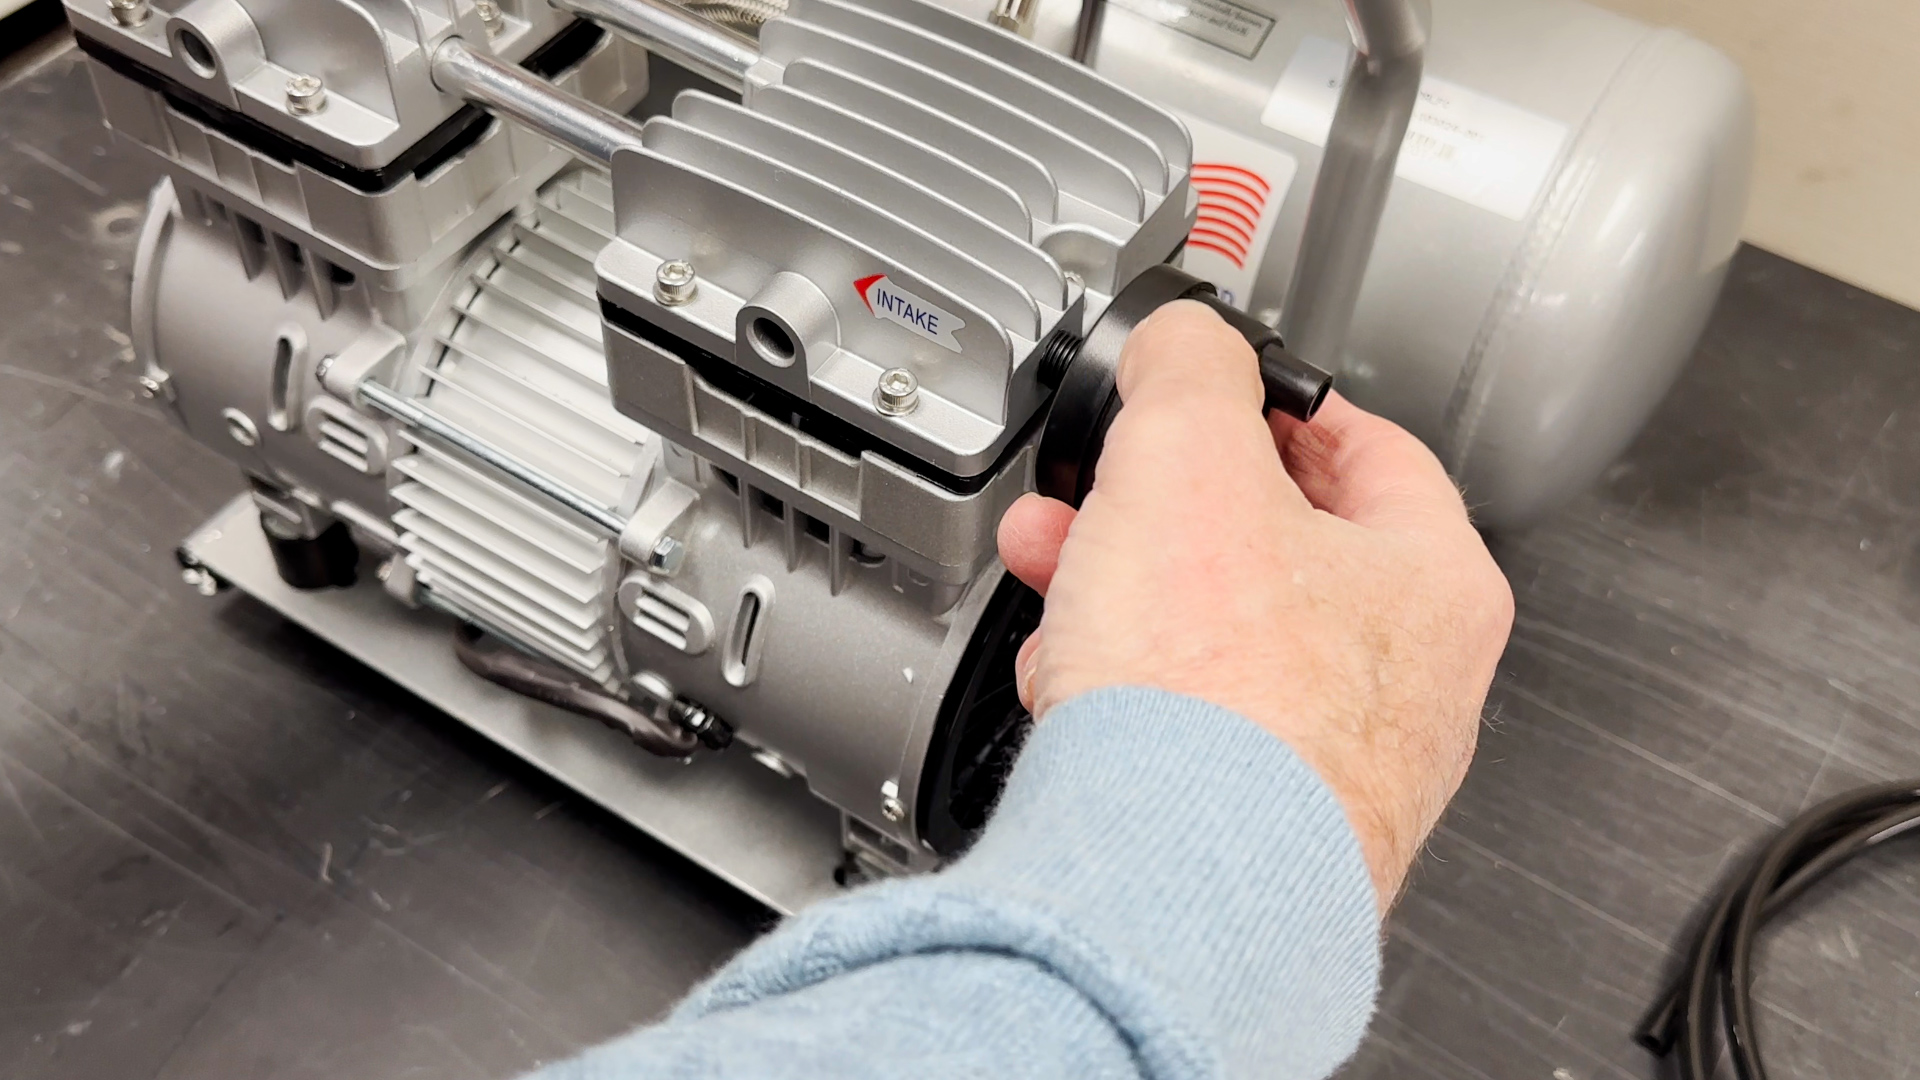
Attach the black circular muffler to the hole next to the intake sticker.

Attach the hose from the air compressor regulator to the air compressor unit.
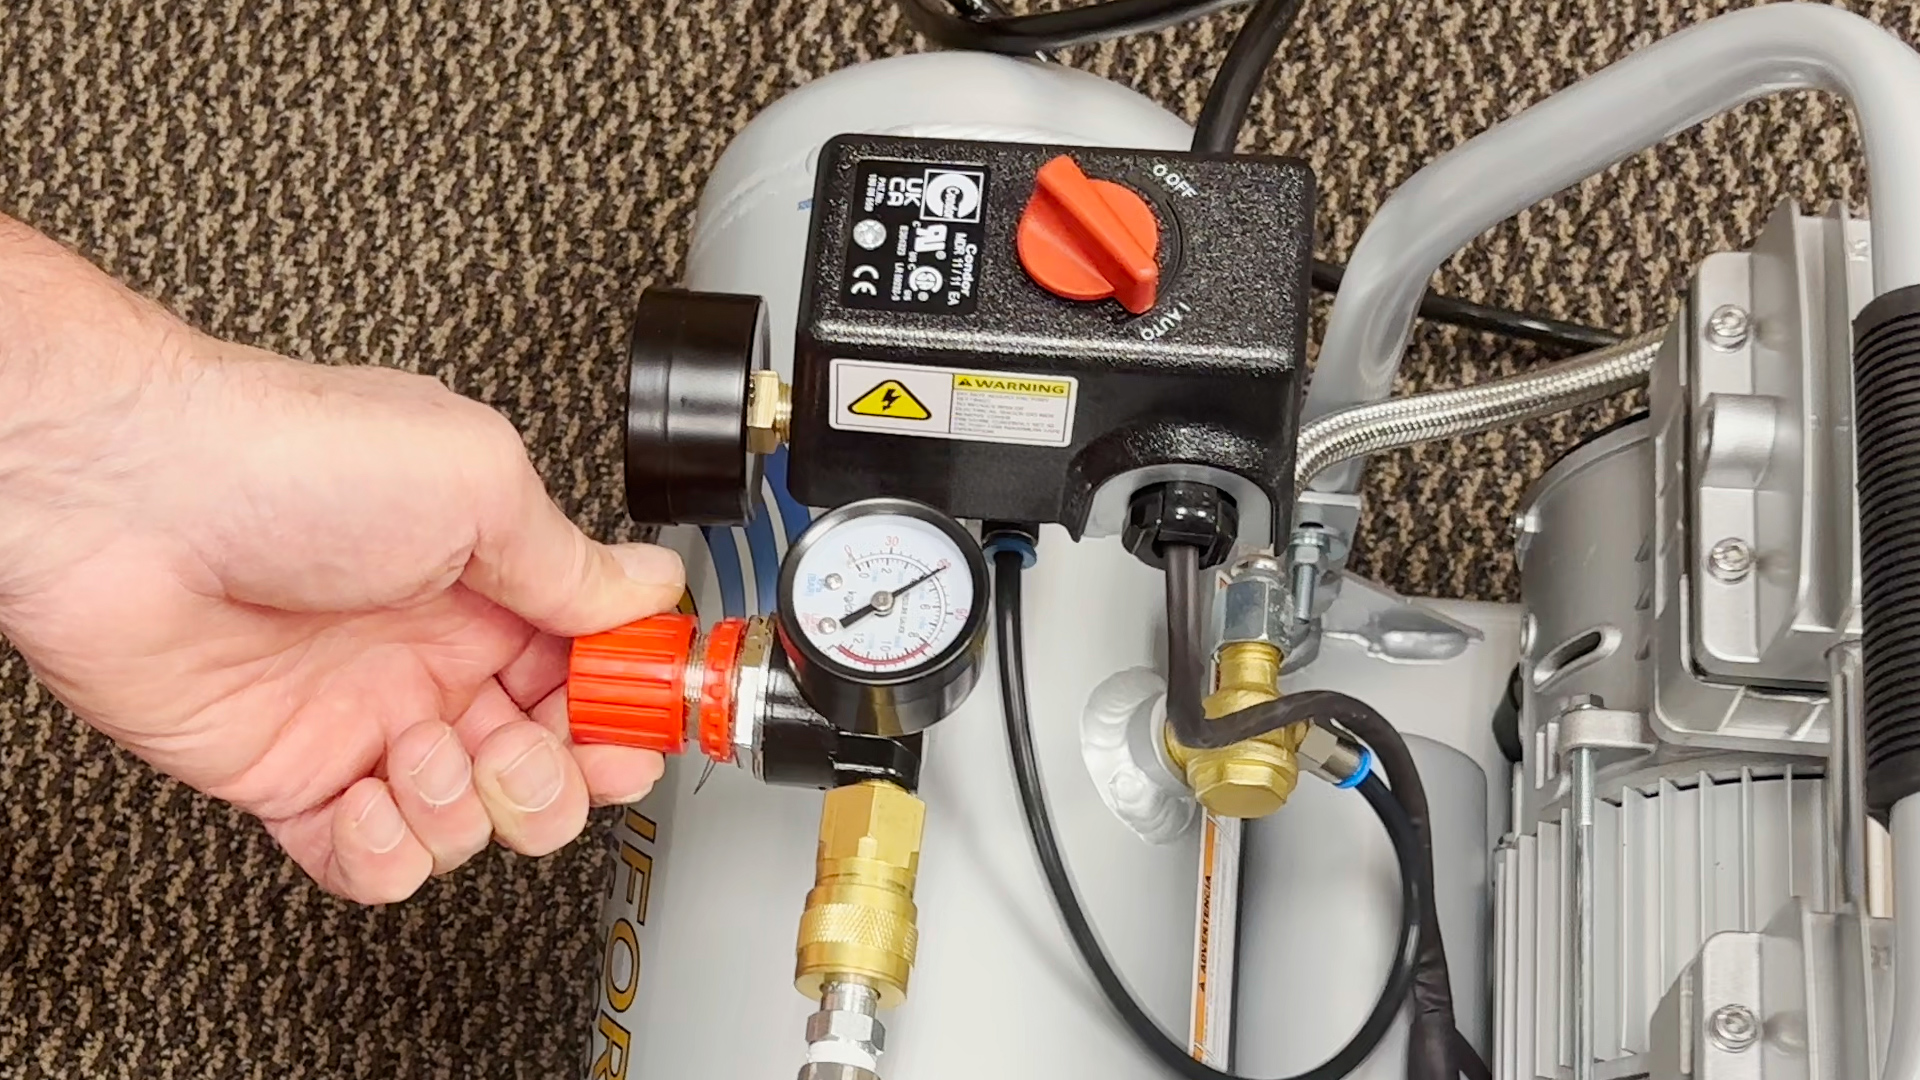
You can adjust the pressure gauge at the compressor using the red screw. This should be around 60 psi.
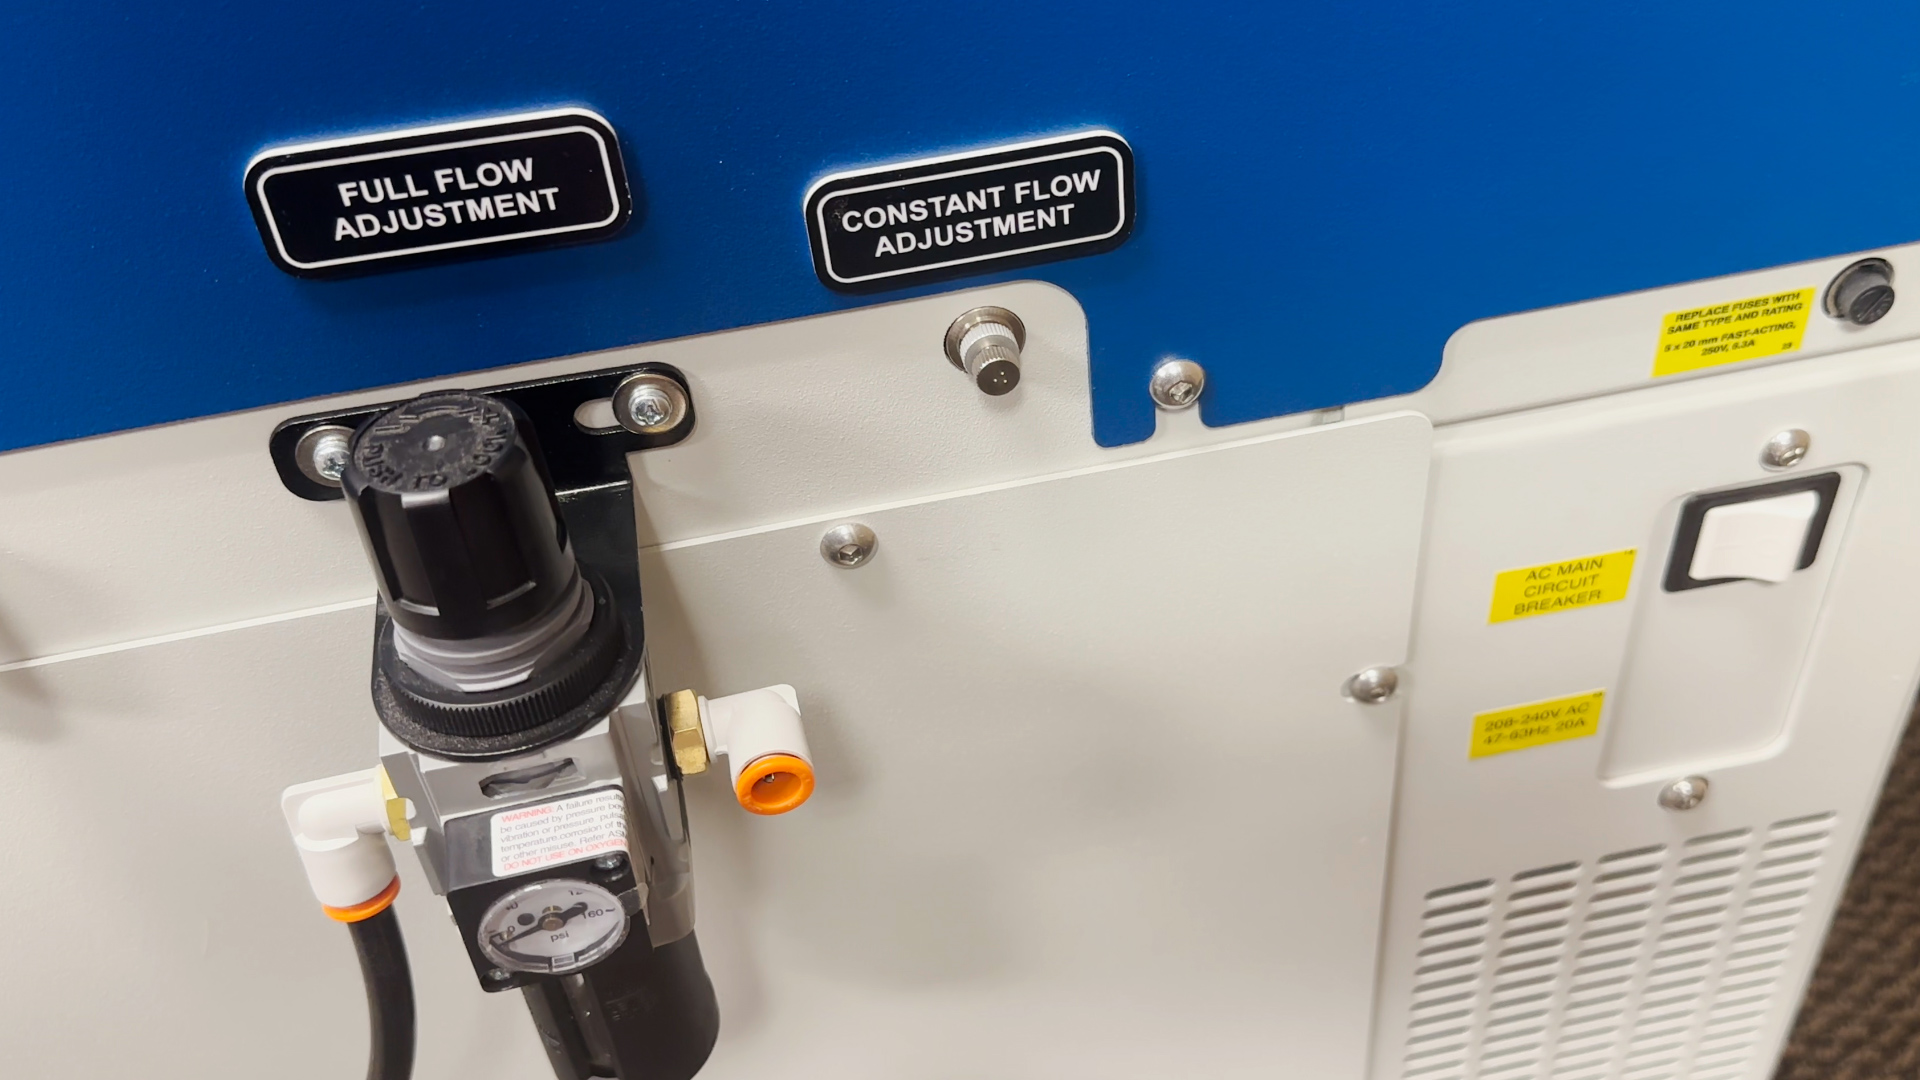
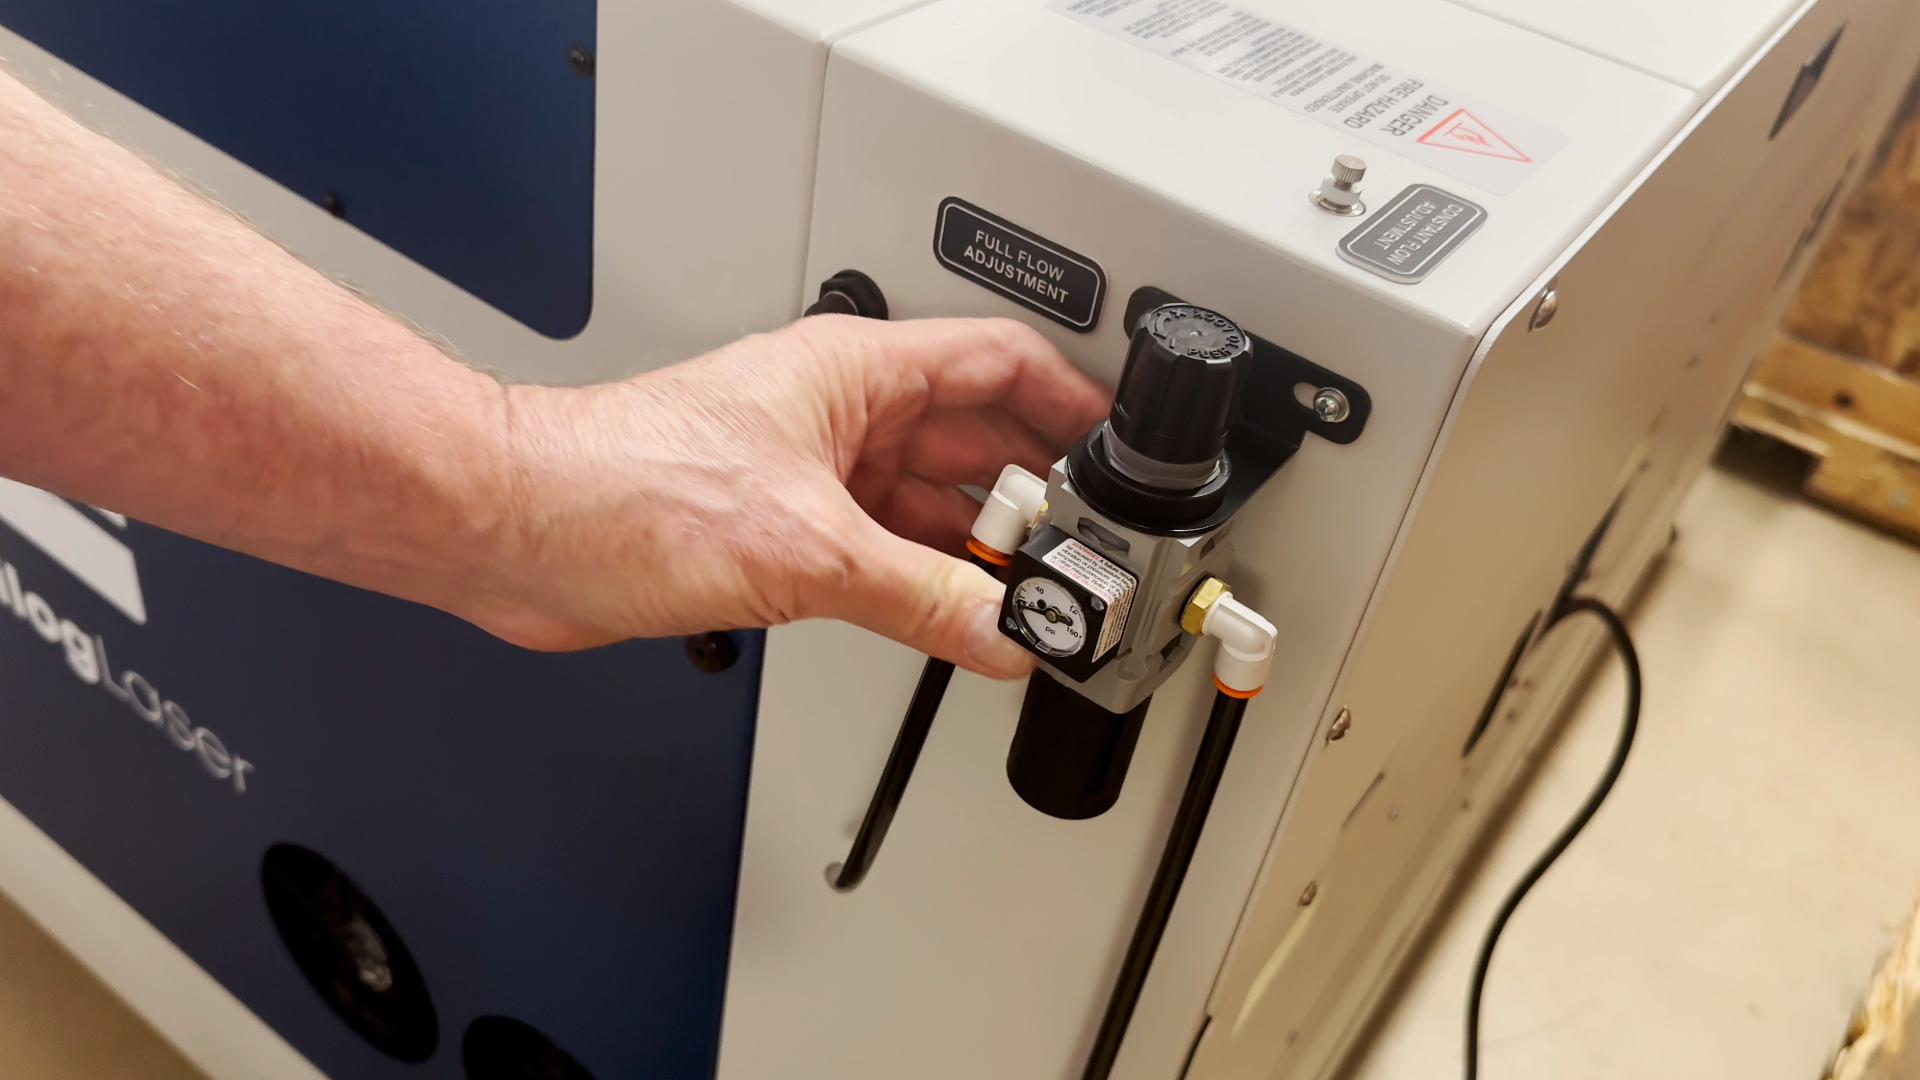
There are two controls for the air compressor on the Fusion Pro, the Constant Flow and the Full Flow adjustment.
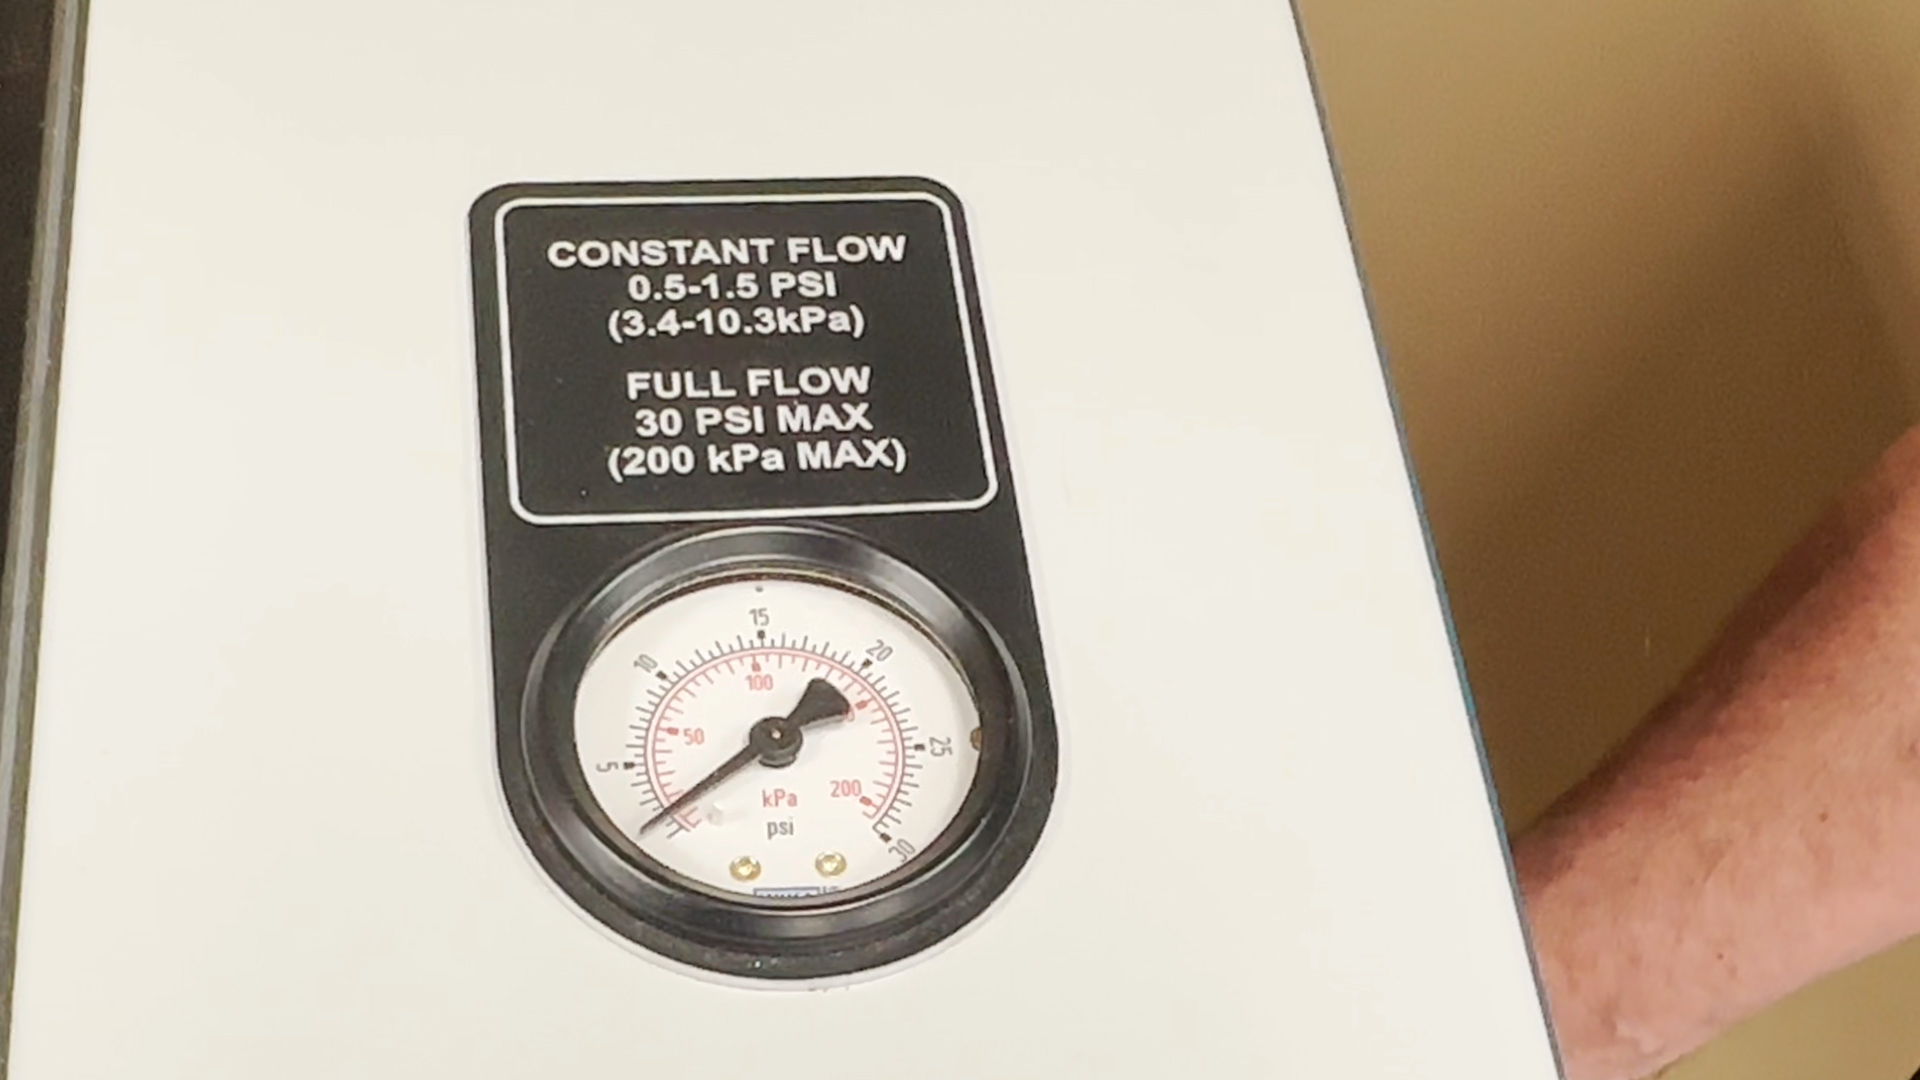
The Constant Flow adjustment sets the air output when air assist is turned off, helping to keep your lens free of contaminants. This should be set at around 1 or 2 psi. This can be adjusted anytime the machine is turned on.
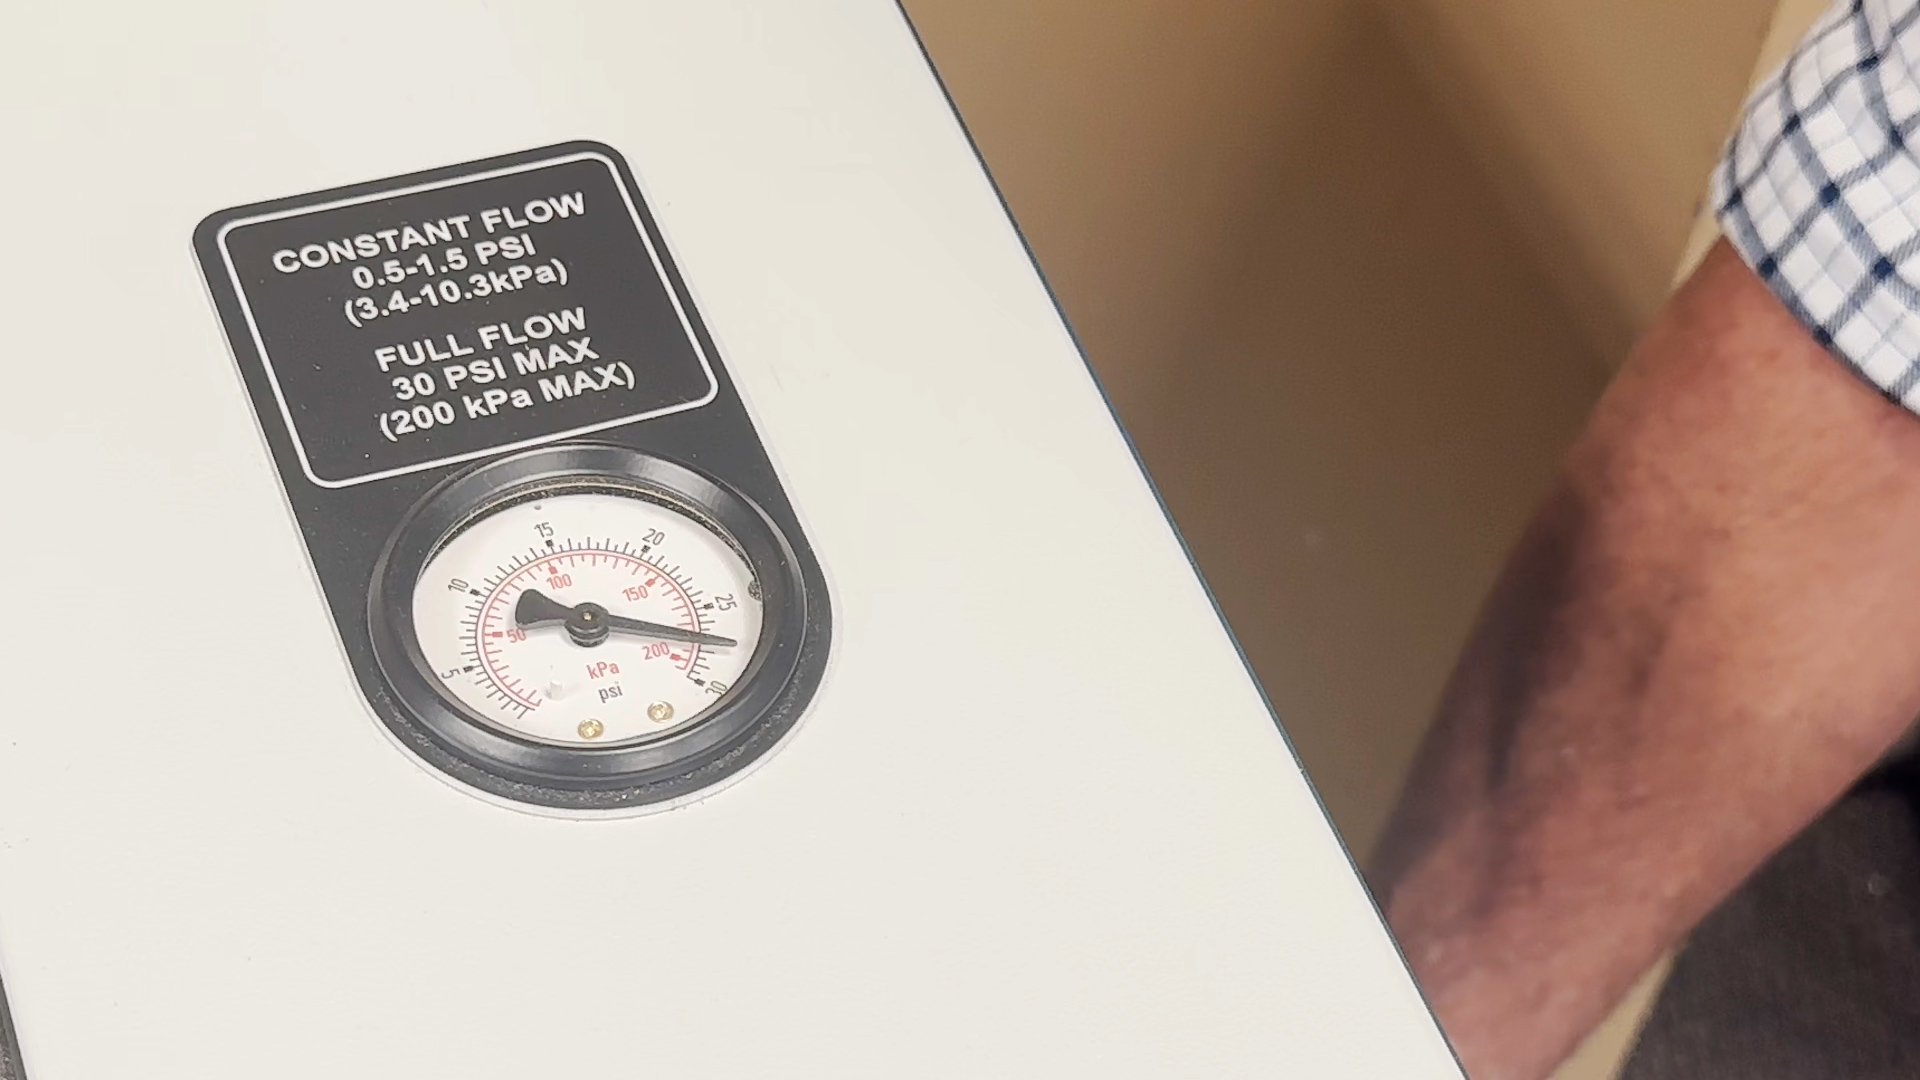
The Full Flow adjustment allows you to control the air output when Air Assist is turned on. It can be set to a maximum of 30 PSI. It is best to adjust this setting once you’ve sent your first cutting job to the laser and it is running with Air Assist turned on.
With your air compressor hooked up, you are all set up and ready to turn on your laser machine!