Estimated time: 15–20 minutes • Skill: Beginner
This guide outlines the procedure for replacing the window and door interlocks on an Epilog Legend 36 EXT laser system. These safety interlocks are designed to prevent the laser from firing when access panels are open. If they are damaged or not functioning correctly, they can prevent the laser from firing entirely—or cause it to fire intermittently during operation. Replacing faulty interlocks helps restore consistent laser performance and ensures safe machine operation.
To complete this procedure, you will need a nut driver and hex keys to remove the interlocks. The steps cover removing the interlocks, installing the new ones, and performing a final test to ensure proper functionality.
Interlock Removal
-
Power down and disconnect the machine.
Turn off the engraver and disconnect it from its power source before beginning any work. -
Open the lid.
Lift the top lid of the machine to access the interlock panels. -
Remove the two lid panels.
Each panel is secured by four (4) nuts. Remove all eight nuts and lift the panels away from the lid.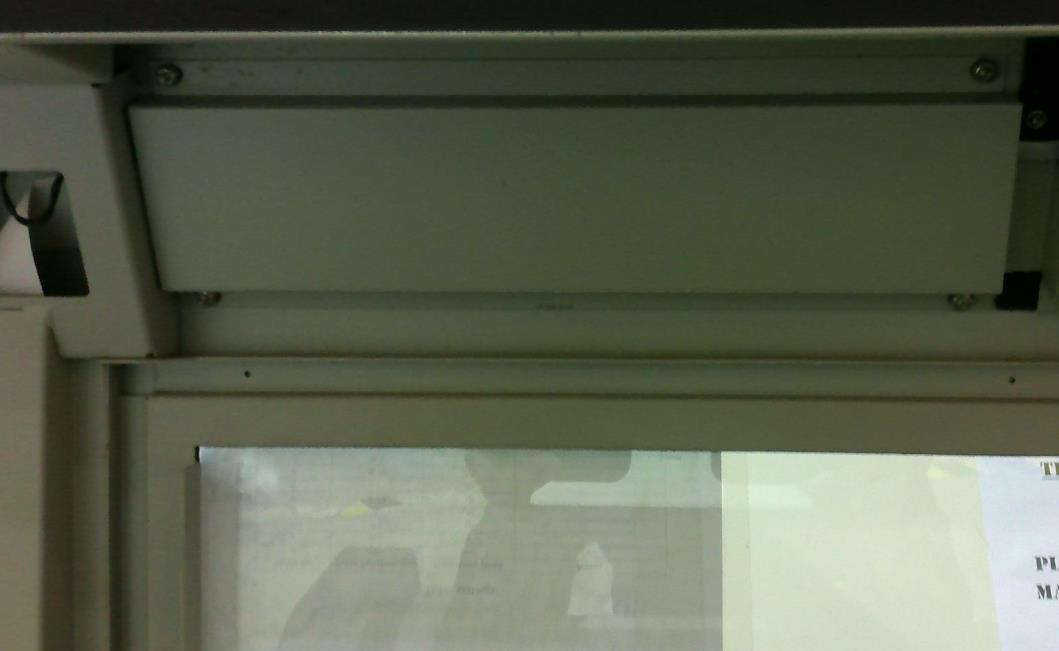
Image 1: Panels on the machine lid.
-
Disconnect the interlock connectors.
Locate and disconnect the small black connectors attached to the interlocks — there are three (3) on the right side and one (1) on the left.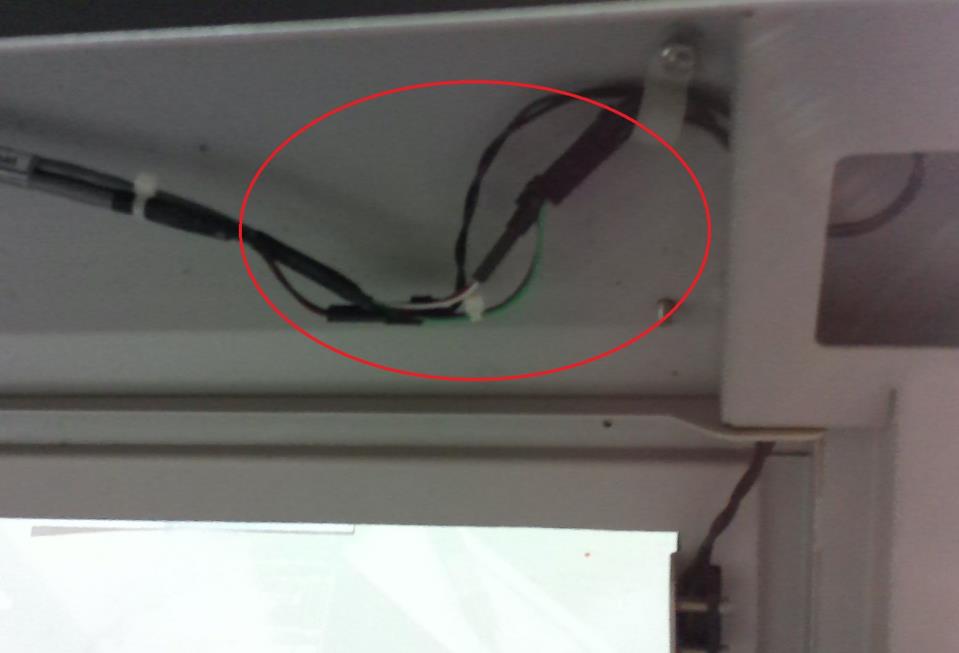
Image 2: Connectors on the right side.
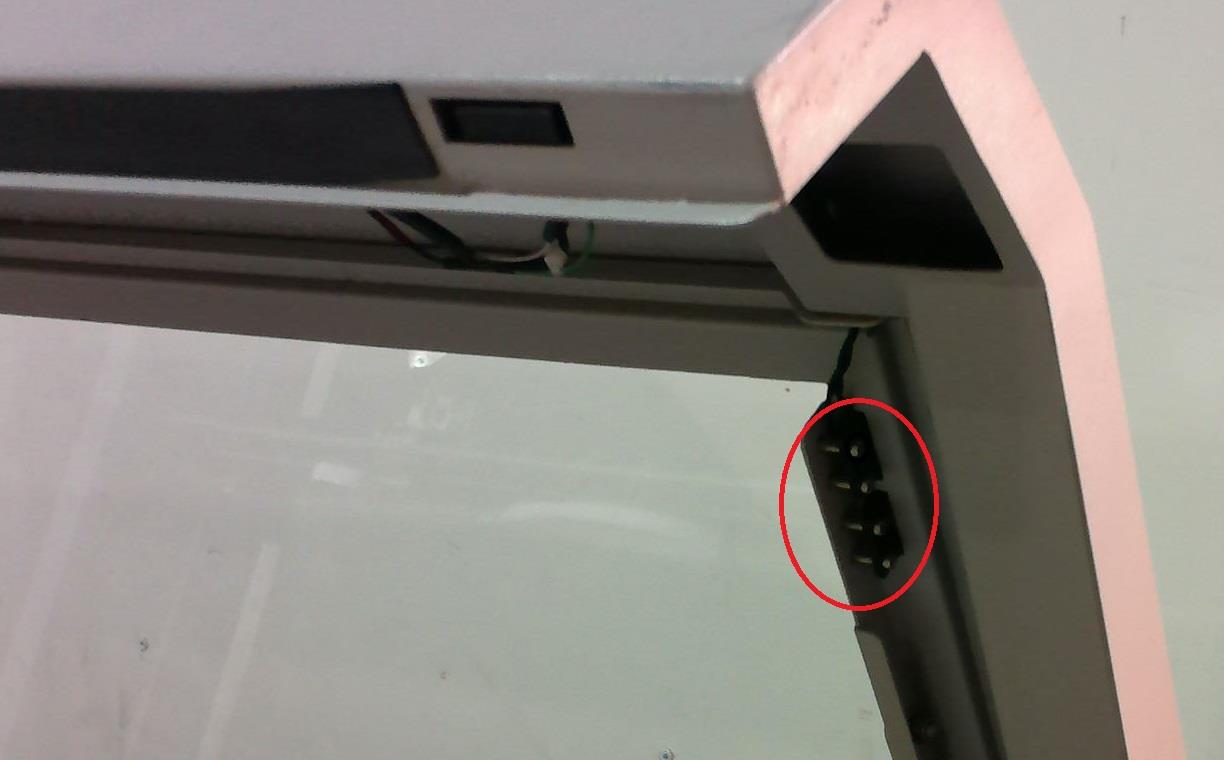
Image 3: Connector on the left side.
-
Remove the window interlocks.
Use a hex key to remove the two (2) screws securing each window interlock. Once the screws are removed, lift the interlocks out. -
Remove the door interlocks.
The door interlocks are located in each corner of the door. Remove them by loosening the hex screws and pulling the interlocks up and out.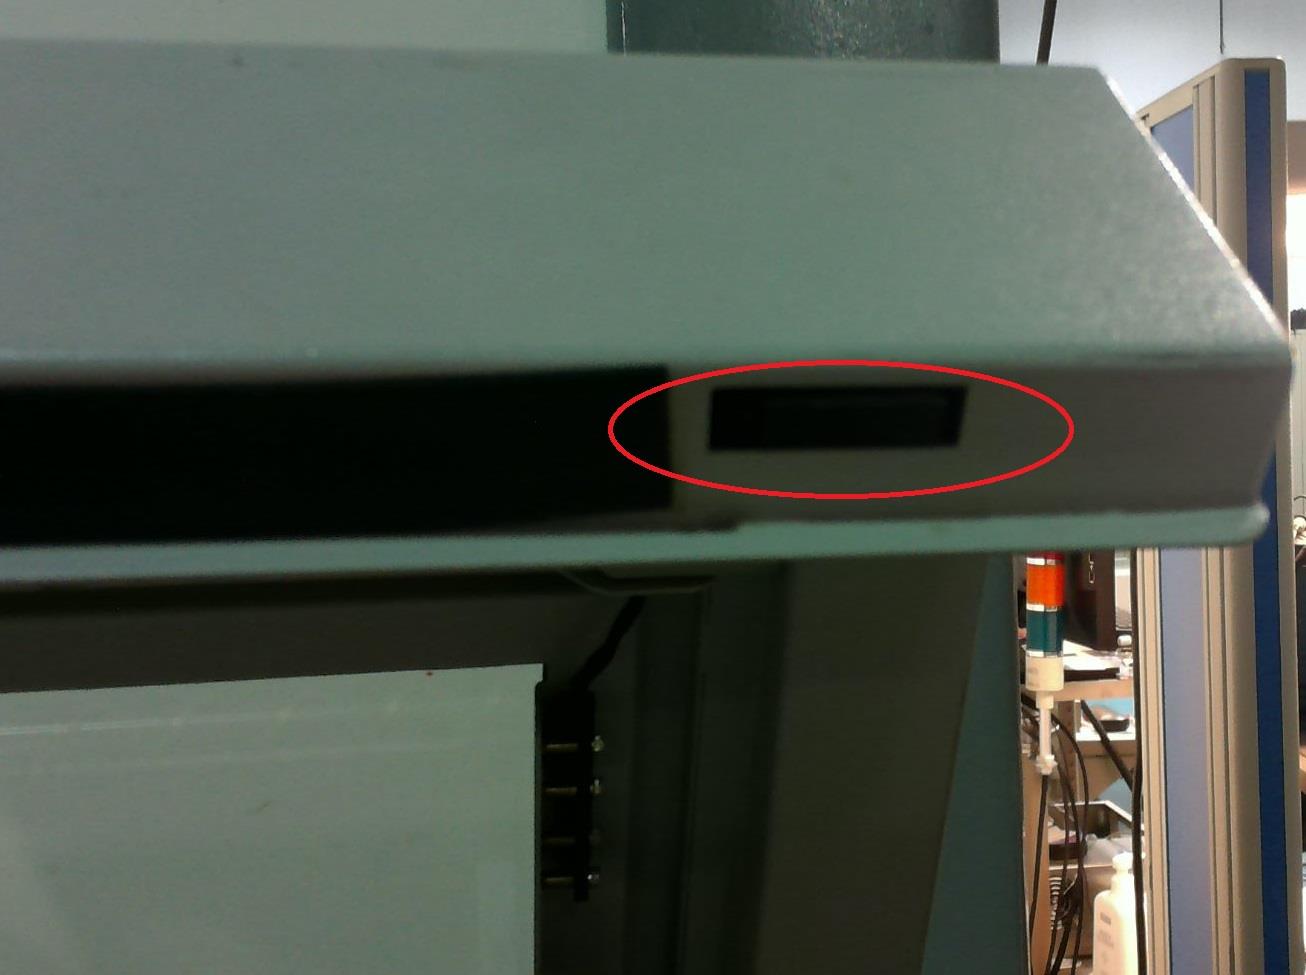
Image 4: Door interlock location.
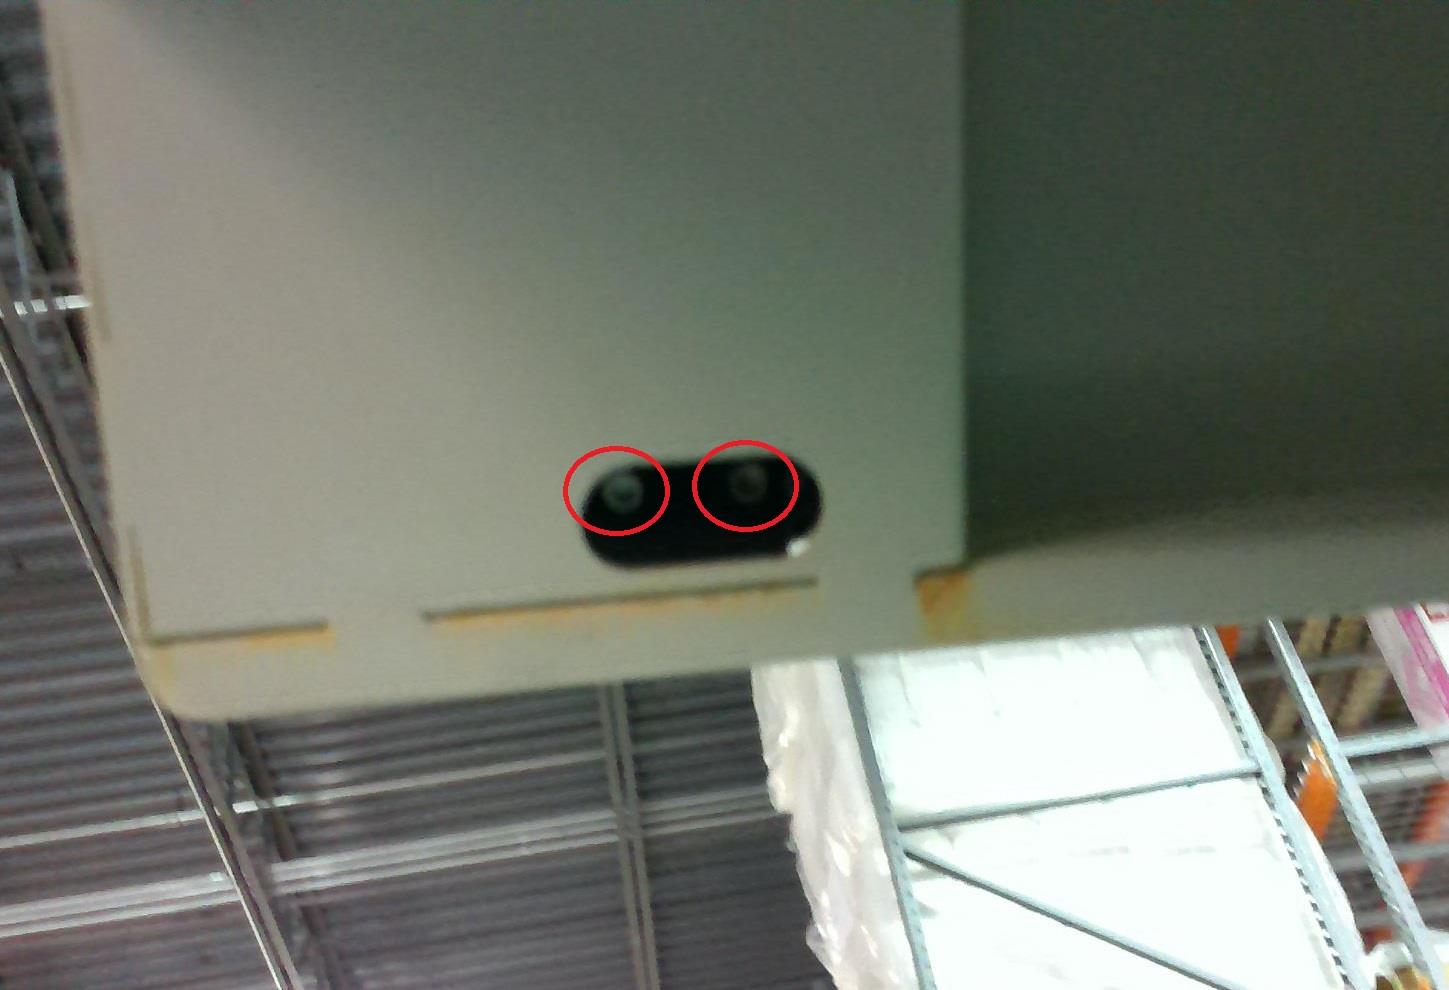
Image 5: Close-up of door interlocks with screws visible.