The X-axis flex cable plays a crucial role in the operation of the Epilog Legend 36EXT engraver. Over time, the cable may wear out or become damaged, requiring replacement. This guide provides step-by-step instructions to safely replace the X-axis flex cable, ensuring that your engraver continues to perform at its best. Please follow the instructions carefully and use the correct tools for a smooth and successful replacement process.
Note: All instructions given in this tech note assume that you are facing the front of the engraver.
-
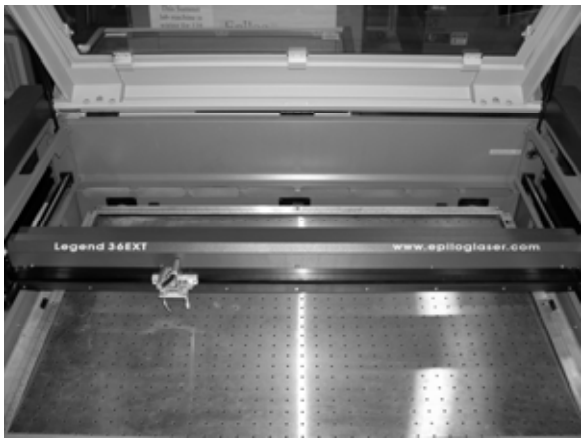
With the engraver shut off, open the top lid on the engraver. Pull the X-axis beam to the front of the engraver.
-
You will need to remove the blue cover on the I-beam. Using the Phillips head screwdriver, loosen the 5 screws on the front and the 5 screws on the rear of the I-beam. It is not necessary to remove the screws completely, just loosen them enough to remove the I-beam cover. Once all 10 screws are loosened, lift the cover off and set it aside.
-
Once the blue cover is removed, you will see the white flex cable that runs the length of the I-beam. There are 2 brackets securing the flex cable to the I-beam. One bracket is located about the center of the I-beam, and the other is on the far left side. Using the Phillips head screwdriver, remove the 2 screws that secure each bracket to the I-beam, then set the screws and brackets aside.
-
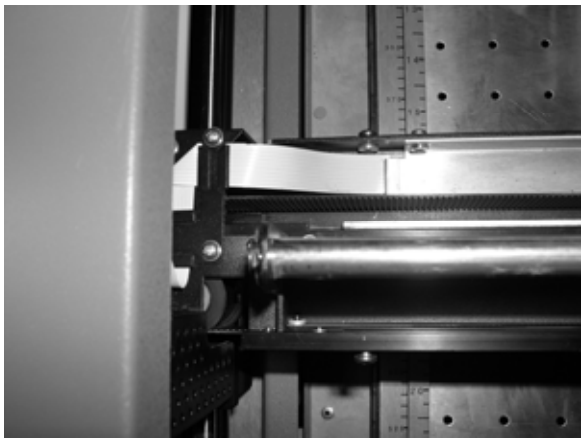
Now remove the L-shaped bracket that holds the flex cable down to the left side of the I-beam. This L bracket is located just to the rear of where the cable connects into the black box on the left side of the I-beam and is secured with 2 screws. Remove these screws and bracket and set them aside. Once the bracket is removed, disconnect the flex cable from the black box.
-
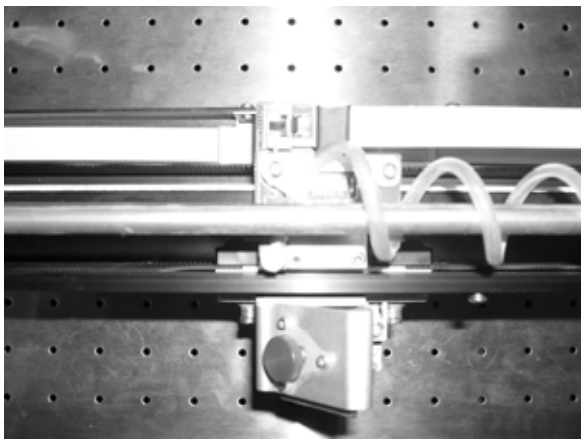
The last bracket holding the ribbon cable is located just to the right of where the cable connects to the green PCB board on the lens carriage. You only need to loosen the 2 screws enough to slide the ribbon cable out from between the brackets. Once loosened, disconnect the flex cable from the lens carriage and pull the cable free from the bracket.
-
To install the new flex cable, simply reverse the process from step 5 to step 1.
Note: When replacing the white flex cable, make sure there is a 1/8” gap between the white flex cable and the rear lip of the track that it rides in. This will prevent the flex cable from rubbing against the mounting screws and the inside of the blue cover on the I-beam. Also, make sure to replicate the 90-degree fold on the left side of the flex cable. Lay the old cable next to the new one and duplicate the fold before installation.