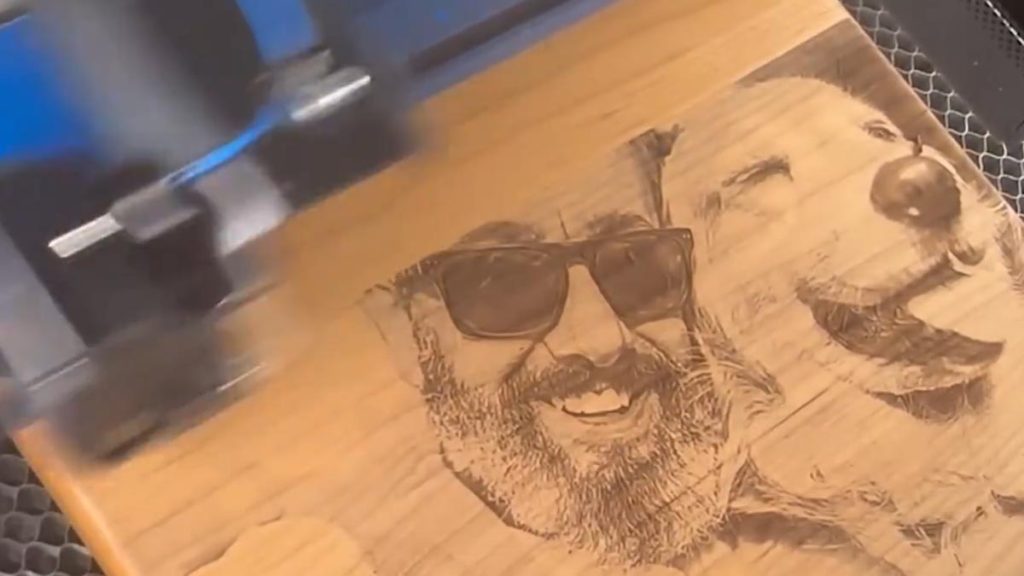
For a helpful tip, we’ll show how to use margins in the Epilog Dashboard to preview the engraving to make sure our photo quality is ideal. Prepare the Artwork We’ll be engraving this photo on a wood plaque. First, we’ll process the photo in PhotoLaser Plus. (...)
Center-Center vs Custom Center Engraving
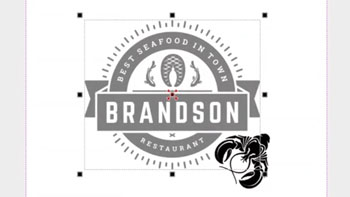
Using Center-Center There are many ways to use Center Engraving on the Epilog Laser Dashboard. Let’s take a logo we want to engrave at the center of a coaster. In the Epilog Dashboard, choose the Advanced Tab. Next to Centering Point you’ll see a list of all (...)
Use Print Merge to Customize Multiple Items
Import Data Here we have a series of name badges to engrave and cut on the laser using print merge. First we’ll need to pull in the list of names. Select File > Print Merge > Create/Load Print Merge Click Import File and navigate to your .csv, .rtf, or (...)
Precisely place artwork using the IRIS Camera
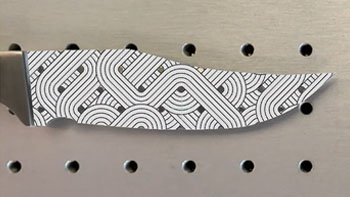
Artwork Setup Here we have a graphic we want to engrave on a blade of knife, which we can do by using the camera. In the Laser Dashboard, using the camera, we can see the knife blade placed in the laser. Start by clicking the Copy Background Image (...)
Creating a 3D Sphere Design for Laser Engraving
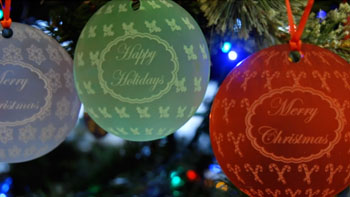
Setup the Artwork Here we have a snowflake design that we’ve replicated in an offset grid pattern to be transformed into a 3D sphere design. Select the design and drag it into the Symbols tab. Name the design And set the export type to graphic. Delete the (...)
Removing Adhesive Backing from Acrylic
Spray Backing Spray the adhesive backing with Pure Citrus air freshener and let it sit for 30 seconds. Peel Backing Now the adhesive backing should be quick and easy to remove from your acrylic. Wipe Clean Wipe off the remaining residue and you’re ready to engrave or (...)
Maximum Rotary Attachment Diameters
Maximum diameter that will fit on the Rotary Attachment for each system Epilog Zing 24: 5.25″ (133mm) Epilog Mini 18: 3″ (76mm) Epilog Mini 24: 5″ (127mm) Epilog Helix: 8″ (203mm) Fusion 32: 10.75″ (273 mm) Fusion 40: 10.75″ (273 mm) Fusion M2 32: 10.25″ (260 mm) Fusion M2 40: (...)
Changing the Default Pen Width in CorelDRAW X6
Starting with CorelDRAW X5, Corel decided that the default line width would be .007. Because most laser drivers need to see line widths of less than .007 to vector cut, this presents an issue for those wanting to cut objects using the laser. For this exercise we’ll show you how (...)
Creating an Appliqué
With a few easy steps you can create your own custom cut appliqué out of two-ply twills! Follow these instructions to see how we’ve taken a piece of clipart and optimized it to create this stunning design! First, ungroup the entire image. Next, we need to add an outline around (...)
Laser 3D Model Making with 123D Make
Turning your 3D models into a real-world objects is quick and easy with the combined power of AutoDesk’s 123D Make software and an Epilog Laser system. 1. Start by opening one of the example models in 123D Make or a model of your own. 2. Then set up (...)
Using the Bottom-Up Engraving Option in the Laser Dashboard
As any engraver knows, most materials you engrave or cut can produce a certain amount of debris. This is especially true with woods, acrylics and plastics. Epilog’s Laser Dashboard™ features an array of engraving options to help you get the most from you system. The Bottom-Up engraving feature is one (...)
Laser Engrave or Cut a City Map (CorelDRAW)
Laser engraved or cut city maps are easy to create and will quickly become a great new addition to your popular laser engraved and cut products. Create your own local city maps and laser engrave them on cutting boards, marble tiles, and small tables, or create laser cut versions using (...)