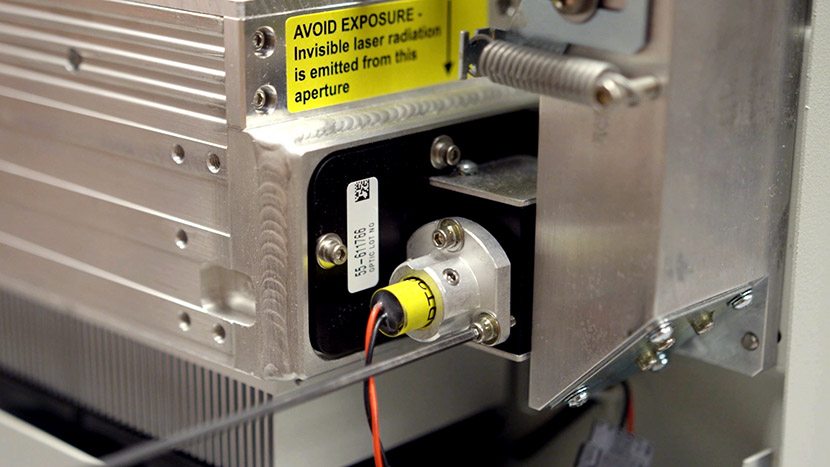
In this lesson we’ll walk through aligning the Epilog Zing’s laser.
During this procedure, all persons present in the room must be equipped with eye protection, such as safety glasses, eyeglasses or goggles.
To avoid eye injury or burns, do not place any part of your body in the path of the laser beam.
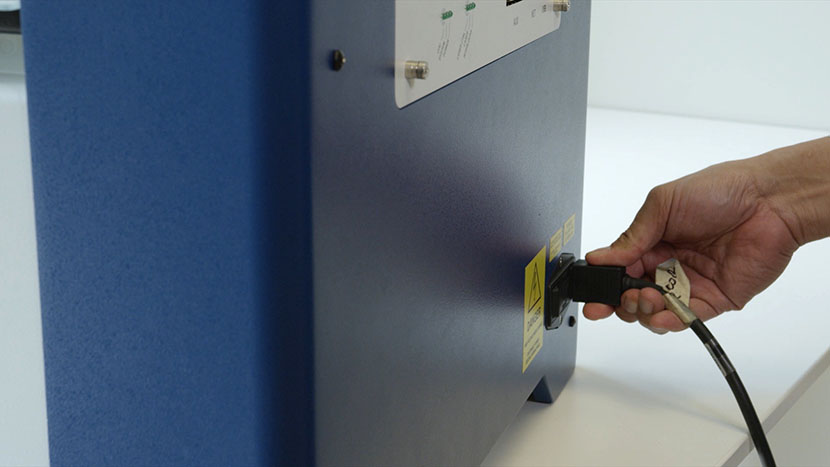
Make sure your Zing laser system is powered on and hooked up to a computer.
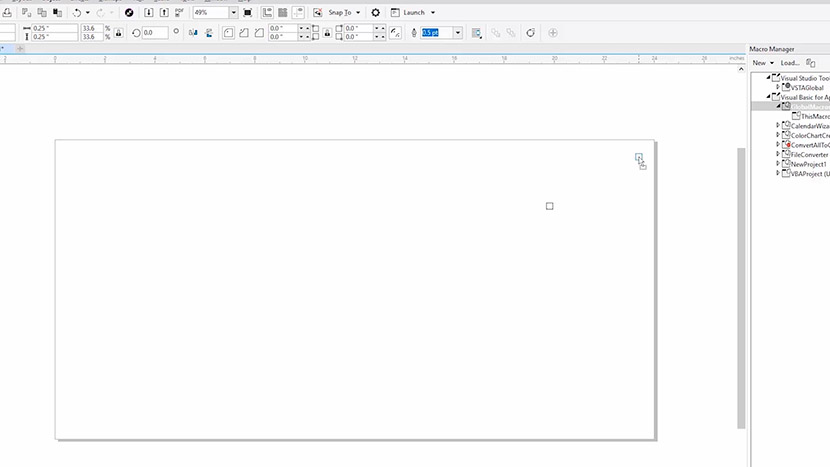
Mark the Laser Alignment Target
To begin the laser alignment procedure, in your graphics software, set your page size equal to your machine’s table size and create a small ¼” by ¼” black filled box in the upper right corner of the page, then send it to the laser.
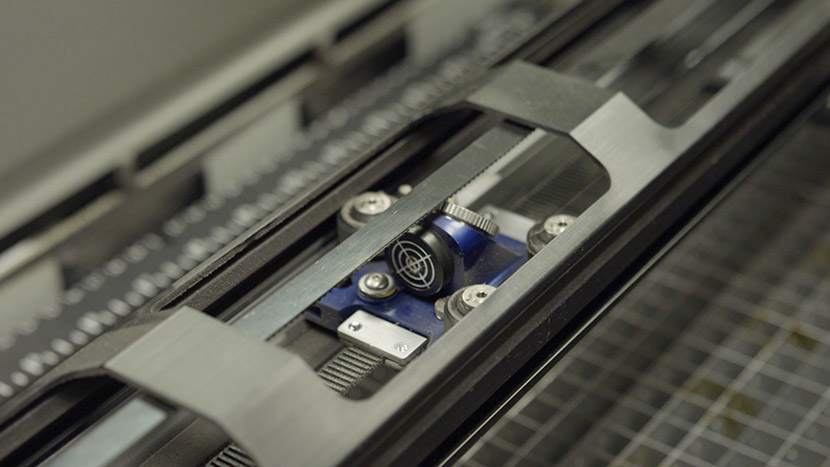
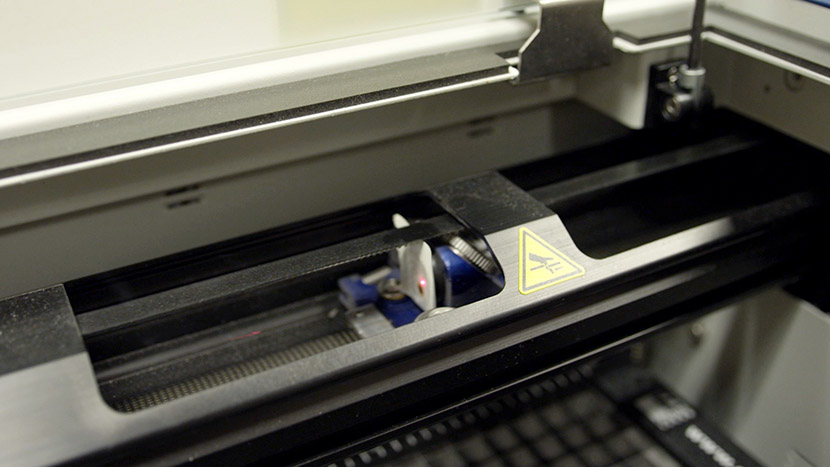
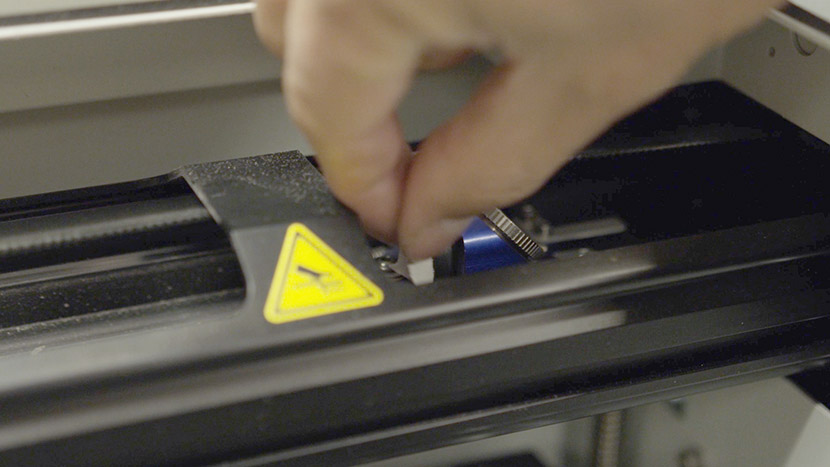
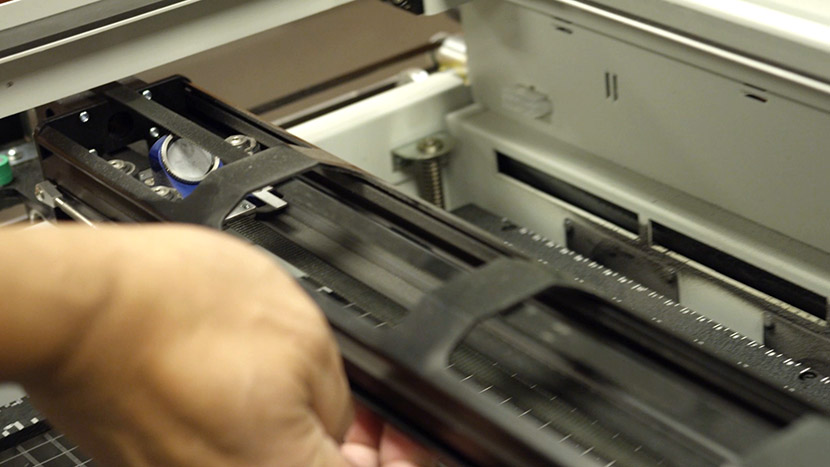
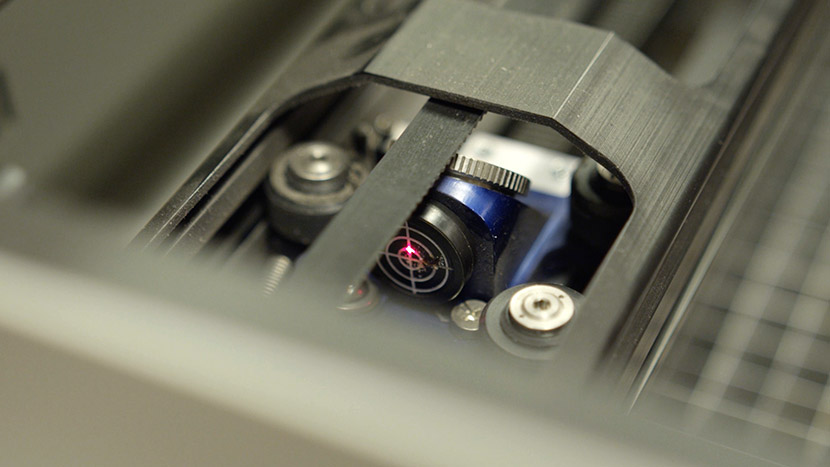
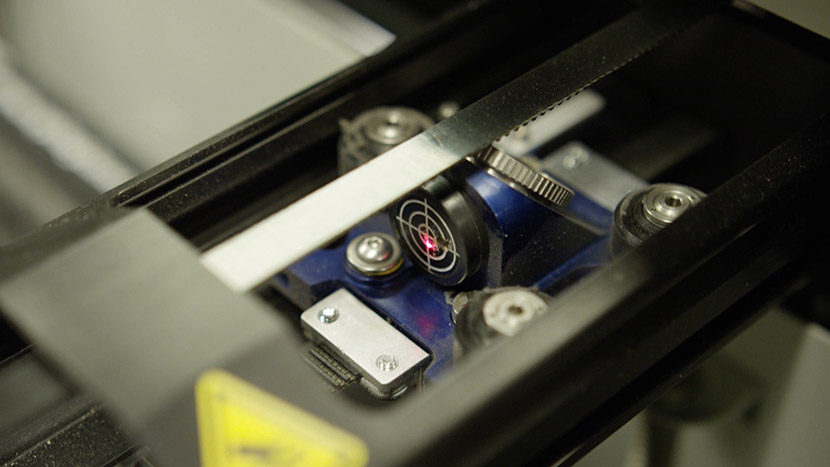
Install the alignment target into the lens carriage and place a small piece of masking tape over it.
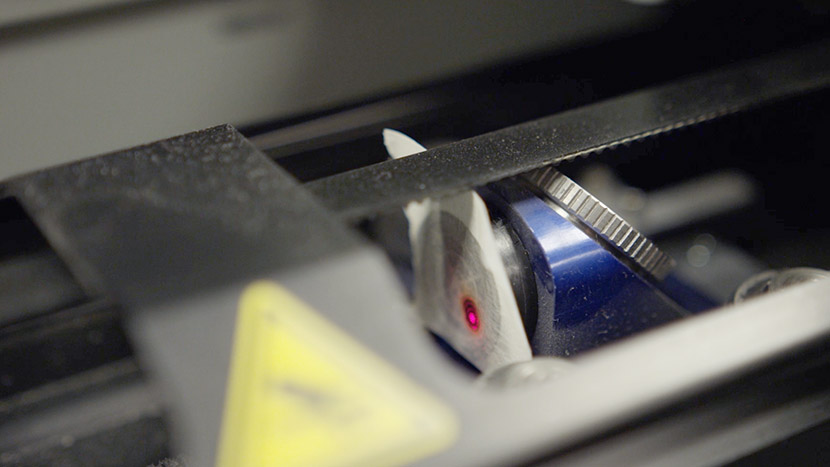
Press the Pointer button on the keypad to turn on the Red Dot Pointer.

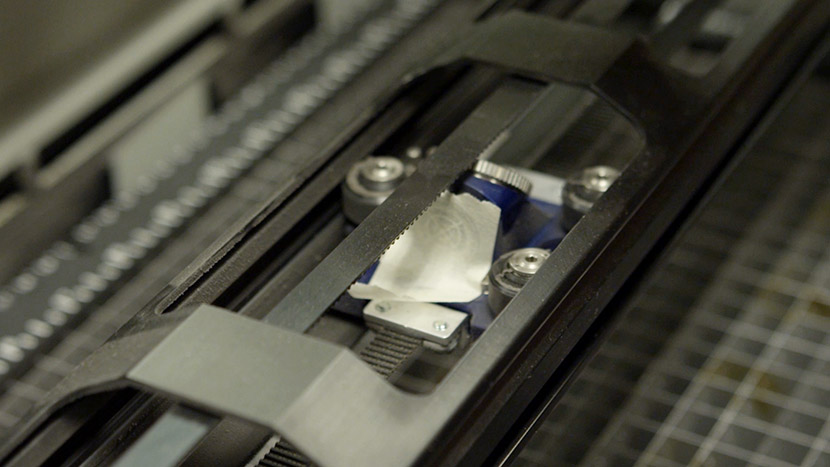
Press Go to run the job.
The laser will mark the tape on the alignment target.
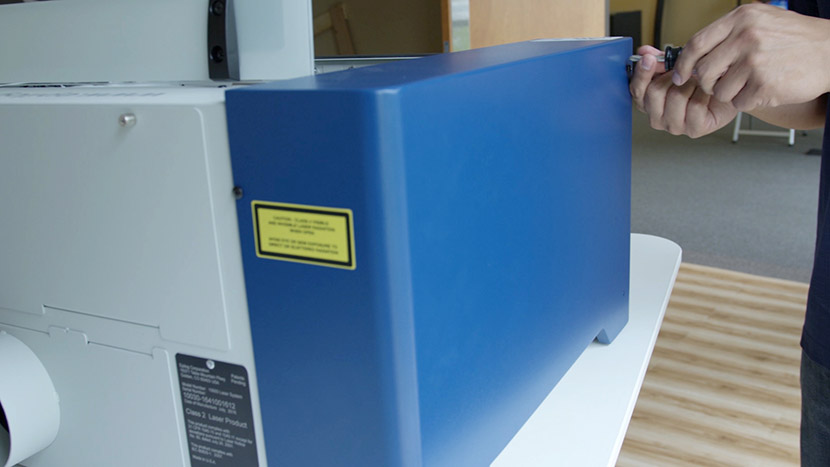
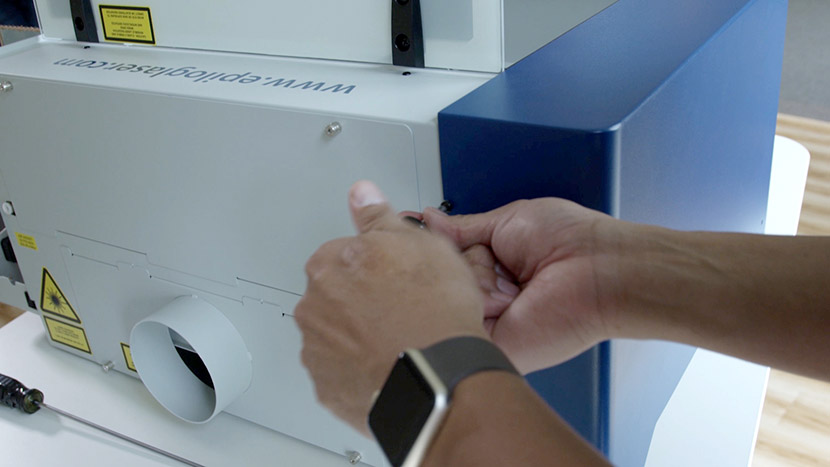
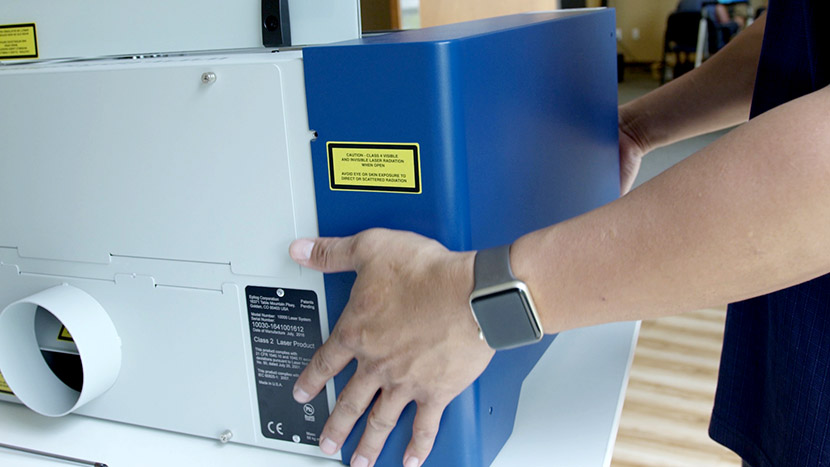
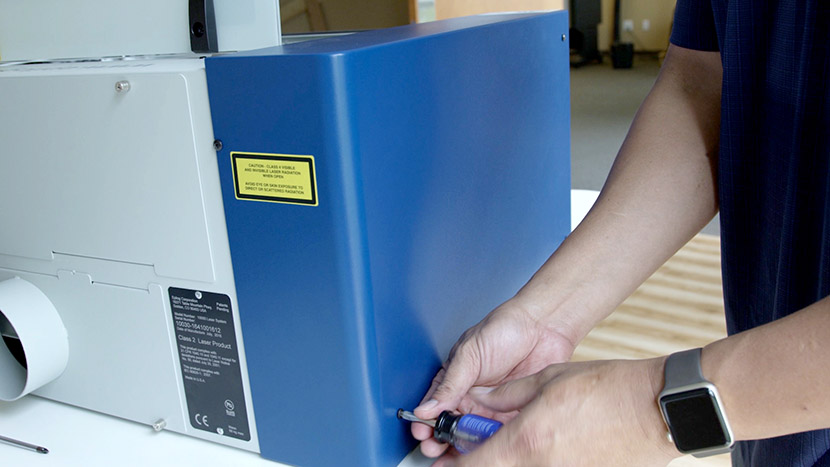
Remove Side Panel
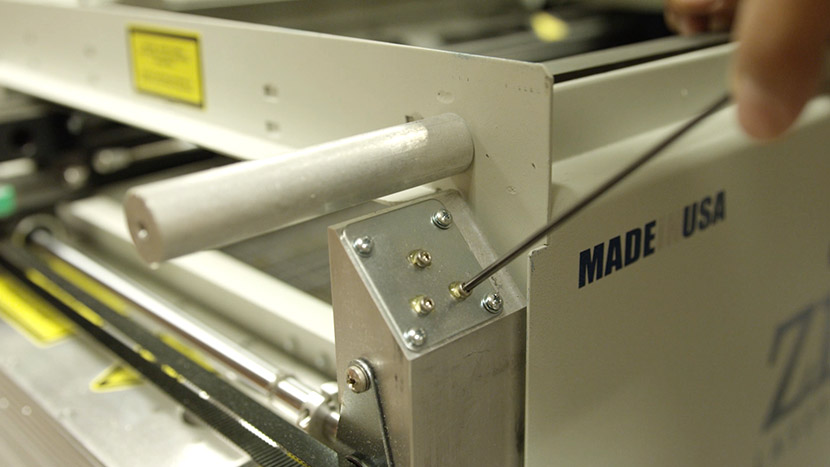
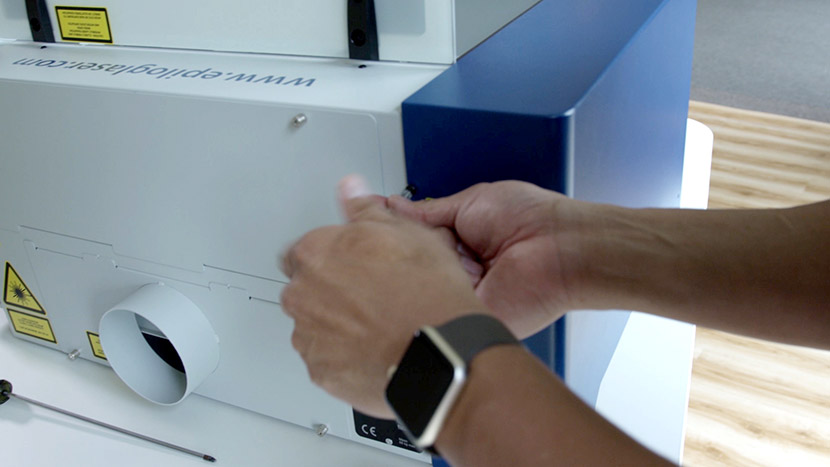
Remove the left side panel by removing the three screws on the side of the machine and the screw on the back of the machine, then pulling the panel away.
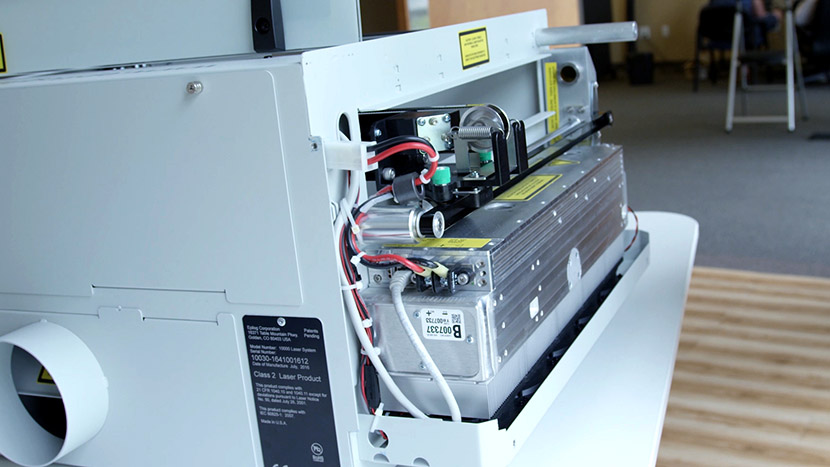
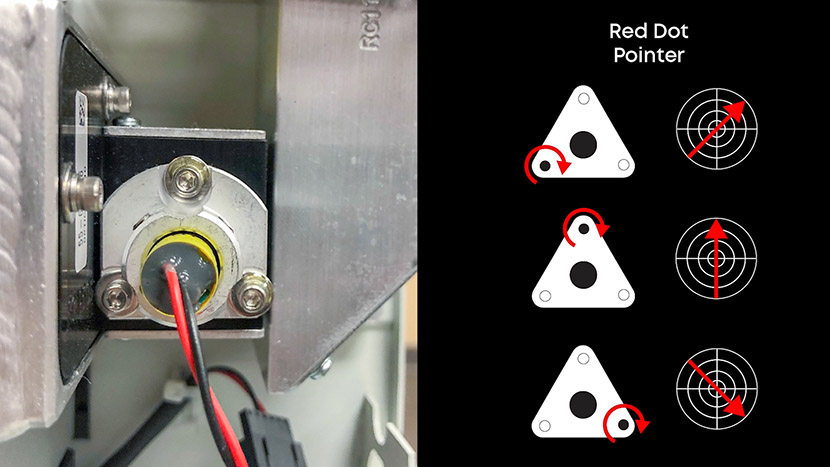
Align Red Dot to Laser to Perform Alignment
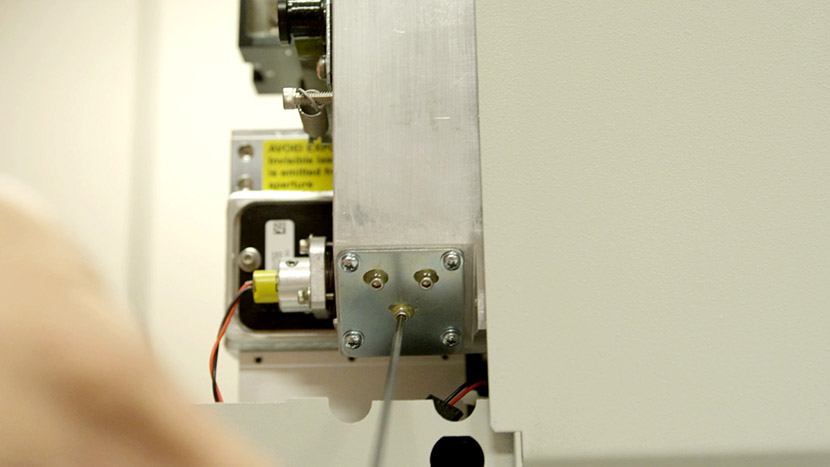
If the red dot pointer and the burn mark made by the laser are not aligned, locate the red dot pointer mount at the bottom of the periscope on the left side of the machine. Use a 3/32” hex key to adjust the alignment screws on the red dot pointer mount and align the red dot to the burn mark on the laser alignment target.
Align First Mirror
Remove the masking tape from the alignment target.
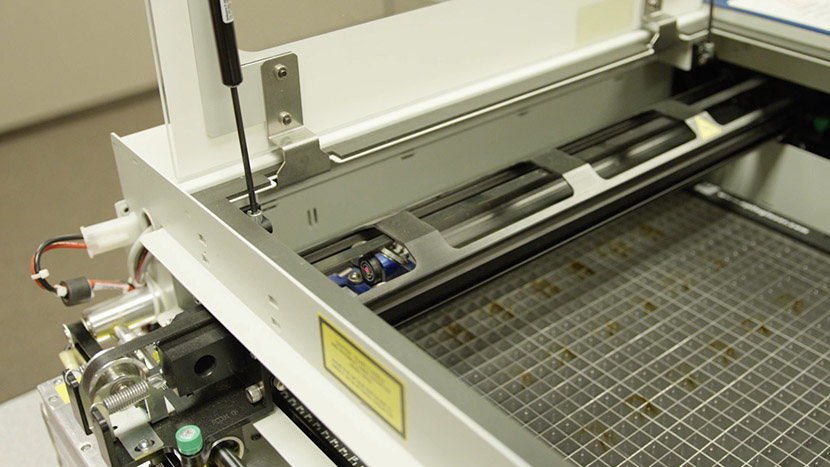
Press the X/Y Off button on the keypad then move the laser head to the front left corner of the machine.

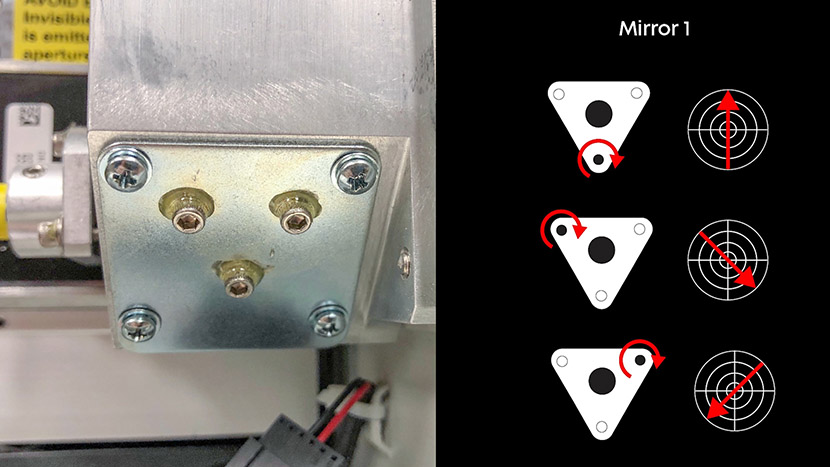
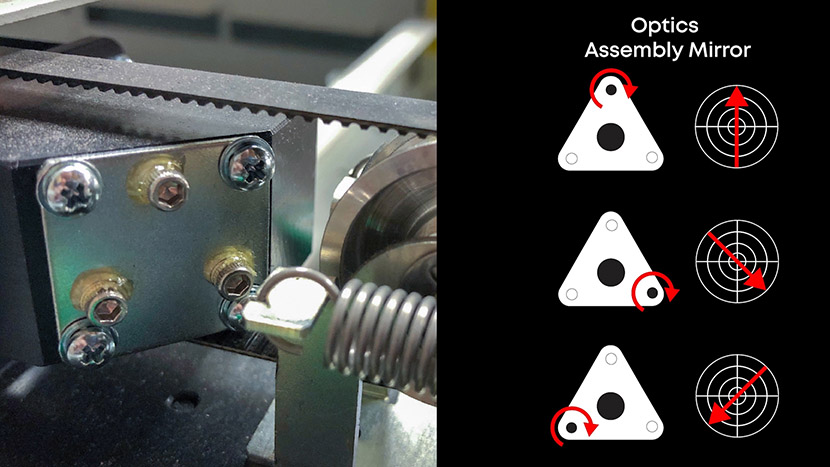
Use a 3/32” hex key to adjust the alignment screws on the mirror at the bottom of the periscope on the left side of the machine.
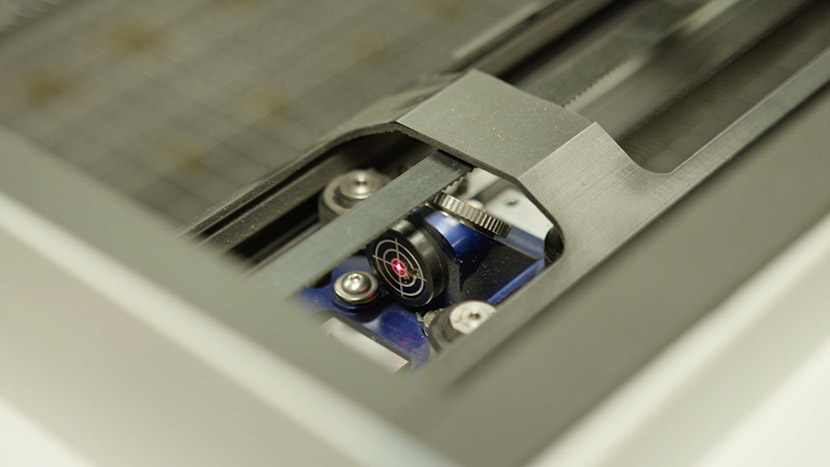
Align the red dot to the center of the alignment target.
Align Second Mirror
Move the laser head to the back left corner of the machine.
Use a 3/32” hex key to adjust the alignment screws on the mirror at the top of the periscope on the left side of the machine.
Align the red dot to the center of the alignment target.

Move the lens carriage back to the front left corner of the machine and make sure the red dot is still within the center circle of the alignment target.
If the red dot is not properly positioned, continue to adjust the alignment screws on the mirrors until you can move the lens carriage between the front and back corners on the left side of the machine without the red dot leaving the center of the alignment target.
Align Third Mirror
Move the laser head to the front right corner of the machine.

Use a 3/32” hex key to adjust the alignment screws on the mirror at the left end of the x-axis assembly.
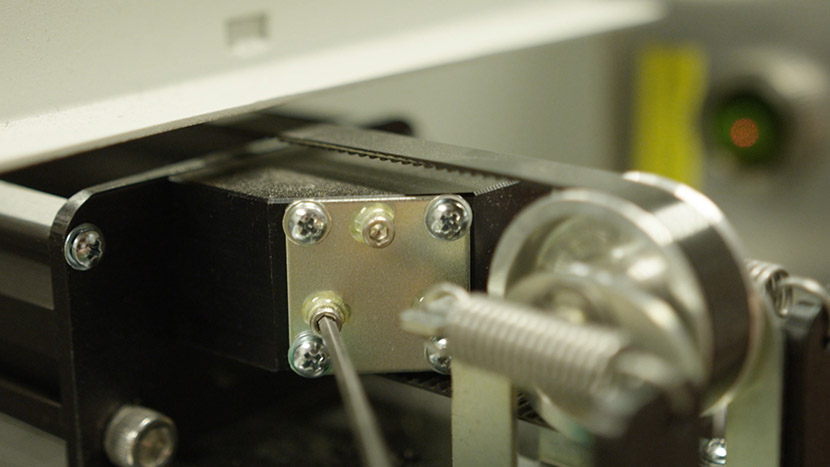
Align the red dot to the center of the alignment target.
Reinstall Side Panel after Laser Alignment Procedure
Reinstall the left side panel by reattaching the three screws on the side of the machine.
Tighten the screw on the back of the machine.
Now that the laser alignment procedure is done, plug the machine in and turn it on.