Table des matières
- Introduction
- Sécurité
- Pour commencer
- Setting Up Your Laser System
- Unpacking the Fusion Ascent
- Choose Where to Locate the System
- Connecting the Exhaust
- Connecting Electrical Power
- Connecting the Laser to Your Computer
- Power on the Laser
- Set the IP Address
- Install the Software Suite & Set Up Your Laser
- Sign Up for Driver Updates and Register Your System
- Panneau de configuration
- System Features
- Machine Maintenance
- Specifications
- Technical Support
- Warranty
- Paramètres matériels
- Calibration
Carriage Camera Calibration
The following procedure must be performed first for all Fusion Ascent machines. Turn on the engraver, and let it complete the startup process.
- On the display, press the gear icon to enter the Settings Menu.
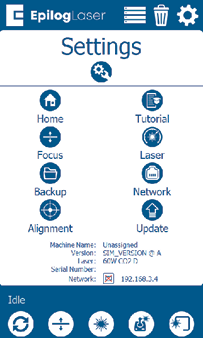
- Long Press the “Settings” text for 2-3 seconds to enter the Advanced Settings Menu.
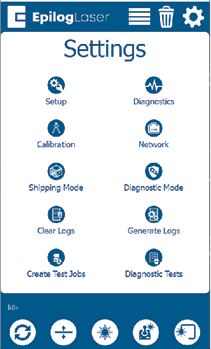
- Click on “Calibration” followed by “Calibrate Cameras” to enter the Camera Calibration menu. If using 1.1.2.8 or older, just tap “Calibrate Cameras”.
- Placez un morceau d'aluminium anodisé de 200 mm x 125 mm dans le coin supérieur gauche de la table.
- Fermez la porte supérieure de la graveuse.
- Appuyez sur OK pour lancer le calibrage de la caméra du chariot. La graveuse déplacera alors la table à la hauteur focale appropriée pour le calibrage.
- Le graveur marquera l'aluminium anodisé avec un motif que la caméra du chariot analysera pour l'étalonnage. Une fois la tâche terminée, un message de réussite devrait s'afficher.
- Suivez les instructions à l'écran pour passer à l'étalonnage de la caméra aérienne.