Table des matières
- Introduction
- Sécurité
- Pour commencer
- Setting Up Your Laser System
- Unpacking the Fusion Ascent
- Choose Where to Locate the System
- Connecting the Exhaust
- Connecting Electrical Power
- Connecting the Laser to Your Computer
- Power on the Laser
- Set the IP Address
- Install the Software Suite & Set Up Your Laser
- Sign Up for Driver Updates and Register Your System
- Panneau de configuration
- System Features
- Machine Maintenance
- Specifications
- Technical Support
- Warranty
- Paramètres matériels
- Calibration
Power on the Laser
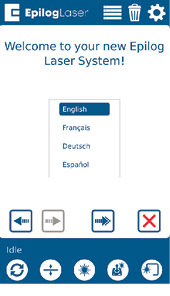
When you boot up the Fusion Ascent for the first time, you will need to set up a few settings in the unboxing wizard to get started. On the first screen, select your preferred language and then click the next arrow.
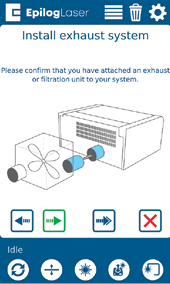
Confirm that your laser’s exhaust system has been set up by pressing the green next arrow.
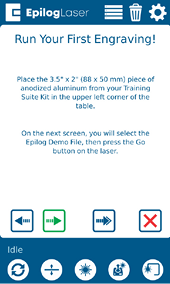
Follow the steps on the screen to run your first engraving using the anodized aluminum piece included in your Training Suite Kit. Press the green next arrow.
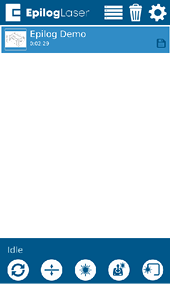
At the Job Menu, select the job “Epilog Demo” and then press the Go/Stop button at the machine to begin running your first job. The machine will automatically focus to the piece of anodized aluminum and then engrave it.
Once the engraving is complete, it’s time to connect your Fusion Ascent to your computer. You can connect via Ethernet, USB, or Wireless connection in the steps on the following pages.