Estimated time: 15–20 minutes • Skill: Basic
This guide explains how to replace the X-motor on the Epilog FiberMark laser system. The X-motor is responsible for moving the lens carriage from left to right along the X-axis. Following these instructions will help you safely remove the old motor and install the new one, ensuring proper belt tension and electrical connection.
To complete this process, you will need a #1 Phillips head screwdriver and wire snips. The procedure involves removing the side panels for access, releasing the X-belt tension, replacing the motor, and then correctly re-tensioning the belt before reassembly. The installation takes approximately 15–20 minutes.
Installation
-
Prepare the machine for access.
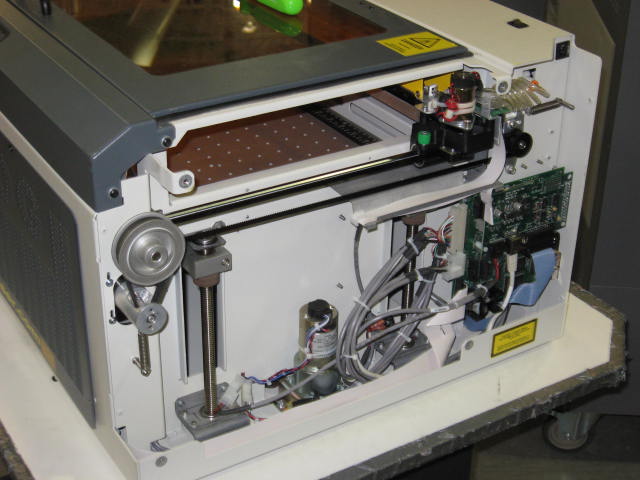
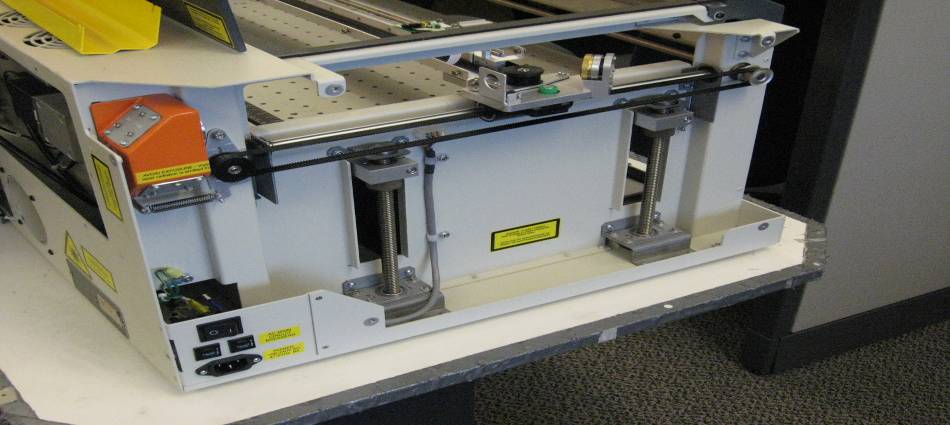
First, unplug the machine from its power source. Remove both the left and right side panels to access the internal components, and then manually pull the X-Axis assembly (arm) to the center of the machine.
-
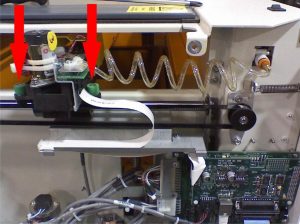
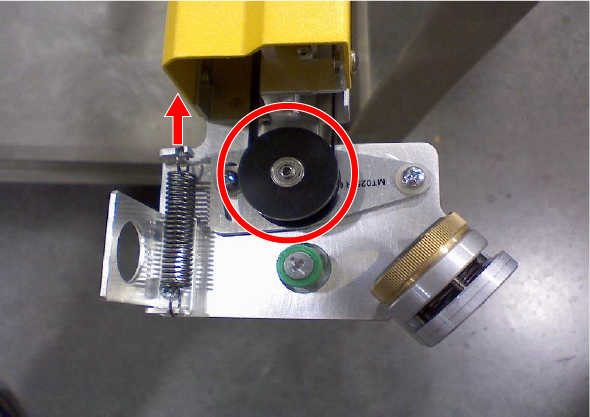
Release the X-belt tension.
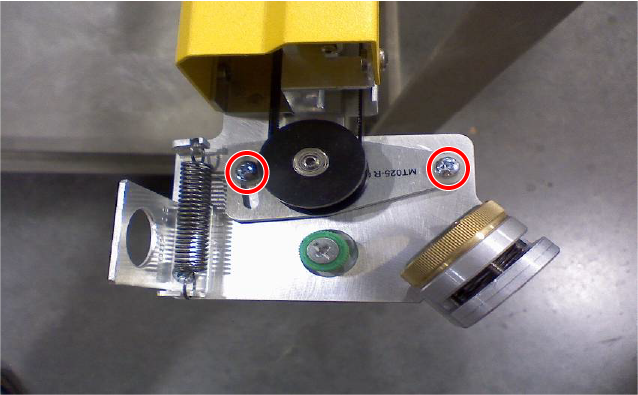
On the left side of the I-beam, locate the two Phillips screws holding the pulley mounting bracket. Loosen, but do not fully remove, these screws. Push the black pulley toward the right side of the machine and retighten the screws to hold it in place. This removes tension from the belt, allowing for motor replacement.
-
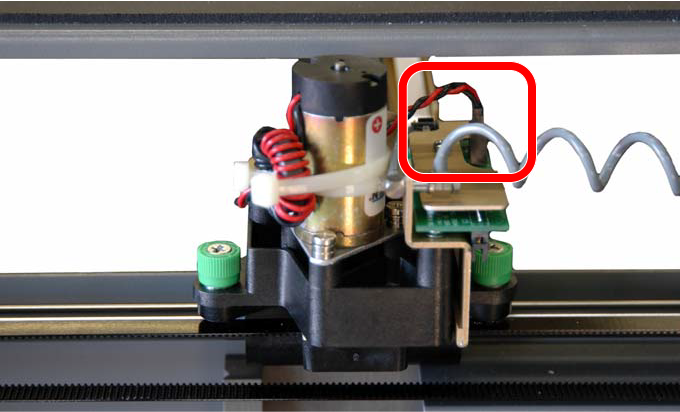
Disconnect and remove the old motor.
Directly behind the motor, find the electrical connector. Depress the lock on the connector and lift up to unplug it. Next, loosen the three captive screws surrounding the motor mount and lift the motor out of the machine.
-
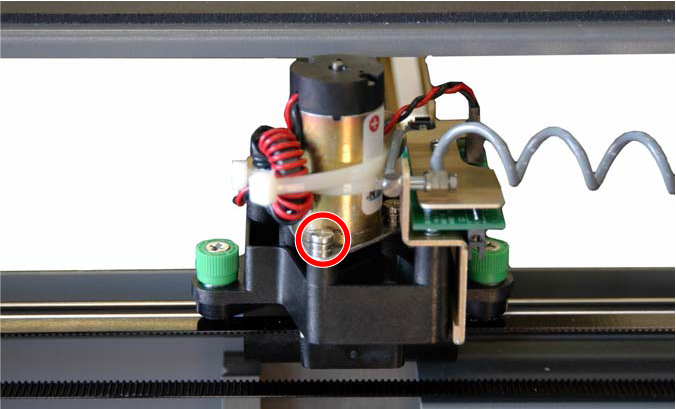
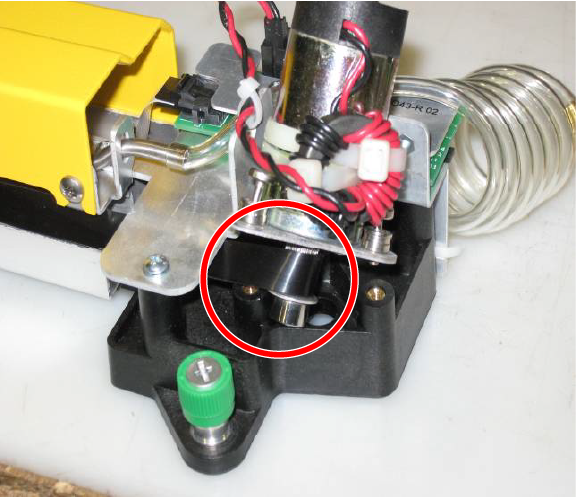
Install the new motor.
Loop the X-belt around the silver pulley on the new motor, making sure the belt is centered. Place the new motor into its bracket and securely tighten the three captive screws you loosened earlier.
-
Reconnect power and reset belt tension.
Plug the electrical connector back into the motor. Loosen the two pulley screws on the left side of the I-beam again. To properly seat the belt, move the lens carriage head back and forth three or four times, then retighten the screws.
-
Finalize the installation.
Replace both side panels and plug the machine back into its power source. Restart the engraver to complete the process.