Pre-engraving an item allows you to do the most time-consuming part of the engraving ahead of time and customize it at the last minute, or even in front of your customer! Here we'll show you how to use a jig to save time on your most popular laser engraving projects.
Setup the Artwork
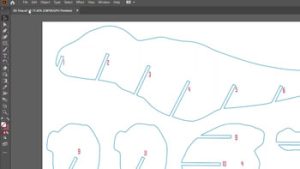
Here we are creating a jig to pre-engrave four leather notebooks.
We’ll add customized names to each one later.
The red lines are the outlines of the notebooks we’ll cut out in a jig.
We’ll cut an arrow at the top left corner so we know how to arrange the jig in the laser later.
Print the file to the laser.
Dashboard Settings
We’ve set up our Laser Dashboard to automatically split by color.
You can see three processes based on the colors in the file.
Blue for the names, black for the design, and red for the jig cutouts.
Change the red process to Vector.

Import the settings for cutting 1/8” acrylic.

Turn off the black and blue processes.

Print the job to the laser.
Cut out the Jig
load the laser with the desired jig material. For this lesson, we are using a sheet of acrylic.
Select the file at the laser and press the start button.

You now have a jig to use over and over.


Load the Jig
When you’re ready to use the jig place it with the arrow at the top left corner of the table.
Line up your leather notebooks in the cutouts.

Pre-engrave Notebooks
Back at the computer we’ll turn off the camera so we can see the design better.

Turn off the red cutting layer.
And change the black layer’s process type to Engrave.

We’ll import our settings for leather shallow engraving.

We’ll also change the file name to Leather Notebook Design Only.
And print it to the laser.
If this is a file we’ll run often, we can permanently save it at the laser for easy access.

When you’re ready, start the job.
Now we have pre-engraved products ready for customization later!

Add Customizations
When a customer order is ready, place the jig back in the laser and the pre-engraved item in one of the spaces.

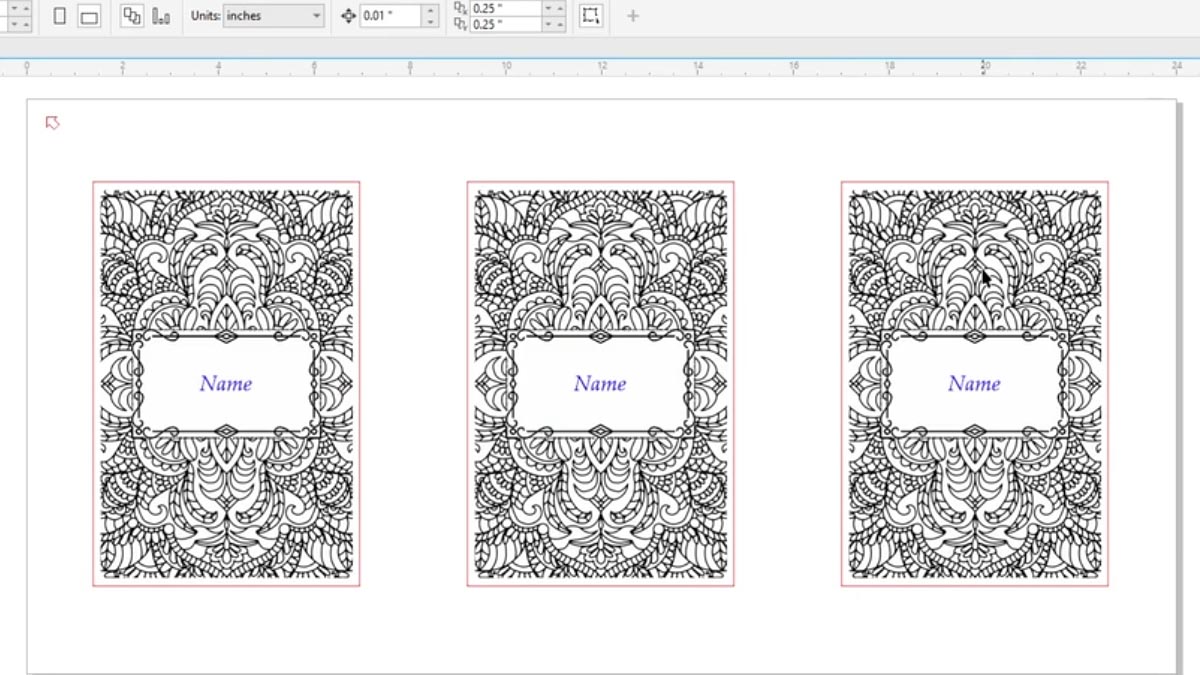
Simply type the name in the field of the notepad.

Print the file to the laser and choose selection only.

Choose our Leather Shallow engraving settings and print the file to the laser.
Select the file at the laser and press the start button.

In under a minute your custom notebook is ready for delivery!