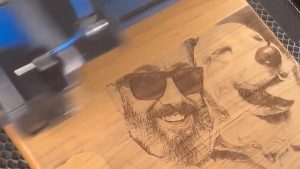
Have you ever had to engrave multiple objects with one small change? Maybe names, dates, or titles? Print merge allows you to automatically update art files using data sets and relay the information to your laser. Set up large batches easily and increase your productivity.
Import Data
Here we have a series of name badges to engrave and cut on the laser using print merge.

First we’ll need to pull in the list of names.
Select File > Print Merge > Create/Load Print Merge
Click Import File and navigate to your .csv, .rtf, or .txt file.
We can deselect any names we don’t want to use here.
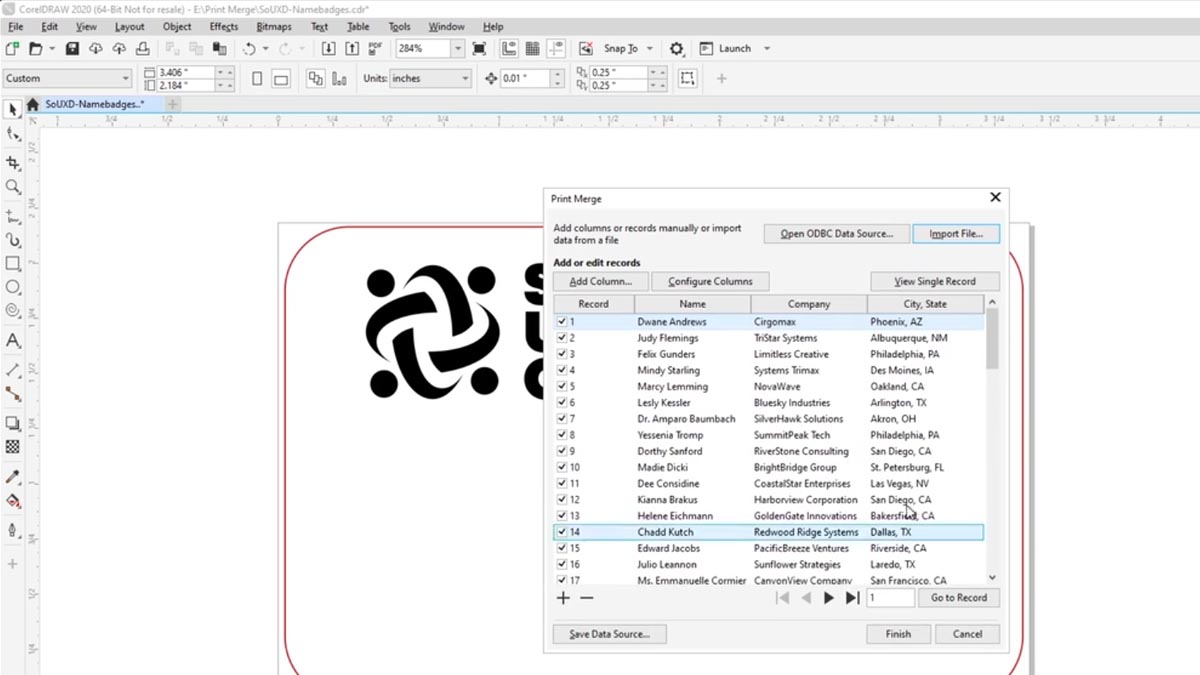
Click Finish
Format Artwork for Print Merge
For each column in our spreadsheet, select Insert Selected Field.
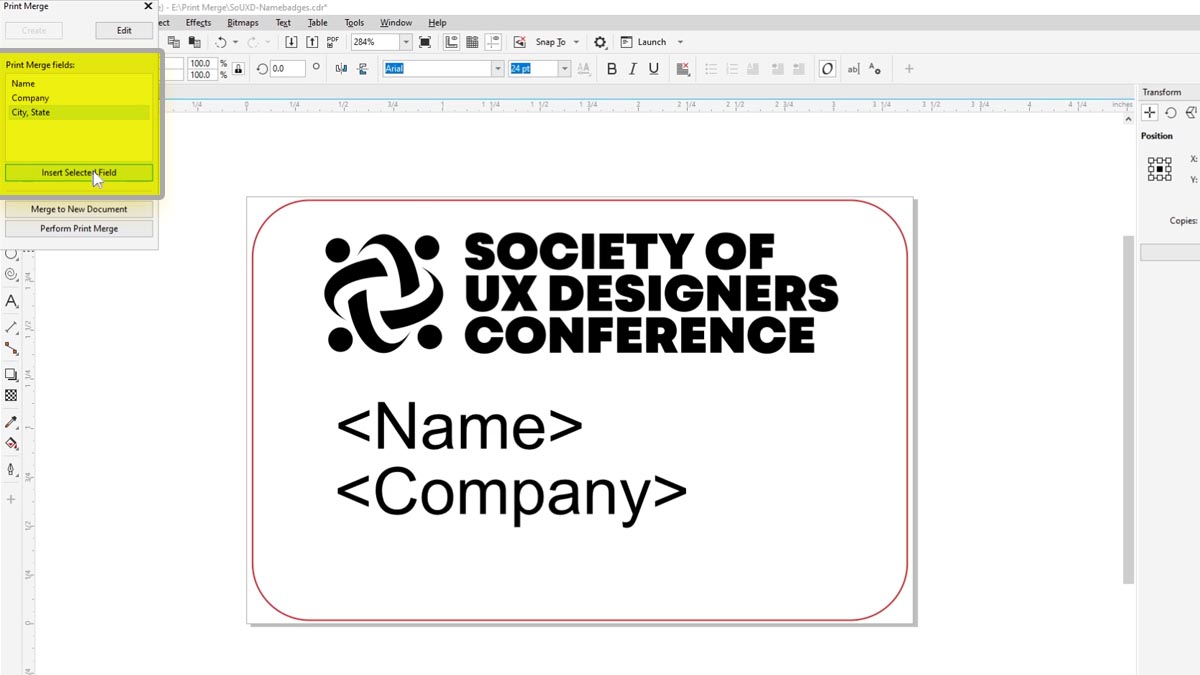
Now we can format the text fields.
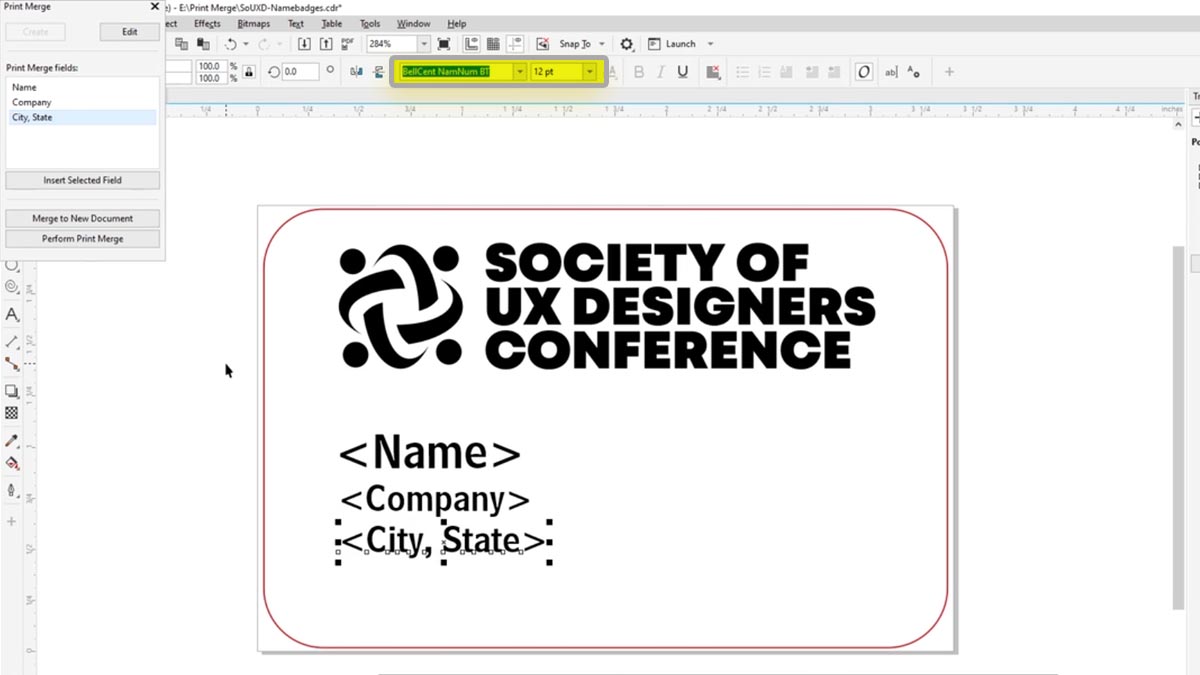
Print Merge
Click Perform Print Merge
Select Print Preview
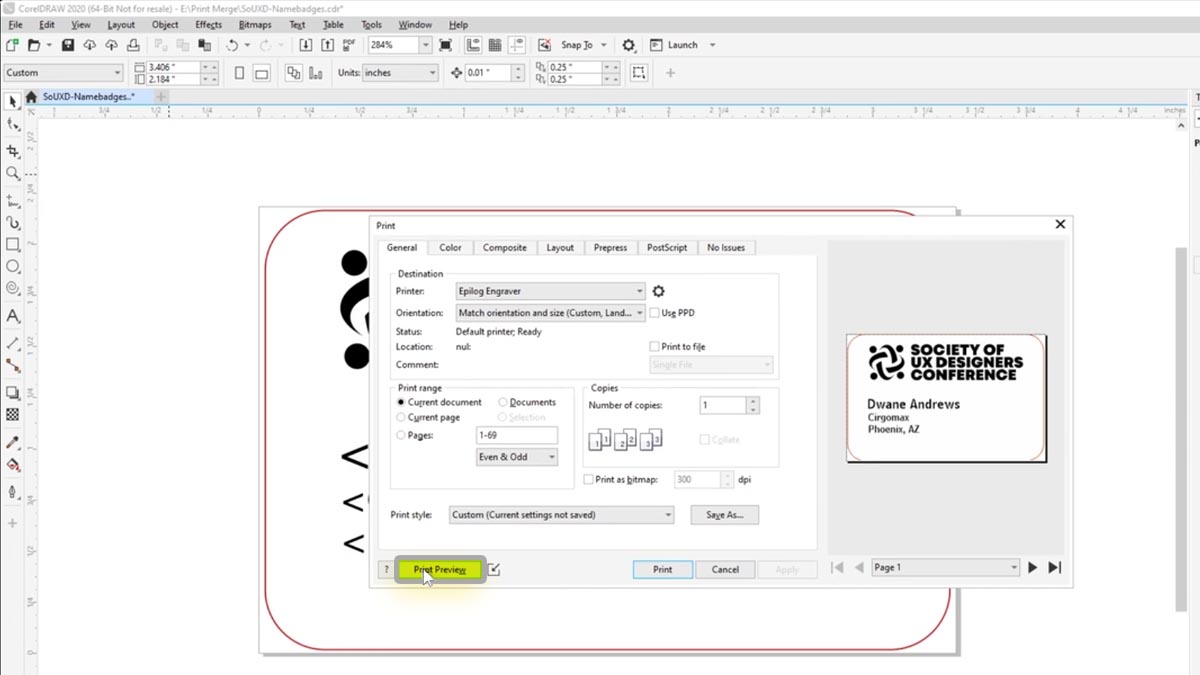
Currently each badge is on a separate page and will be a separate file at the laser.
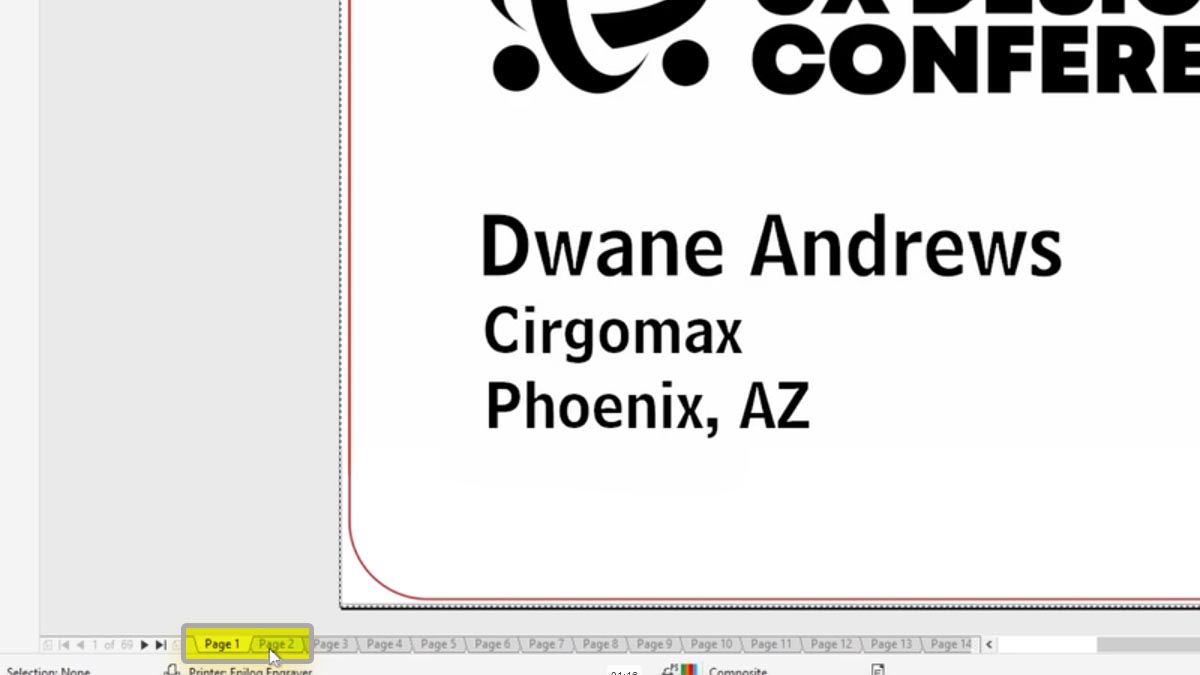
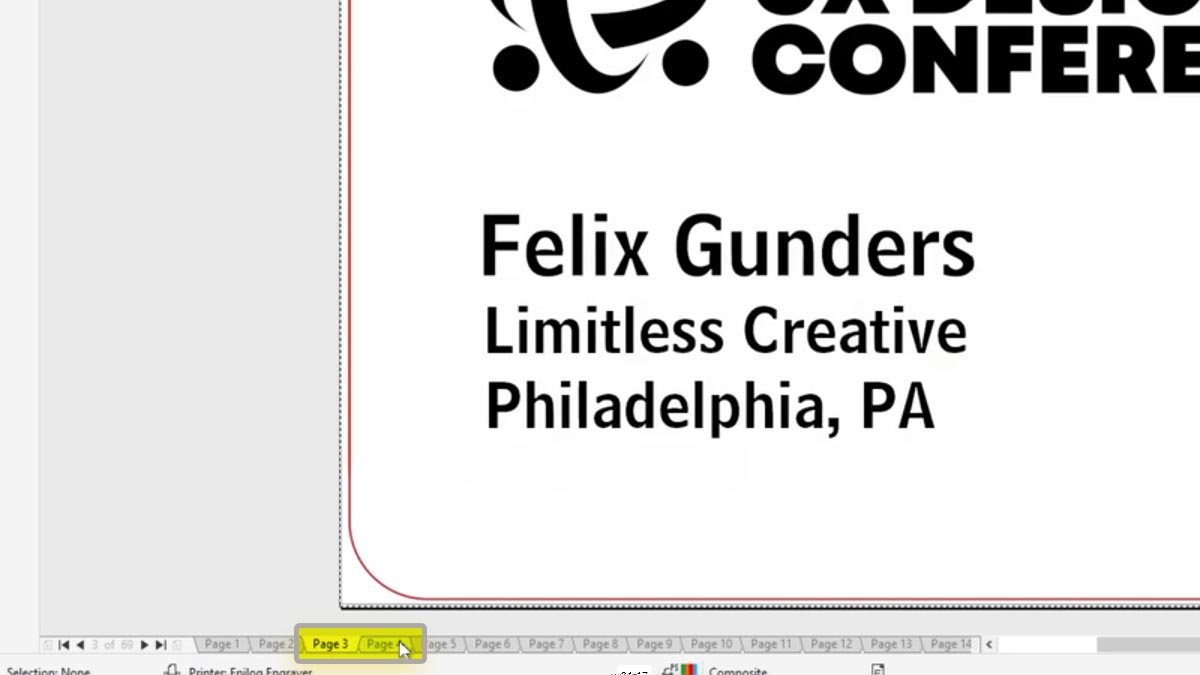
This would be useful if running large customized items one at a time.
To print multiple on a page, select the Imposition Layout Tool button.
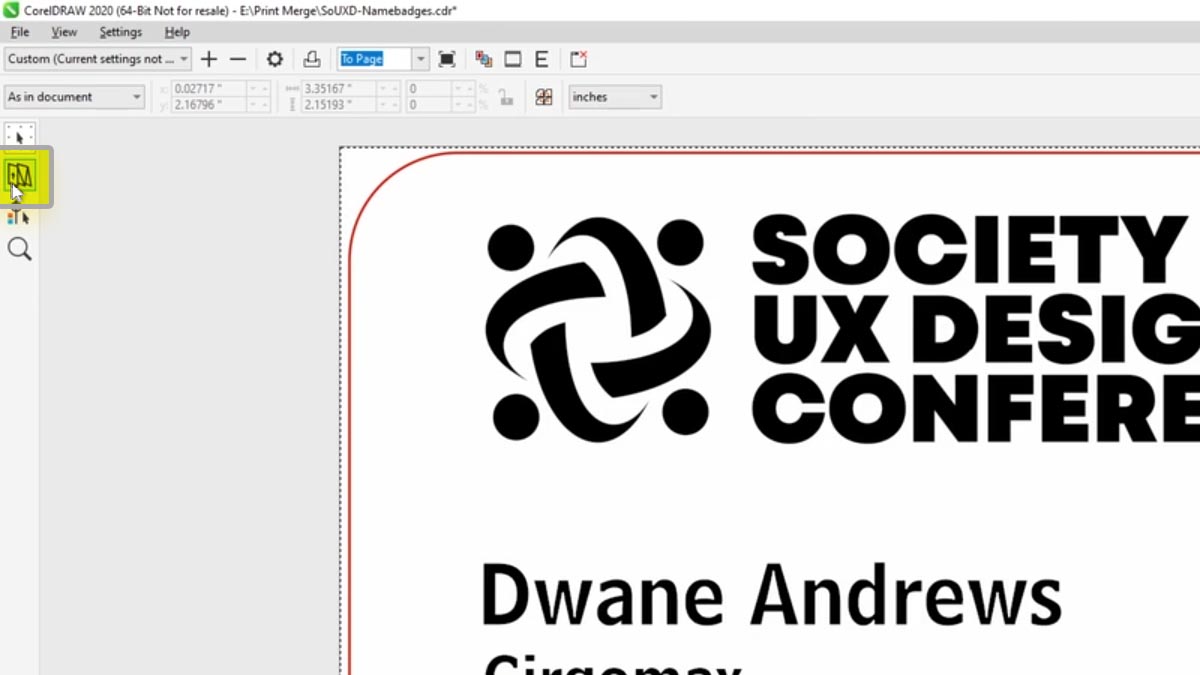
Set up how many will fit on your plastic sheet. In this case it is 7 by 5.
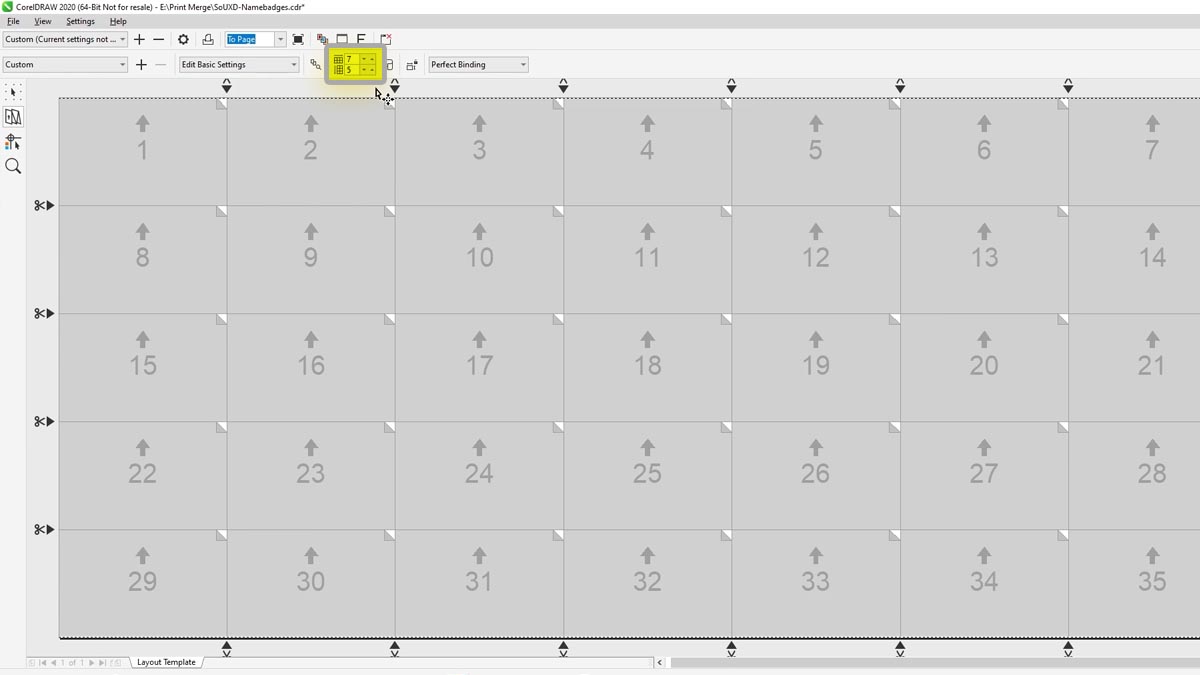
Select the Pick Tool to see how they will appear at the laser.
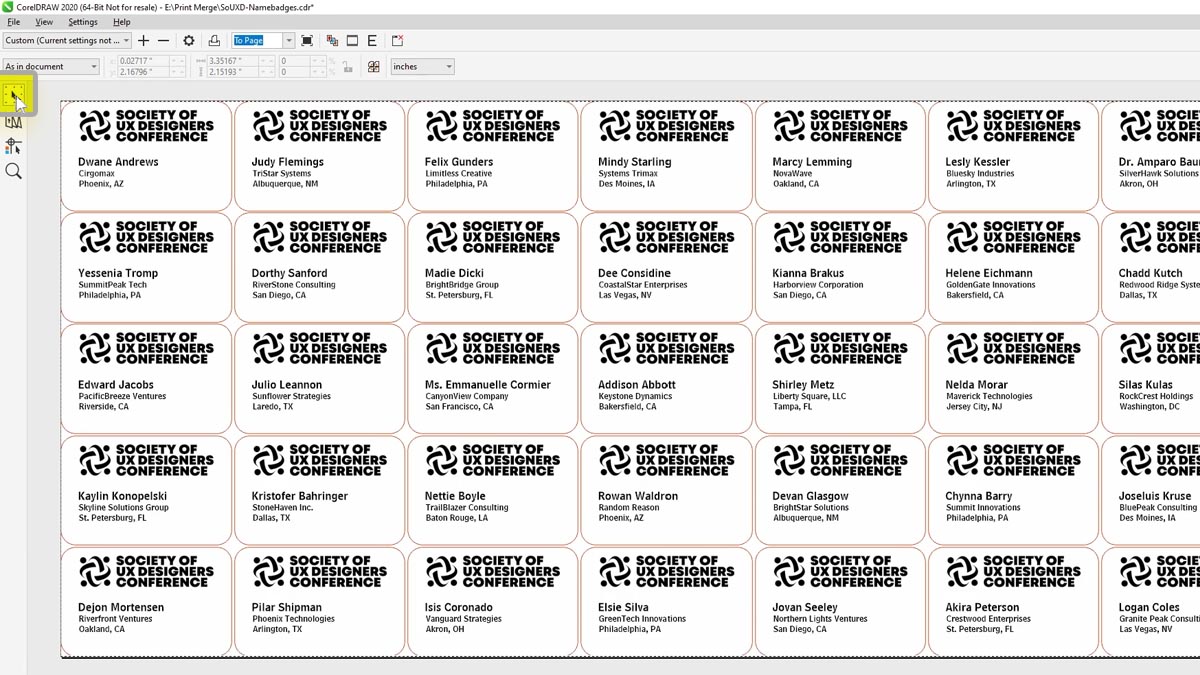
There are two files that will go the laser to print all of the badges we need.
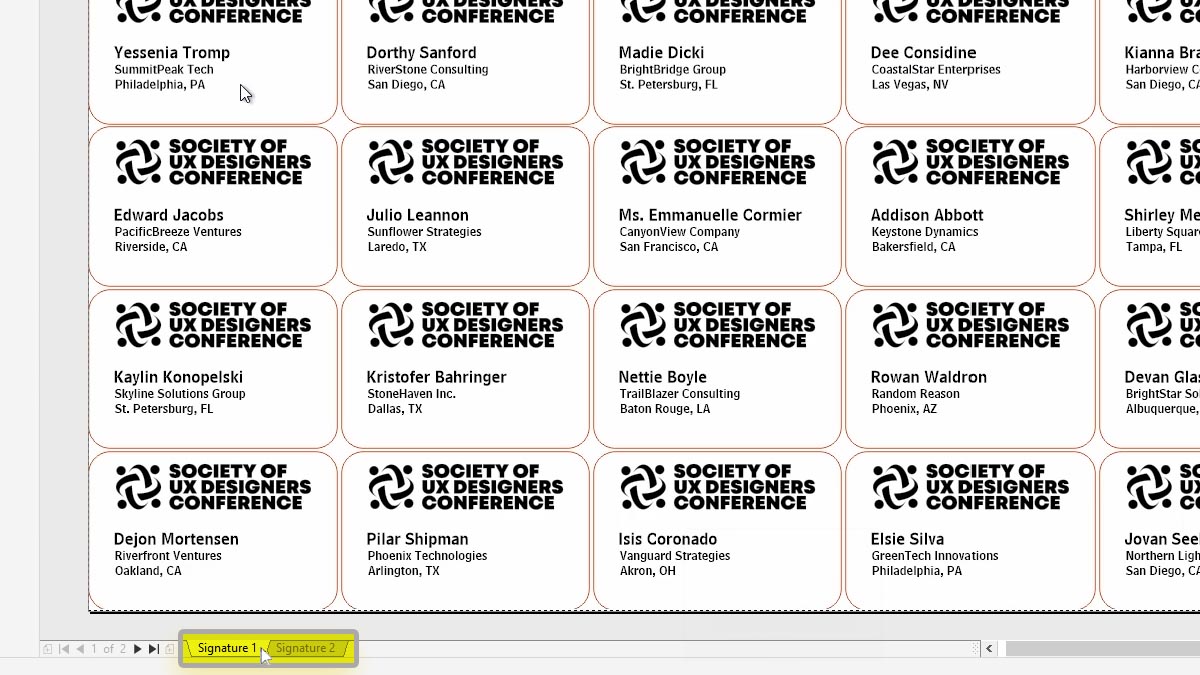
Print the files to the laser.
Laser Settings
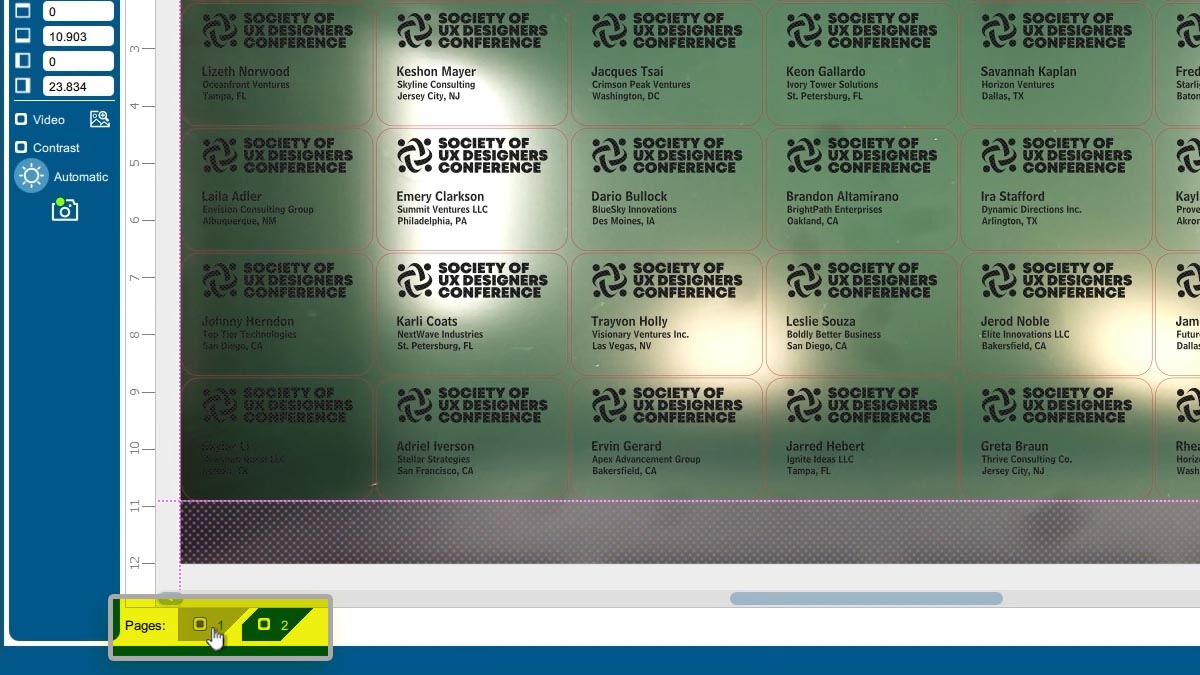
With the file at the laser we can see two pages of badges at the bottom of the screen.
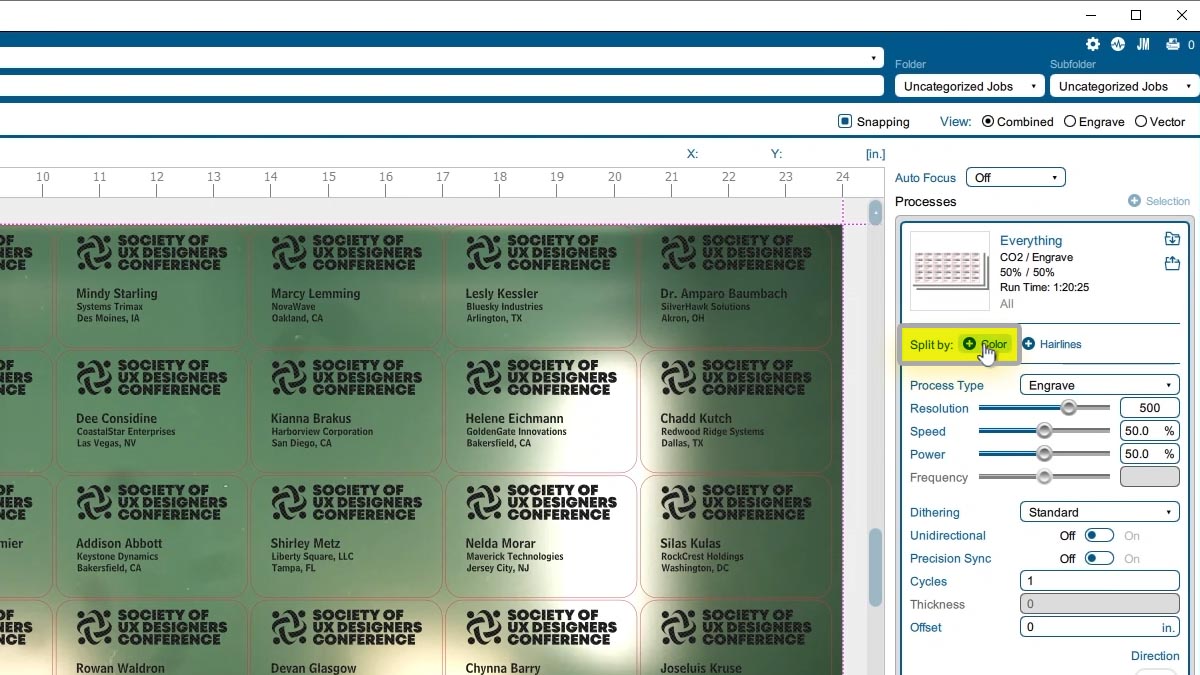
Split by Color to separate the engraving from the red cutting lines.
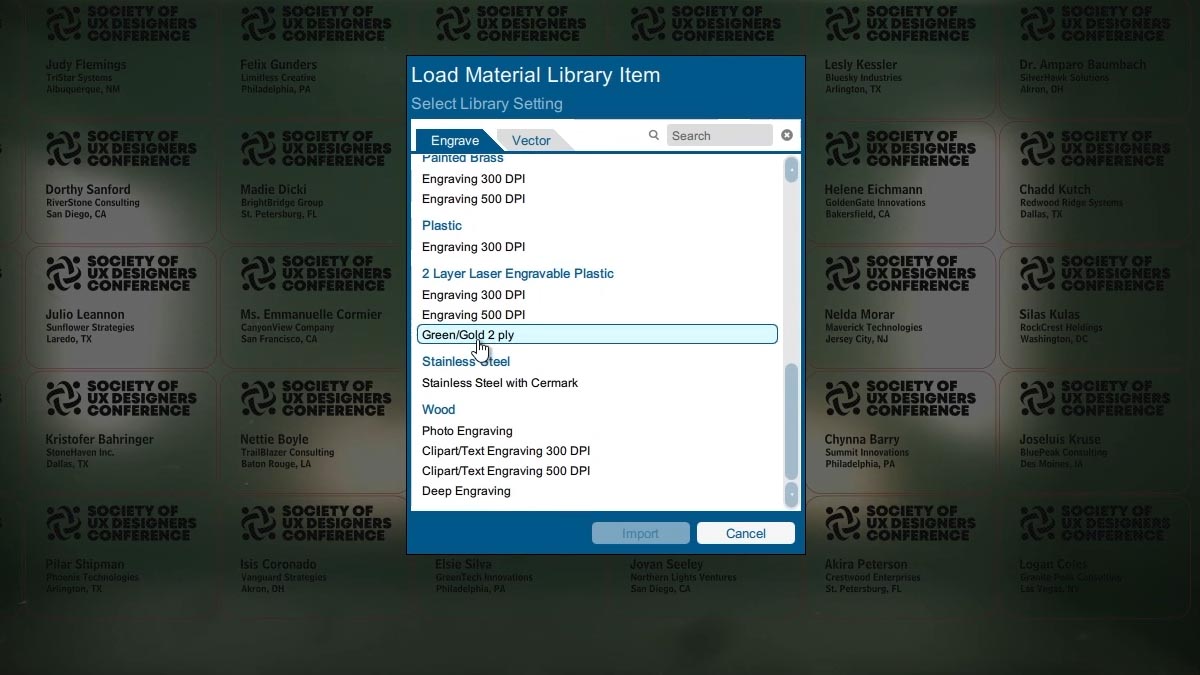
Import your material settings. We have set up a setting for this type of plastic.
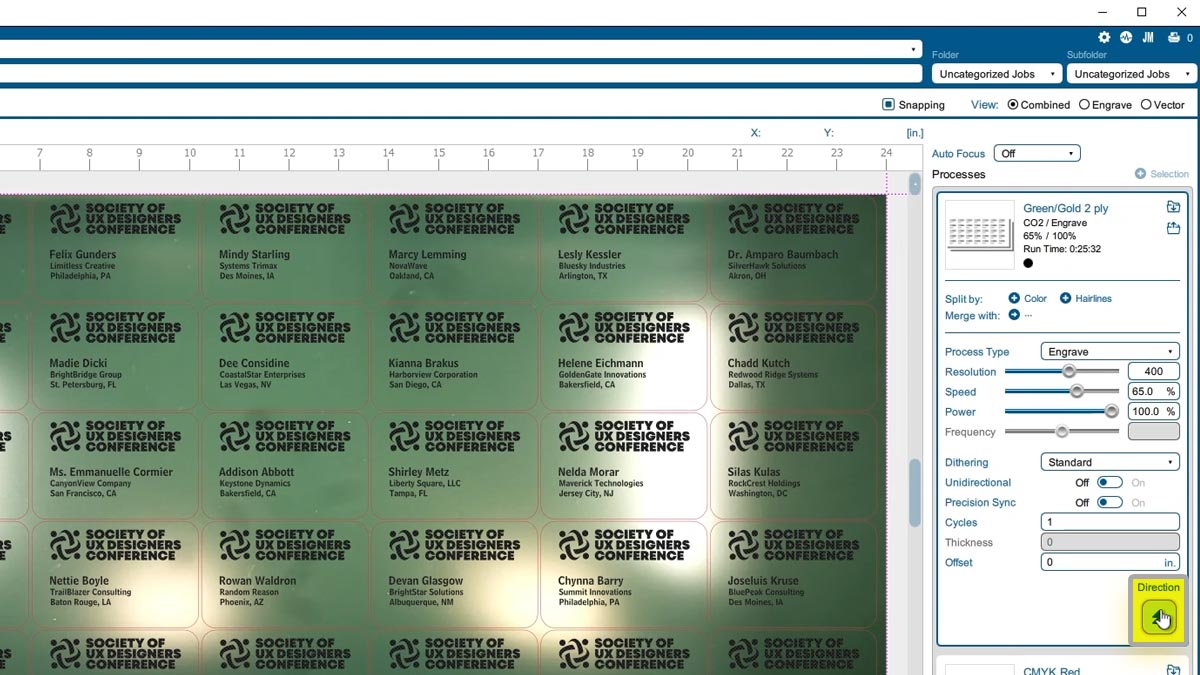
We’ll change the engraving process so it engraves from the bottom to the top.
Import the cutting settings.
And print the job to the laser.
Run the Job
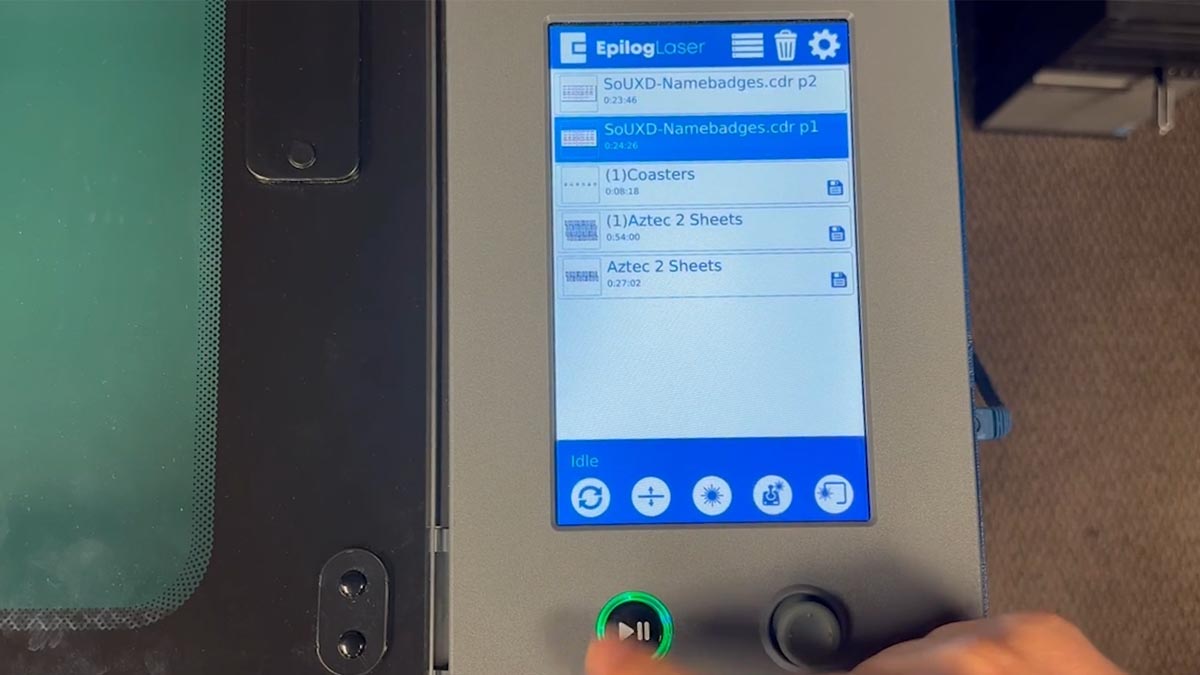
Both badge files are at the laser. Select the first and press Start.
Wipe off the badges to remove debris and you are ready to run your next set of badges! That is the power of print merge.
