For this procedure, you will need a pair of scissors, a wrench included in your toolkit, a Phillips screwdriver, and pliers.
Open the Package
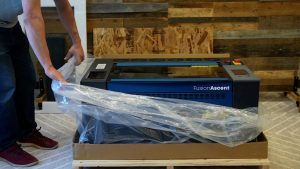
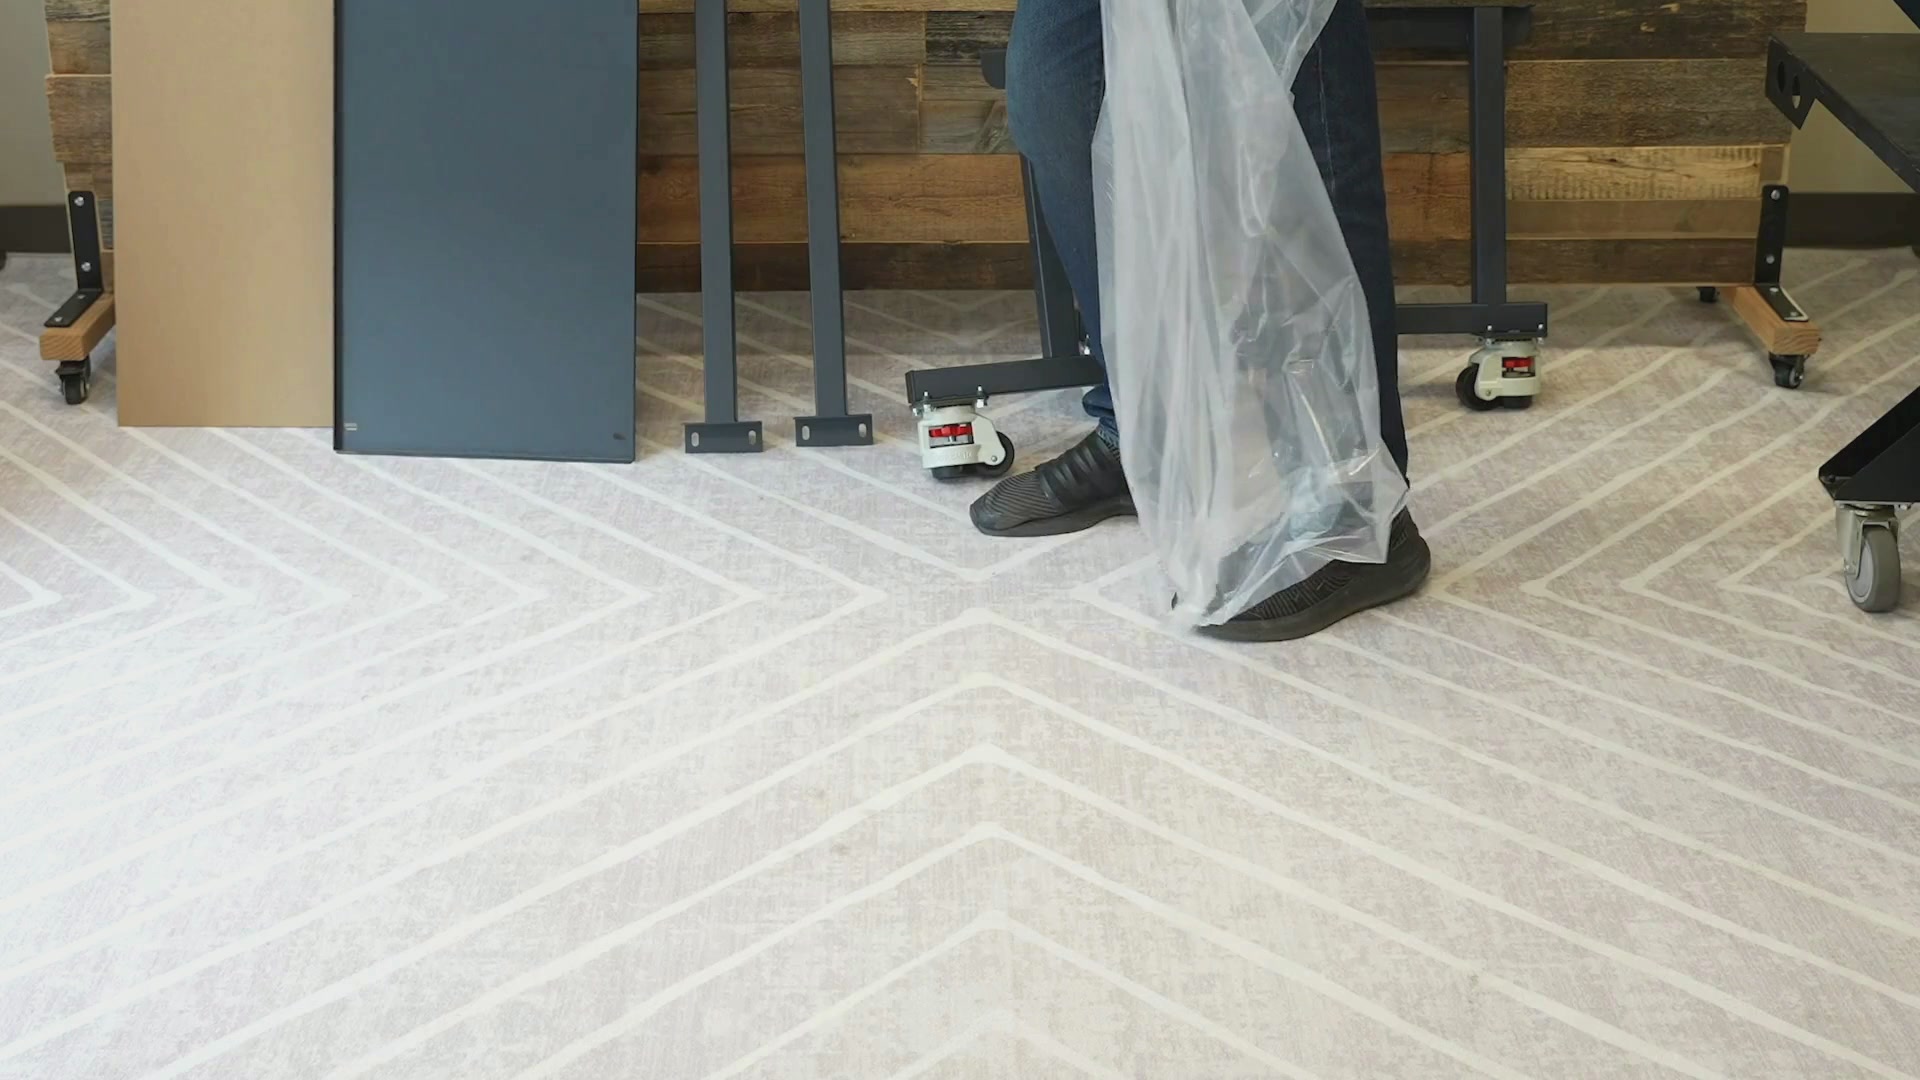
Begin by moving the packaging near your machine, in the center of a room or open space.
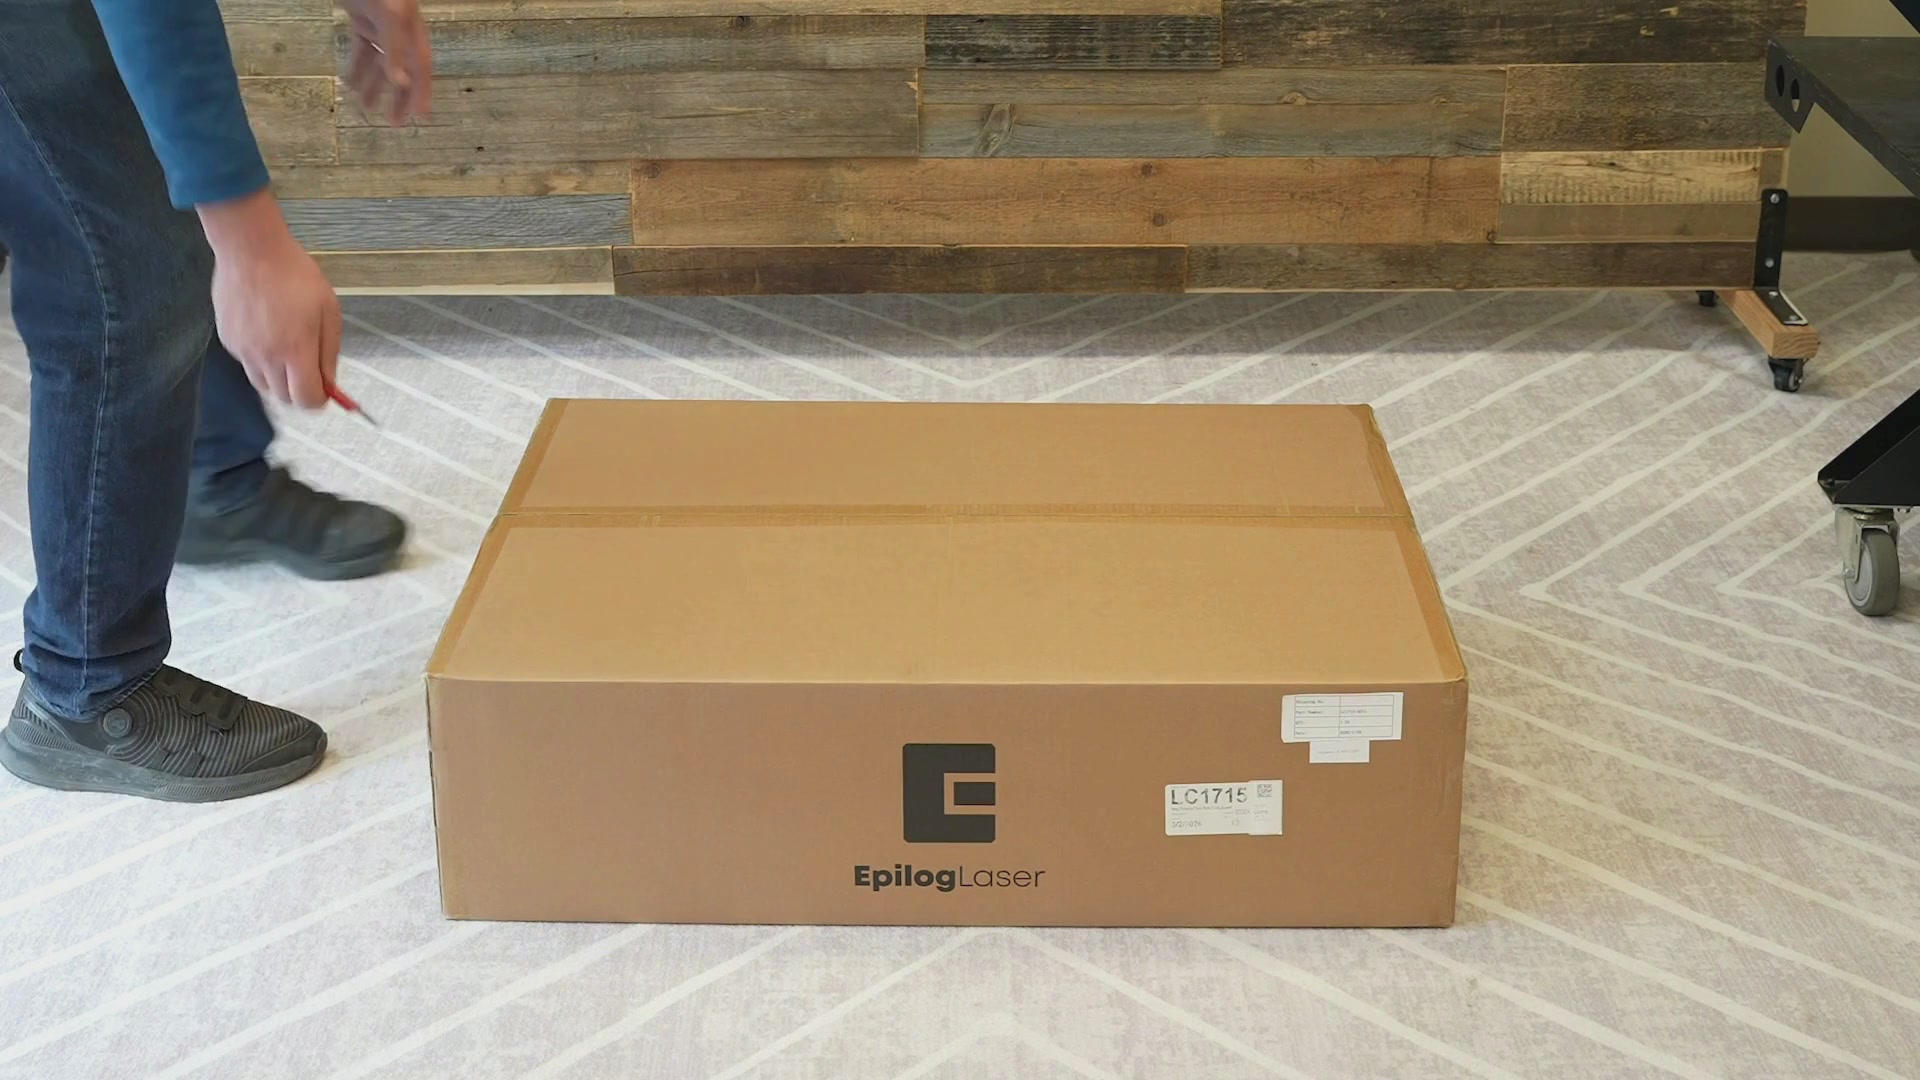
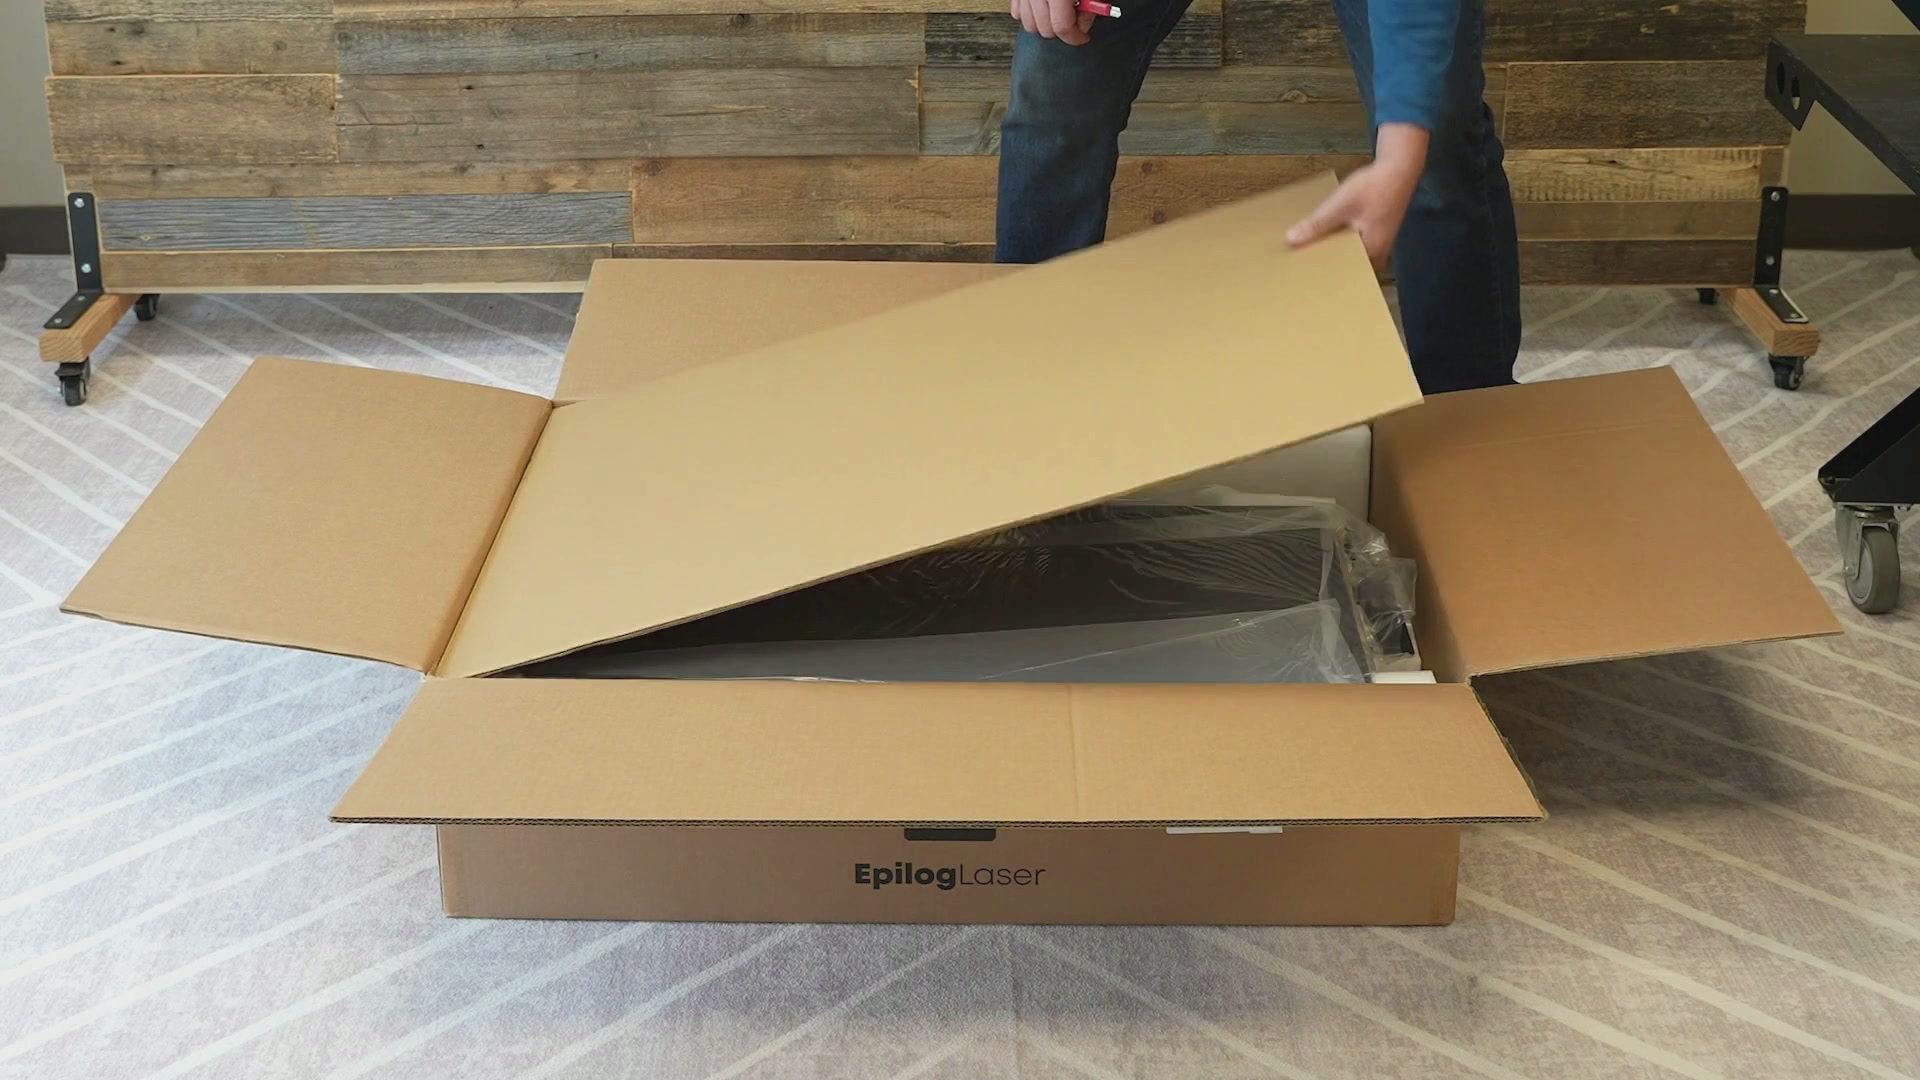
Cut the tape that is securing the box, then open the box.
Remove the cardboard Topper.
Begin removing each part of the stand and the tool kit from the box and their plastic wrapping, setting them to the side.
Assembly
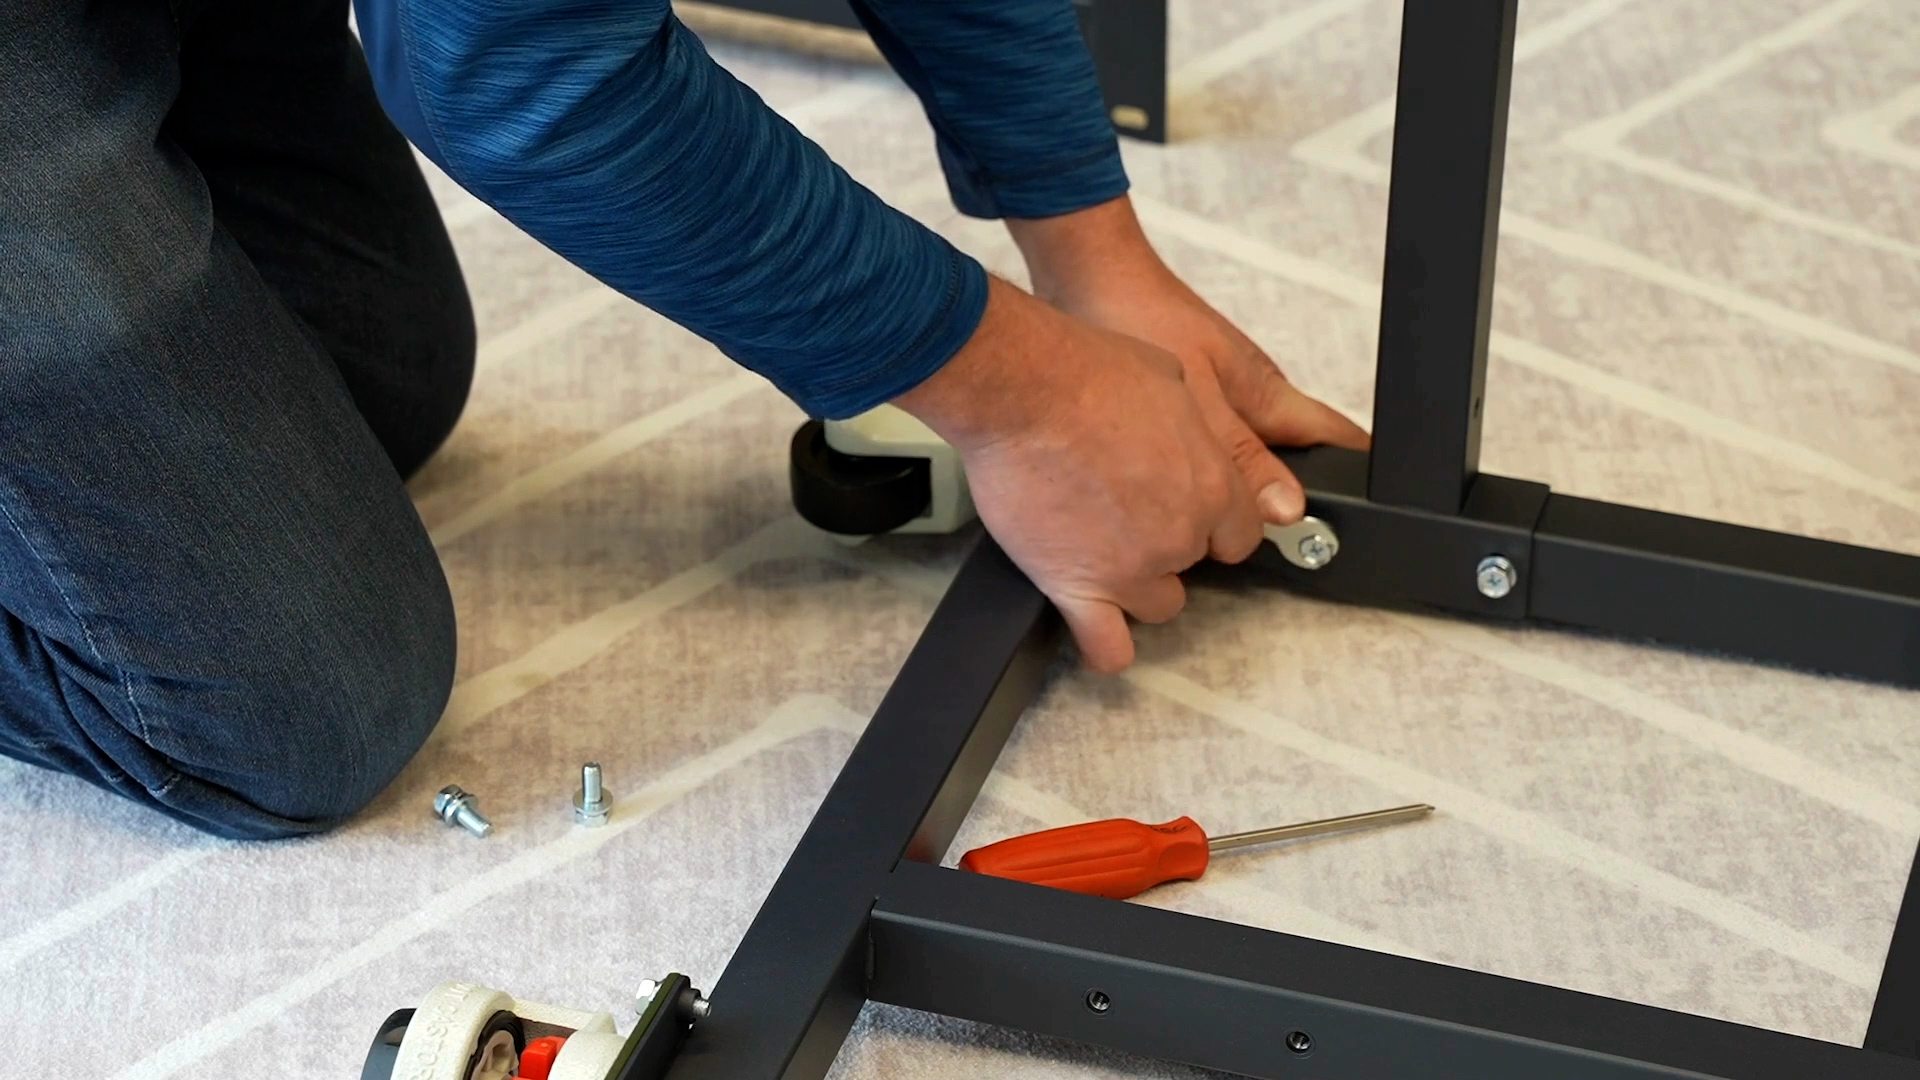
For this step you will use a Phillips screwdriver and the wrench and four of the screws included in your toolkit.
You will have a table stand, 2 cross beams, and two legs. Set one of the legs on the floor or on a table to aid with assembly. Using the Phillips screwdriver with two large screws attach one of the crossbeams to the leg with the crossbeam flat against the bar.

Finish tightening it using the wrench.

Attach the second cross beam using two more large screws with the cross beam flat against the bar, finish tightening it as well with the wrench.
Next, attach the left leg to the cross beams using four large screws.
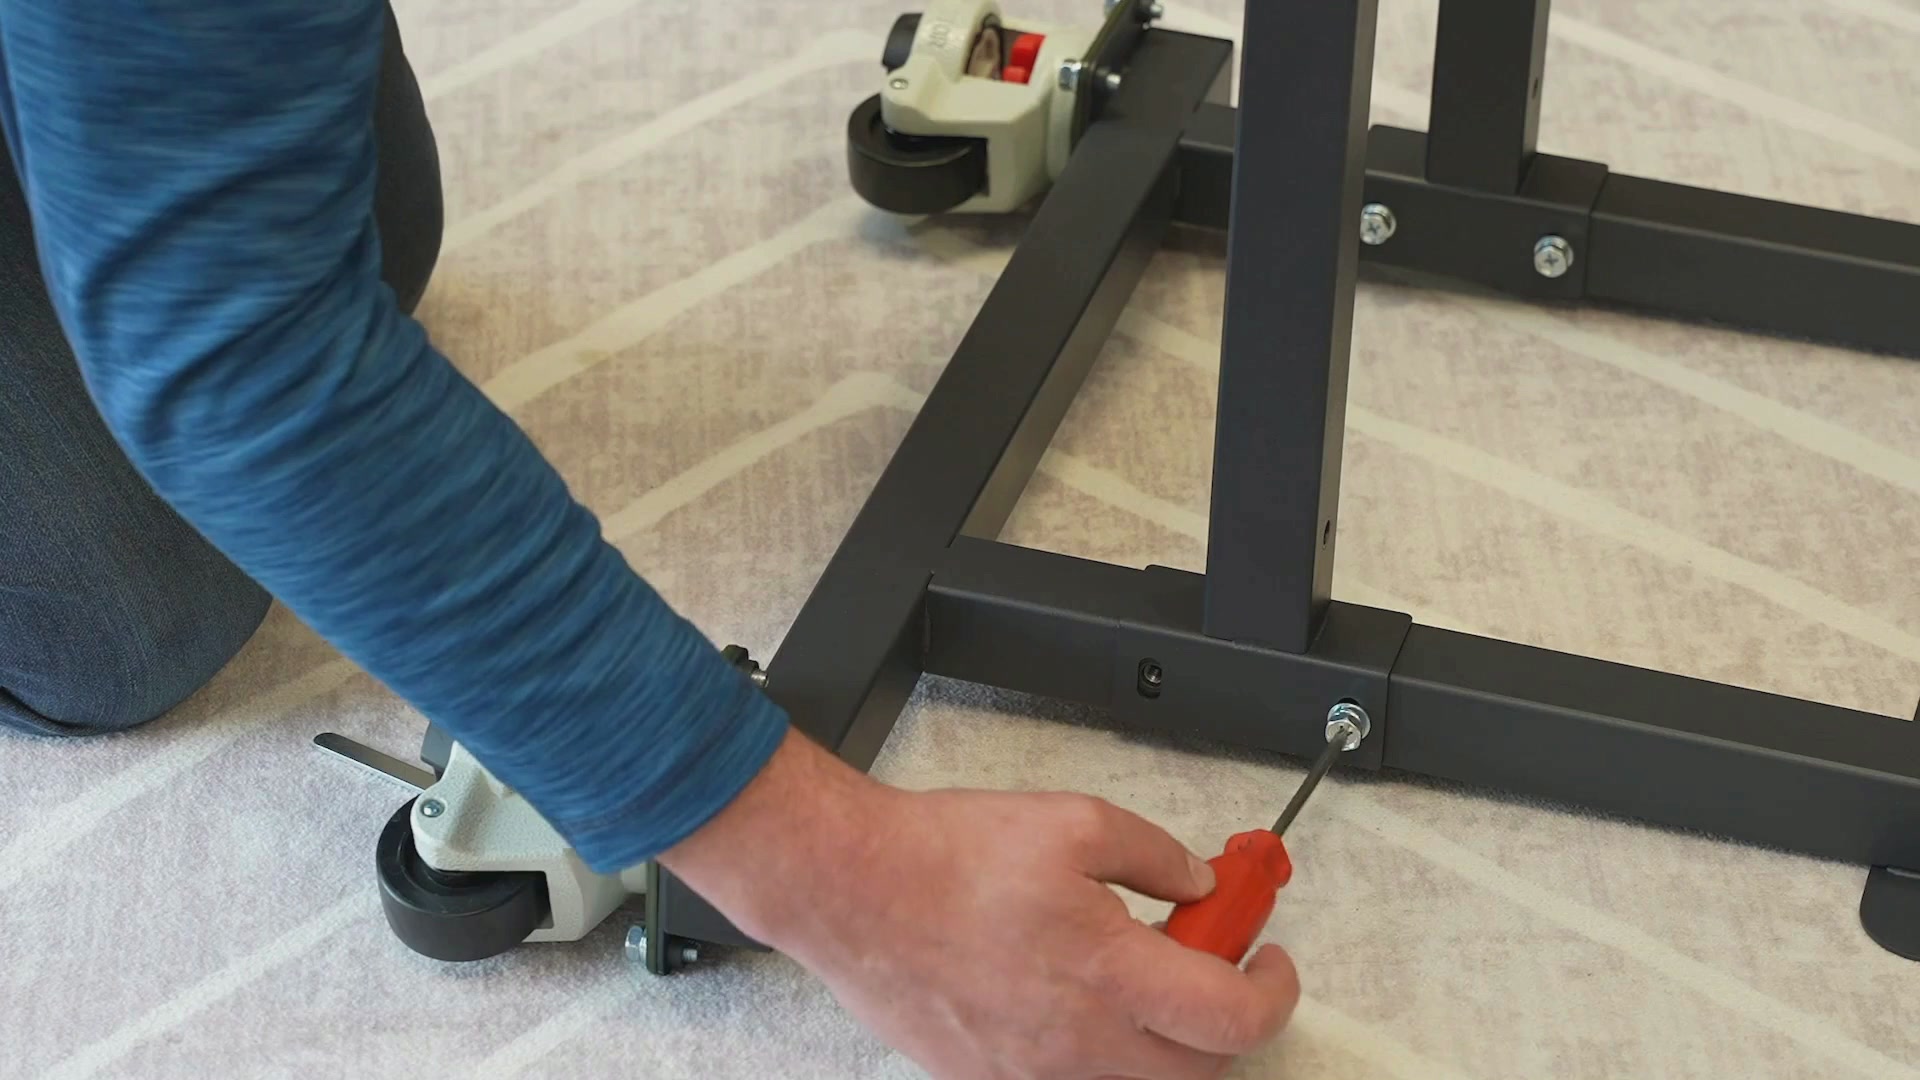
With the cross beams flat against the bar, finish tightening them with the use of a wrench.

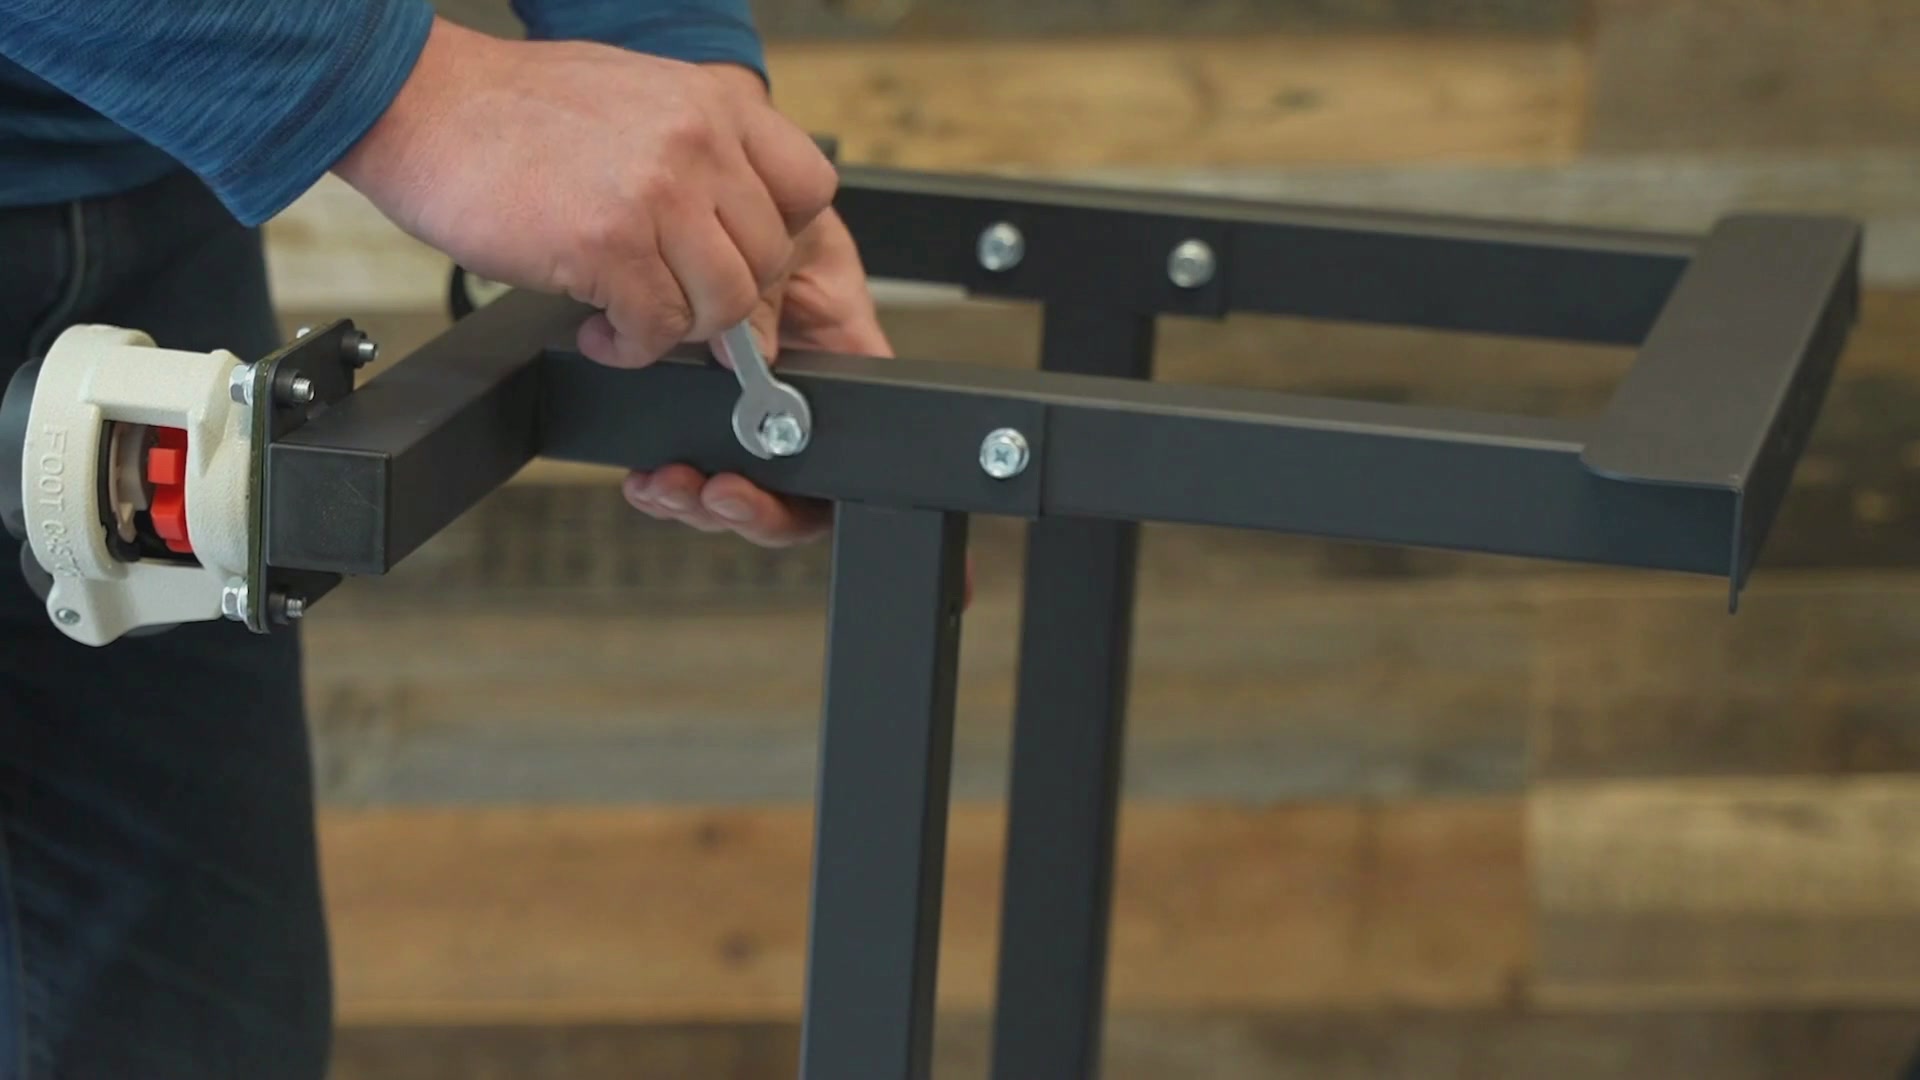
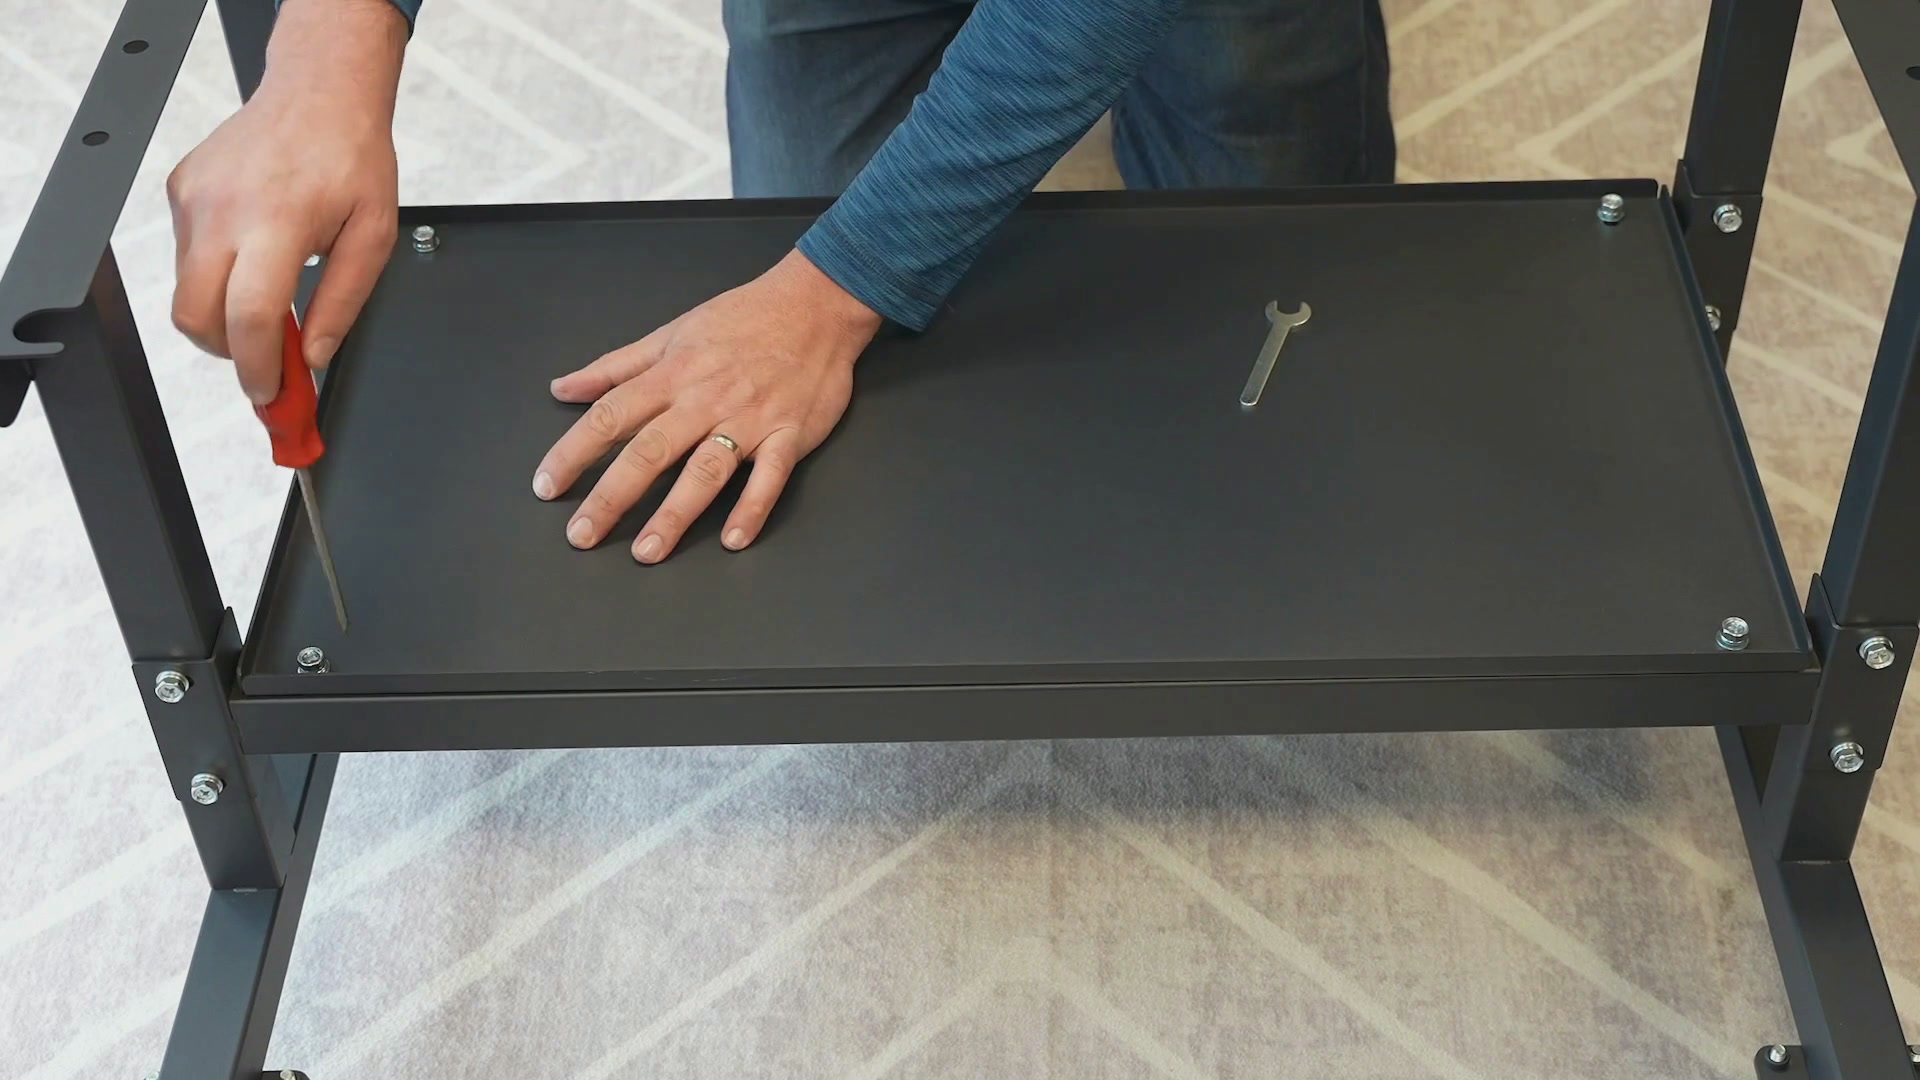
Rotate the stand onto its feet, then attach the accessory shelf to the cross beams using four large screws.
Now the stand is ready to attach to the laser system. With at least two people, carefully lift the machine up and place it onto the stand.
Note: Make sure the front of the machine faces the side of the stand with shorter wheel mounts.
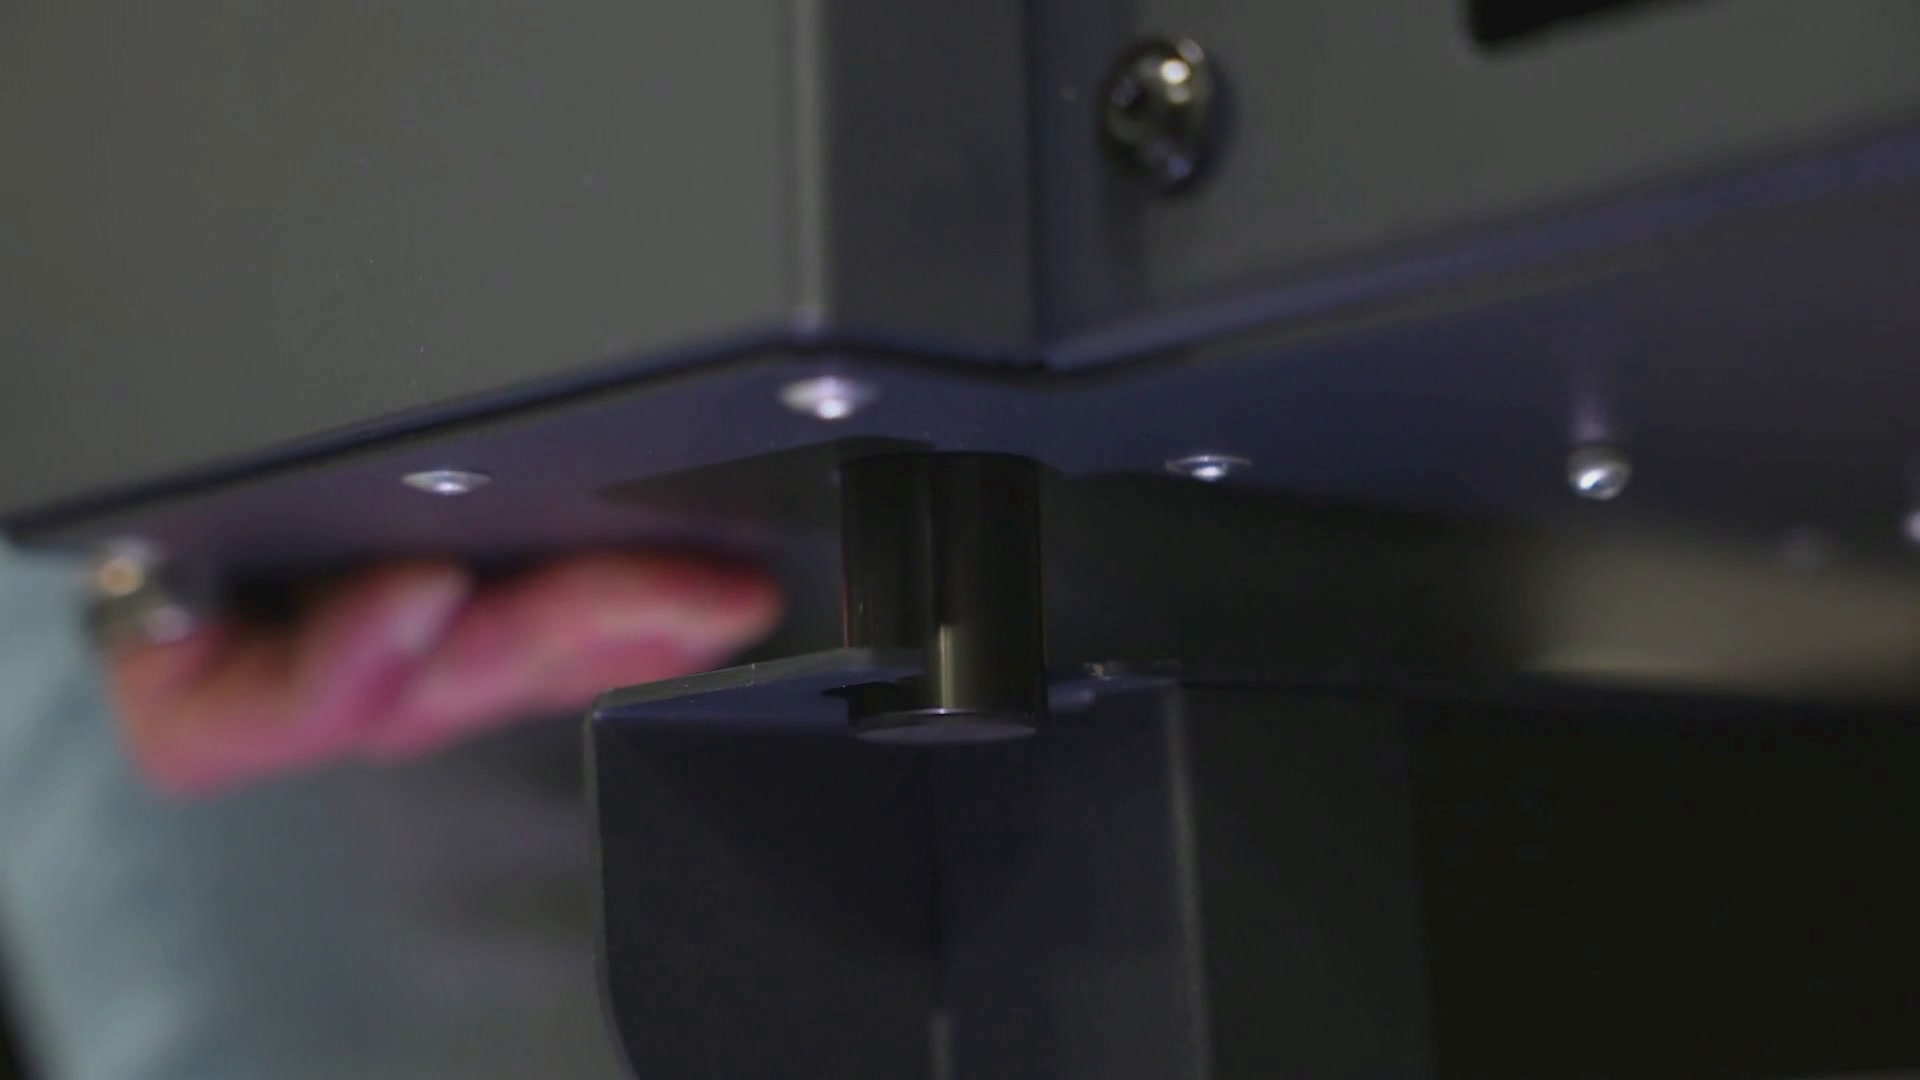
The four feet on the bottom of the engraver should drop into the half circles in the stand base.

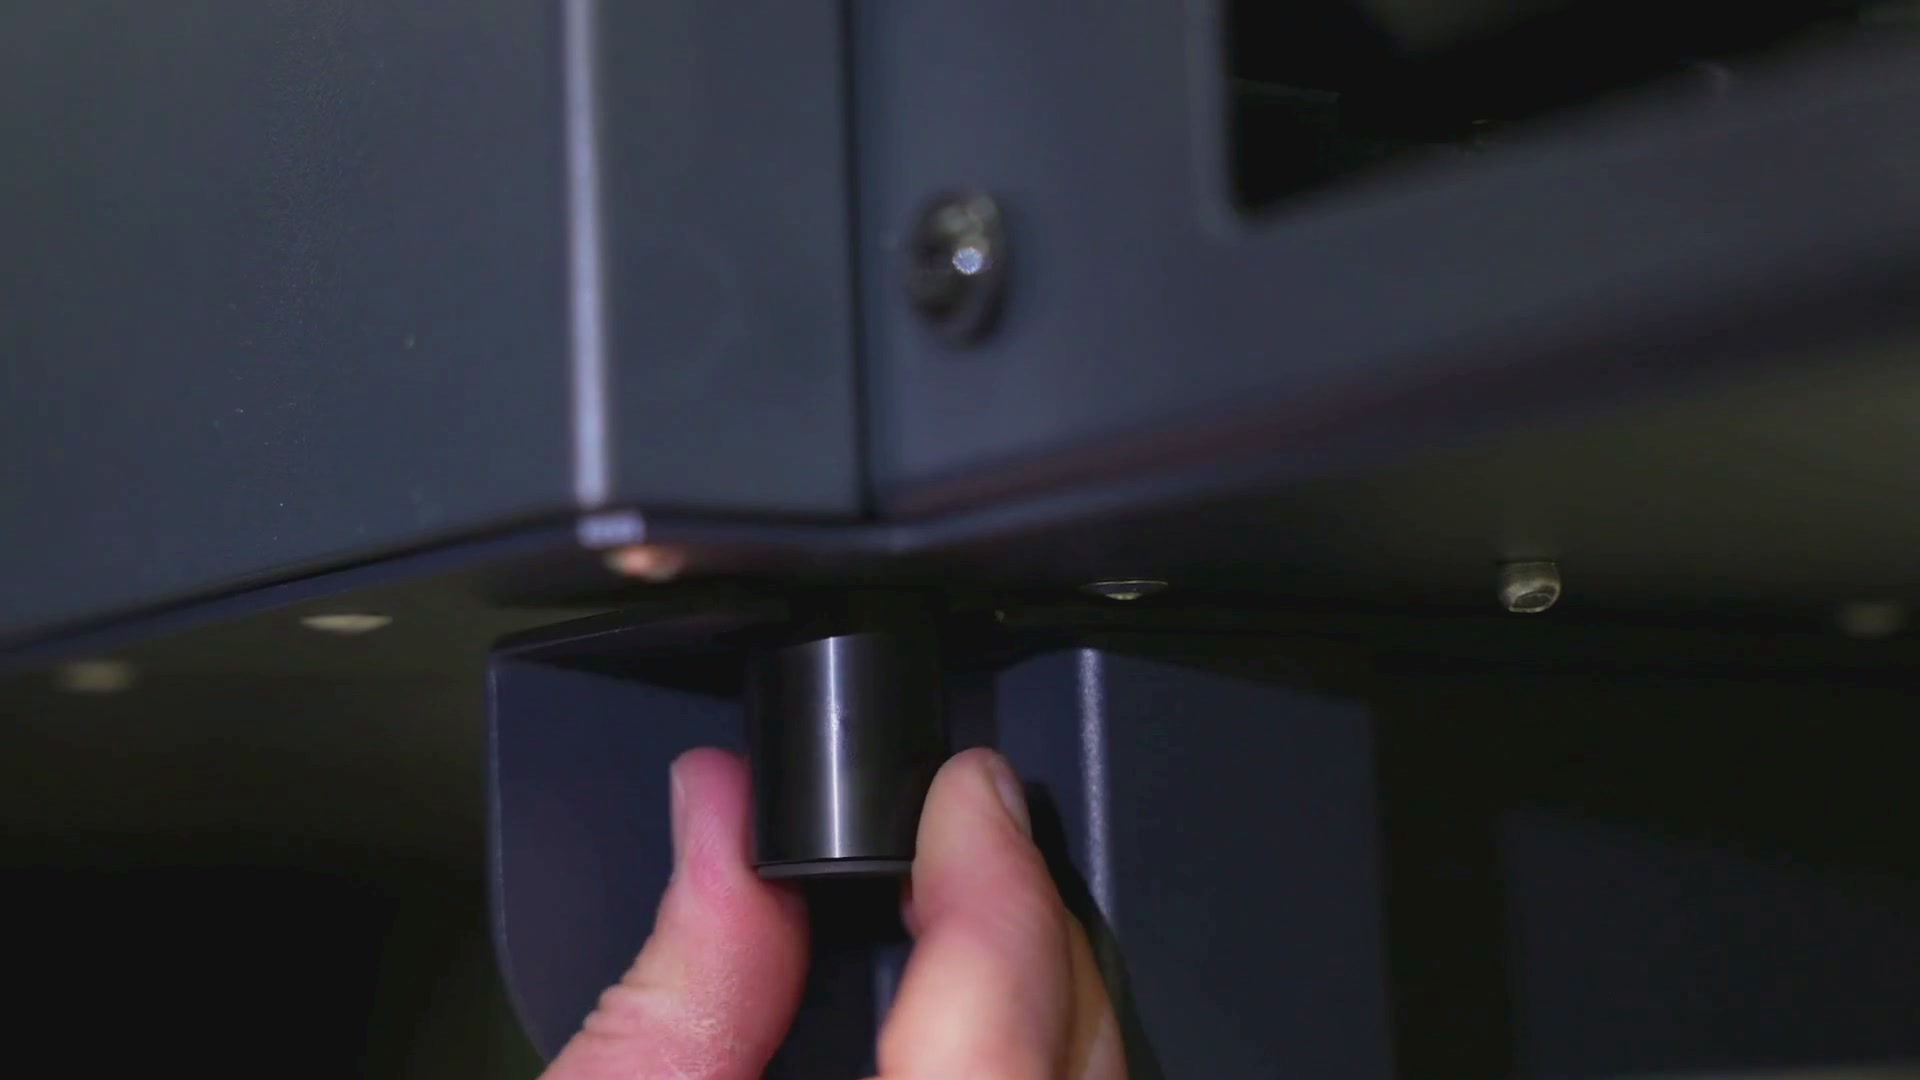
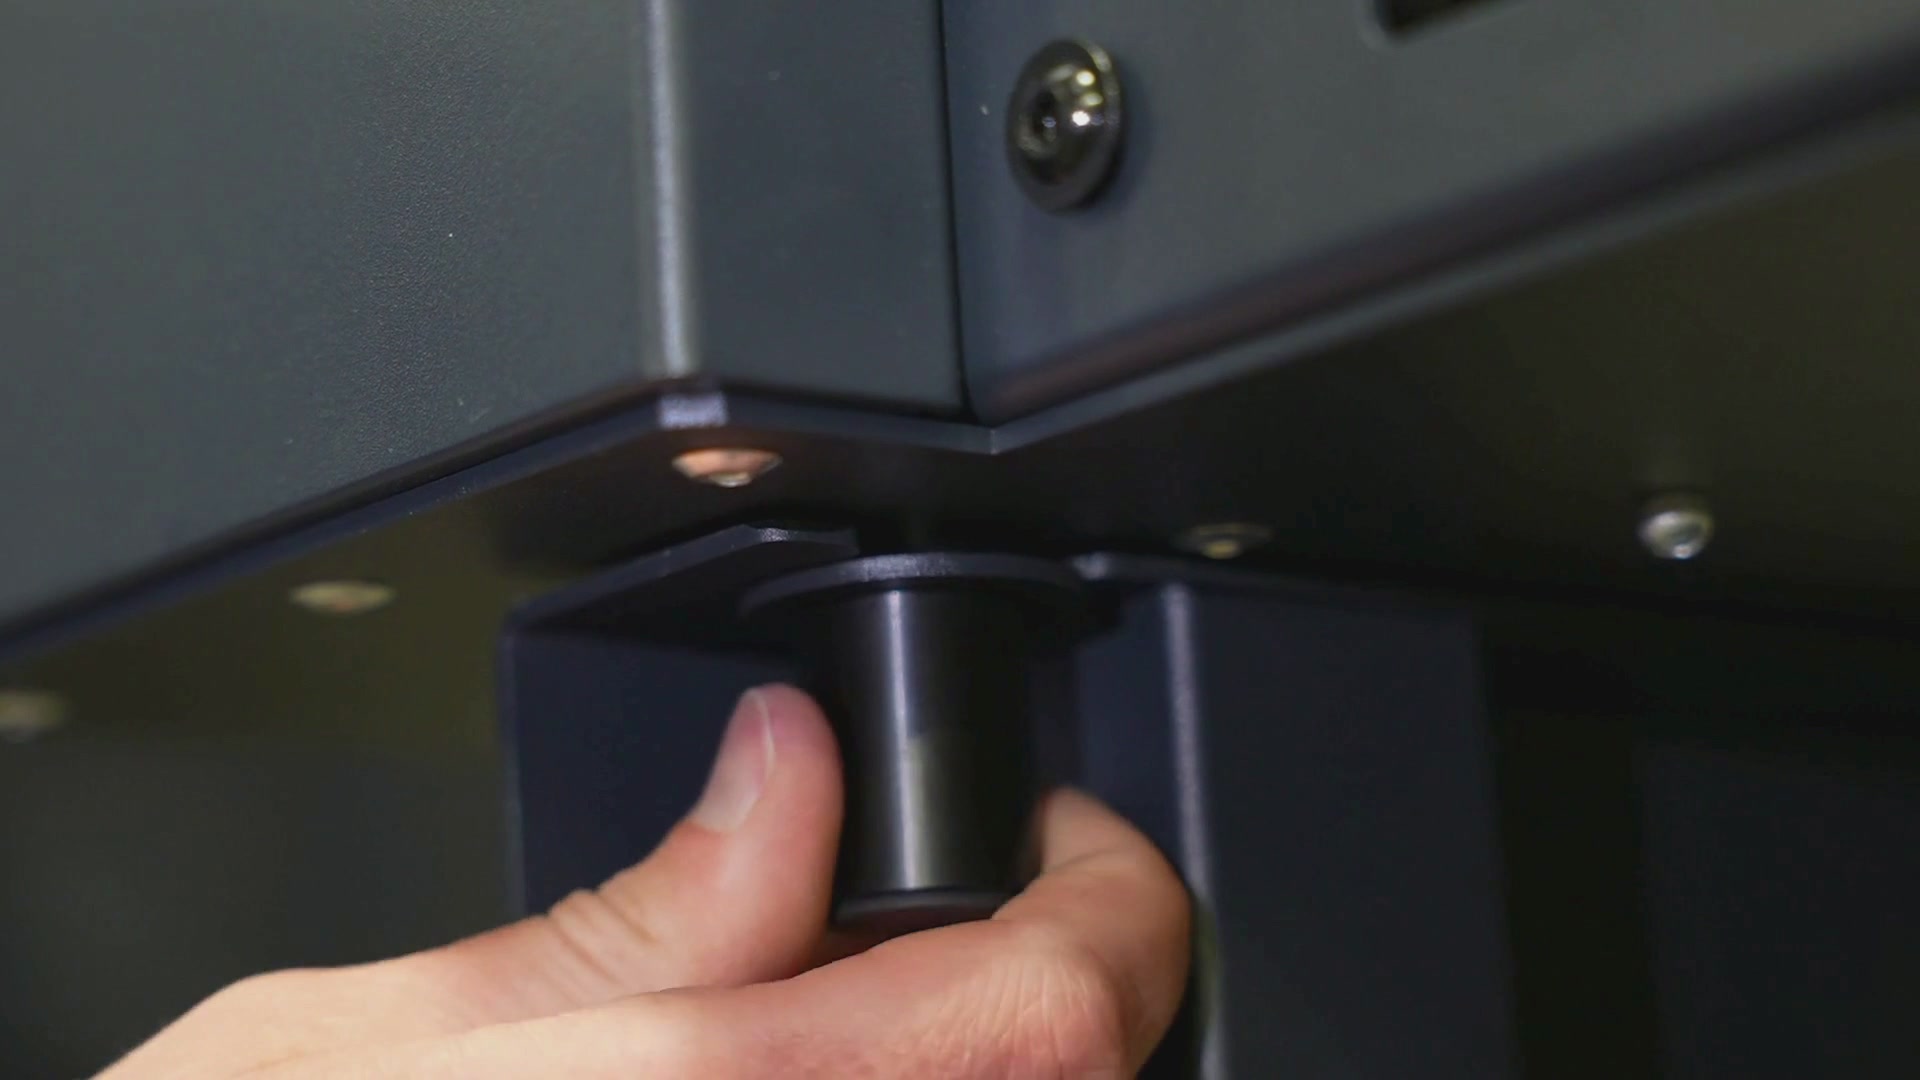
To secure the machine onto the stand, remove the front 2 feet from the bottom of the engraver. If needed, use pliers to loosen the feet from the machine.
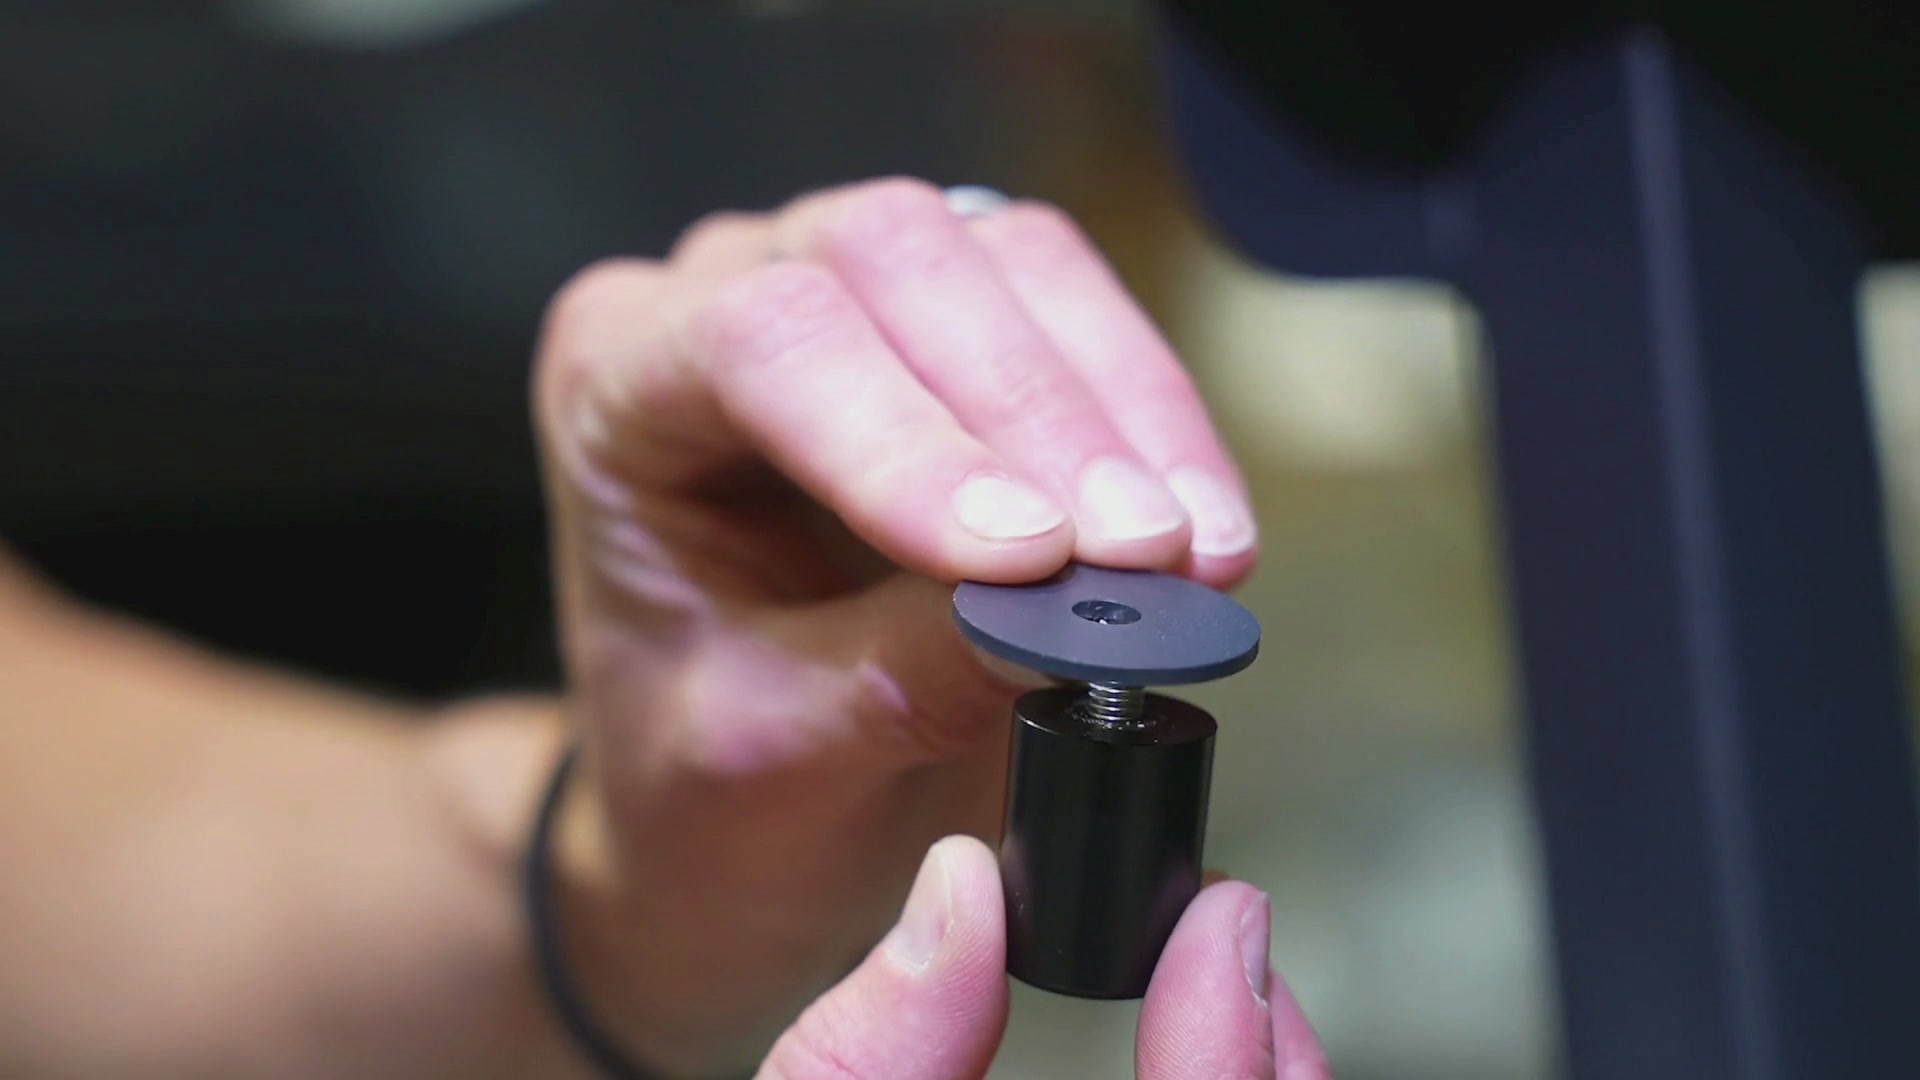
Install the provided flat washers over the same hole and the base of the stand.
Then reinstall the feet, hand tightening them on the machine.
Repeat this process with the 2 feet in the rear of the machine and you’re done.
Your stand is now assembled and ready to use.