Understanding the Air Assist Solenoid
The Ascent laser’s air assist solenoid manages airflow differently depending on your compressor setup. It is critical to configure the internal tubing correctly to prevent equipment damage or excessive compressor wear.
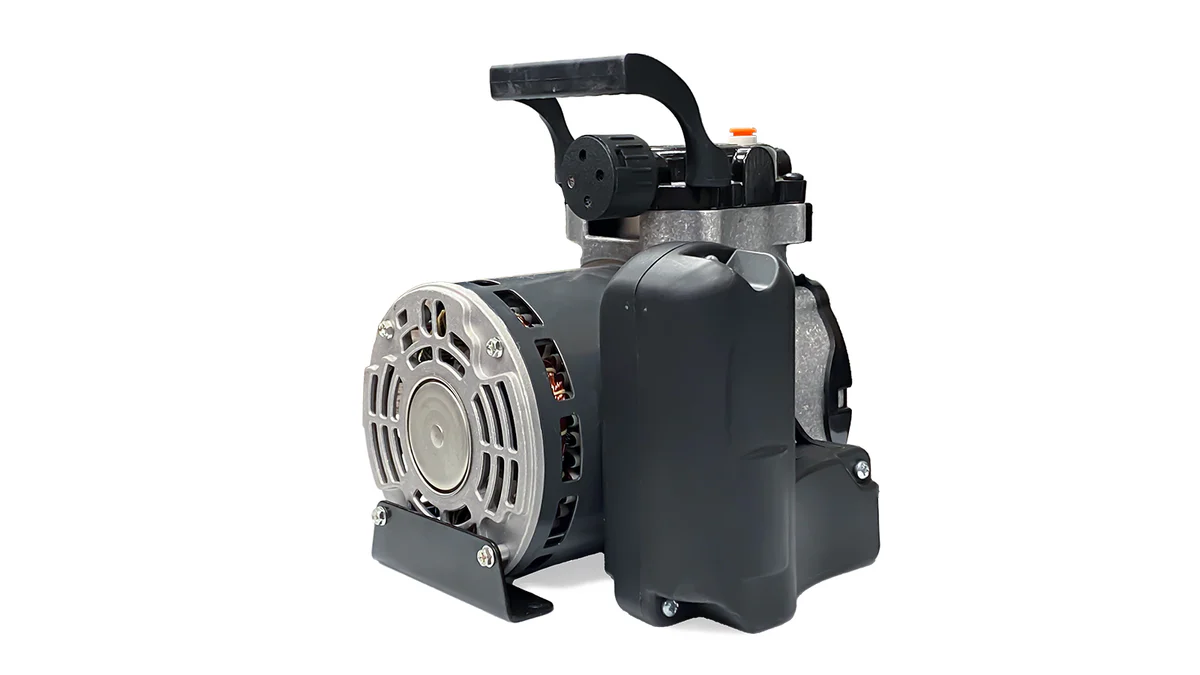
- Default Configuration (Constant-Run Pumps): Small diaphragm pumps lack a pressure shut-off switch and must run continuously. In this setup, the solenoid is plumbed to vent the air safely inside the cabinet when the laser is not actively firing. This prevents the pump from “dead-heading,” which causes overheating and motor failure.
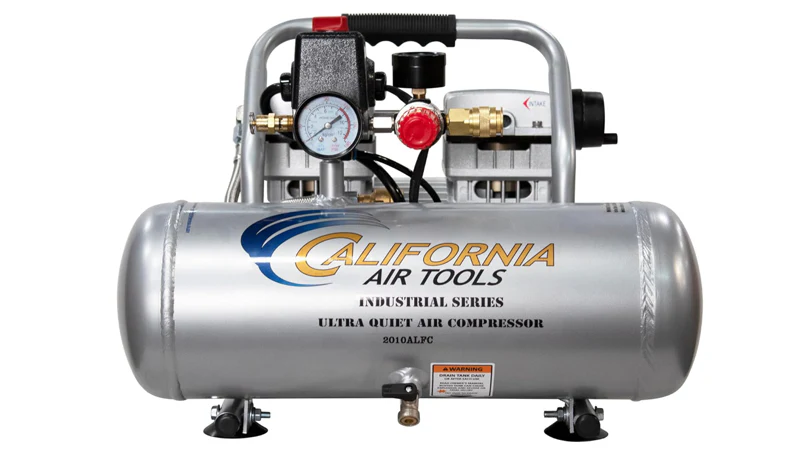
- Tank & Shop Air Configuration: Standard air compressors feature an internal tank and a pressure switch that automatically shuts the motor off once filled. If used with the default laser tubing, the solenoid would constantly vent the tank, causing your compressor to run indefinitely. This reroute procedure switches the solenoid into a blocking configuration, holding the pressurized air at the valve until the machine triggers it for an engraving or cutting job.
Instructions for Shop Air Conversion
1. Disconnect Power
Power off the machine and completely disconnect the main power cable.
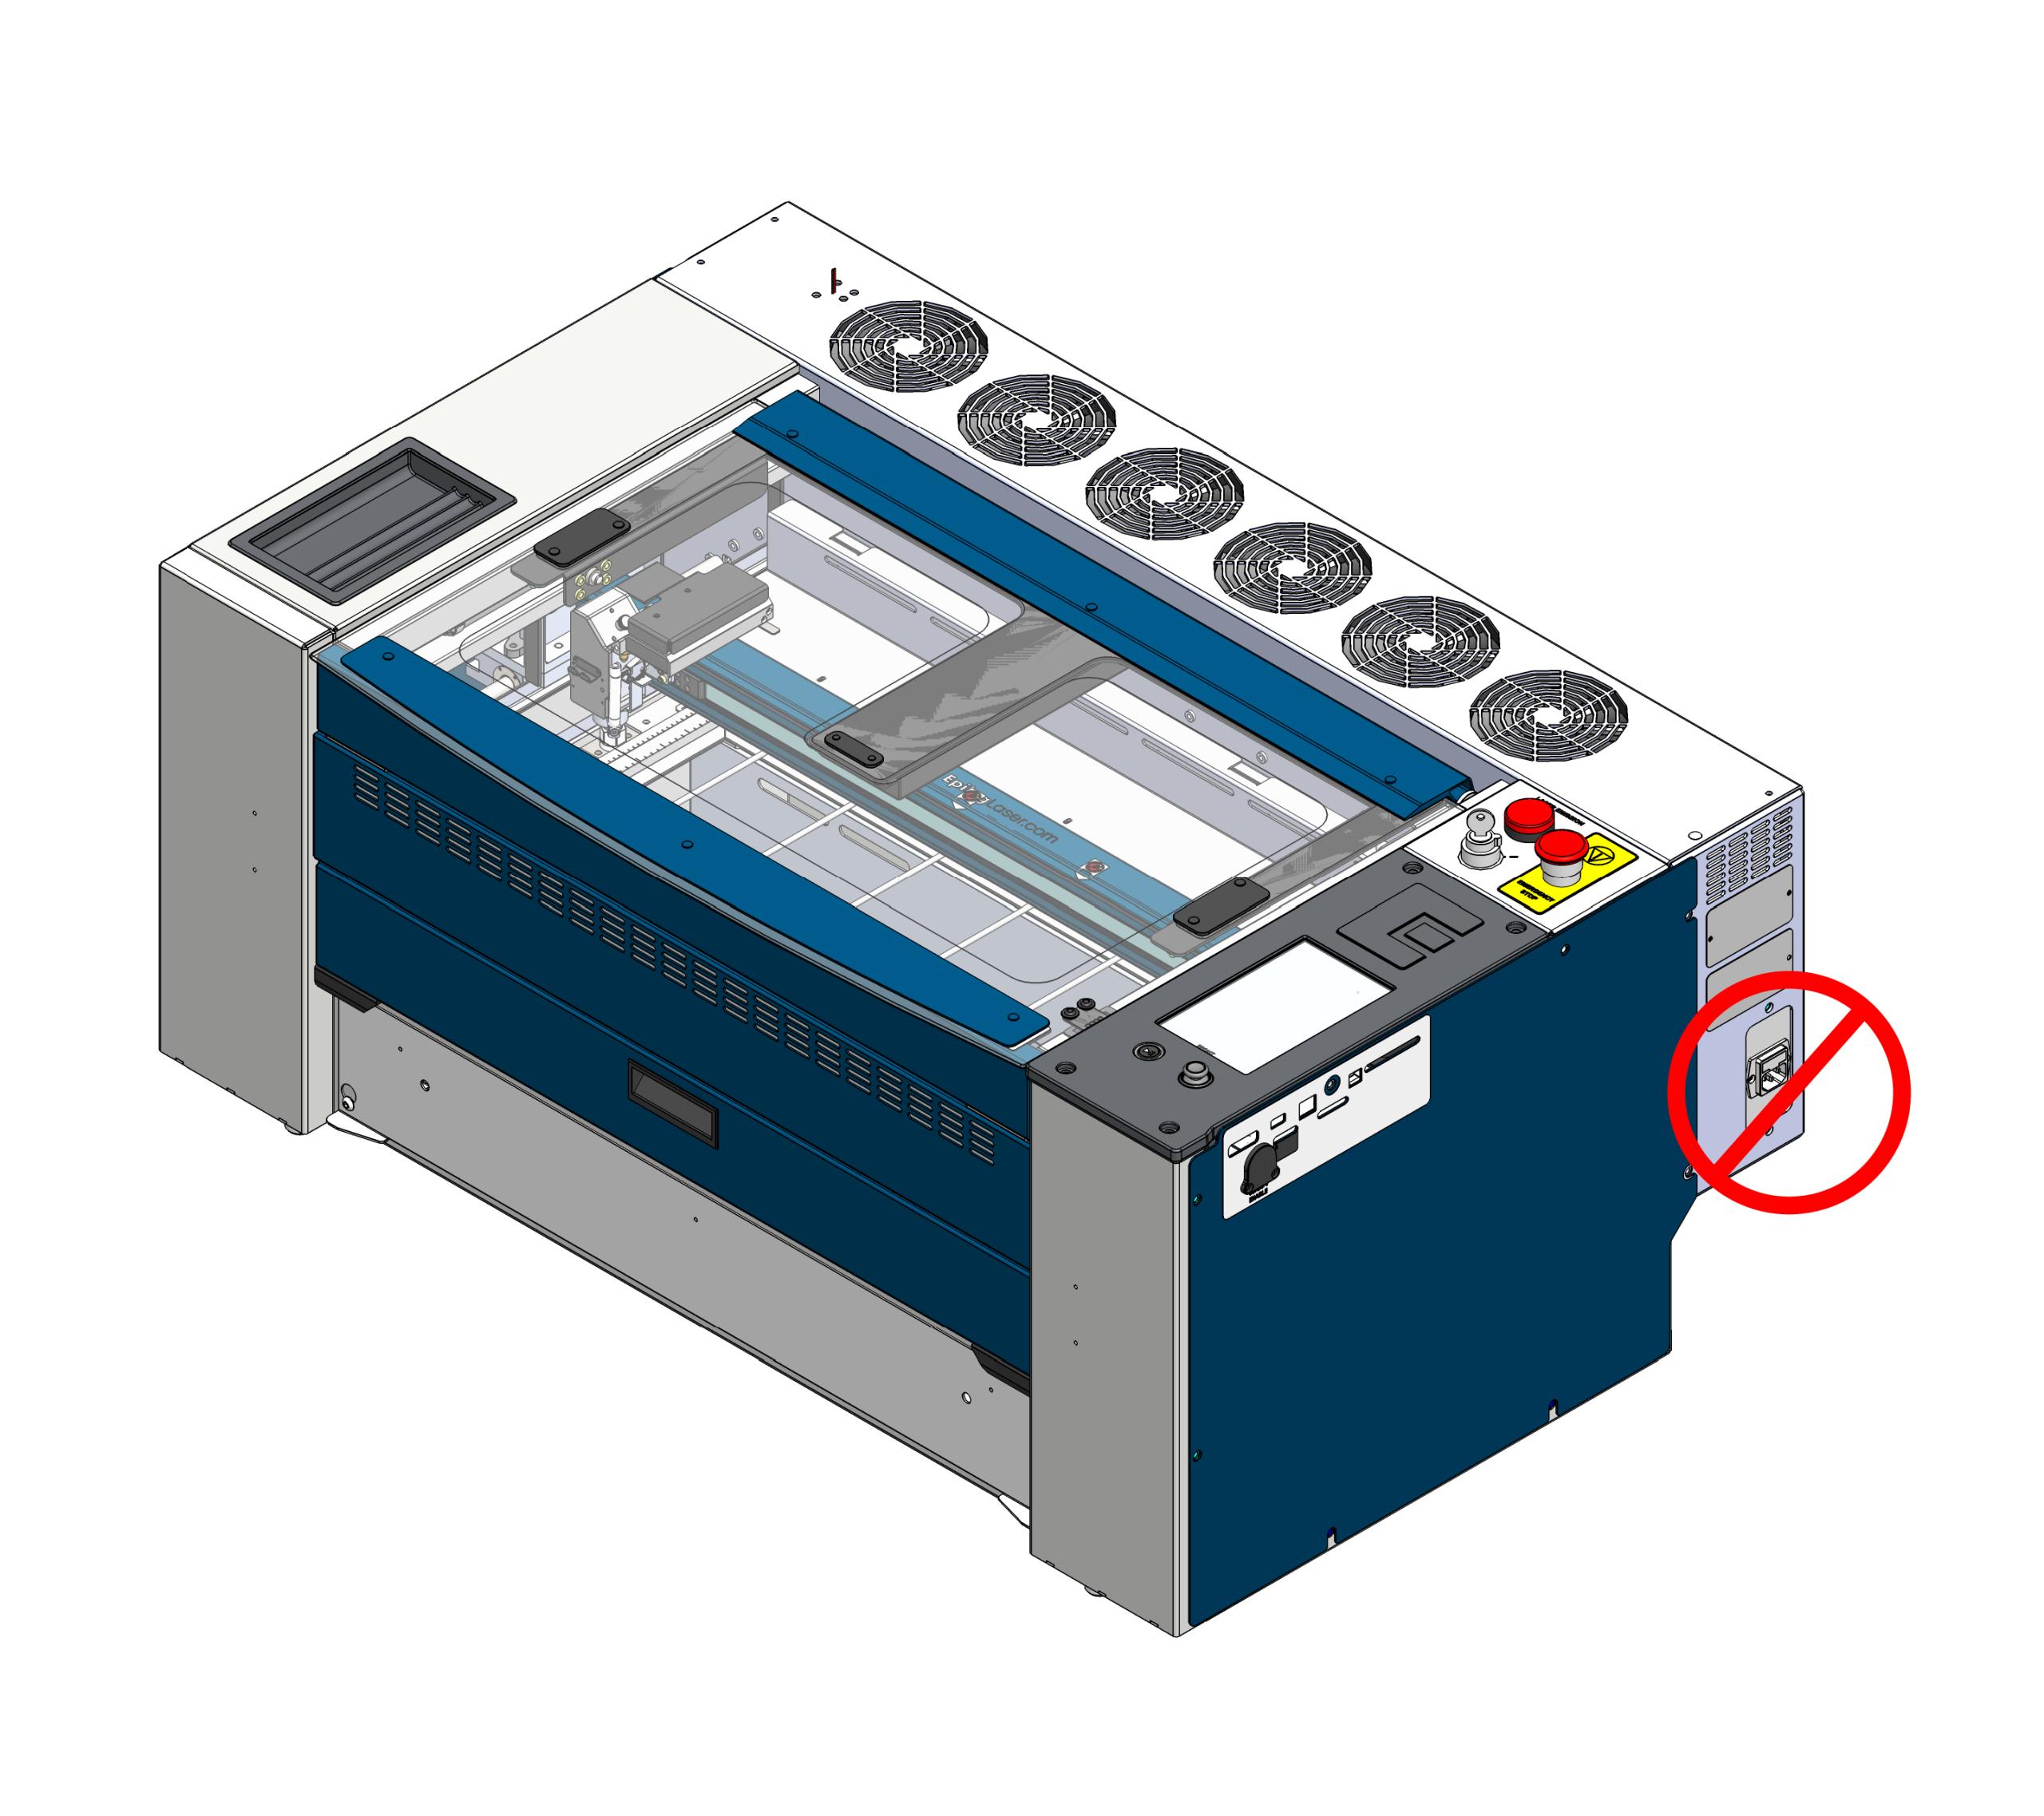
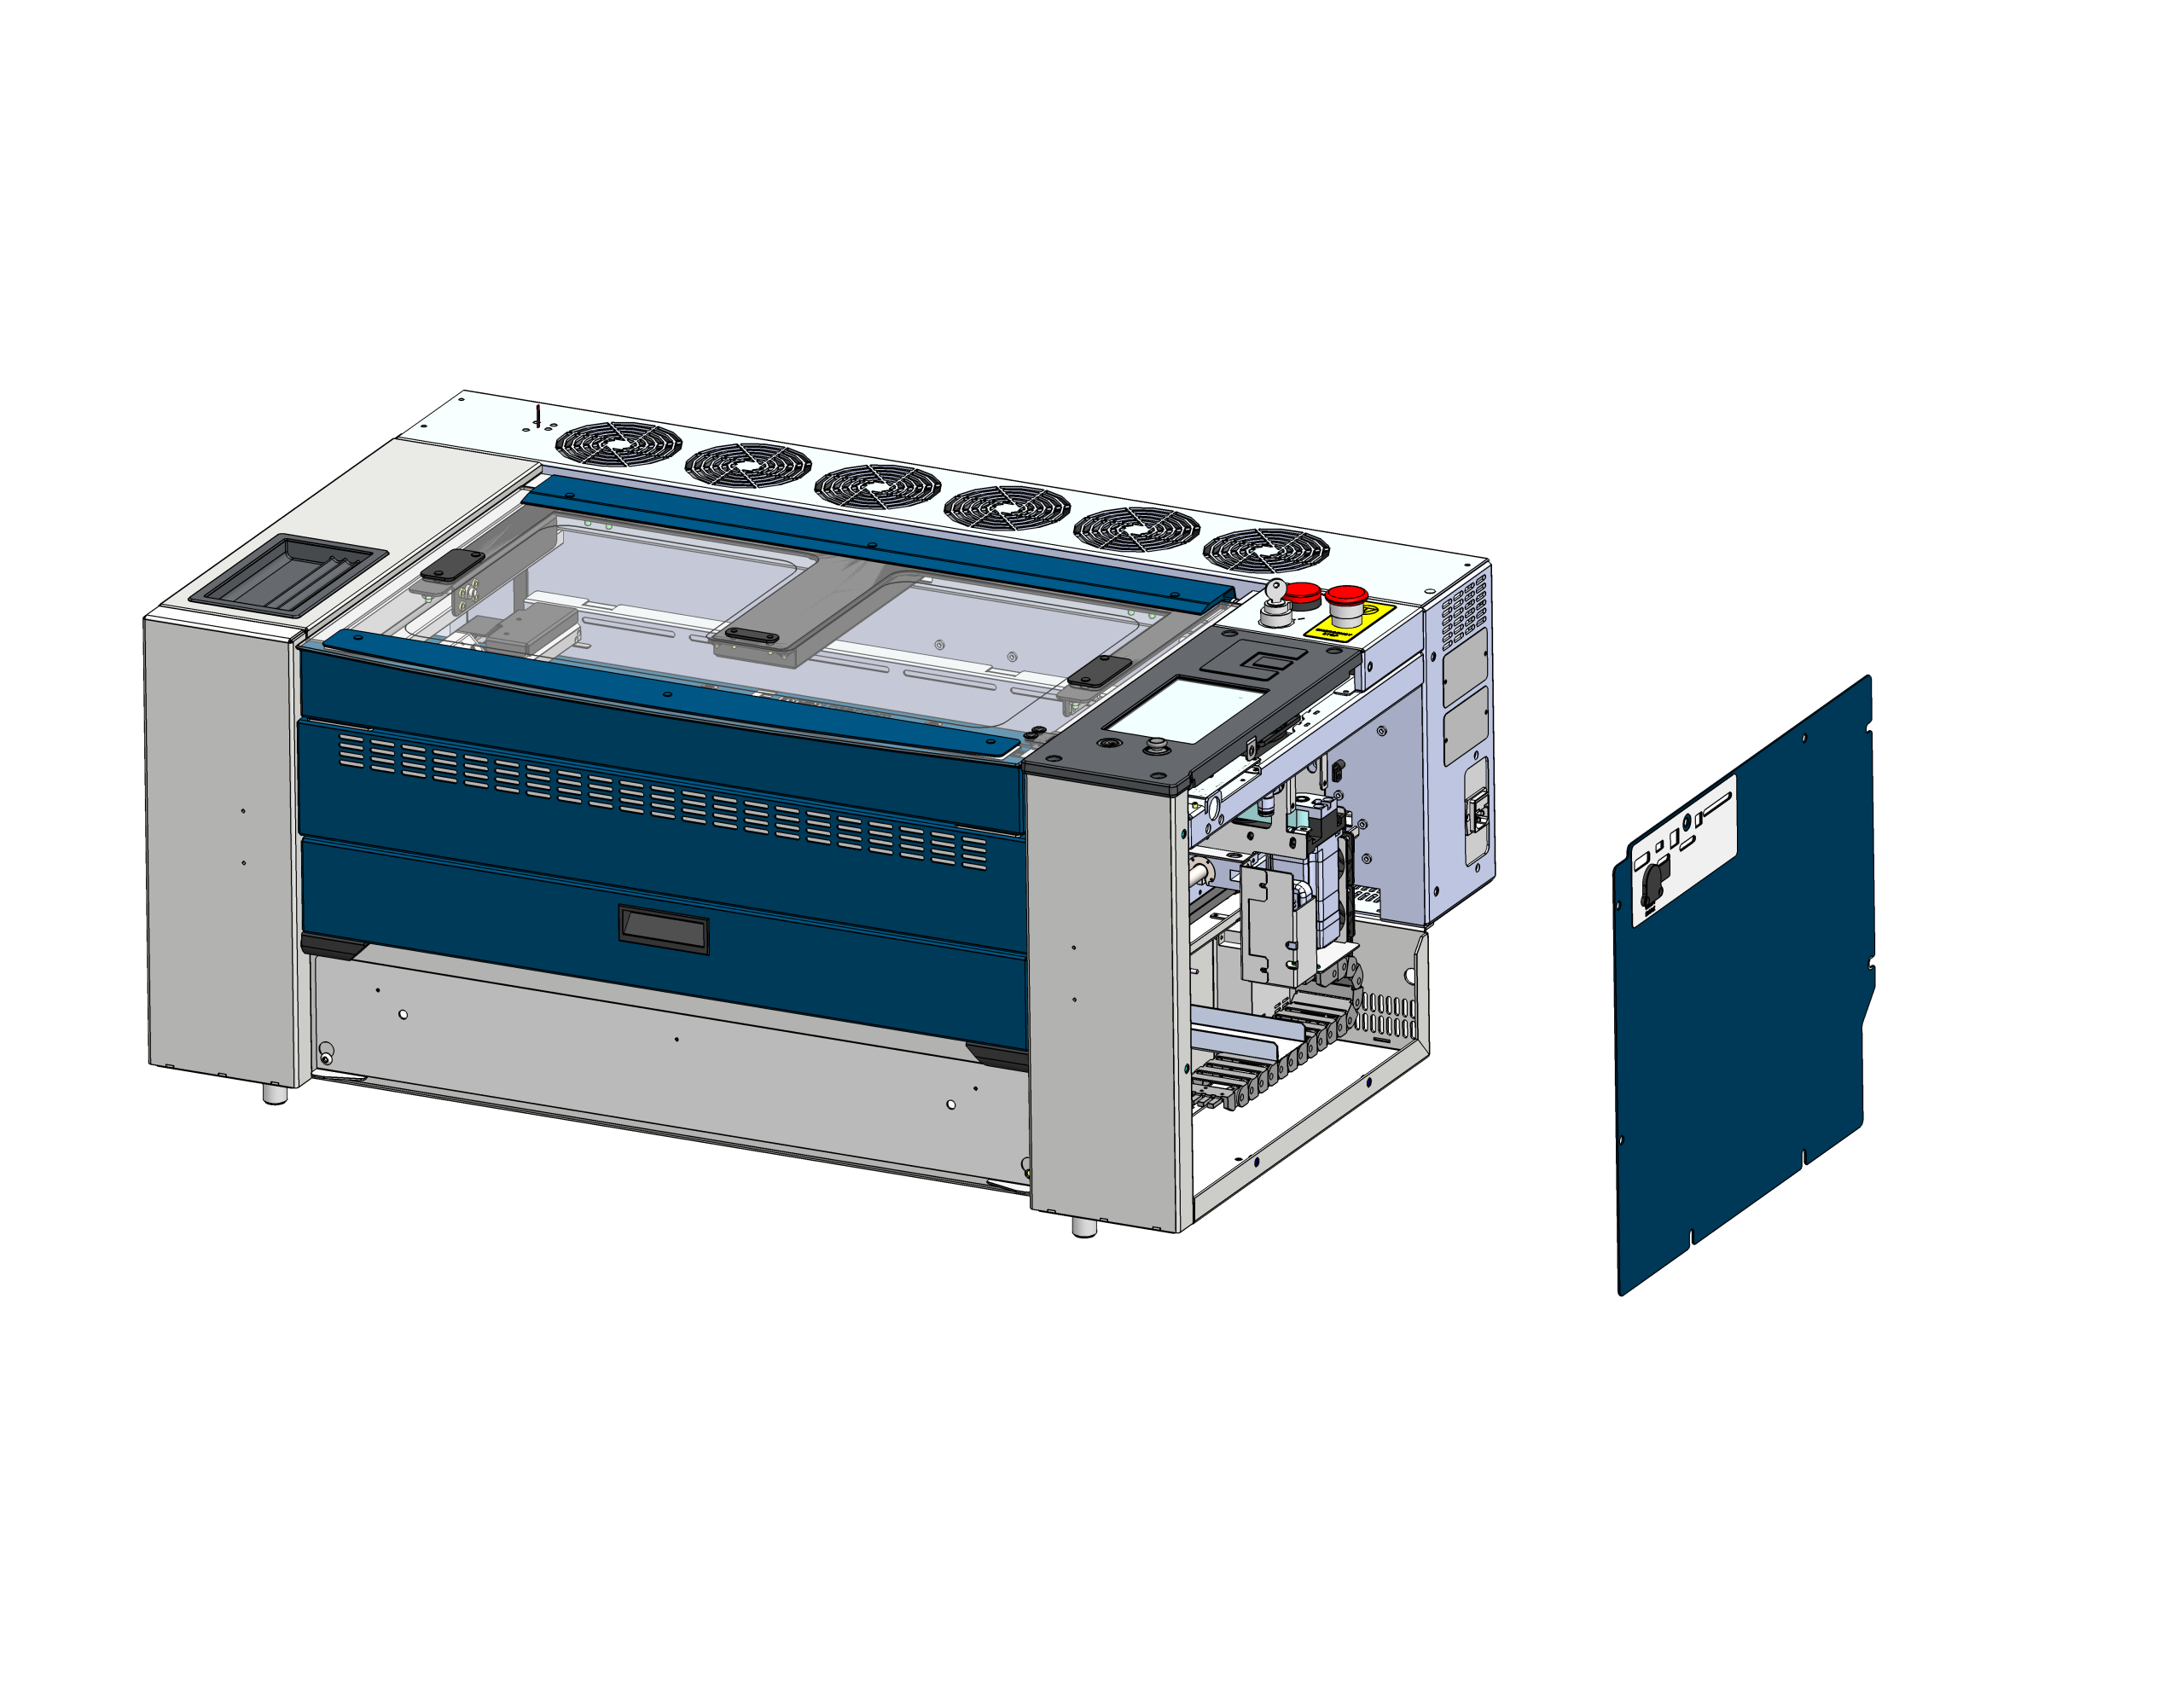
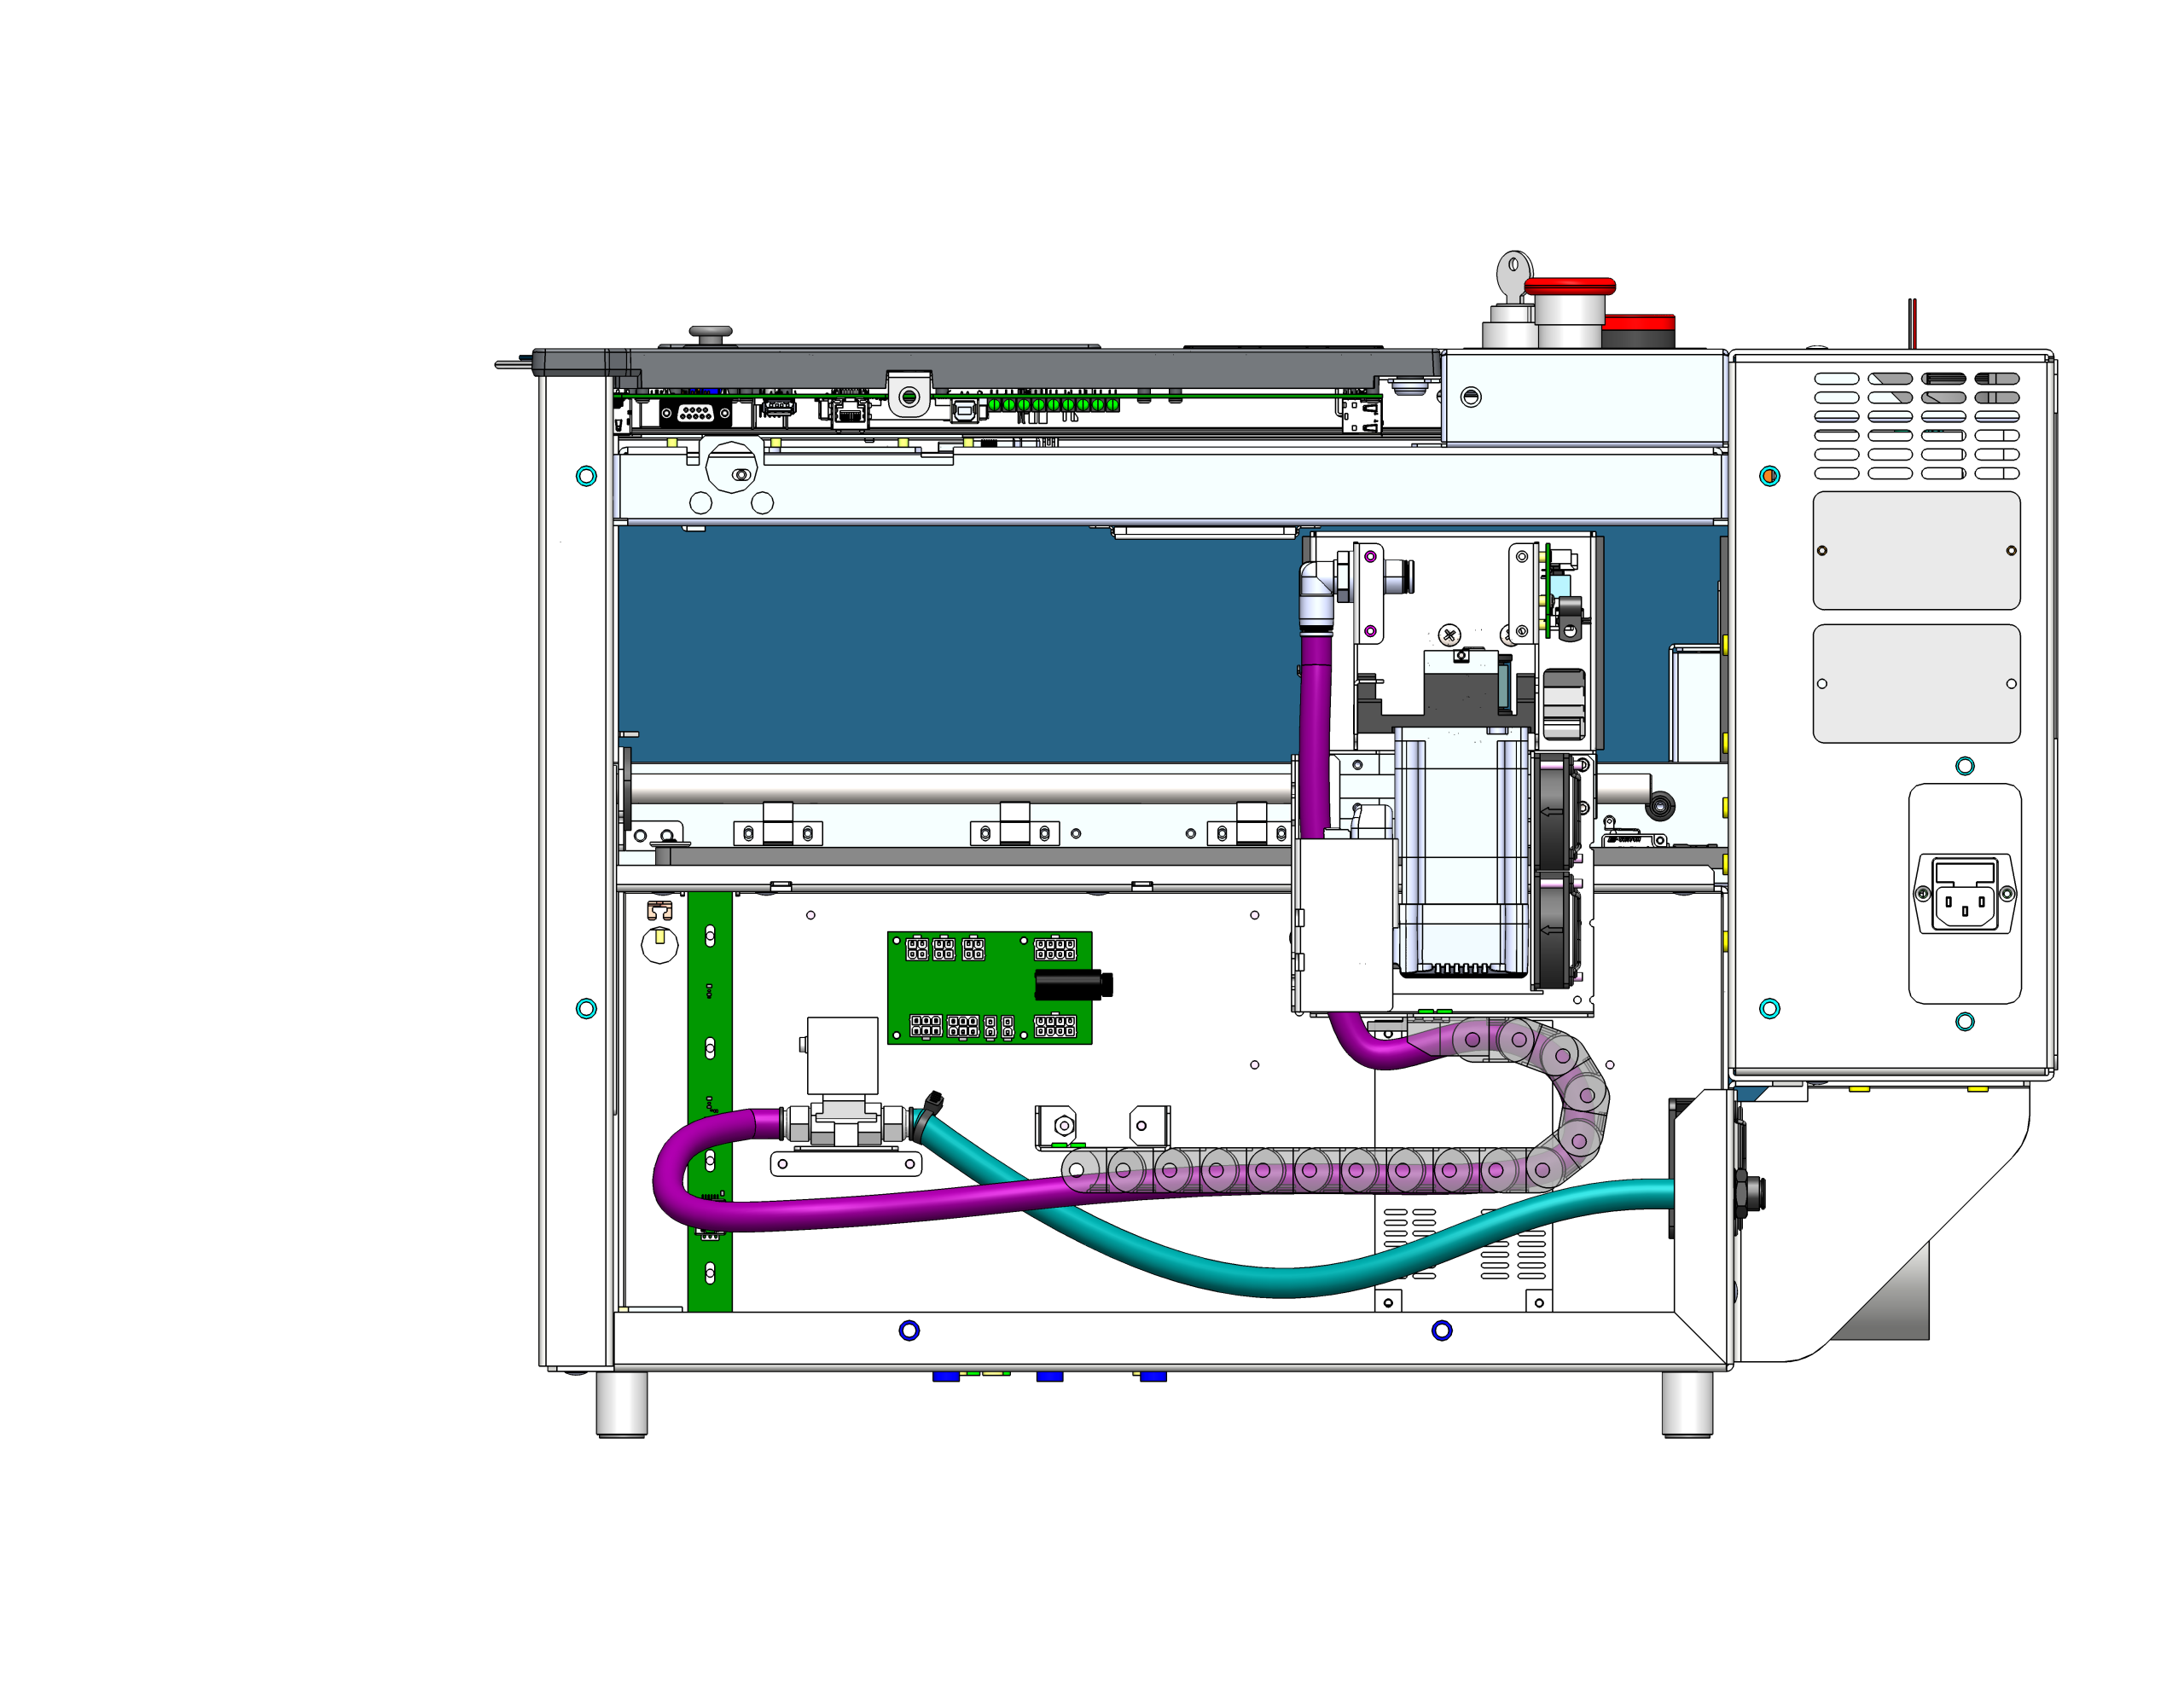
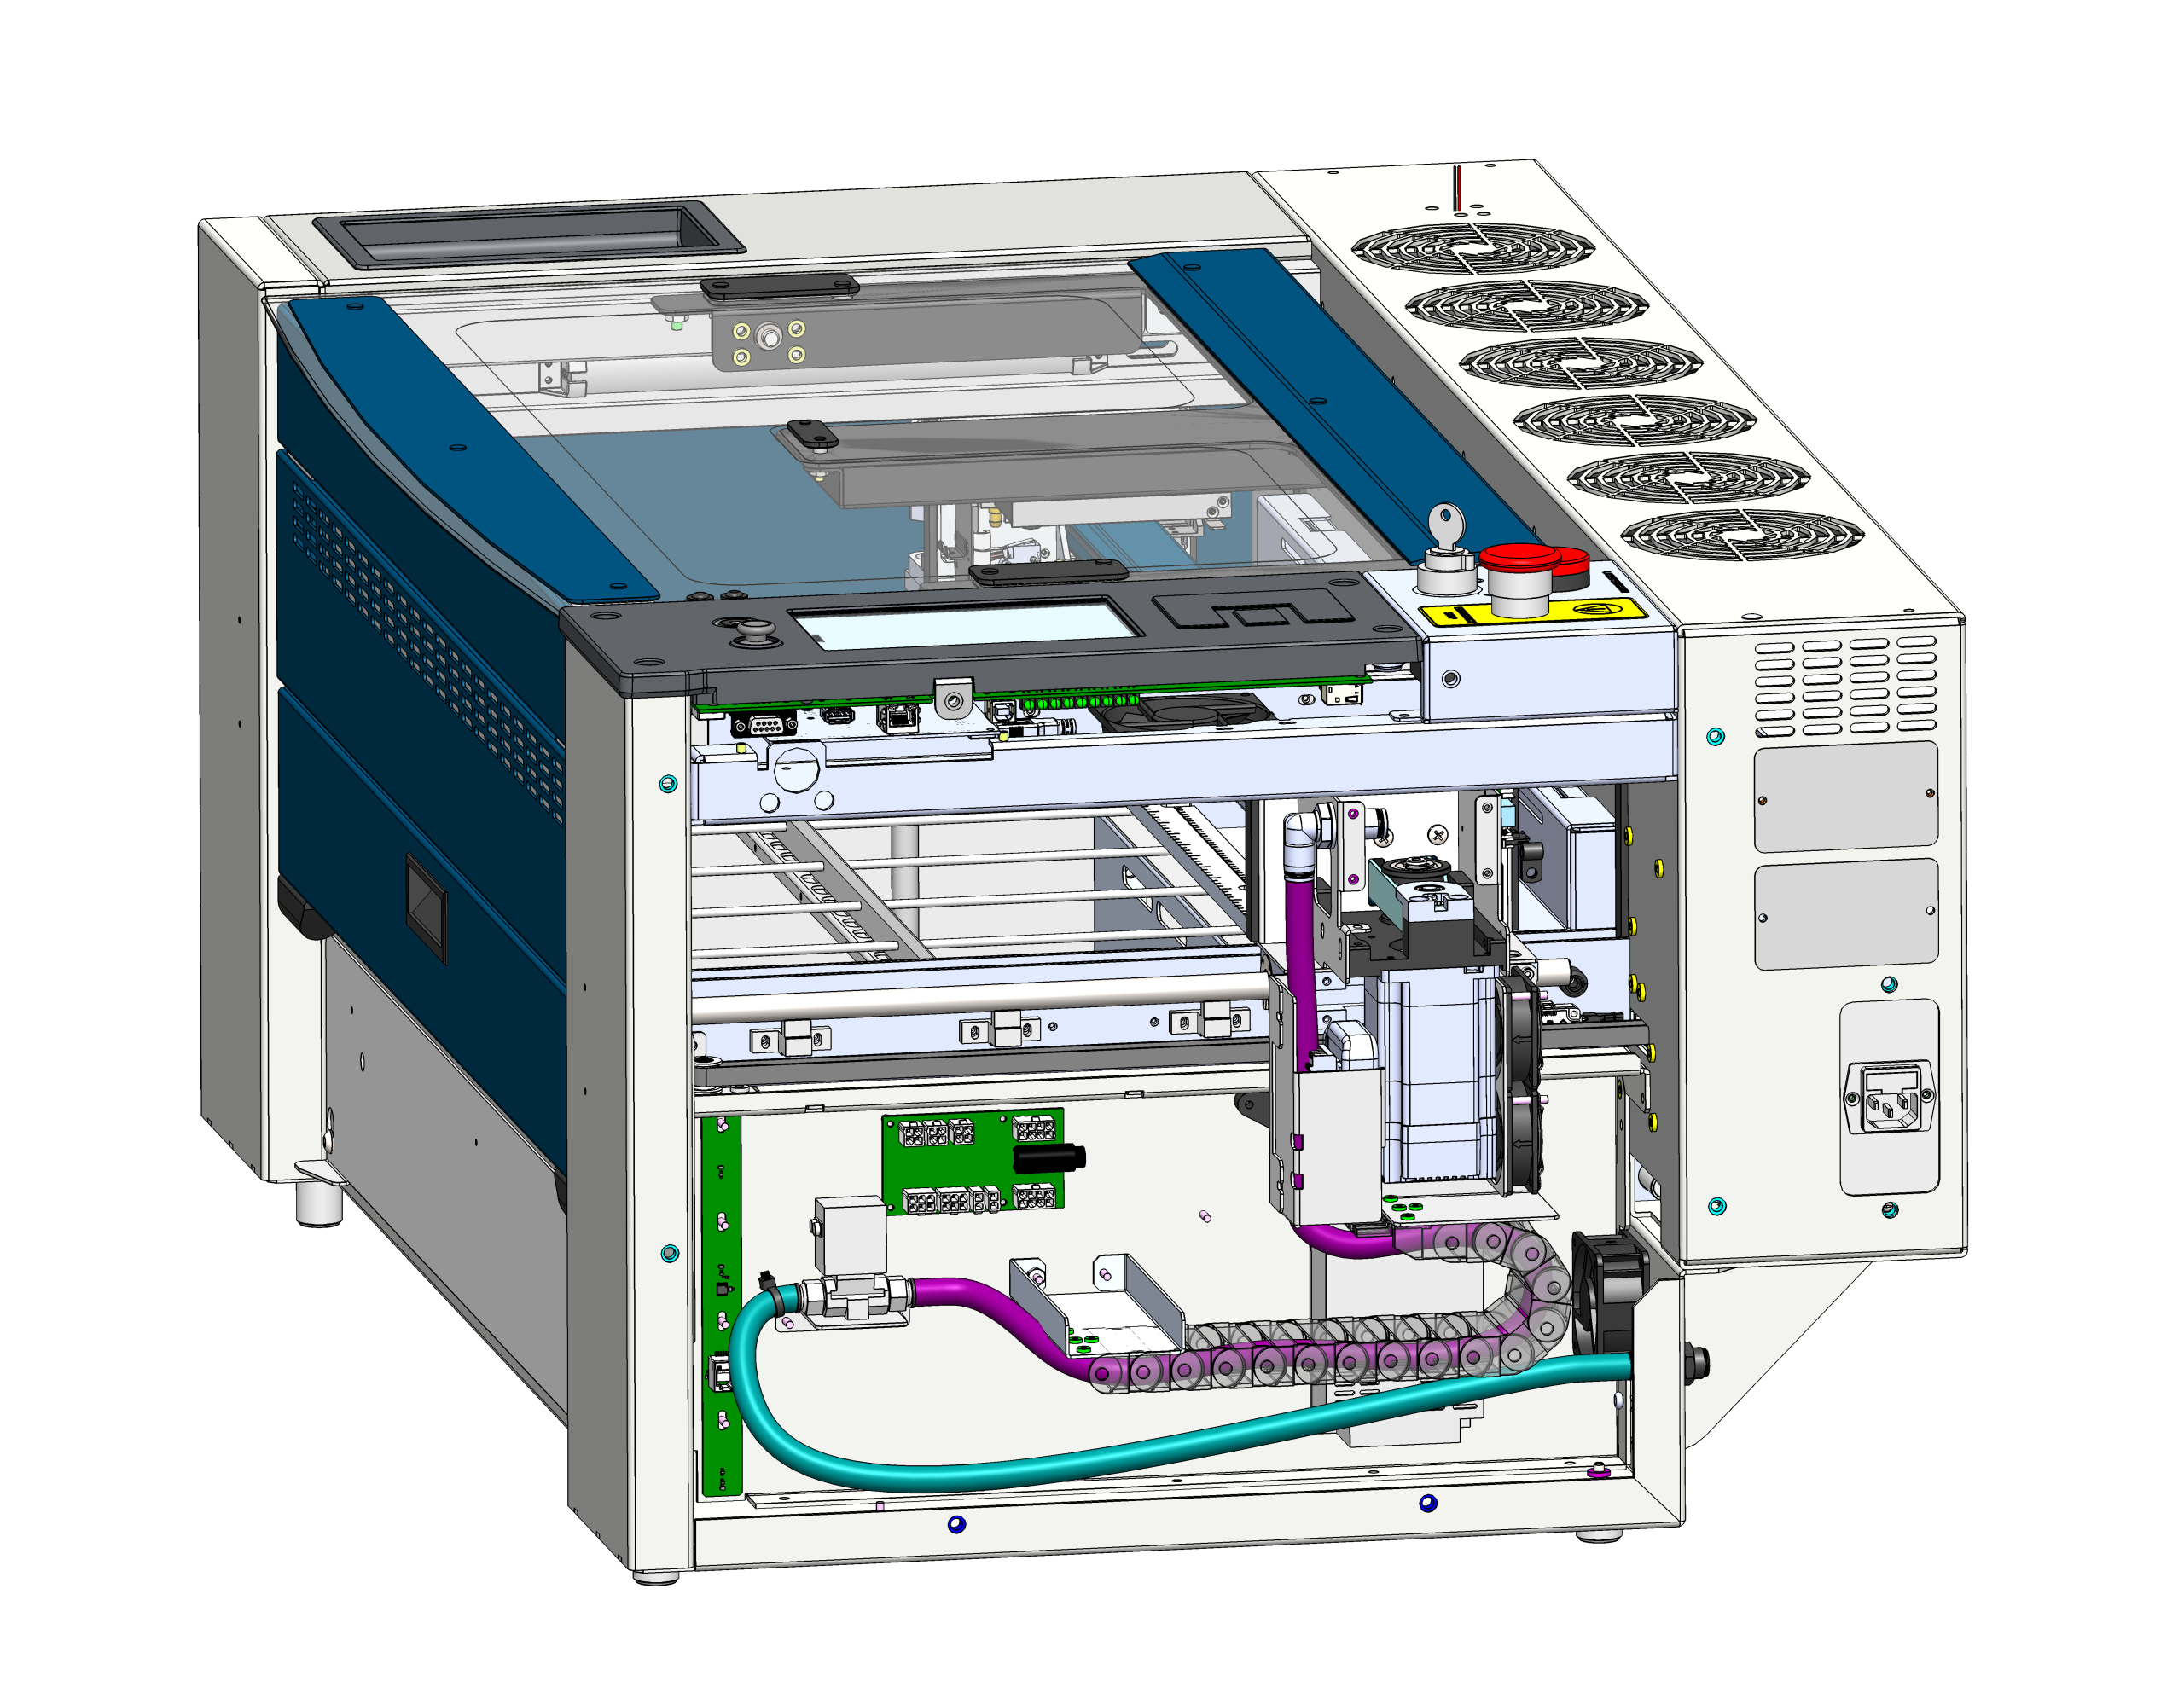
2. Remove the Side Panel
Take off the right-side panel of the machine to access the solenoid.
High Voltage Warning: Do not touch any exposed power supply components.
3. Disconnect the Input Hose
Locate the hose running from the back of the machine to the right side of the solenoid. It is marked with a small black cable tie (and colored green in the image below). Press the collar of the push-to-connect fitting and pull the hose out.
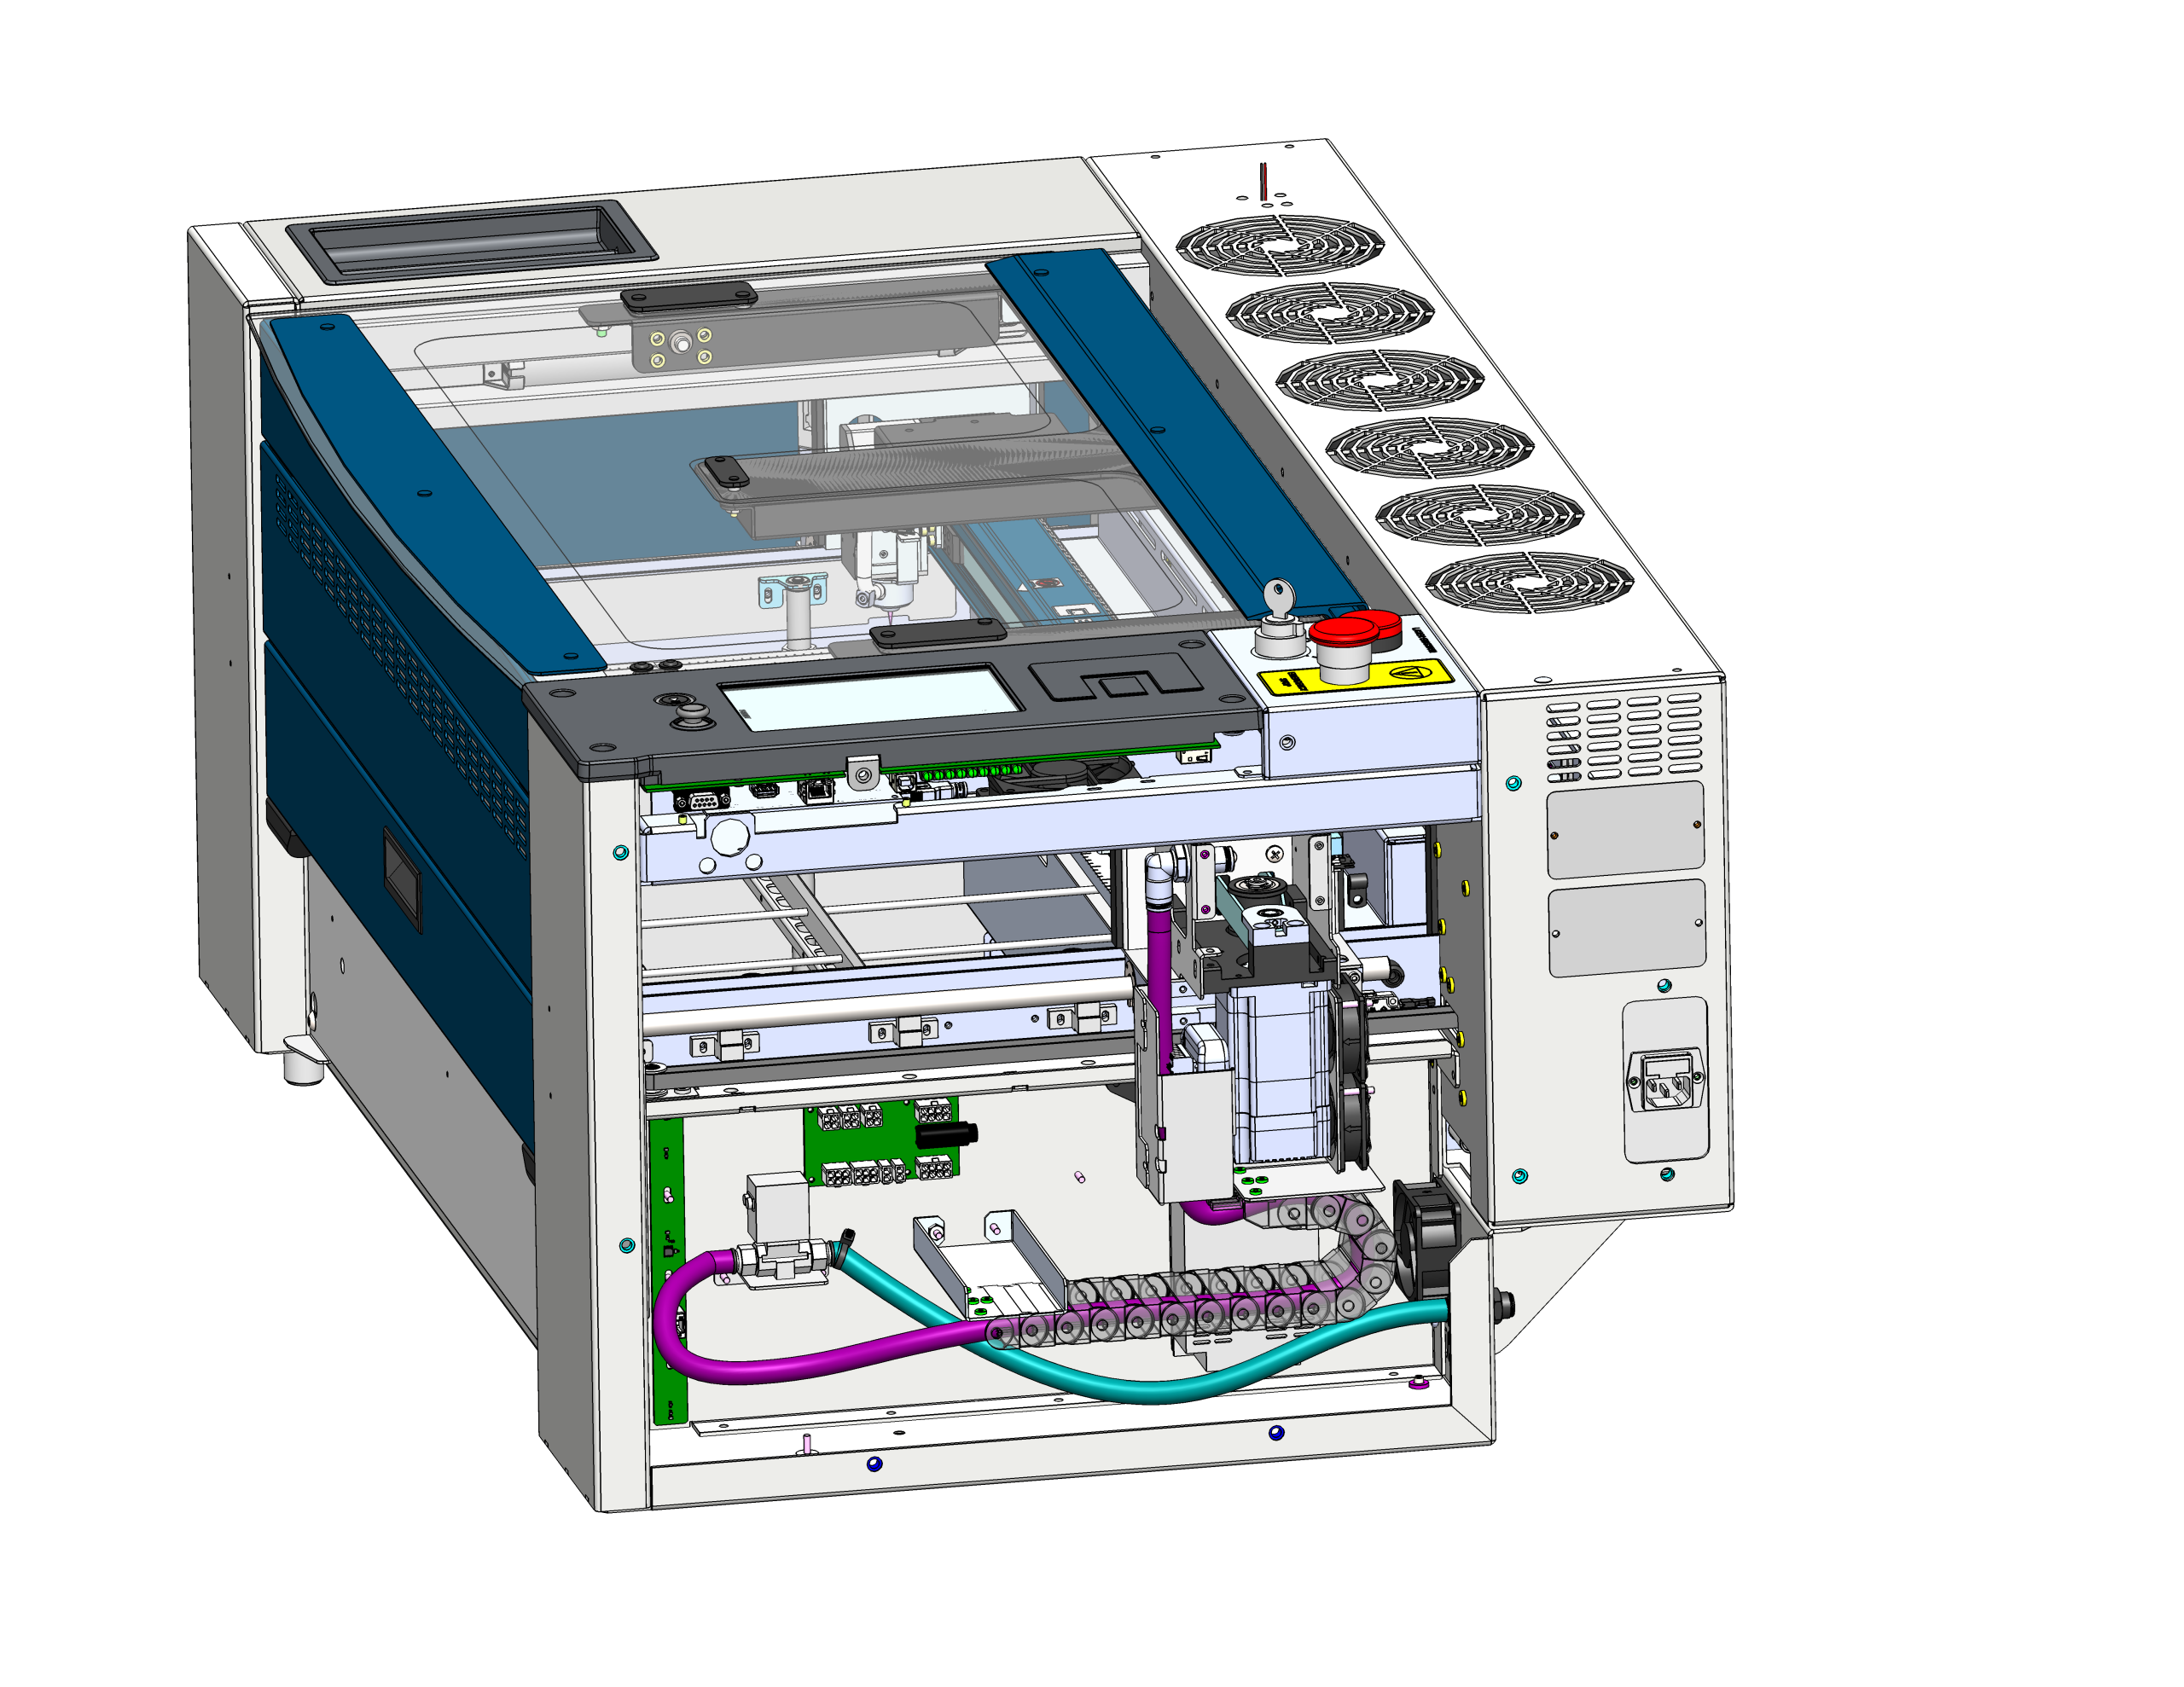
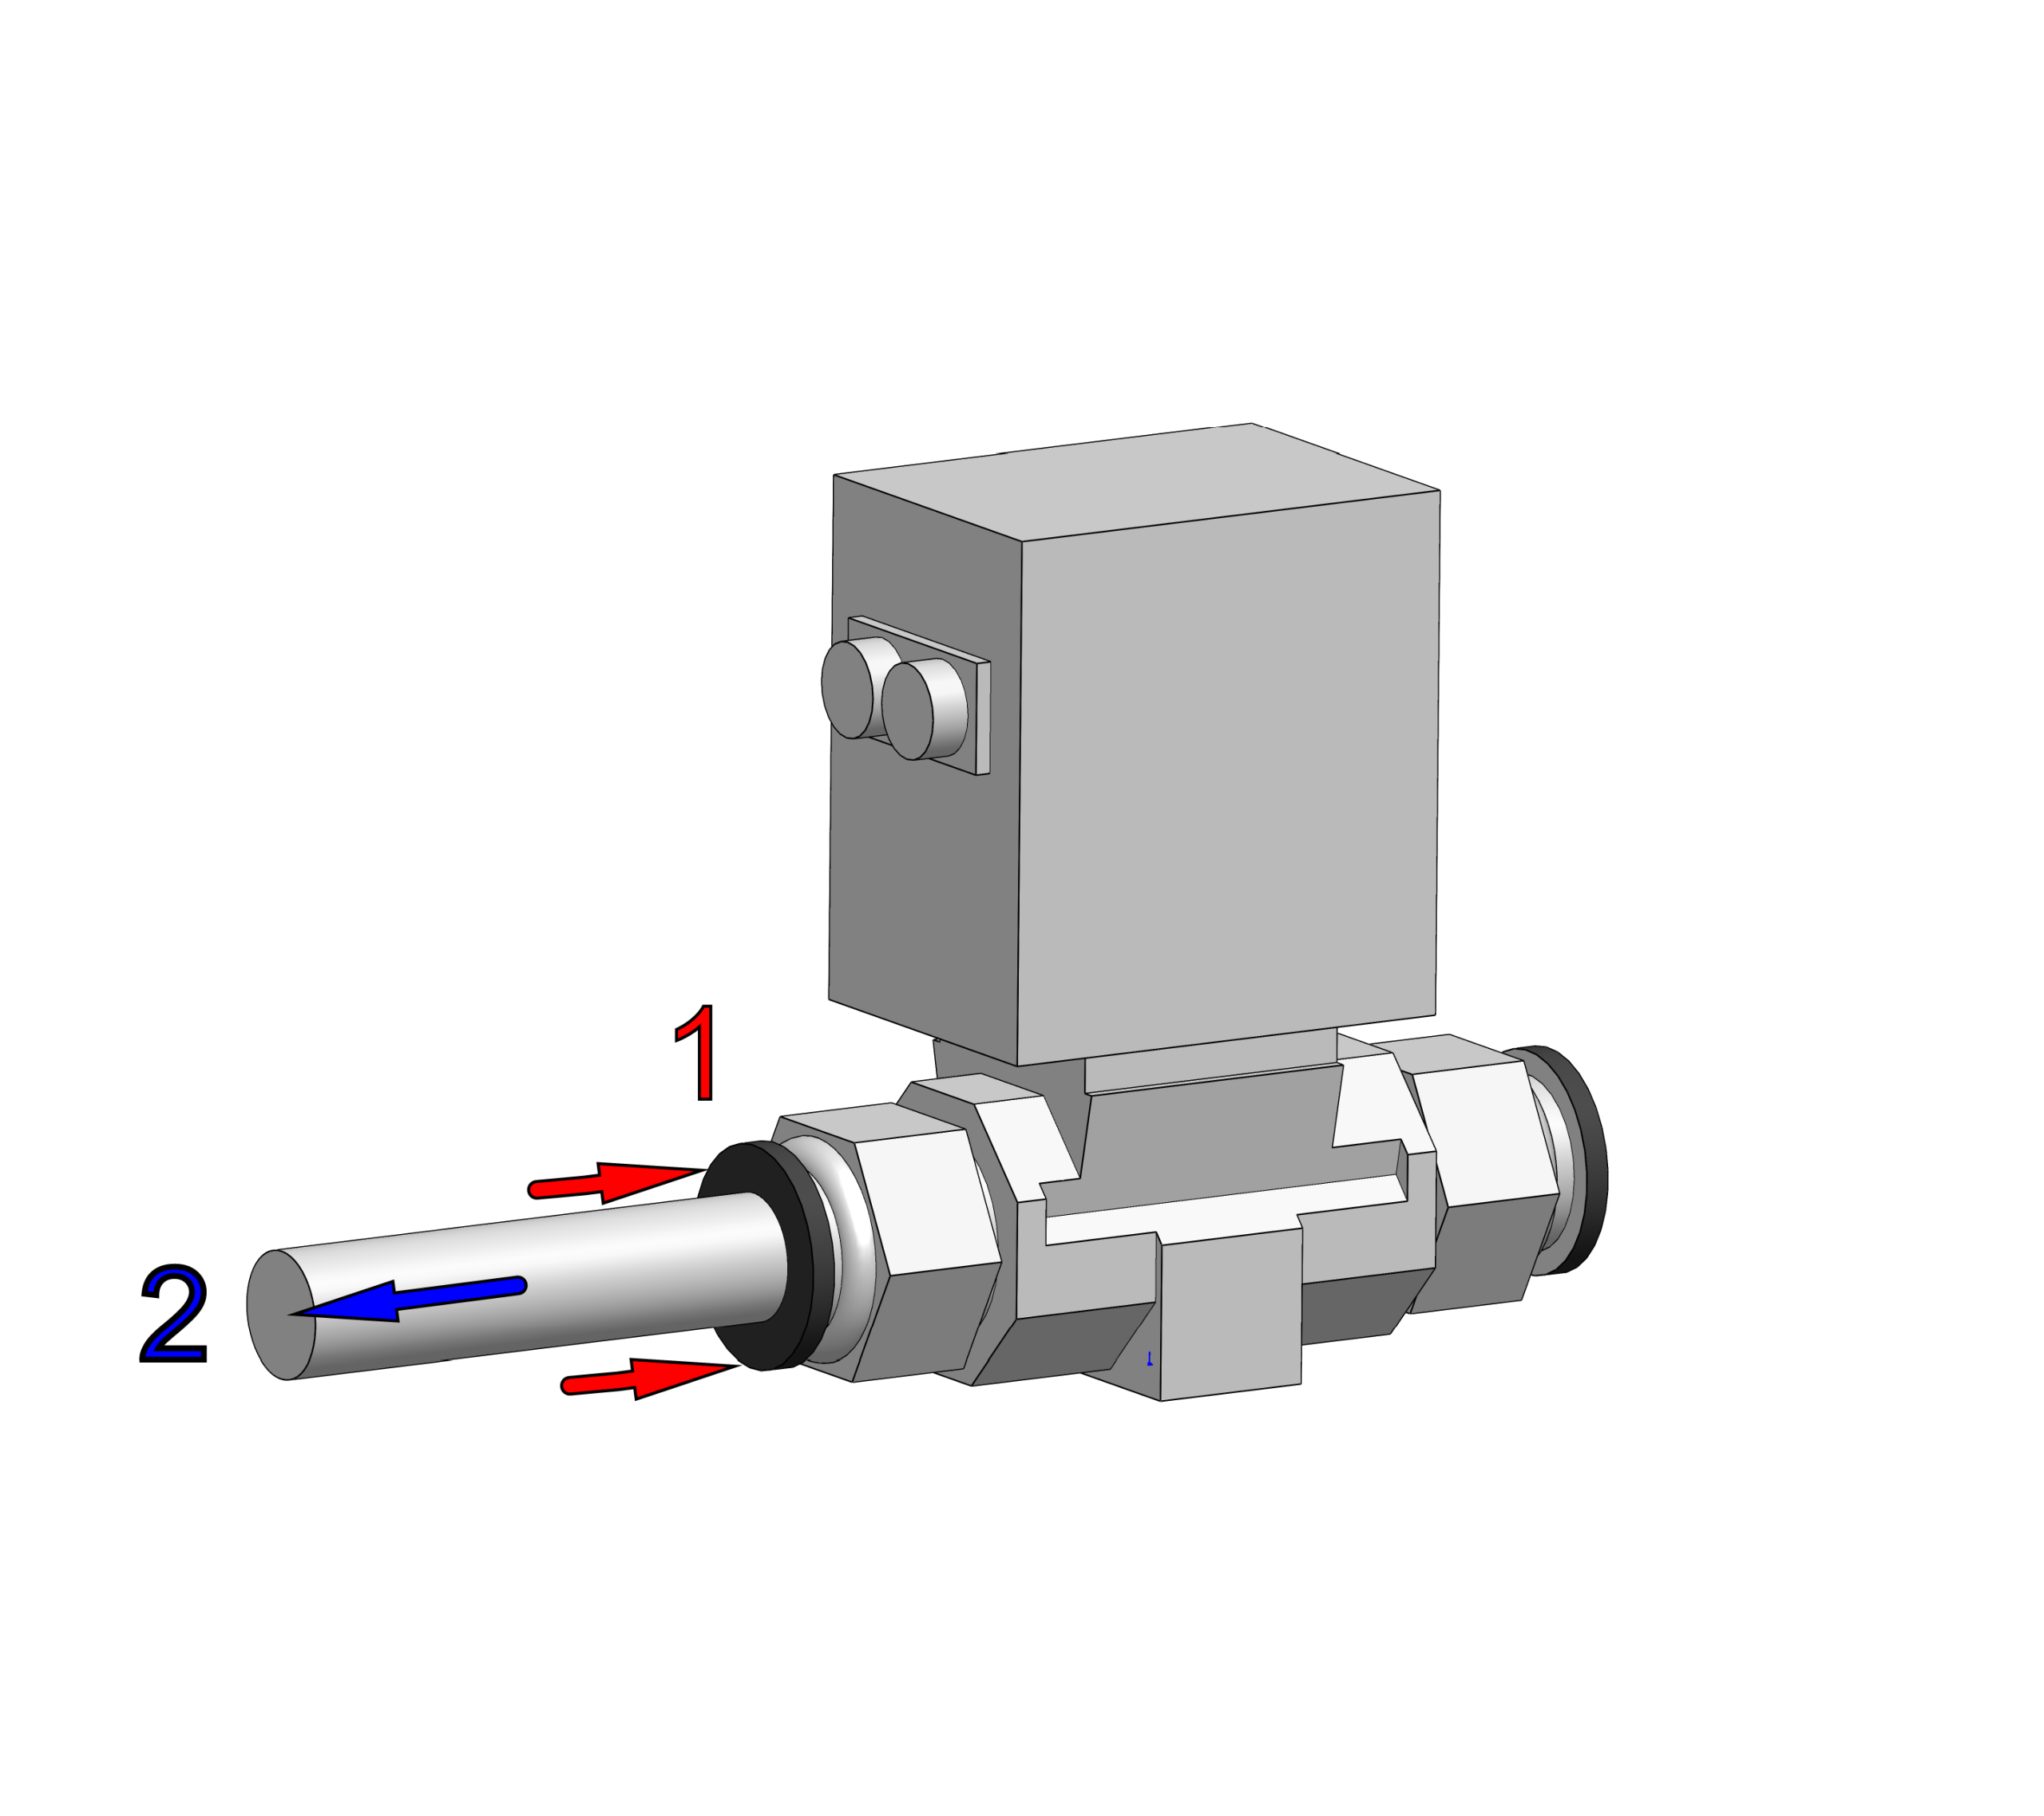
4. Disconnect the X-Axis Hose
Disconnect the left-side hose from the solenoid (colored in purple). This is the hose that routes up through the cable chain to the X-Axis.
5. Swap the Hoses
Reverse the configuration for shop air:
- Connect the hose with the cable tie (running to the back) to the left side of the solenoid.
- Connect the hose without the cable tie (running to the X-Axis) to the right side of the solenoid.
Simply press the hoses into the fittings to make the connections.
6. Verification
Make sure all air connections are secure and routed correctly.
8. Install the Side Panel
Install the right-side panel of the machine.
Success: Once you have swapped the hoses, you are now in the “Tank & Shop Air Configuration”. Air should no longer vent out of the solenoid. If it does, shut down the machine and recheck the connections.