This guide provides step-by-step instructions for replacing the SD card and coin battery on Fusion Maker, Edge, and Pro systems. Be sure to follow anti-static precautions and use the required tools for each step.
SD Card Replacement (Fusion Maker & Edge)
Control Module / SD Card Removal
-
Turn off the engraver and disconnect it from the power source.
-
Disconnect all cables (USB, Ethernet, fan control, etc.).
-
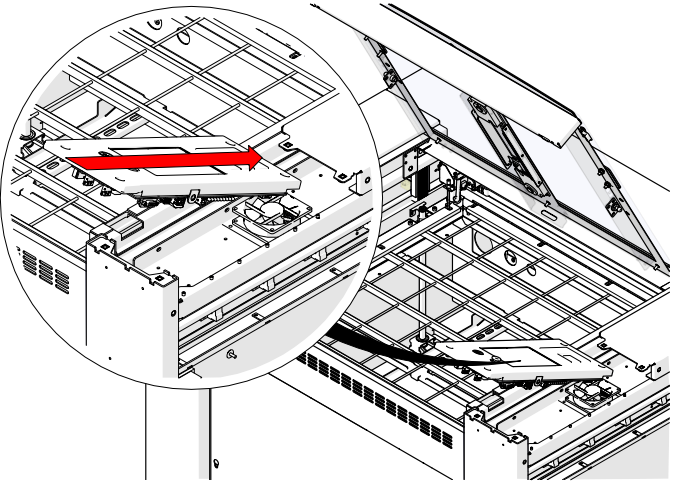
Remove the right panel of the engraver.
-
Wear an anti-static strap and attach it to a bare metal surface on the machine.
-
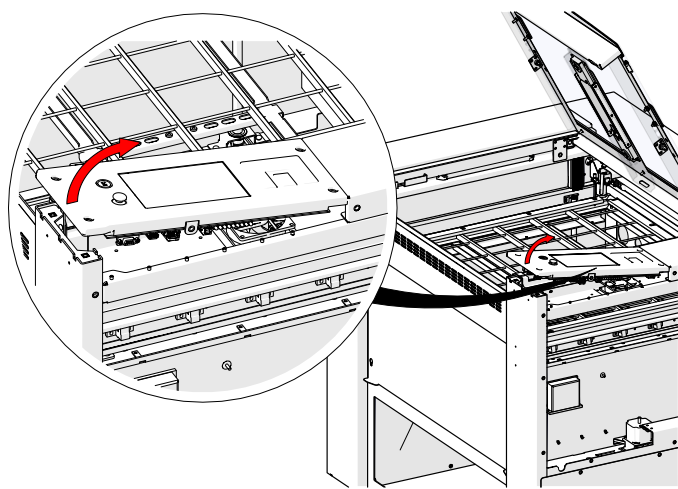
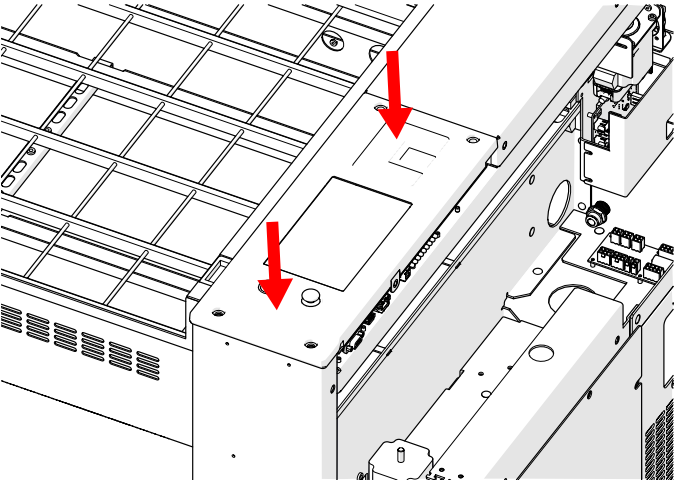
Remove the four (4) 5/32” Hex screws securing the control module.

-
Gently lift the display shroud to access the front electrical harnesses.
-
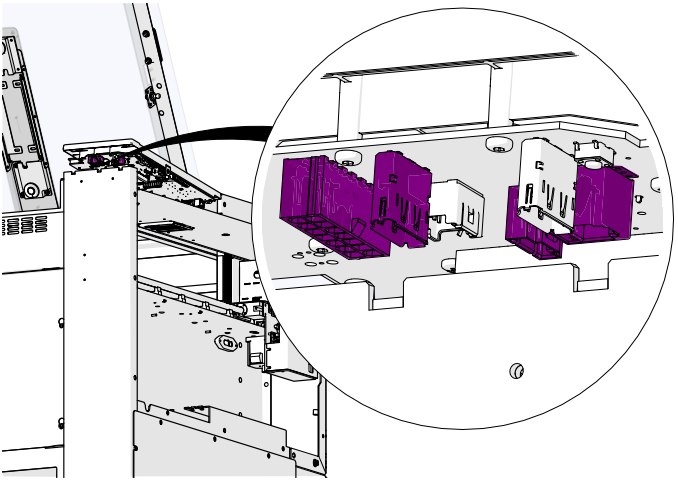
Disconnect the four (4) electrical harnesses from the front.
-
Continue lifting to access and disconnect the flex cable.
-
Continue lifting to access and disconnect the seven (7) rear harnesses.

-
Remove and set the control module face-down on a soft surface.

-
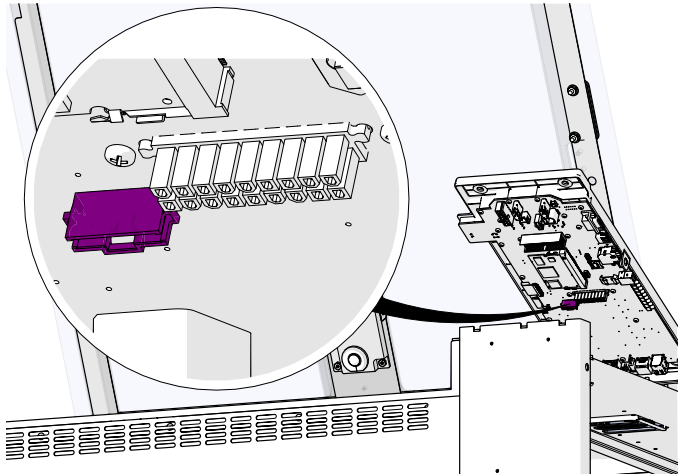
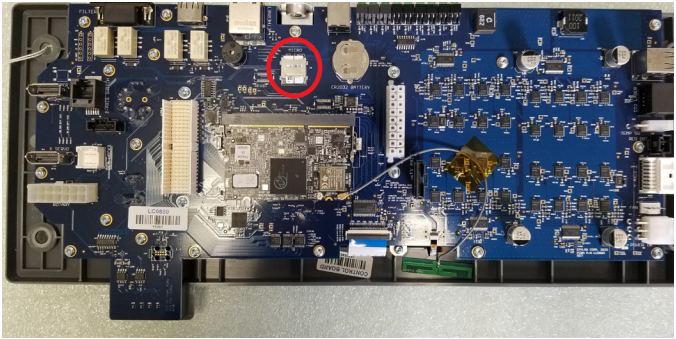
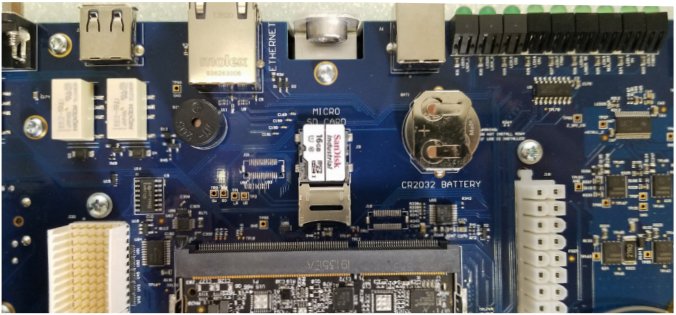
Locate the SD card holder, slide the latch, and remove the SD card.

-
Insert the new SD card with copper terminals facing the board and lock the latch.

Control Module / SD Card Installation
-
Wear an anti-static strap and attach it to a metal surface.
-
Position the control module and connect the seven (7) rear harnesses.
-
Reconnect the flex cable in the center.
-
Reconnect the four (4) front harnesses. Ensure correct port for X-axis and fiber source (display port connectors).
-
Secure with four (4) Hex screws, with the longer ones at the rear.
-
Reconnect power and turn on the engraver.
-
Follow the Programming SD Card section.
SD Card Replacement (Fusion Pro 24/36)
Control Module / SD Card Removal
-
Turn off and unplug the engraver.
-
Open the top door and remove the right panel.
-
Wear an anti-static strap and attach it to a bare metal surface.
-
Remove the four (4) Hex screws on the control module.
-
Gently lift the bottom of the module to unseat the two (2) multi-pin connectors.
-
Remove and set the control module face-down on a soft surface.
-
Locate the SD card holder, slide the latch, and remove the SD card.
-
Insert the new SD card with copper terminals facing the board and lock the latch.
Control Module / SD Card Installation
-
Wear an anti-static strap and attach it to the engraver.
-
Align the control module with the chassis mounting holes.

-
Gently press down to seat the multi-pin connectors. Don’t force it.
-
Ensure tactile/audible feedback when connectors engage.
-
Secure with four (4) Hex screws, with longer screws in rear positions.
-
Reconnect to power and turn on the engraver.
Programming SD Card
-
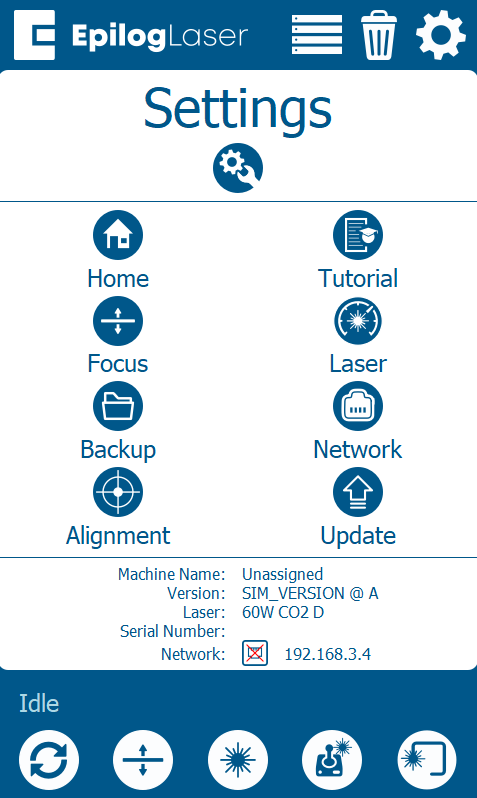
At the display panel, press the gear icon in the upper-right corner to open the Settings menu.
-
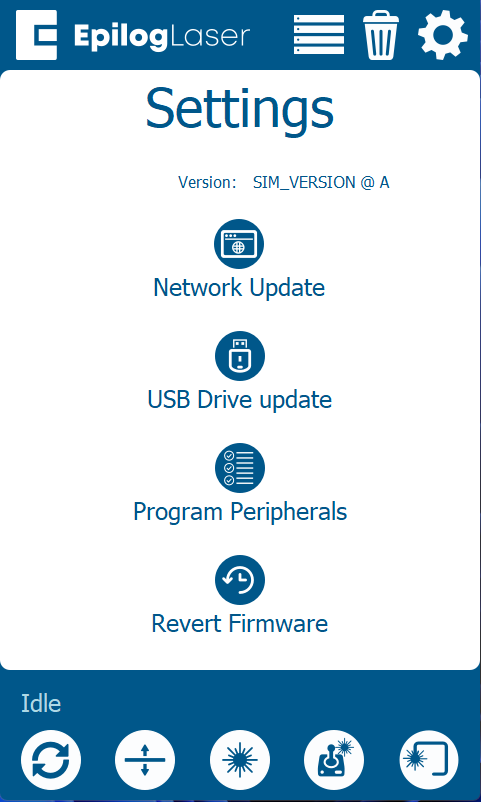
Press Update.
-
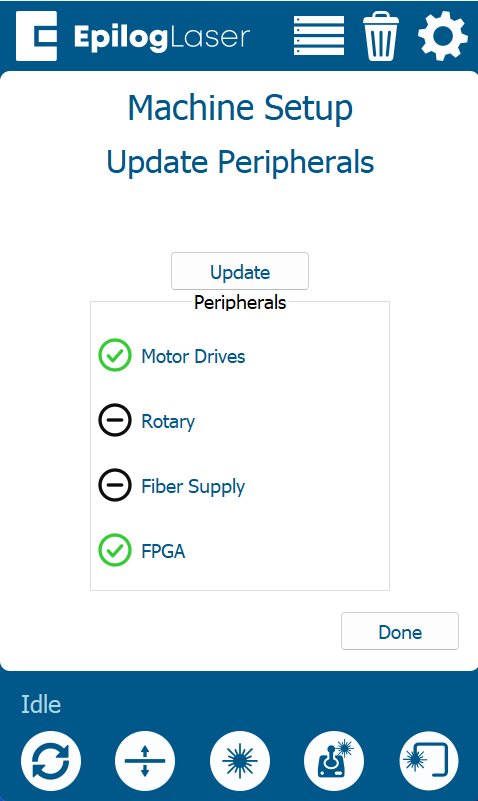
Press Program Peripherals.
-
Once in the Peripheral Update menu, select All Available Peripherals and press Update.
-
Allow the engraver to complete the update process.
Warning: Do not power off the engraver during the update. The screen may go dark temporarily—this is normal. Once the update is complete, the system will prompt you to restart the engraver.
-
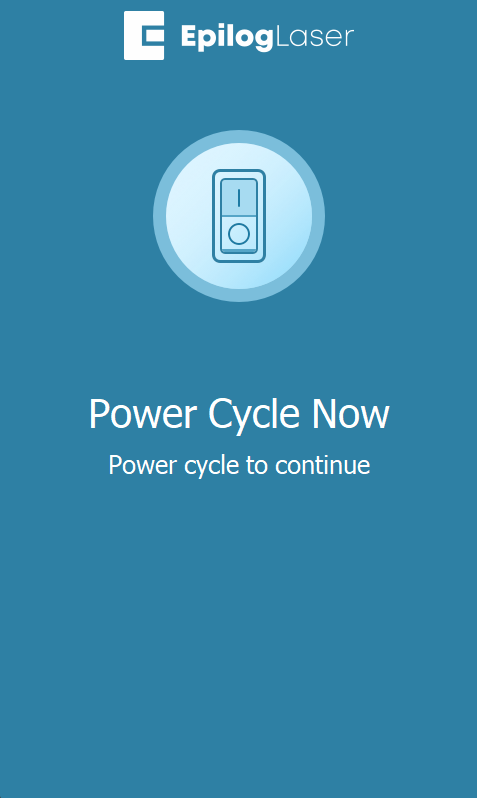
When prompted, power cycle the engraver to complete the update.
Coin Battery Replacement
-
Turn off and disconnect the engraver from all power sources.
-
Disconnect all attached cables.
-
Wear an anti-static strap and attach it to the engraver.
-
Remove the control module using the instructions above.
-
Set the module face-down on a soft surface.
-
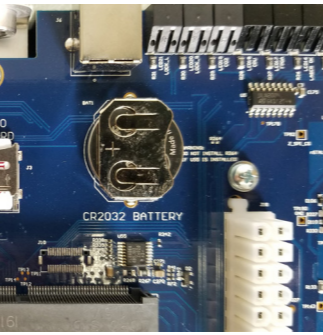
Locate the battery holder on the underside.
-
Remove the old battery.
-
Insert the new battery with the positive terminal facing up.
-
Reinstall the control module following previous instructions.
-
Power on the engraver and complete the startup sequence.