In this lesson we’ll walk through replacing the Epilog Fusion M2’s Keypad Assembly.
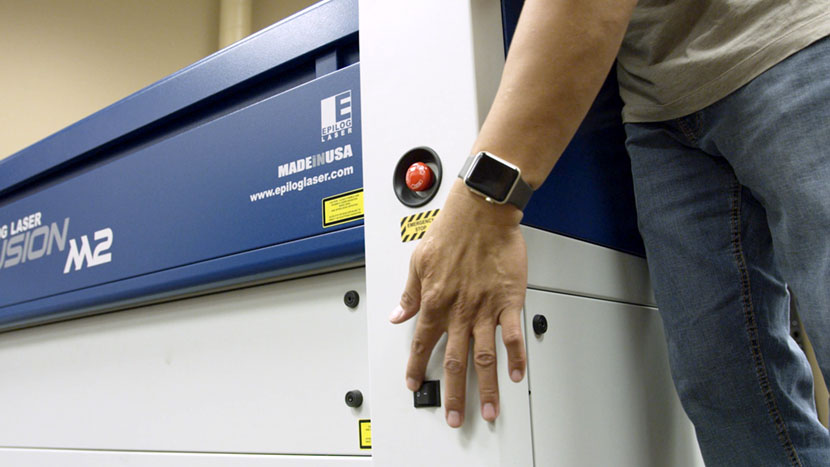
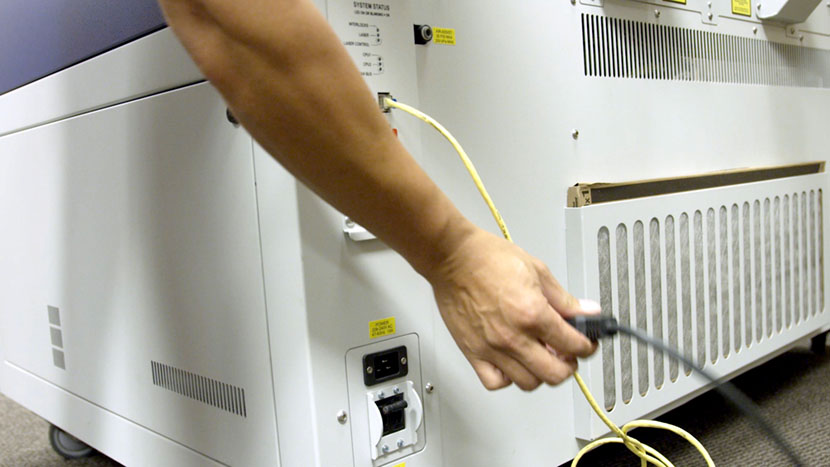
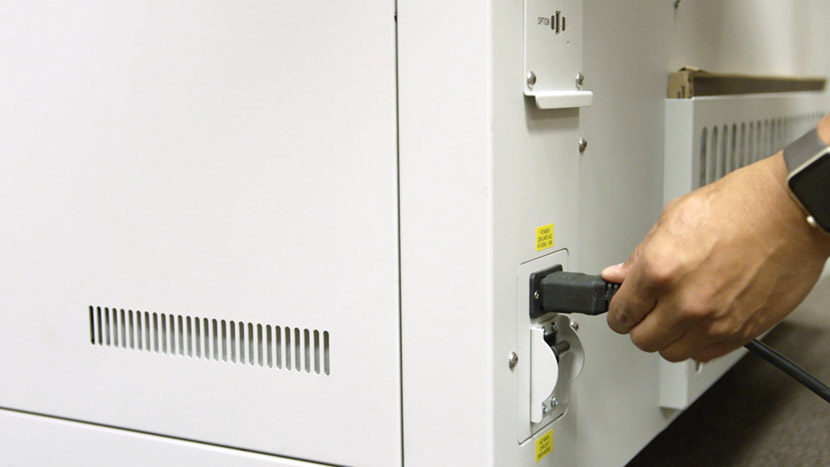
Shut off the laser and remove the power cord from the machine.
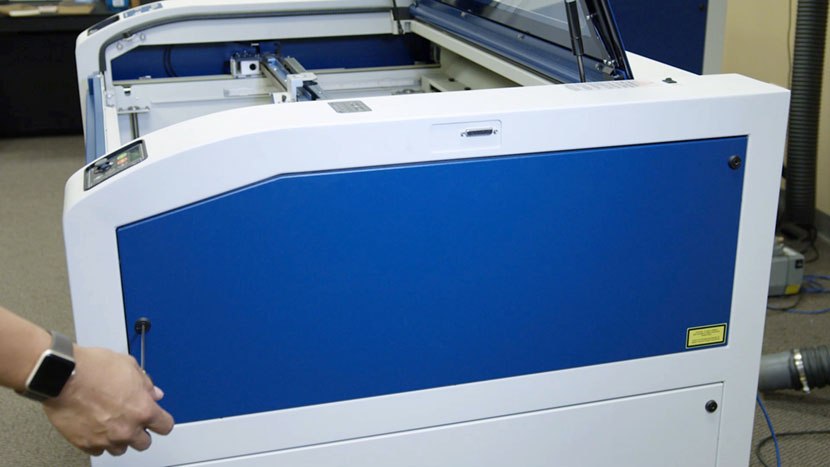
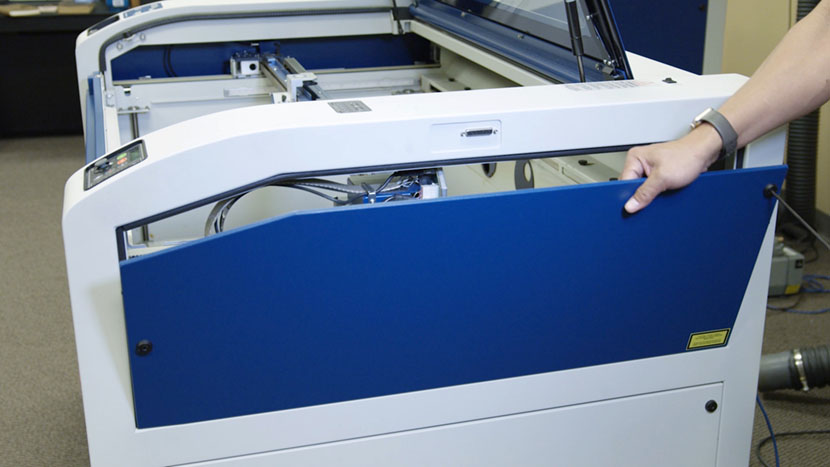
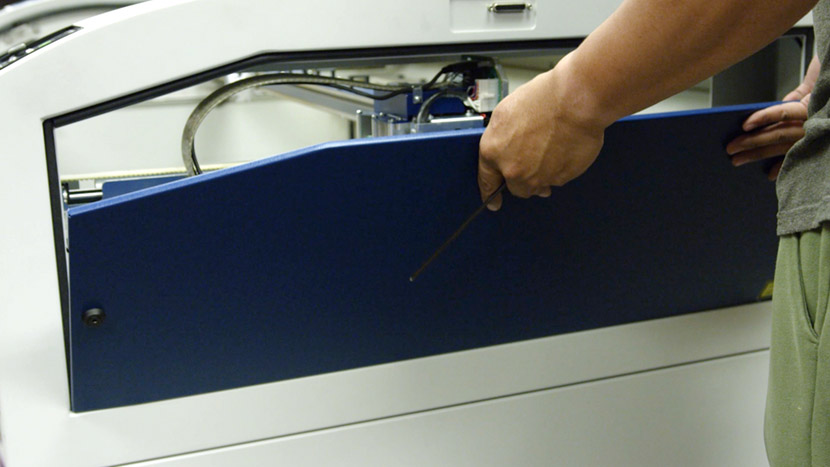
Remove Panel
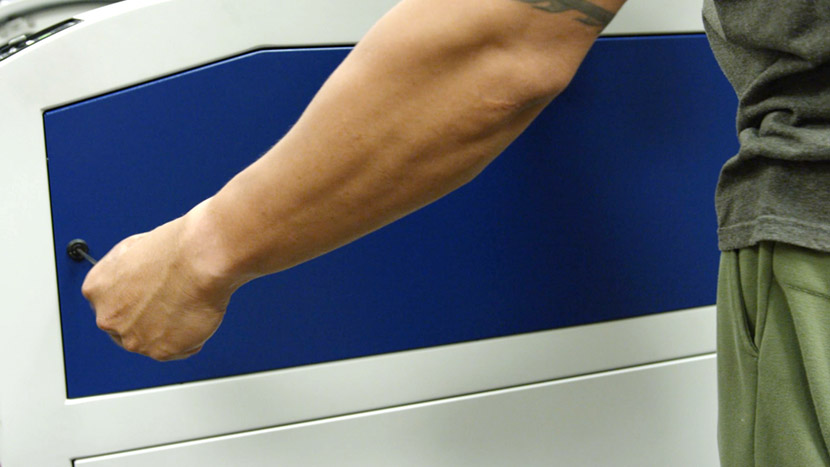
Remove the top access panel on the right side of the machine by using a 5/32” hex key to turn the black panel locks ¾ of the way counter-clockwise.
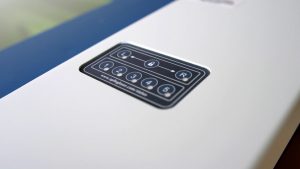
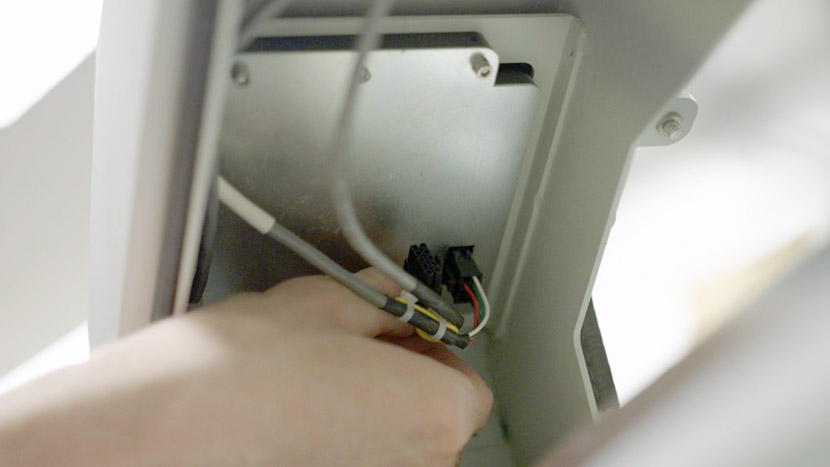
Remove Old Keypad
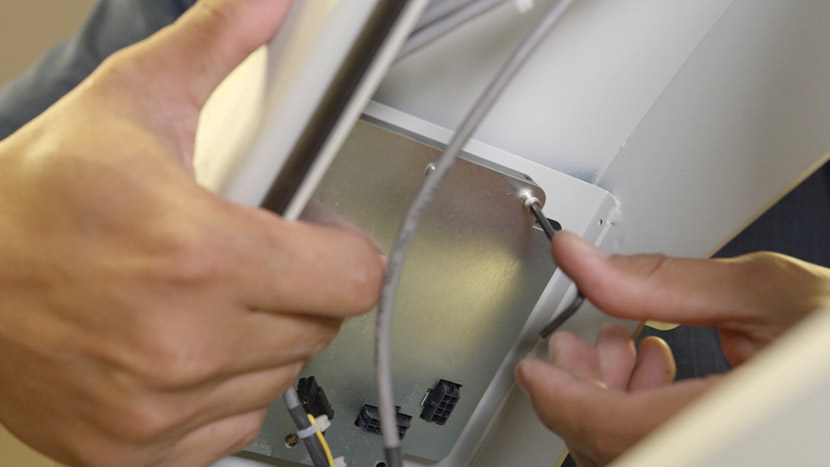
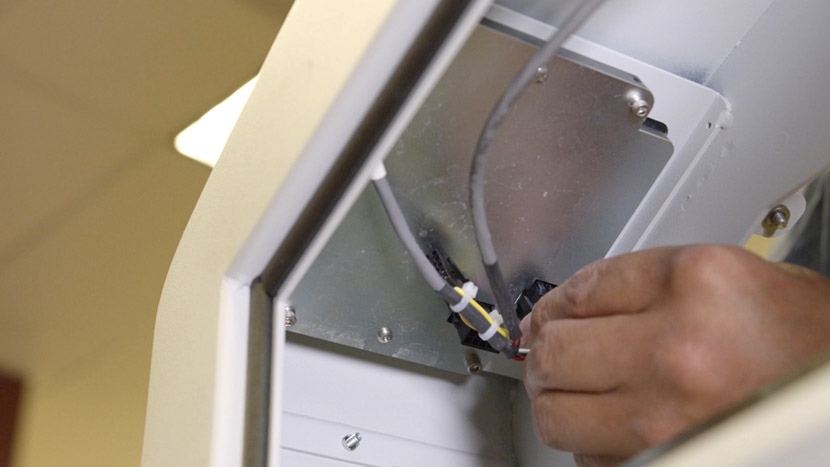
From beneath, locate and disconnect the wire harnesses from the back side of the key pad.
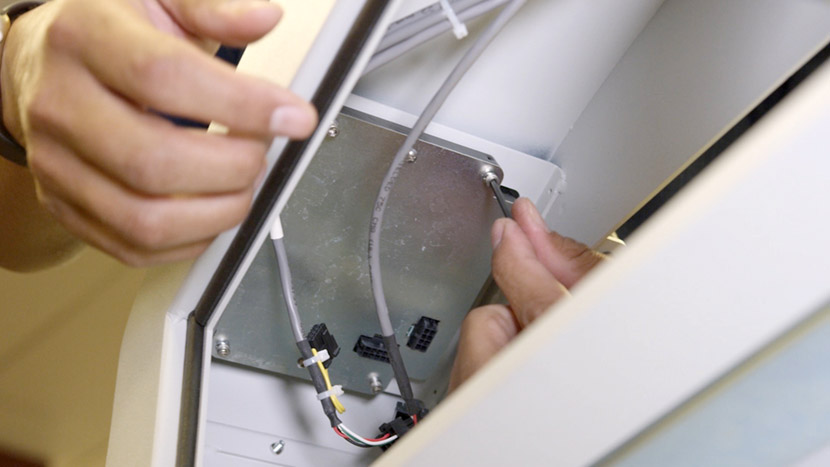
Once the wire harnesses have been removed, use a 7/64” hex key to remove the four screws near the corners of the back of the keypad. Remove the keypad assembly.
Install New Keypad
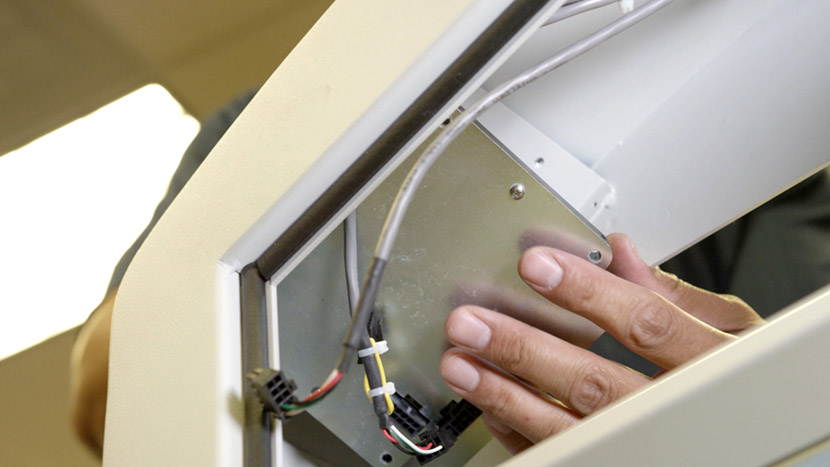
Position the new keypad assembly into the cutout on the engraver.
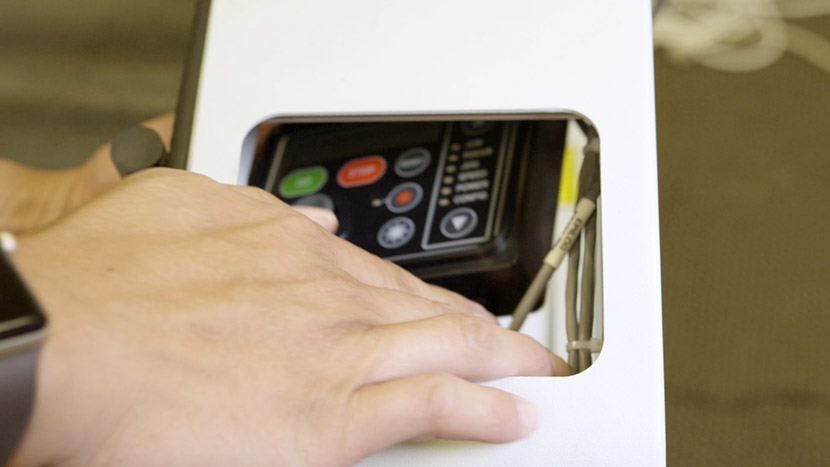
Use a 7/64” hex key to insert the four screws and secure the new keypad assembly.
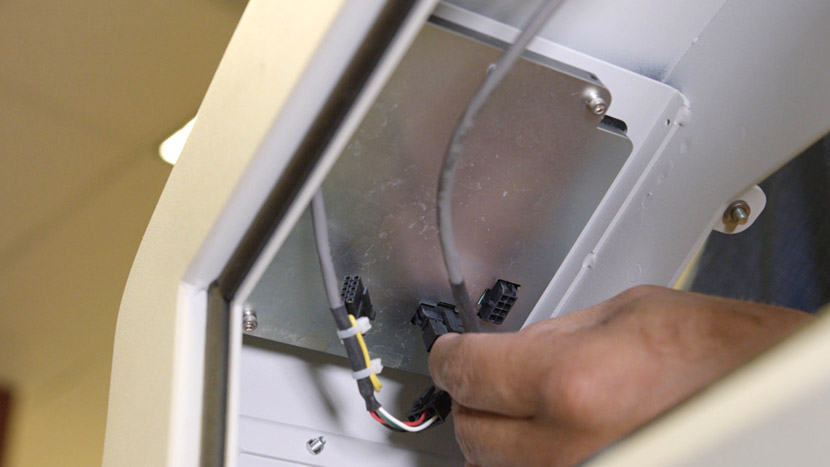
Reconnect the wire harnesses to the back of the keypad assembly. The lower connector accepts the wire harness leg that has mostly yellow wires attached. The upper connector accepts the harness with 5 multi-colored wires.
Reinstall Panel
Replace the top access panel on the right side of the machine, using a 5/32” hex key to turn the black panel locks ¾ of the way clockwise.
Plug the machine in and turn it on.
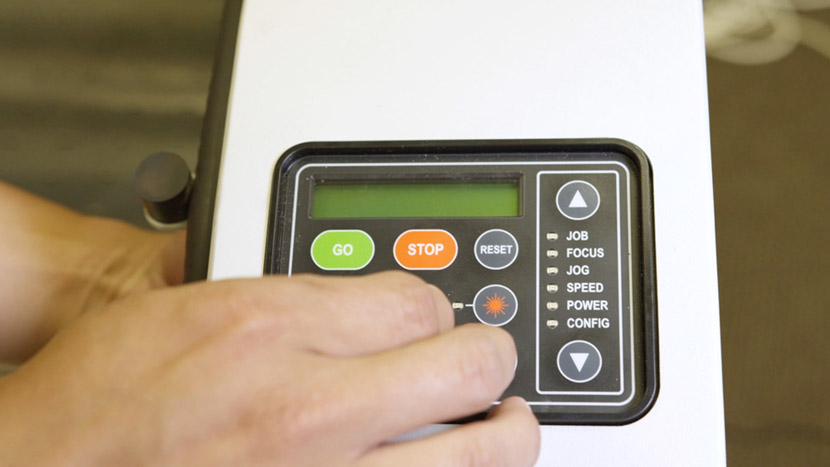
Once the machine has booted up, follow the instructions on the display. Sometimes the firmware in other parts of the engraver will need to synchronize and update to the new part. Do not power off the engraver until the display reads “Job”.