In this lesson we’ll walk through replacing the Epilog Fusion M2’s Control Board.
Remove Old Control Board
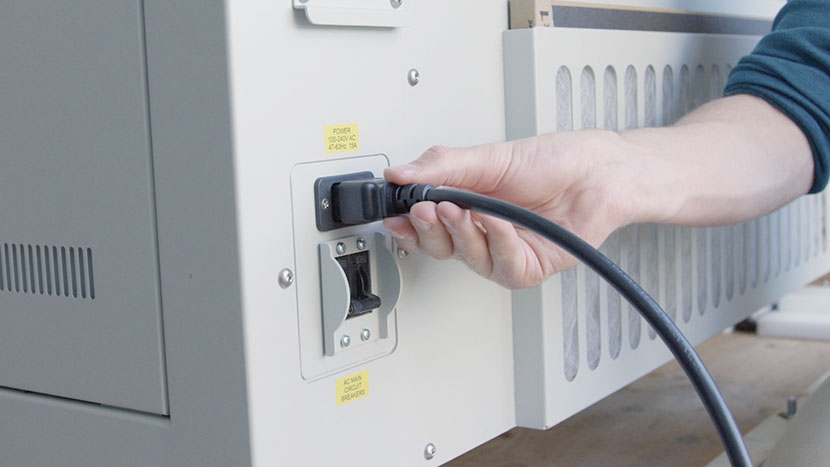
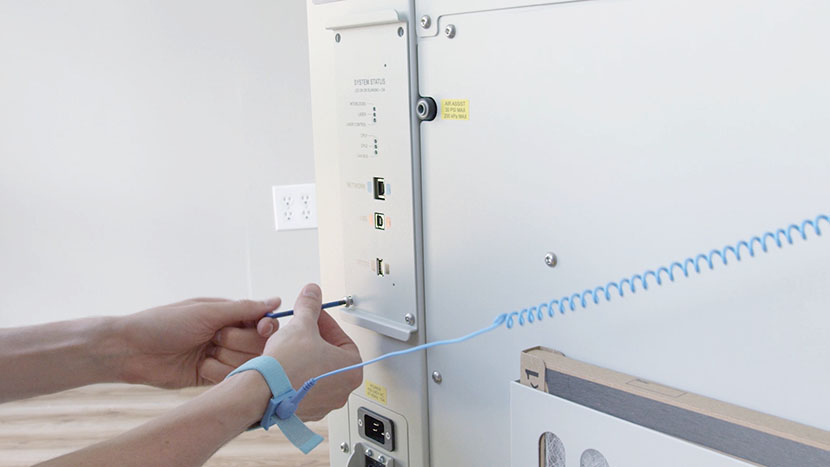
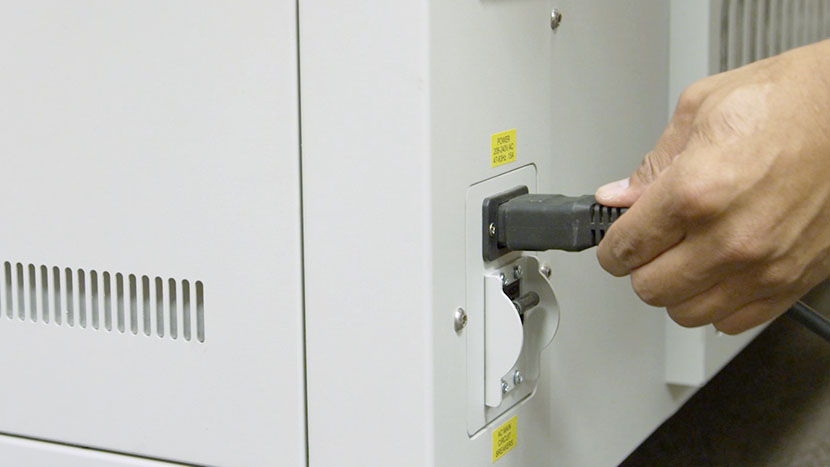
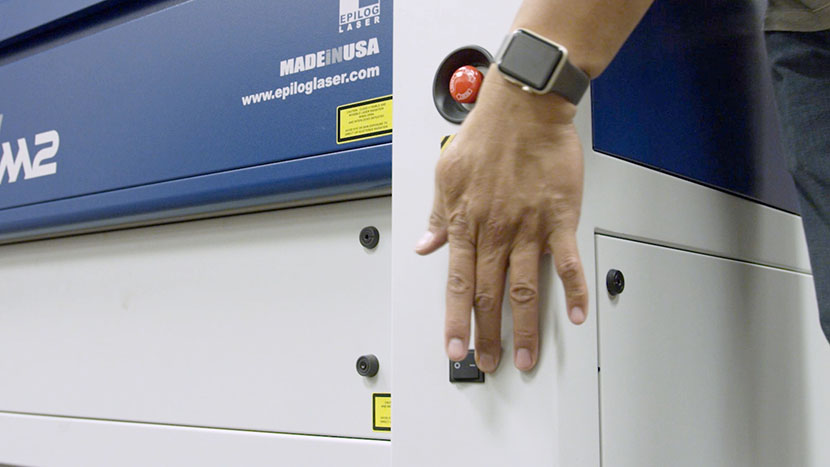
Shut off the laser and remove the power cord from the machine.

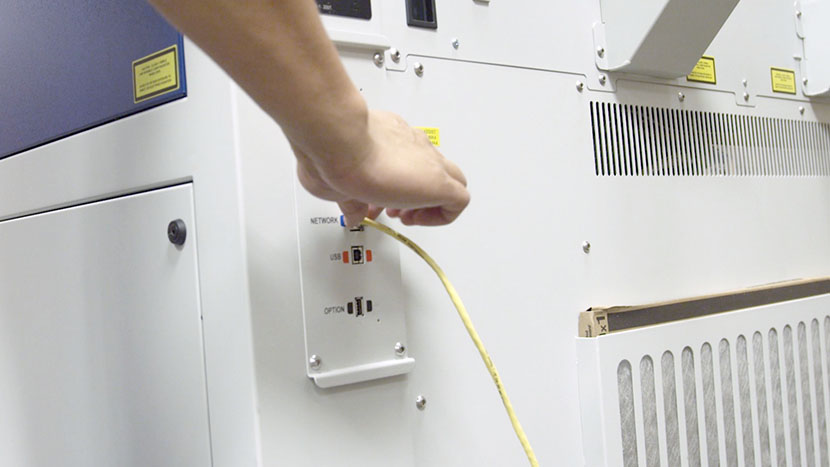
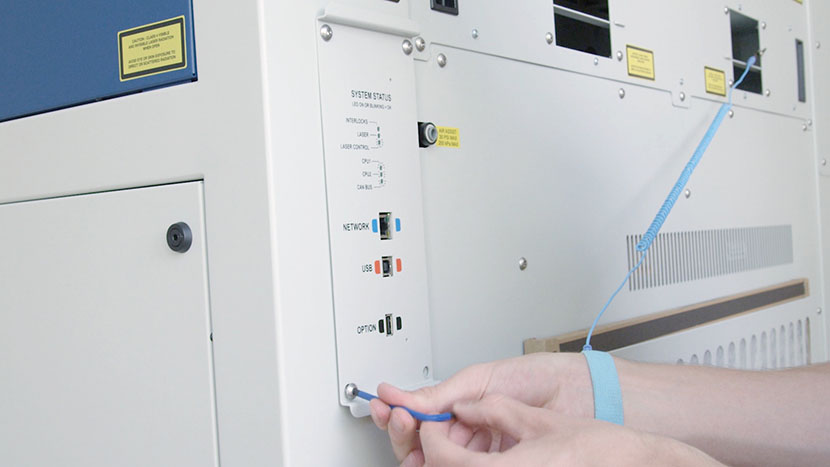
Remove any Ethernet and USB cables from the back of the machine.
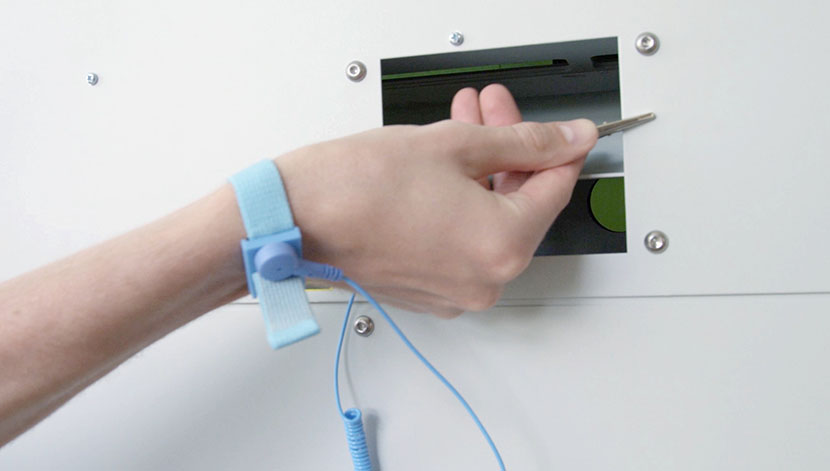
Put on the anti-static wrist strap. Always wear the anti-static strap when handling the control board to avoid damaging the unit through static discharge. Clip the strap on to a metal part of the machine, other than the control board itself, as far away from the control board as the strap’s length will allow.
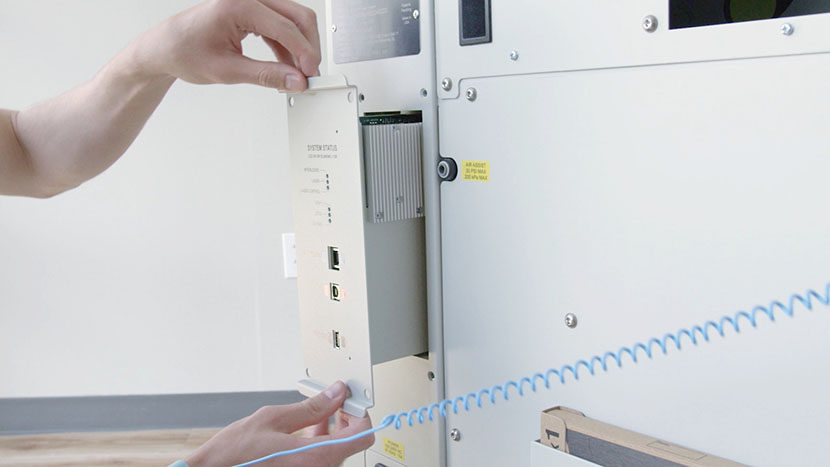
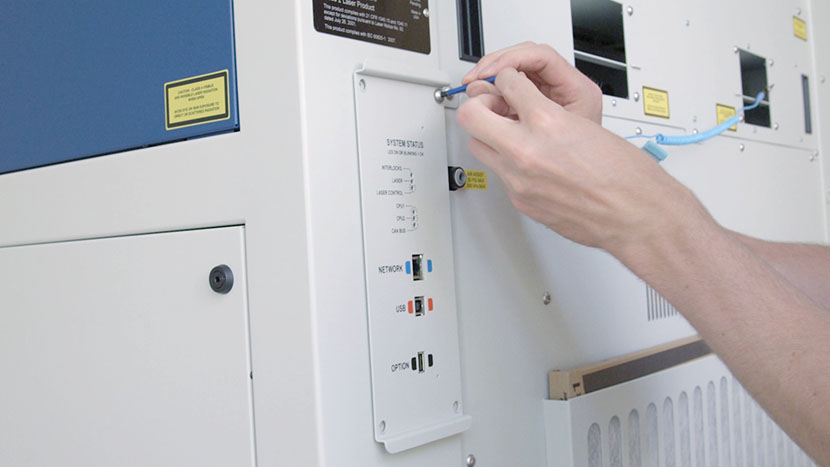
Use a 5/32″ hex key to remove the four screws at the corners of the control board panel.
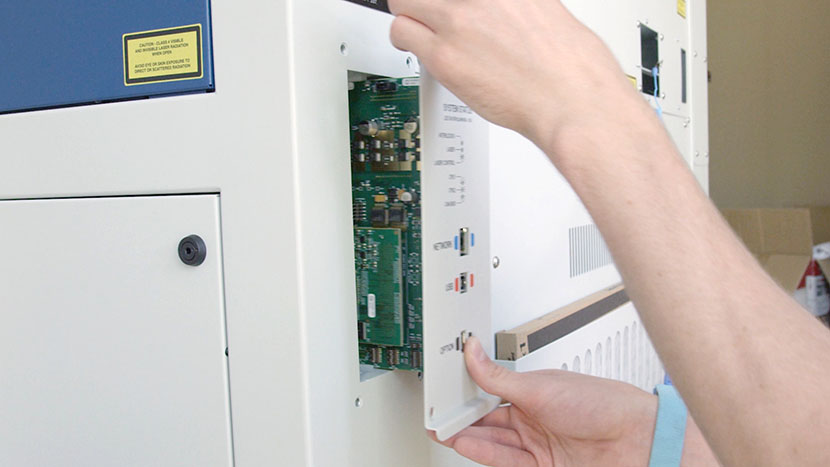
Grasp the flanges at the top and bottom of the control board panel, then pull the assembly out and set it aside. Be sure that you are still grounded to the machine via the anti-static wrist strap.
Install New Control Board
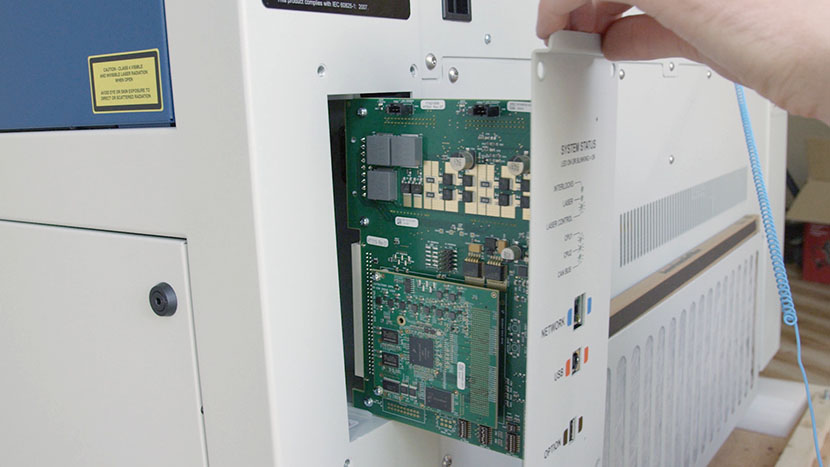
Remove the new control board assembly from its protective anti-static bag.
On the top and bottom of the control board bay are two nylon PCB guides. Align the top and bottom of the control board assembly with these guides, then push the control board assembly all the way into the bay.
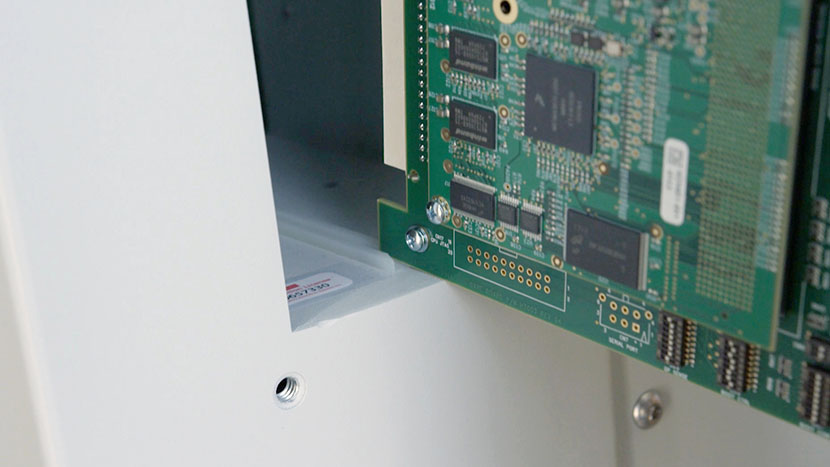
Use a 5/32″ hex key to reinsert the mounting screws at the four corners of the control board.
Plug the machine in and turn it on.
In certain circumstances you may need to use the display to input the IP address of the machine, or reconfigure the software on your computer.