In this lesson we will walk you through replacing the control panel on the Fusion Pro 32 or 48 laser system.
Replacing the Control Panel
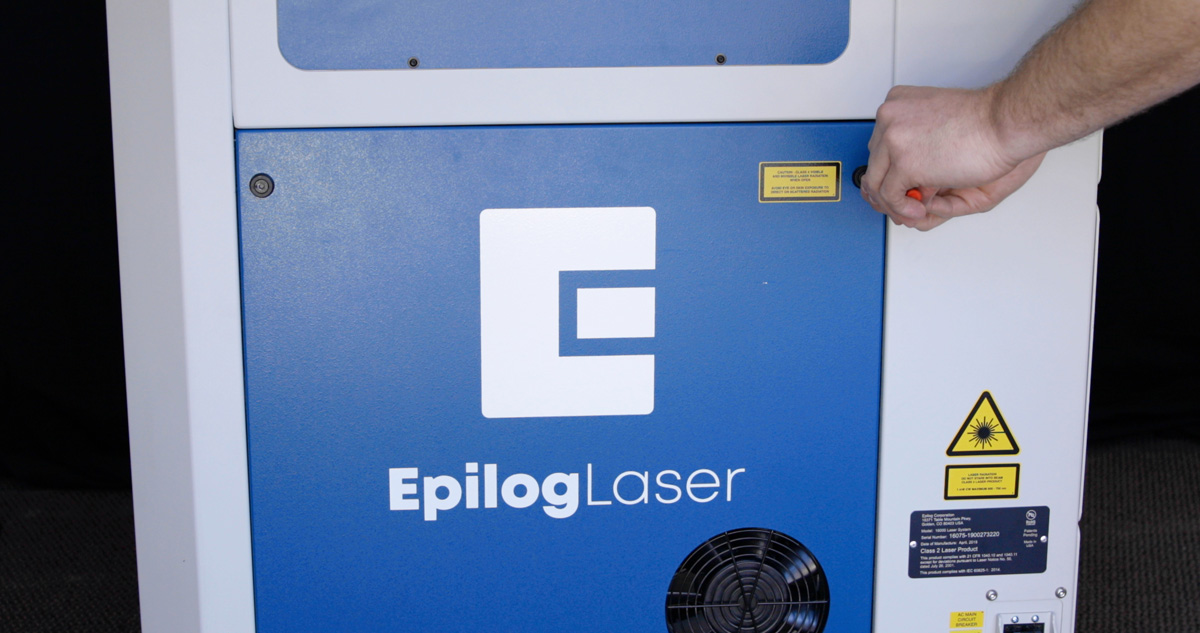
Before we begin, turn off and unplug the Fusion Pro.
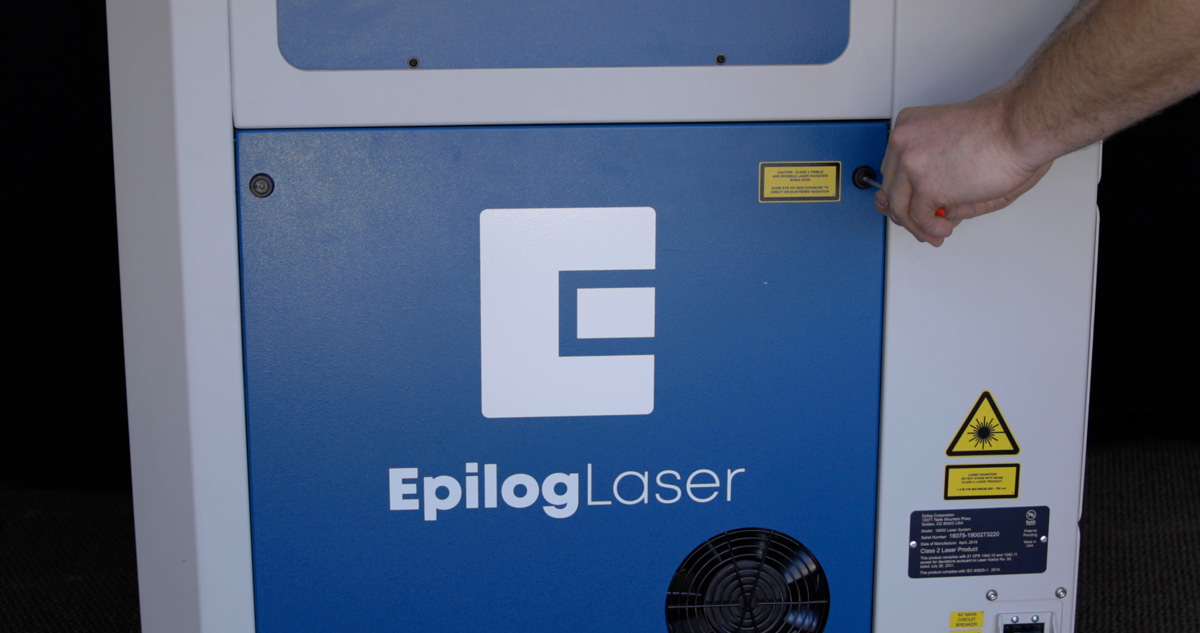
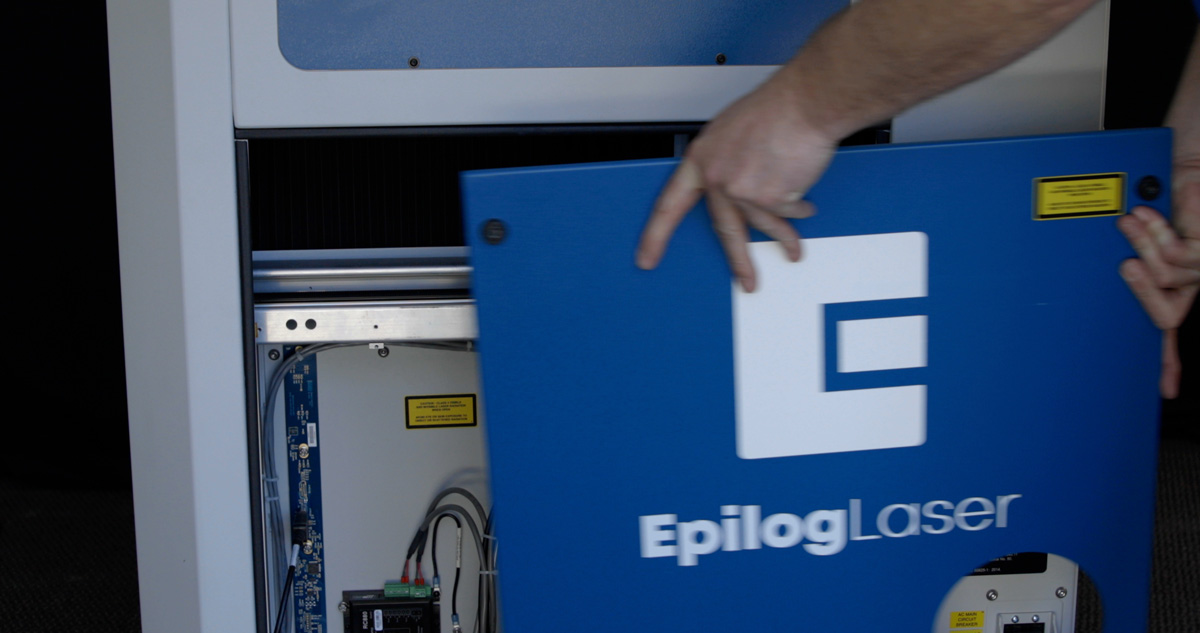
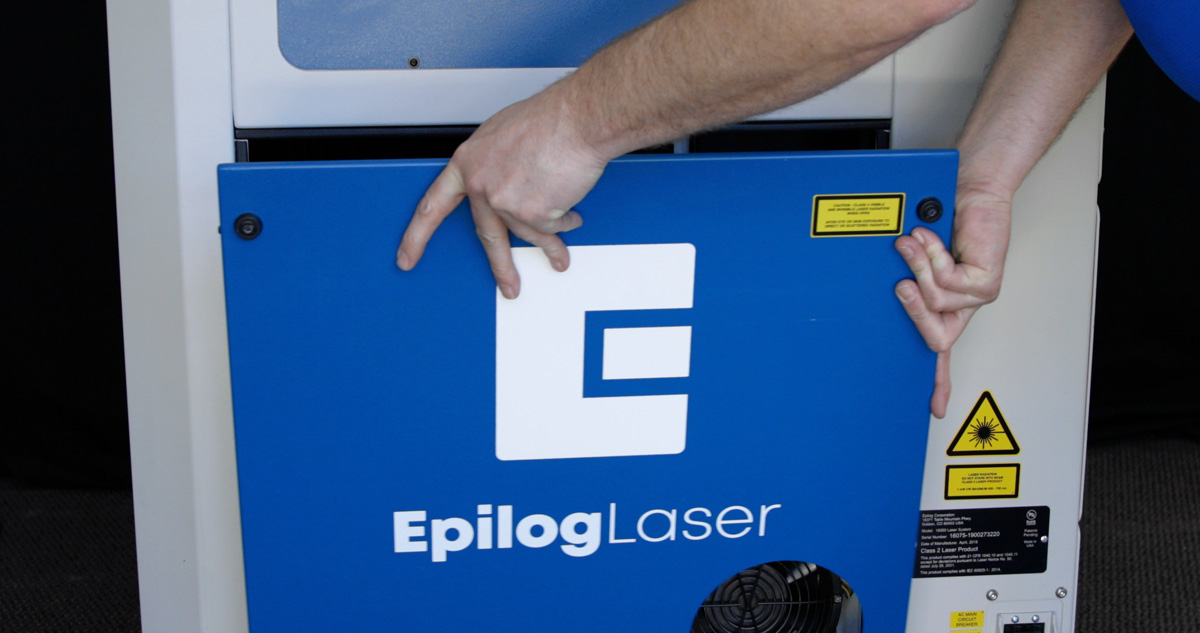
Using a 5/32” Allen Key, remove the right side panel from the machine.
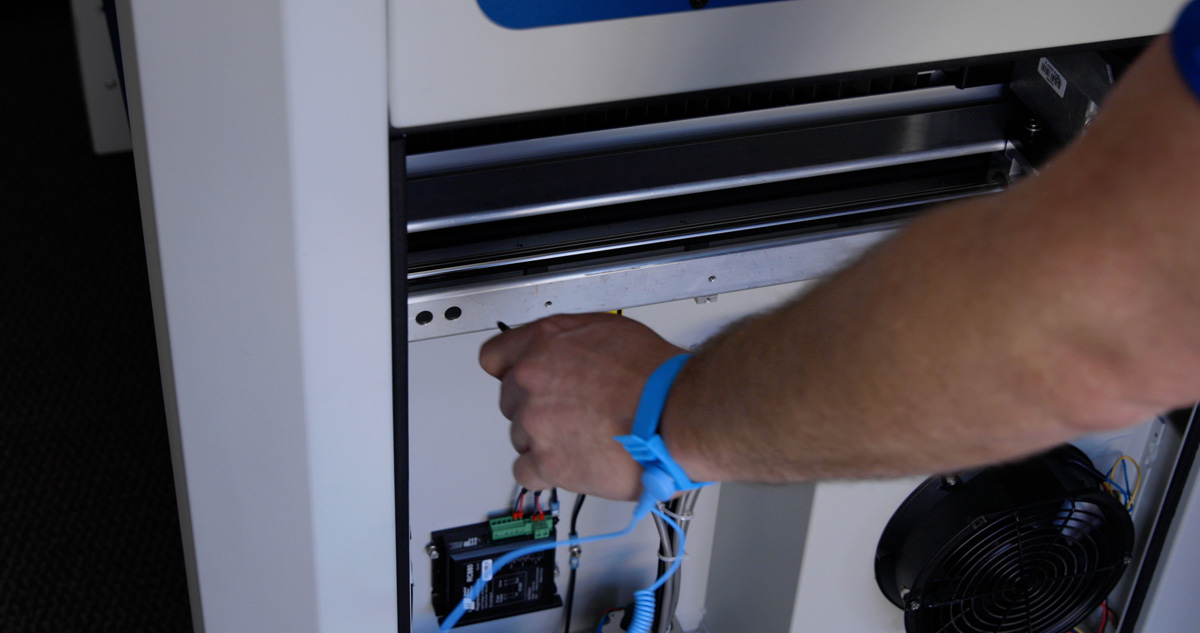
Open the display panel package you received and put on the anti-static strap.
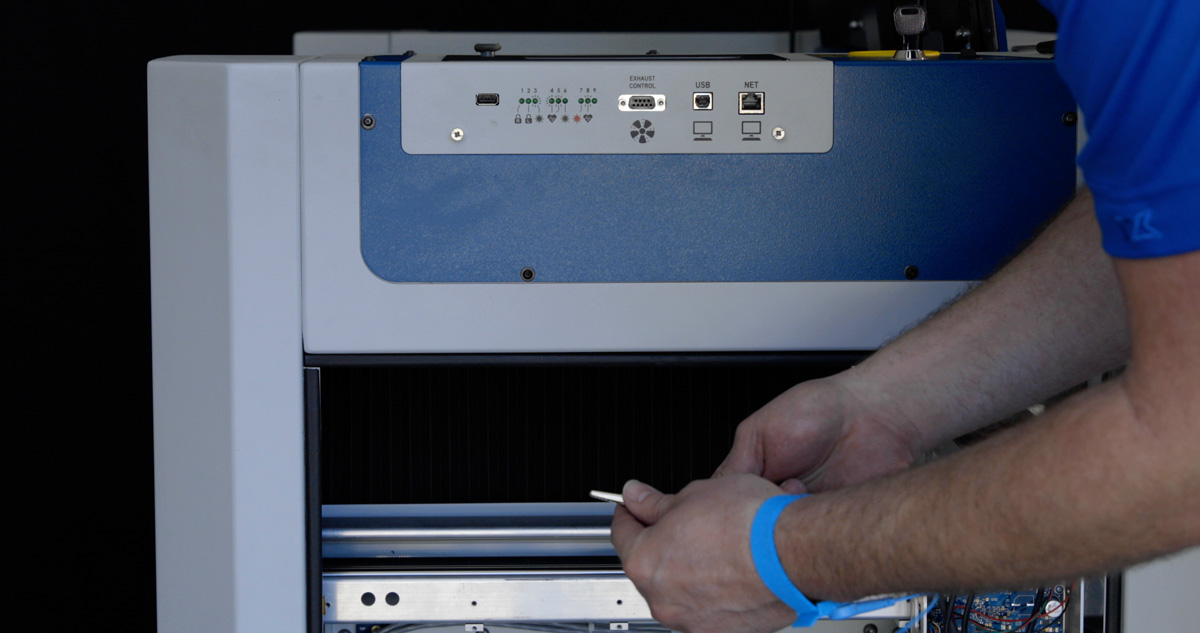
Clip the strap onto any metal part of the machine.
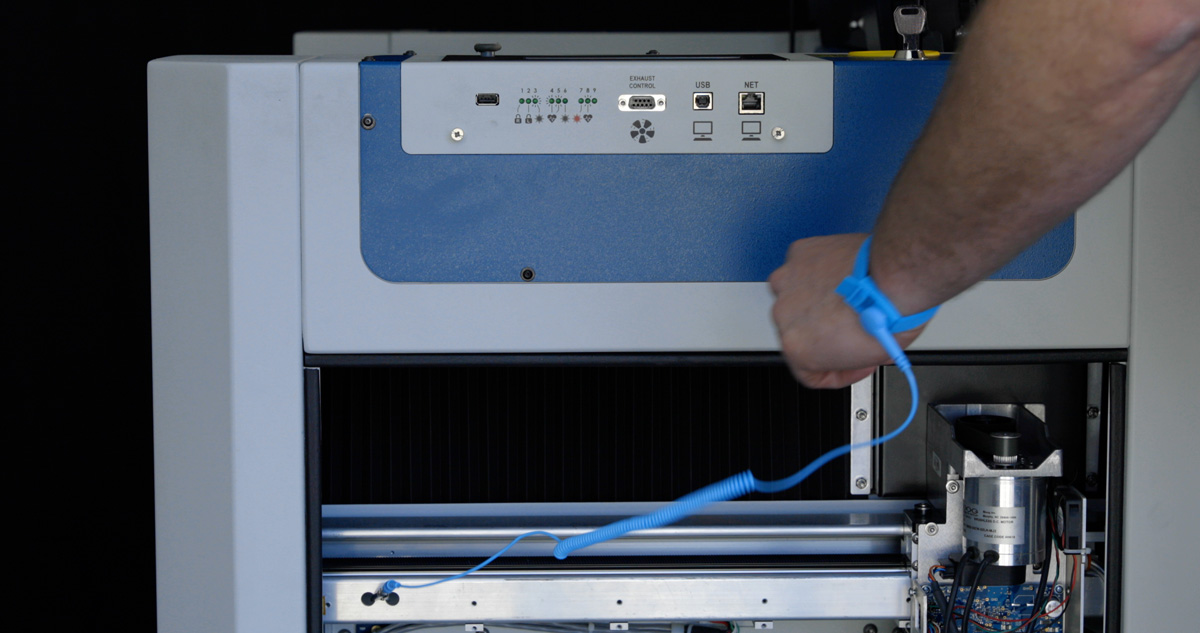
Always wear an anti-static strap for this procedure to prevent possible damage.
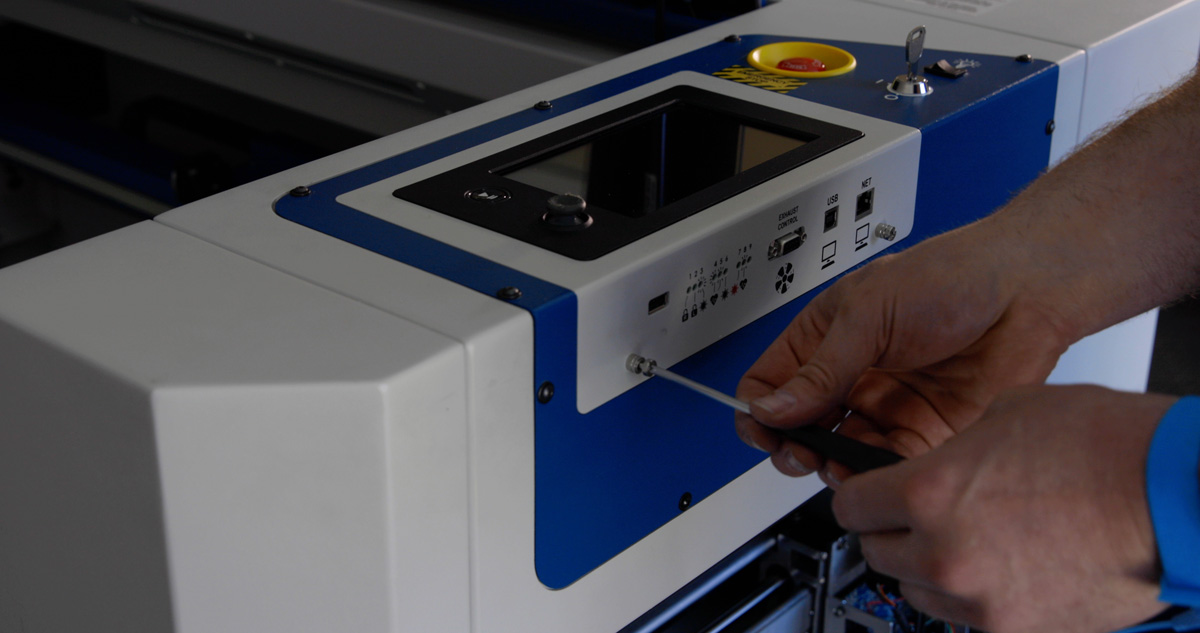
Use the Phillips screwdriver to loosen the 2 two screws on the right side of the control panel.
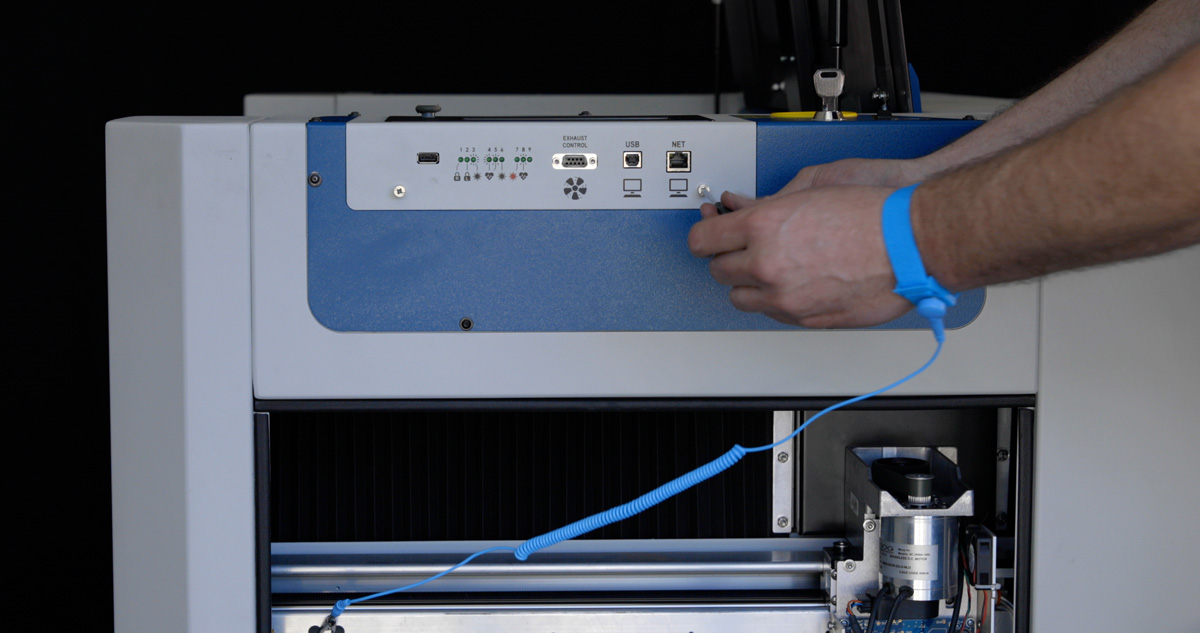
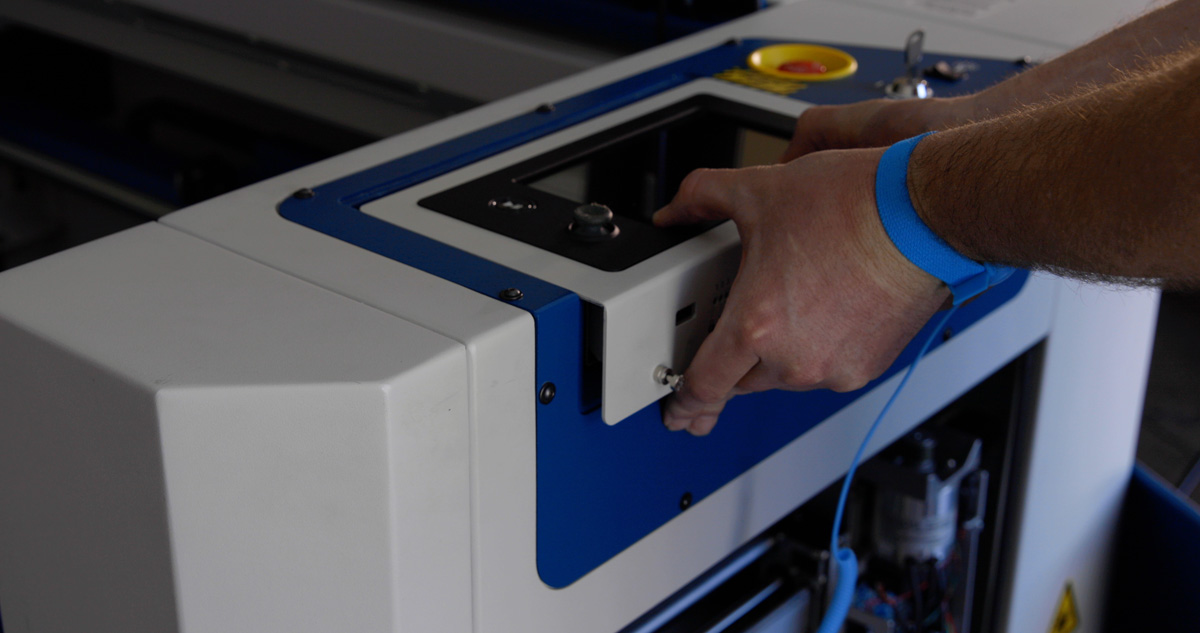
Remove Old Panel
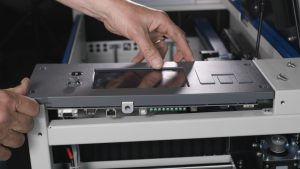
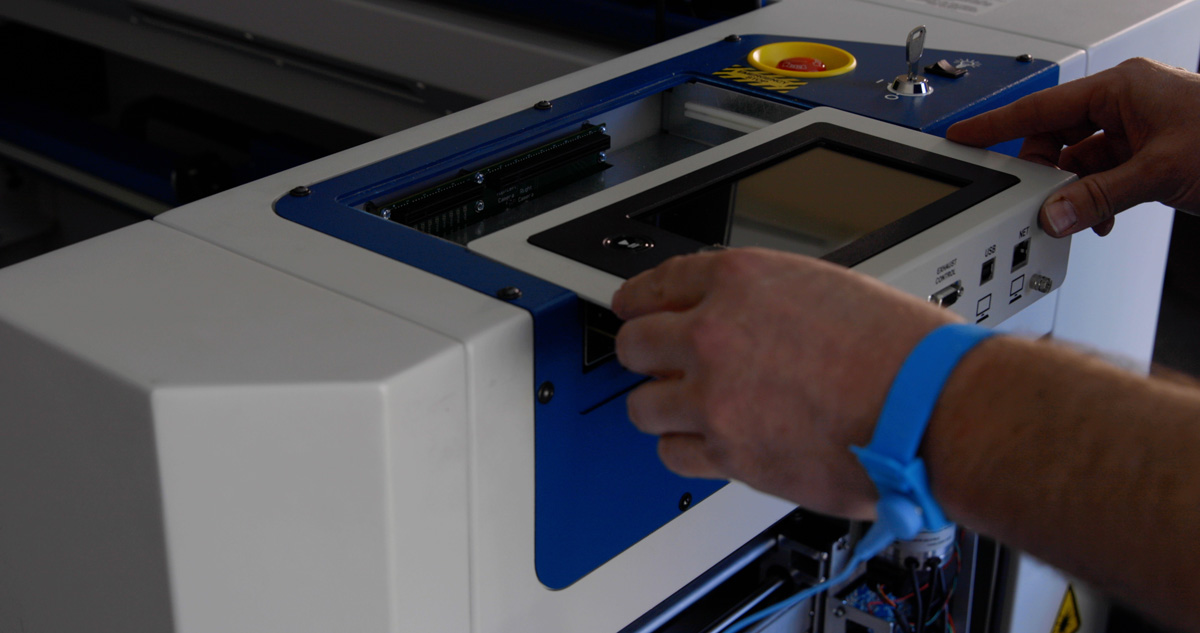
Remove the control panel by placing your thumbs on top of the panel and pulling the control panel out from the right side of the machine.
Install the New Panel
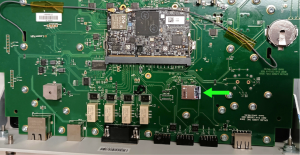
Install the new control panel, making sure the connectors are lined up while sliding it into place from the right side of the machine.
Using the Phillips screwdriver, tighten the 2 screws on the right side of the control panel.
You may now unclip the anti-static strap from the machine.
Replace the right side panel and tighten the screws that secure it to the machine.
Plug in and power on the machine.
Once the machine has fully booted up, set up the network, IP, Subnet and Gateway settings.
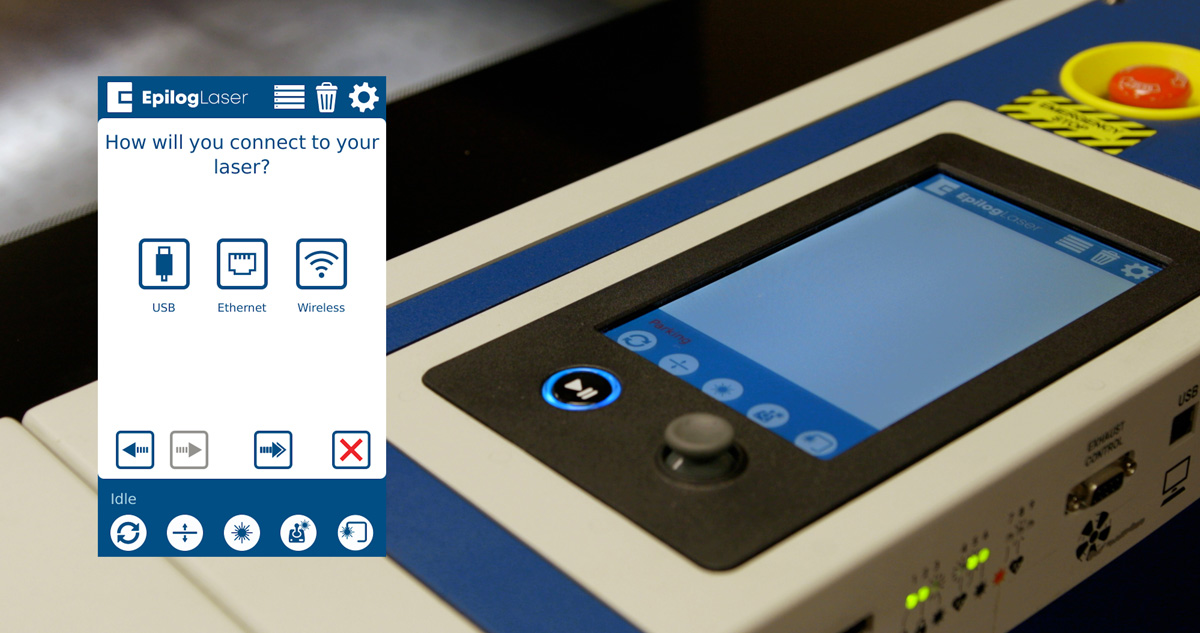
Reconnect the USB or Ethernet cable used previously to send jobs to your machine.