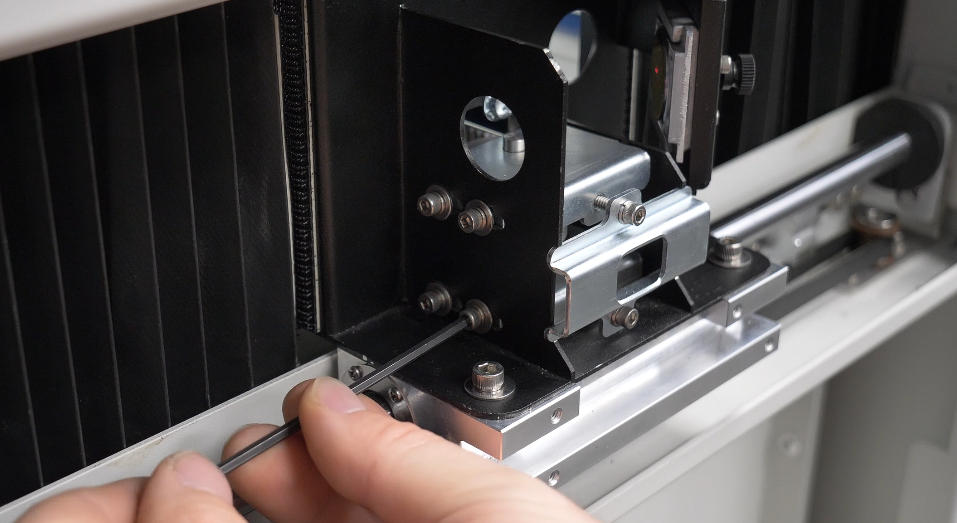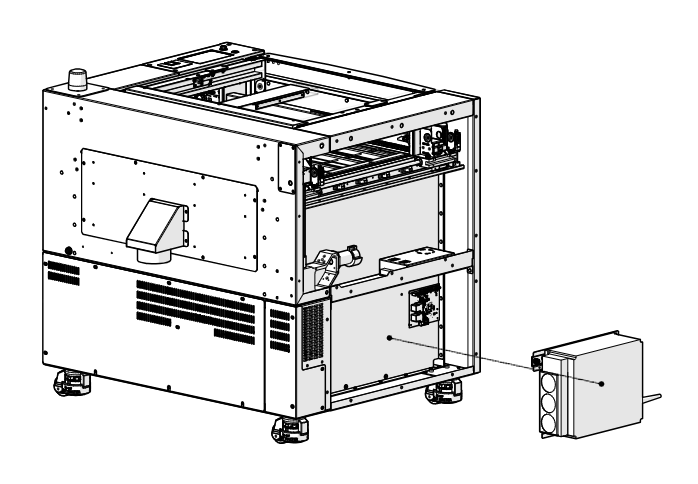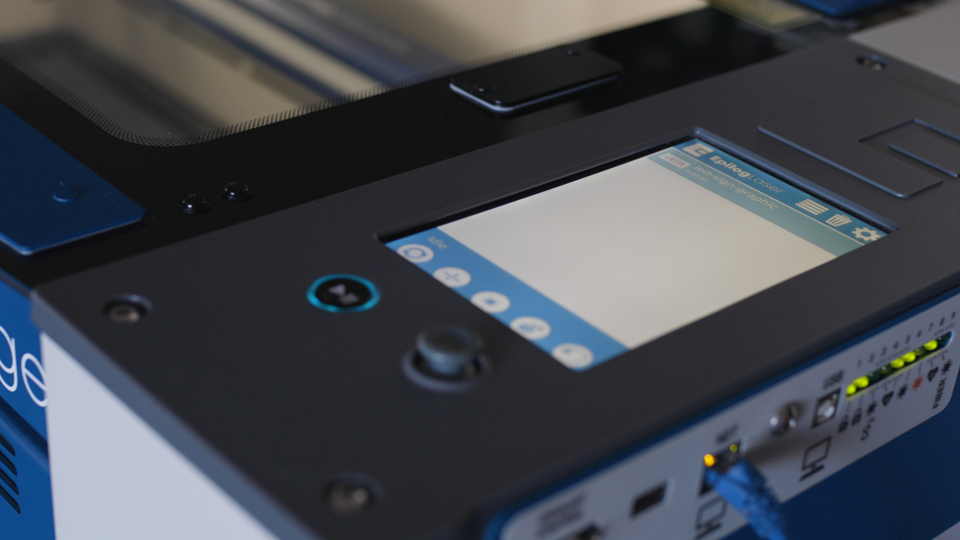
This guide covers replacing the manual focus gauge (MFG) on the Fusion Pro 32 and 48. The MFG is held on the lens carriage by a single screw, and its length is set to the engraver’s calibrated focus height after installation. Parts Required CS1032 – Assy, Manual Focus Gauge Tools (...)
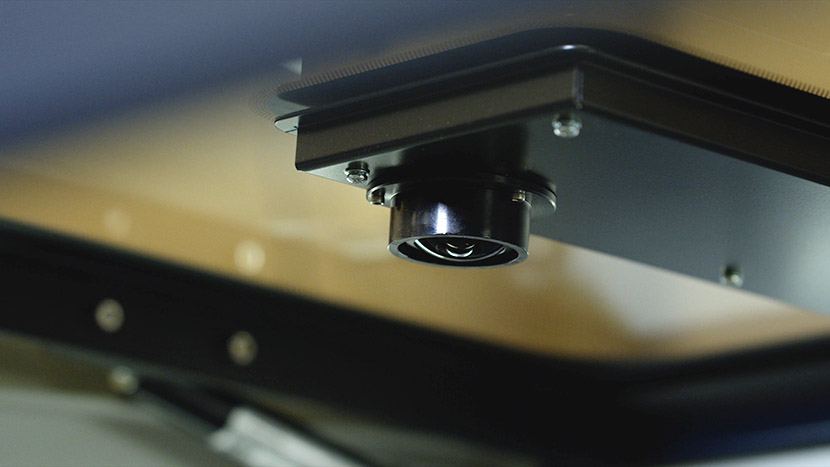
Lens Camera Board and USB-C Cable Replacement – Fusion Pro 32 & 48
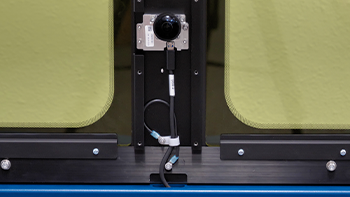
This procedure outlines how to replace both the Carriage Camera PCB and the X-Axis USB-C cable on a 16000 Series Fusion Pro laser system. The Carriage Camera PCB also integrates the Auto Focus sensor, which is critical to system performance. Follow each step carefully to ensure proper installation and avoid (...)
Linear Guide (IKO) Replacement – Fusion Pro 32 & 48
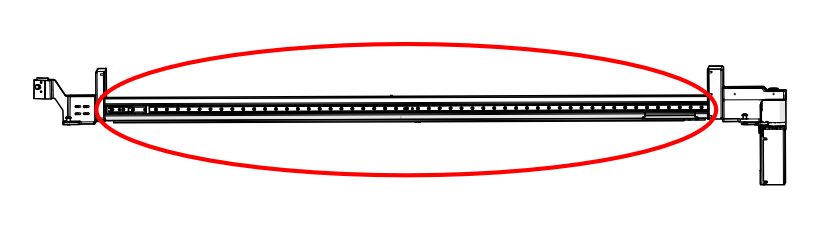
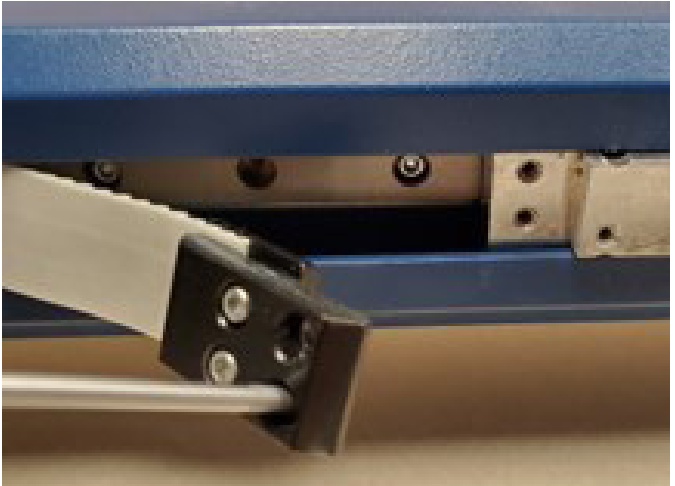
This guide covers replacing the IKO linear guide on the x-axis of the Fusion Pro 32 and 48. The x-axis assembly is removed from the engraver to replace the rail, then the x-axis belt is re-tensioned using the motor’s RMS current reading. Parts Required CS1205 – Linear Guide, 988mm (Fusion (...)
Vision System Repair: Replacing the Overhead Camera
Estimated time: 30–45 minutes • Skill: Intermediate This guide outlines the procedure for replacing the overhead camera on the Epilog Fusion Pro 32 and 48 laser systems. Following these steps will ensure the camera is removed, installed, and updated correctly. For this procedure, you will need the required part: CS0834 (...)
X-Axis Idler Replacement – Fusion Maker, Edge, Pro 24 & 36
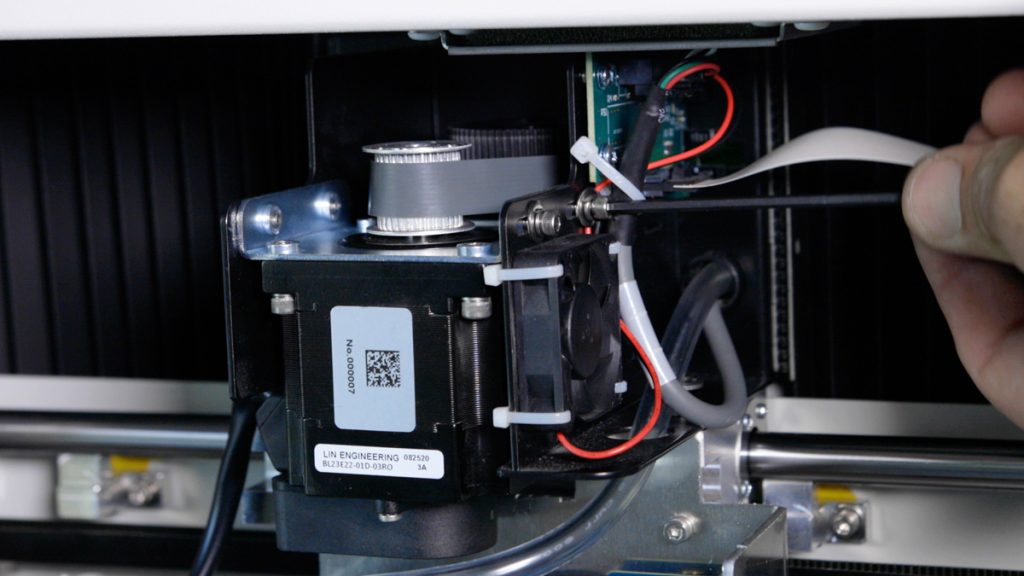
This guide covers replacing the x-axis idler pulley on the Fusion Edge 12, 24 and 36 and the Fusion Pro 24 and 36. The idler is on the left end of the x-axis assembly. After installation, the x-axis belt is re-tensioned using the motor’s RMS current reading. Parts Required CS0416 (...)
Fusion Maker, Edge, Pro 24 & 36 – Linear Guide (Rev 1 IKO) Replacement
This document provides concise, step‑by‑step instructions for removing and installing the X‑Axis linear guide (IKO rail) on Fusion Edge, Maker, and Pro 24/36 engravers. Read the entire procedure before beginning, observe all safety precautions (power off and disconnect), and have the required hand tools ready. Follow each step in order (...)
X-Axis Reducer Drive Replacement – Fusion Edge, Pro 24 & 36
This guide covers replacing the x-axis reducer drive on the Fusion Edge 12, 24 and 36 and the Fusion Pro 24 and 36. The x-axis assembly is removed from the engraver to reach the reducer, then the x-axis belt is re-tensioned using the motor’s RMS current reading. Parts Required LC0238 (...)
Table Belt Replacement
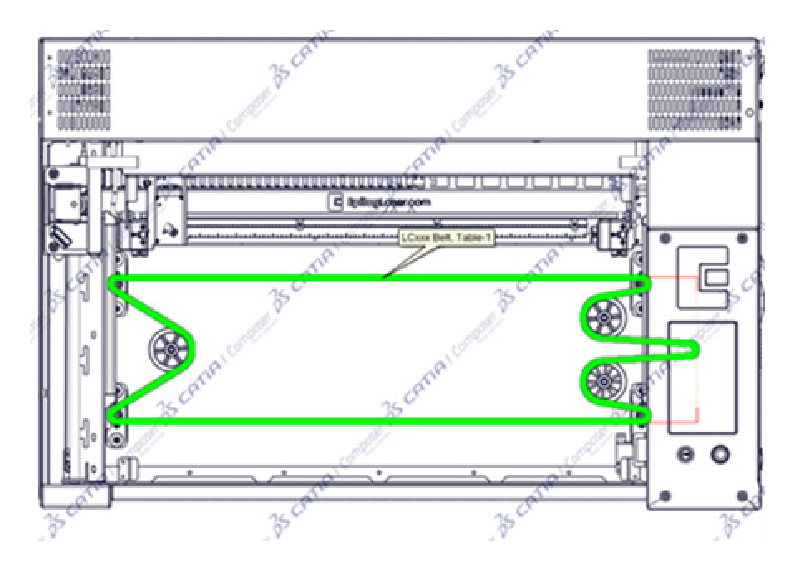
This guide covers replacing the table (z-axis) belt on the Fusion Maker, Fusion Edge and Fusion Pro 24 and 36. The belt runs around the four lead screw pulleys under the table and is tensioned by the table motor. Parts Required RC0596 – Belt, Table, Z24 (24 x 12 table) (...)
X-Axis PCB Replacement
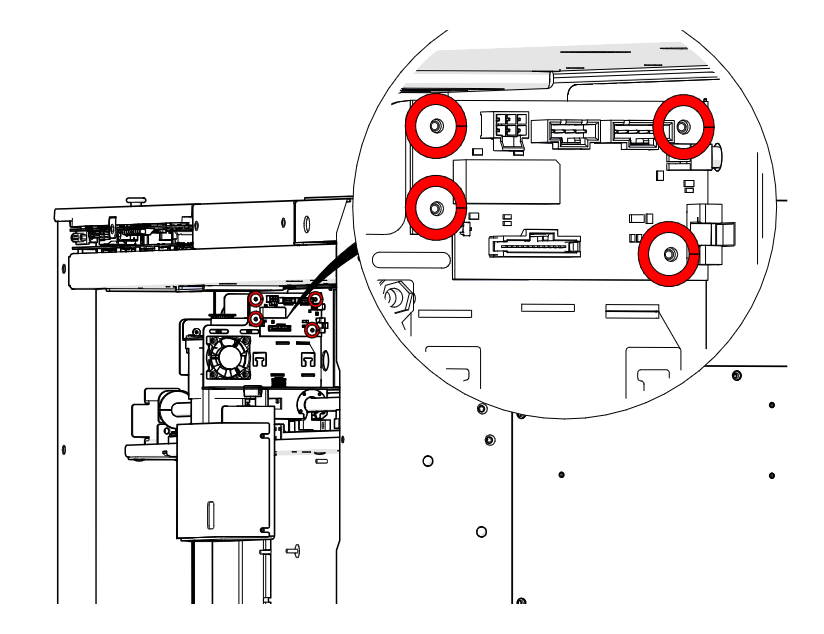
This guide covers replacing the x-axis PCB (x-axis interface board) on the Fusion Edge 12, 24 and 36 and the Fusion Pro 24 and 36. The board is mounted on the rear of the x-axis assembly. Parts Required LC0806 – PCBA, X-Axis Interface Tools / Materials Required 5/32" Allen Wrench (...)
Y-Axis Home Switch Replacement
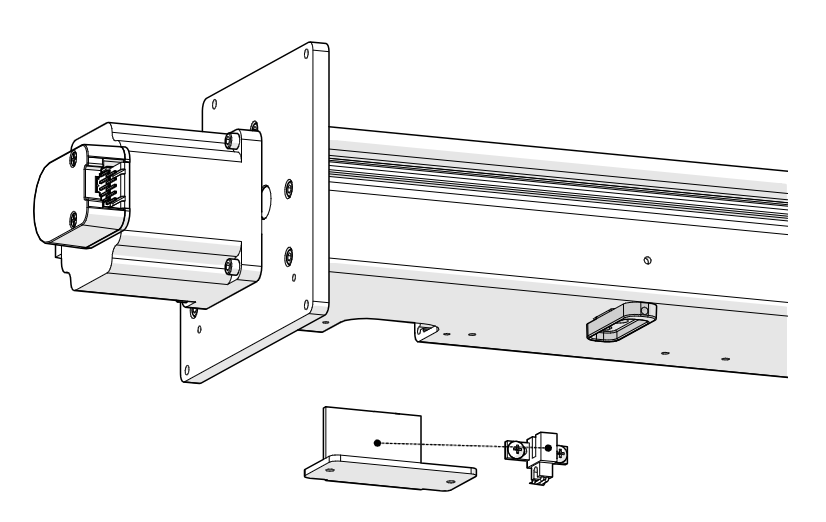
This guide covers replacing a y-axis home switch on the Fusion Pro 32 and 48. The home switch assembly is mounted at the rear of the y-axis actuator and is reached from the side and rear of the engraver. Parts Required CS0491 – Sensor, Slotted, Magnetic Tools Required 5/32" and (...)
Fiber Laser Replacement
This guide covers replacing the fiber laser on the Fusion Maker, Fusion Edge and Fusion Pro 24 and 36. After installation, the fiber supply is updated from the engraver’s display and the laser is aligned and focus calibrated. Parts Required Replacement Fiber Laser Assembly (part number depends on wattage) Tools (...)
Backplane Board Replacement
This document provides step-by-step instructions for the removal and installation of the backplane board for Fusion Pro 24 & 36 engravers. It includes all the necessary parts, tools, and materials required for the process, as well as detailed guidance on disconnecting electrical components, handling the board with care, and reassembling (...)