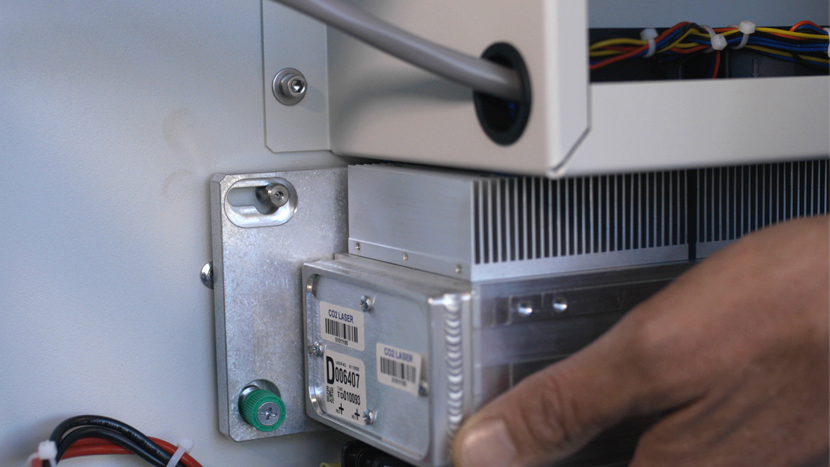
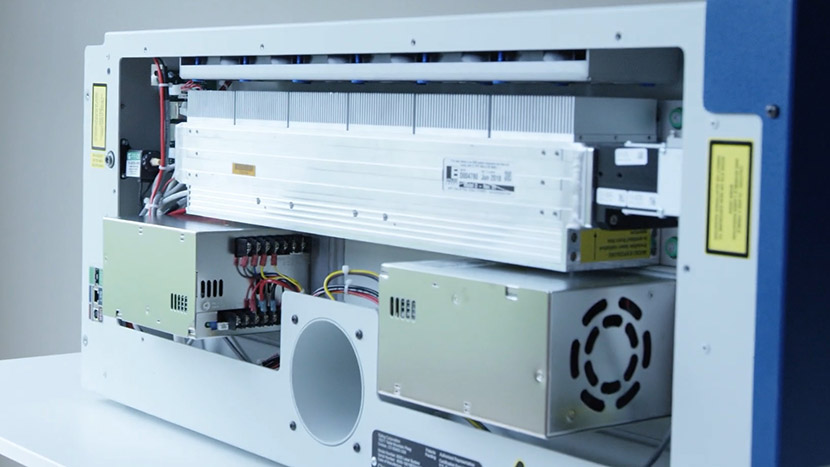
This document provides step-by-step instructions for replacing the X-axis motor in the Epilog Legend 36EXT laser system. The X motor plays a critical role in ensuring accurate movement of the laser carriage, and proper installation is essential for maintaining optimal engraving performance. Before beginning this procedure, ensure the machine is (...)
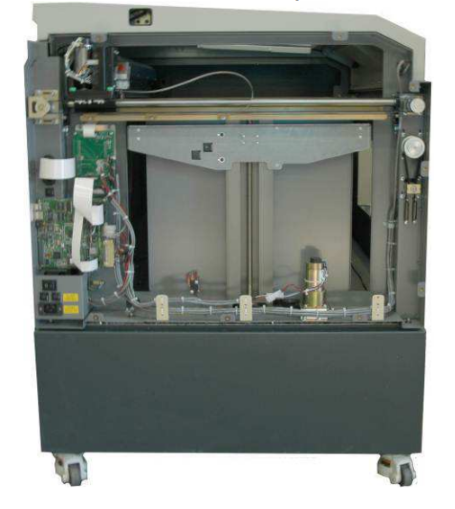
Laser Replacement – Legend 36EXT
This document provides step-by-step instructions for replacing the laser tube in the Epilog Legend EXT laser system. To ensure safety and prevent electrical hazards, disconnect the machine from its power source before beginning this procedure. Proper handling during removal and installation is essential to avoid damage to components. For alignment (...)
Laser Troubleshooting Guide: Replacing the Safety Interlocks
Estimated time: 15–20 minutes • Skill: Beginner This guide outlines the procedure for replacing the window and door interlocks on an Epilog Legend 36 EXT laser system. These safety interlocks are designed to prevent the laser from firing when access panels are open. If they are damaged or not functioning (...)
Autofocus Plunger Replacement – Legend 36EXT
This document outlines the step-by-step procedure for replacing the Auto Focus sensor on the Epilog Legend EXT laser system. Before beginning, make sure the machine is powered off to ensure safety during the process. Familiarity with the X-carriage assembly is recommended; refer to the exploded view diagram for part identification (...)
Power Supply Replacement – Legend 36EXT
This document provides detailed instructions for replacing the power supply in the Epilog EXT laser system. To ensure safety and prevent electrical shock or equipment damage, always disconnect the power cord from the machine before beginning the procedure. Follow each step carefully to remove the existing power supply and install (...)
Quick Guide: Replacing the Control Board
Estimated time: 20–30 minutes • Skill: Intermediate This procedure will guide you through the process of removing and replacing the main controller board in a Legend EXT laser system. Following these steps ensures safe handling of sensitive electronics, proper reconnection, and minimal downtime after installation. Important: Always wear the included (...)
Generating Machine Logs
Generating machine logs enables Epilog Technical Support to gather important information about the machine, aiding in its diagnosis and troubleshooting. The process is straightforward and requires either a USB flash drive or a network-connected machine. This guide will outline the steps for generating logs. Logs can be generated one of (...)
Laser Alignment (Large Aperture Optics) – Fusion Pro
To ensure your CO2 laser engraver delivers optimal performance and consistent cutting quality, proper beam alignment is essential. Over time, vibration, wear, or component replacement can cause the laser beam to deviate from its intended path. This can result in reduced cutting power, inconsistent engraving, or premature wear of optics. (...)
Large Aperture Optics Replacement – Fusion Pro
The Fusion Pro laser system includes four (4) mirrors in total. Mirrors 1, 2, and 3 are mounted using mirror holders and feature thermal compound between the mirror and holder to ensure proper heat transfer. This compound may need to be replaced if the mirrors are removed and reinstalled multiple (...)
Cleaning Procedures – Fusion Maker, Edge, and Pro
Regular cleaning of the Fusion Pro engraver will result in a longer service life of the engraver and less down time. Additionally, regular cleaning of the Fusion Pro engraver can mitigate the risk of flare-ups and other thermal events. A mild household cleaner or degreaser can be used to clean (...)
CO2 Laser Replacement Checklist / Low Output
Having to continually reduce speed and increase power can indicate low output from the laser. This document will help identify a low output laser tube on a 17000 Maker, Edge, or Pro machine. Checklist Optics Alignment Focus Reference Engraving Download the sample file below. Reference Engraving Open the file and (...)
Low Output – Mini/Helix
Whenever there is a perceived loss of power, it could be caused by dirty or damaged optics, bad laser beam alignment or a focus or table level issue. Below you can find links to instructions on checking and leveling the table as well as checking and fixing the alignment of (...)