Welcome to this training video on setting a temporary home position and using the center engraving features on your Epilog Laser System. Whether you're a new user or refreshing your skills, we'll guide you step-by-step through the process to get your project ready for precise positioning of your engraving and cutting.
The home position is the starting point your laser uses to determine where to begin its job. Adjusting it allows you to control the placement of your design and where it will be engraved or cut on the material. This adjustment is useful when working with irregularly shaped materials or when you need to engrave at a specific point on your workpiece.
Laser Dashboard Setup
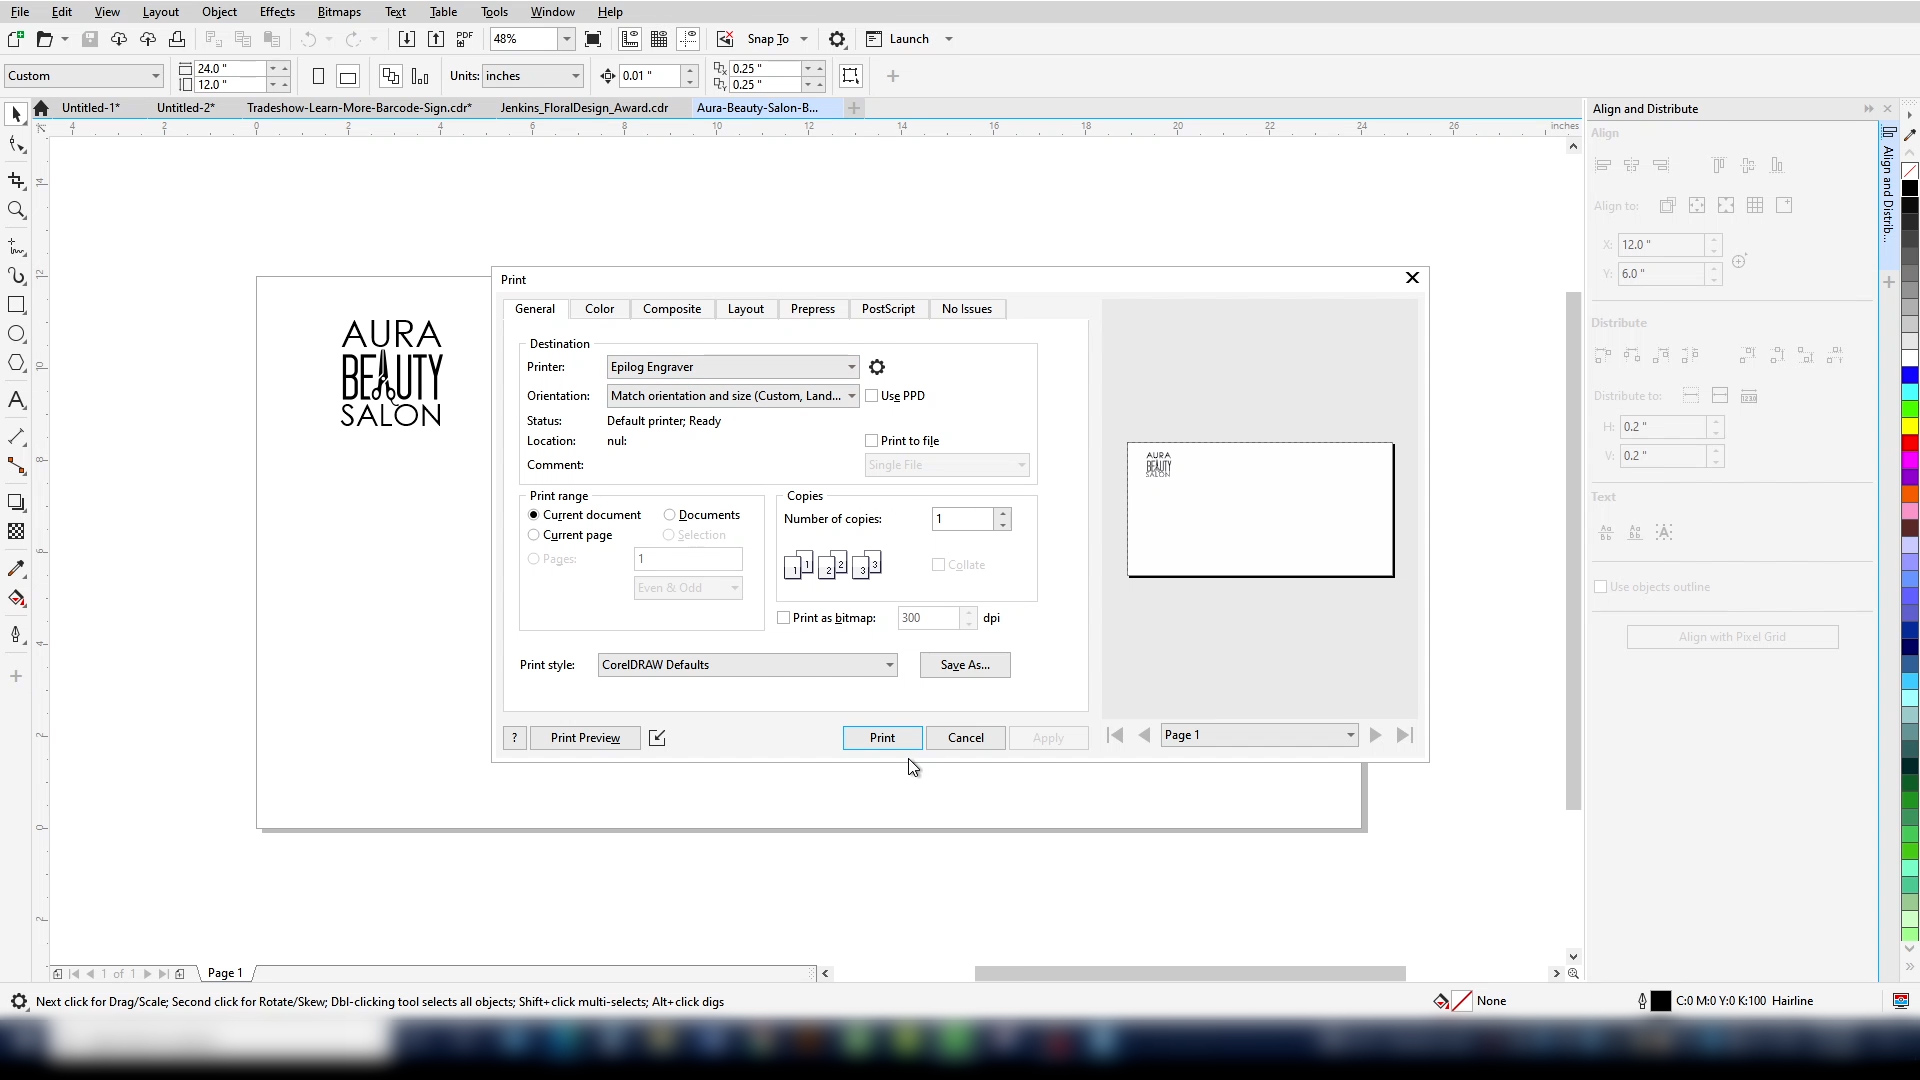
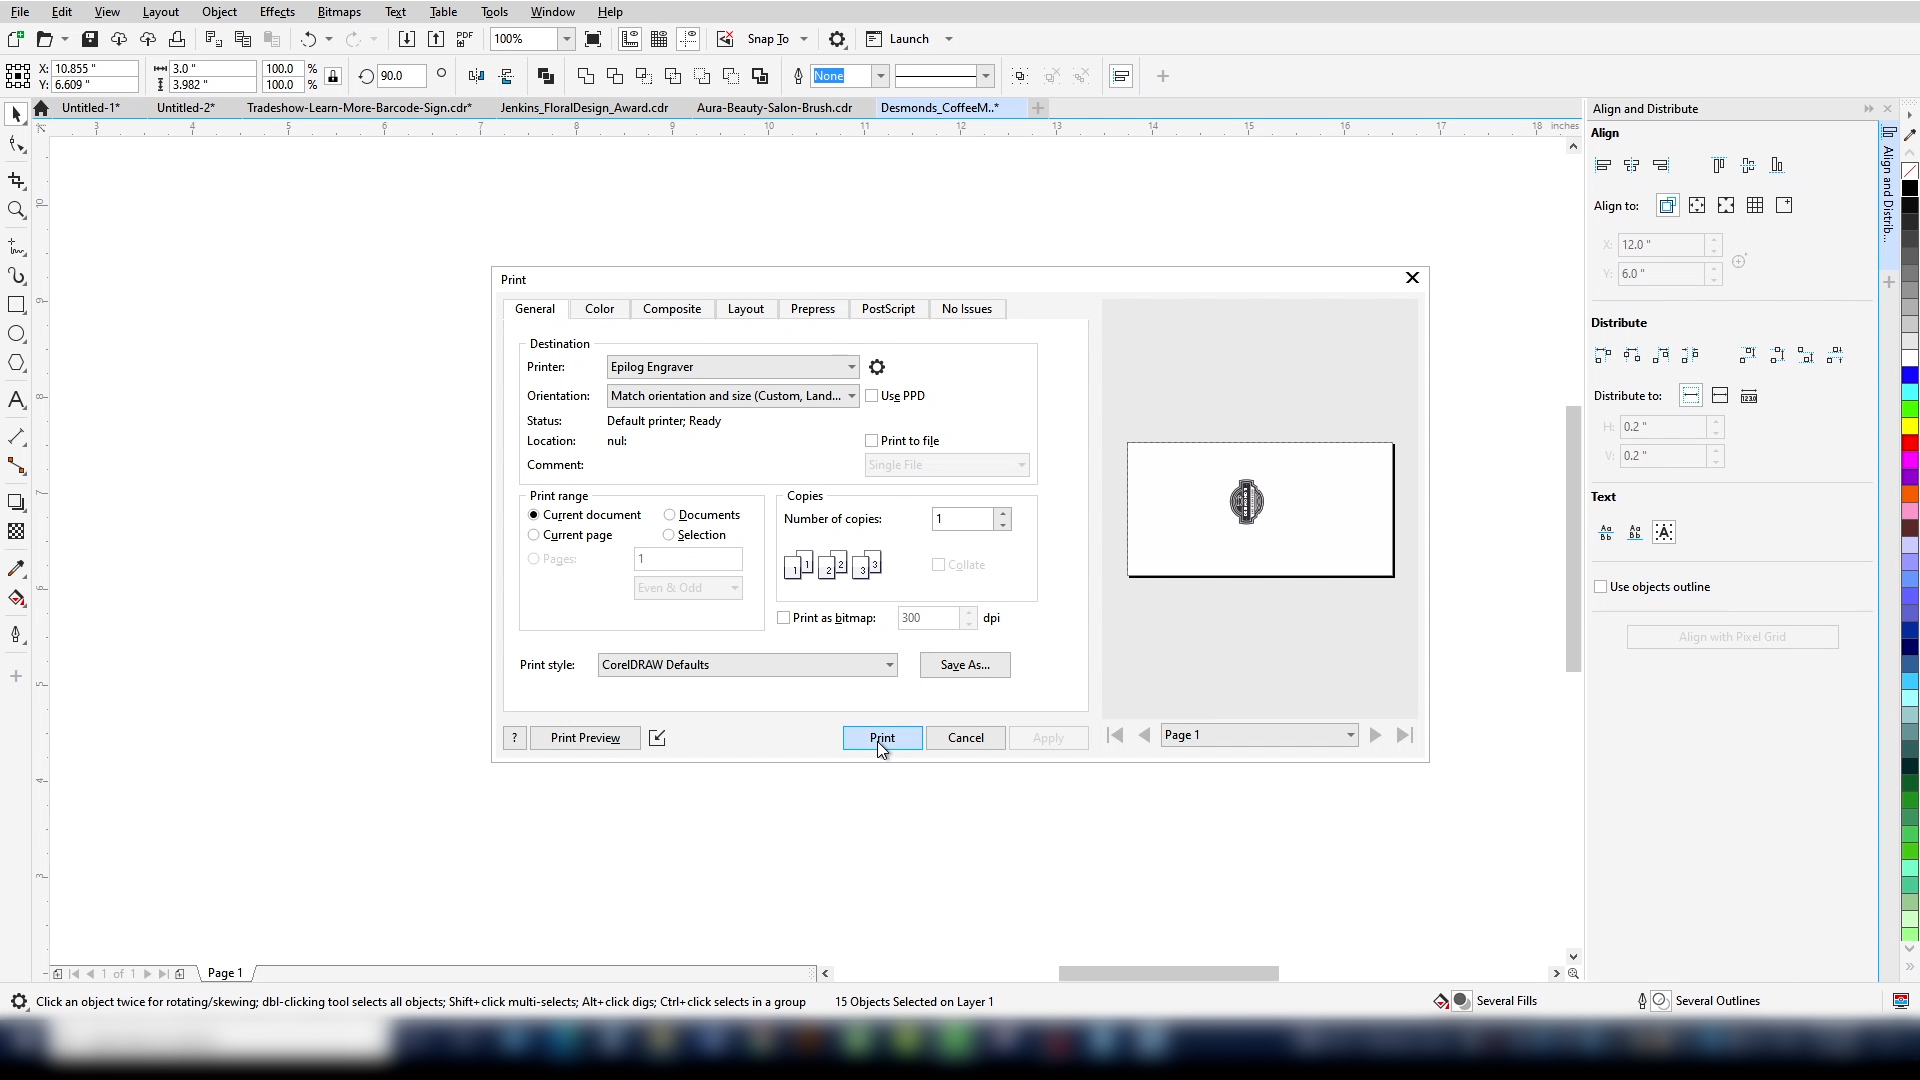
Start by printing your file to the Epilog Engraver.
The file will open in the Dashboard.

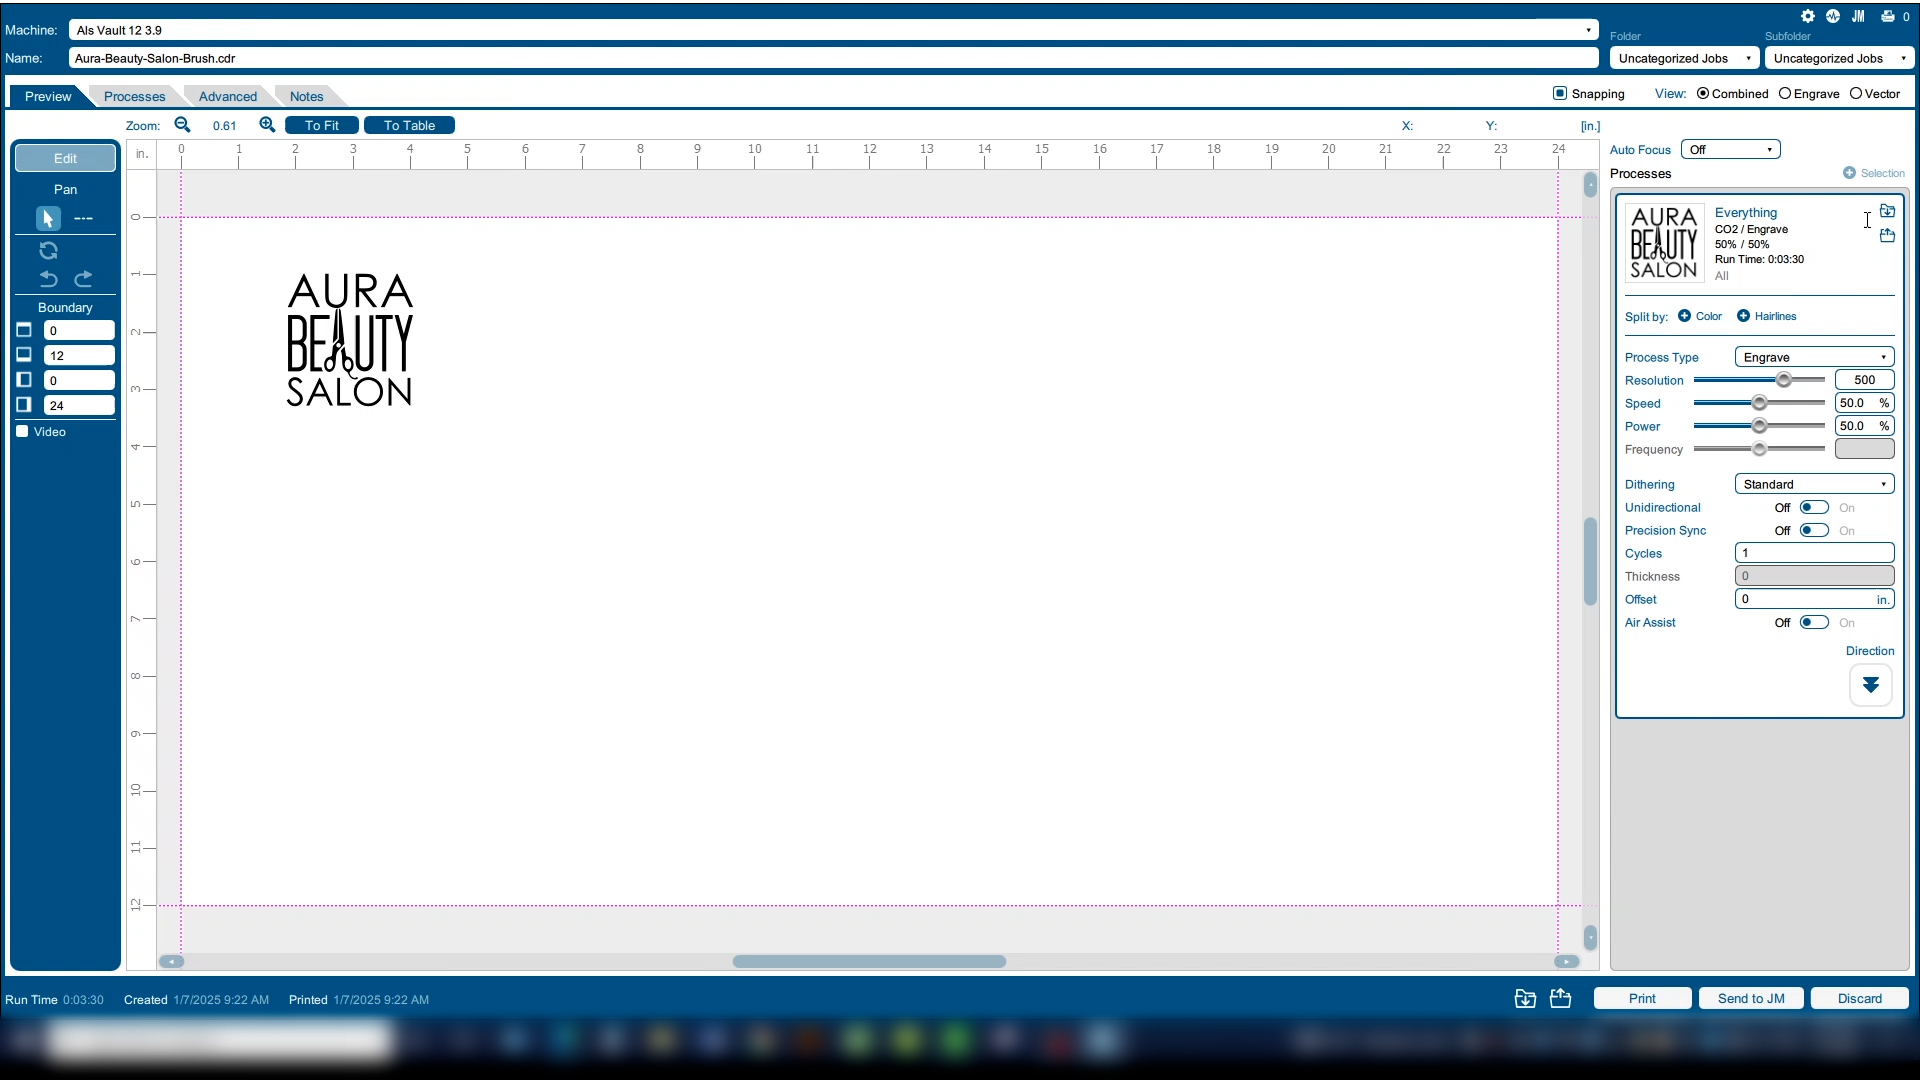
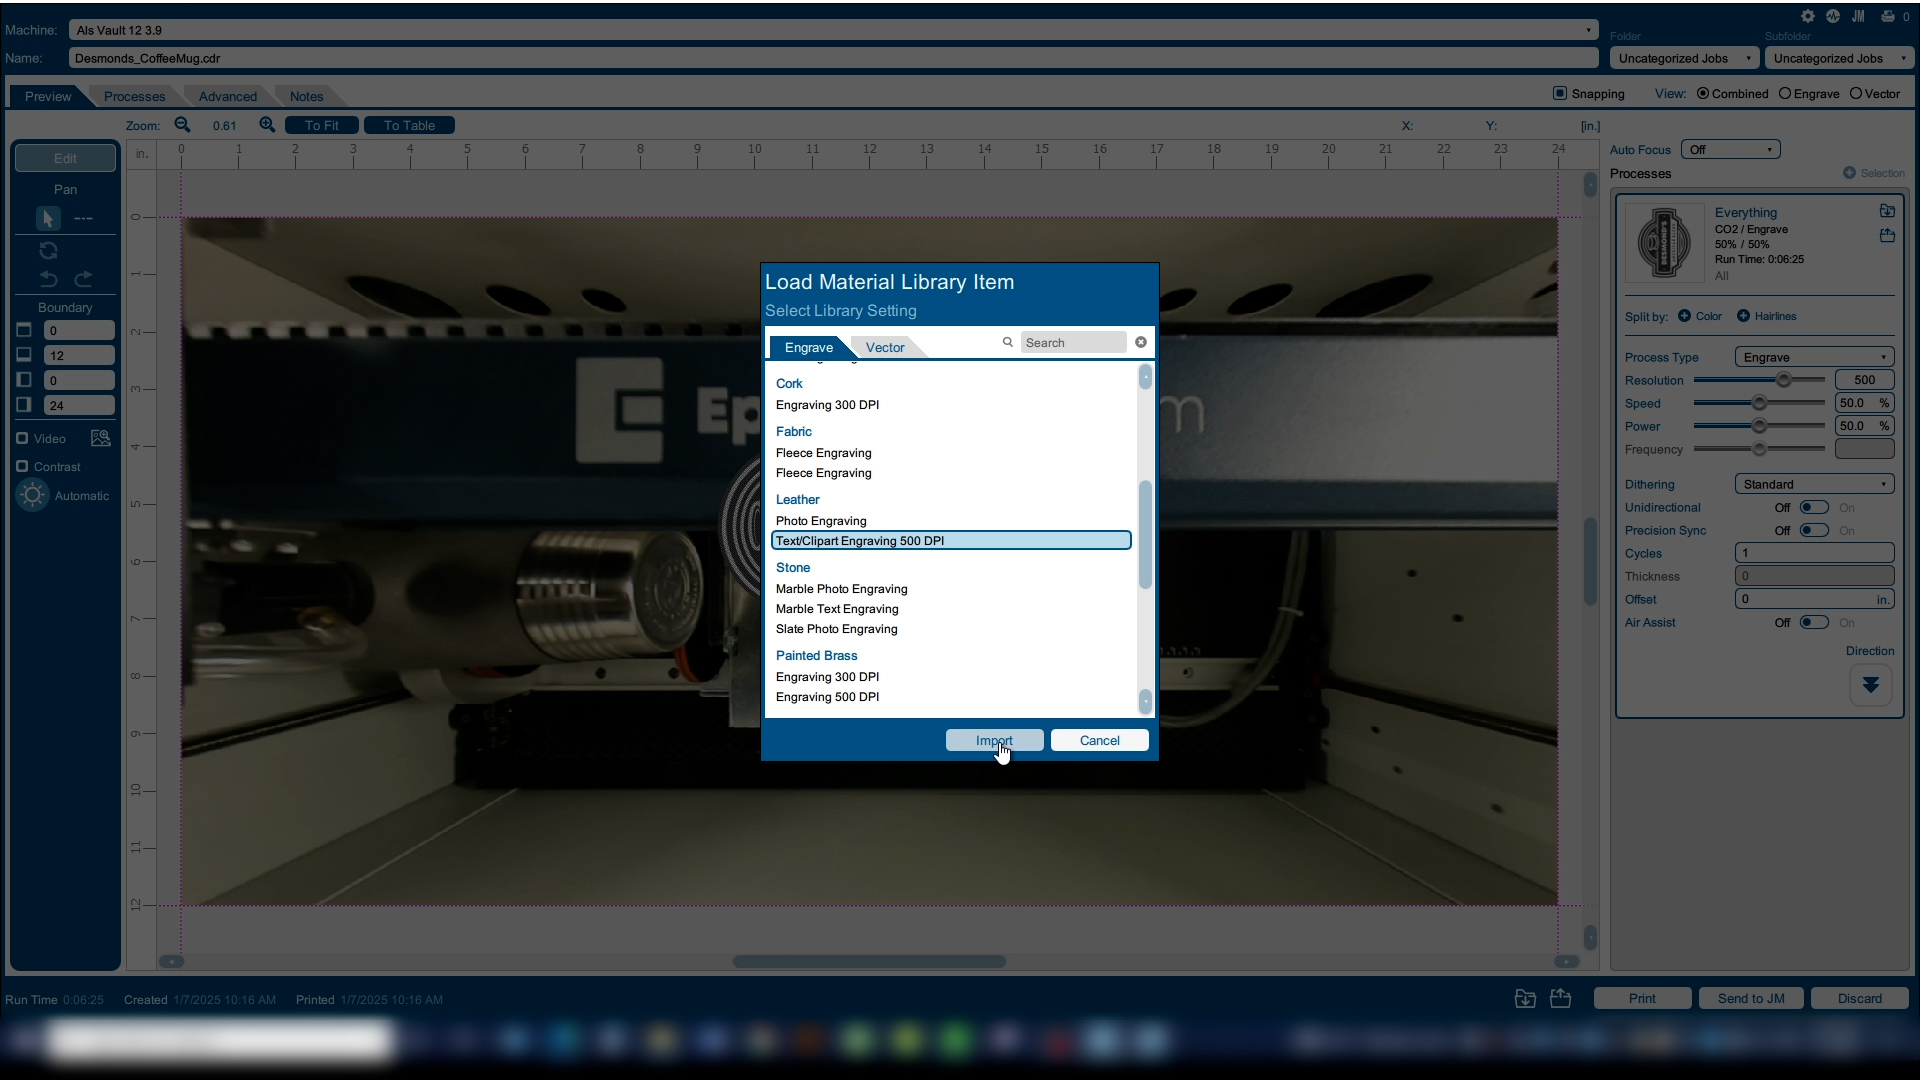
In the Laser Dashboard, after choosing your settings, select the Advanced tab.
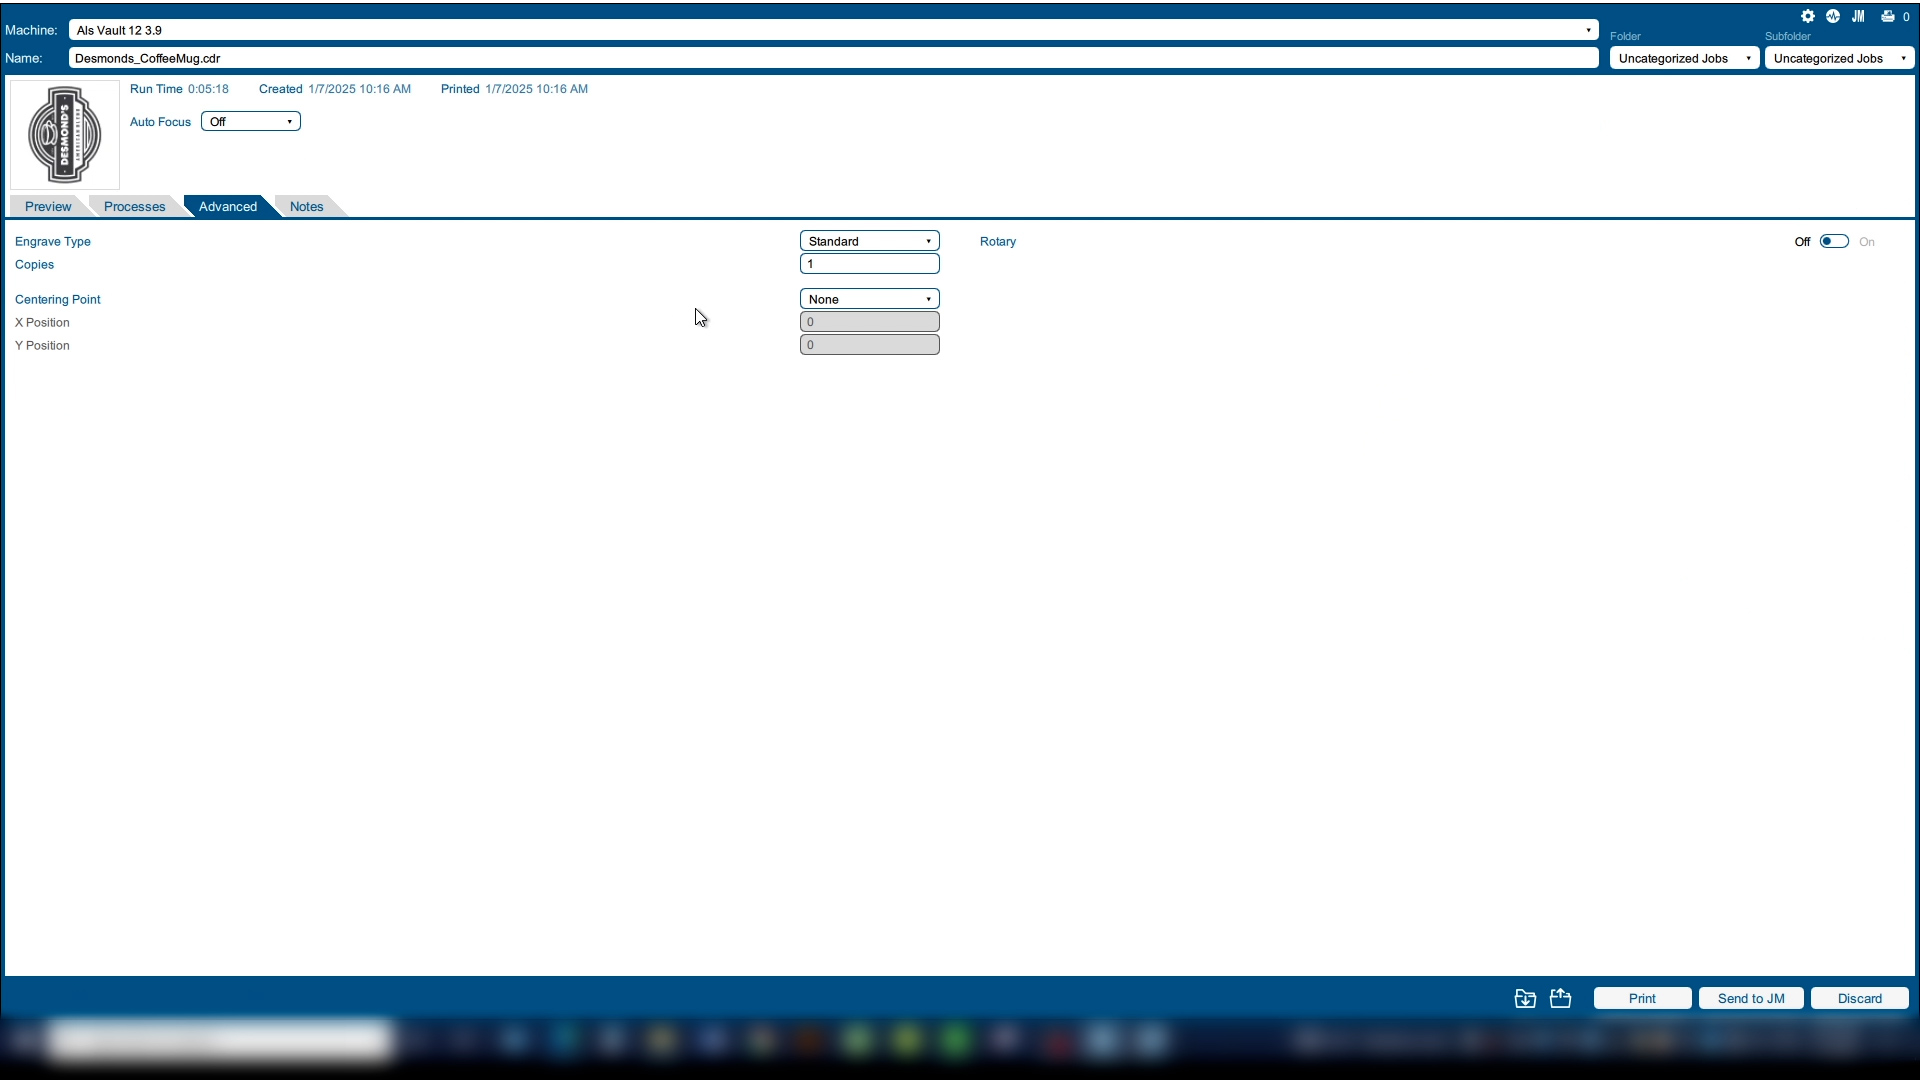
Setting a temporary home position is part of the center engraving features of the laser dashboard. A center home position will apply only to the jobs you send to the laser with a center point applied to the print file.
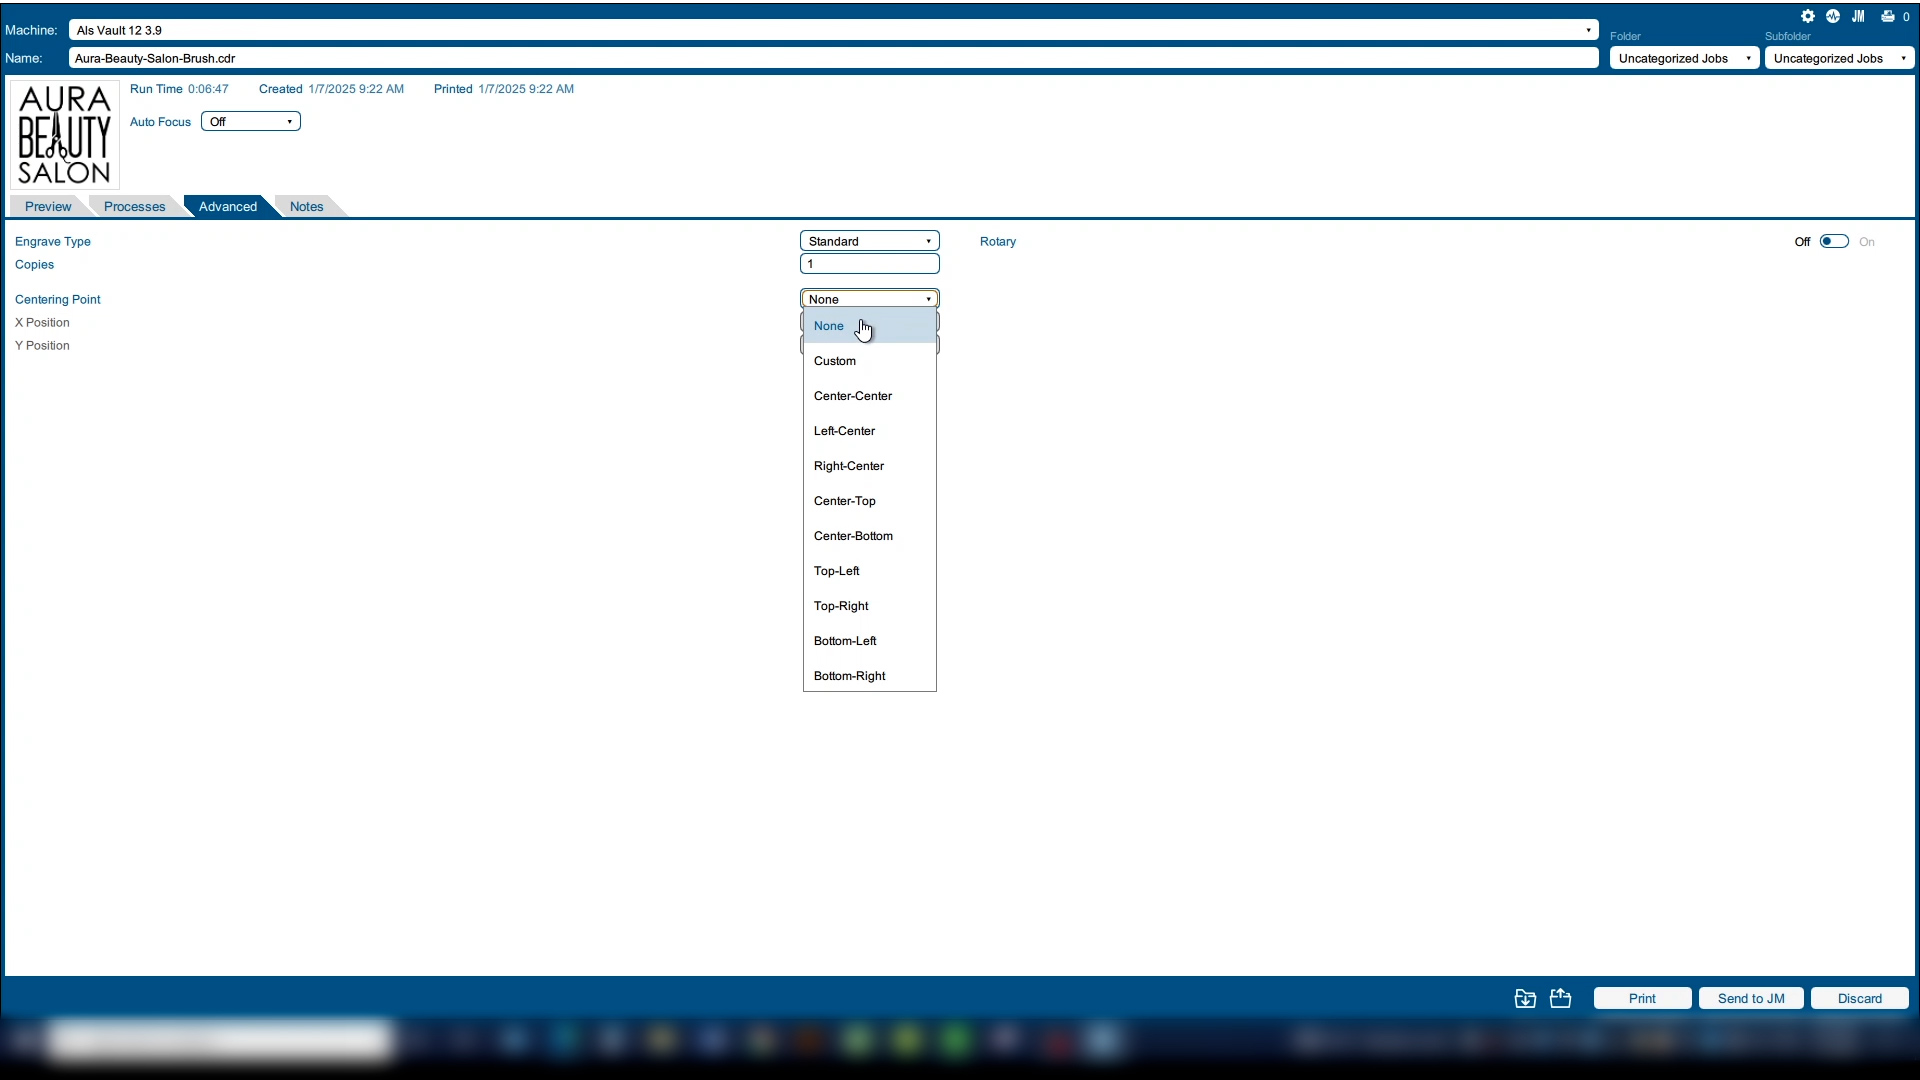
Next to Centering Point, you can choose your new home point position from a wide variety of positions.
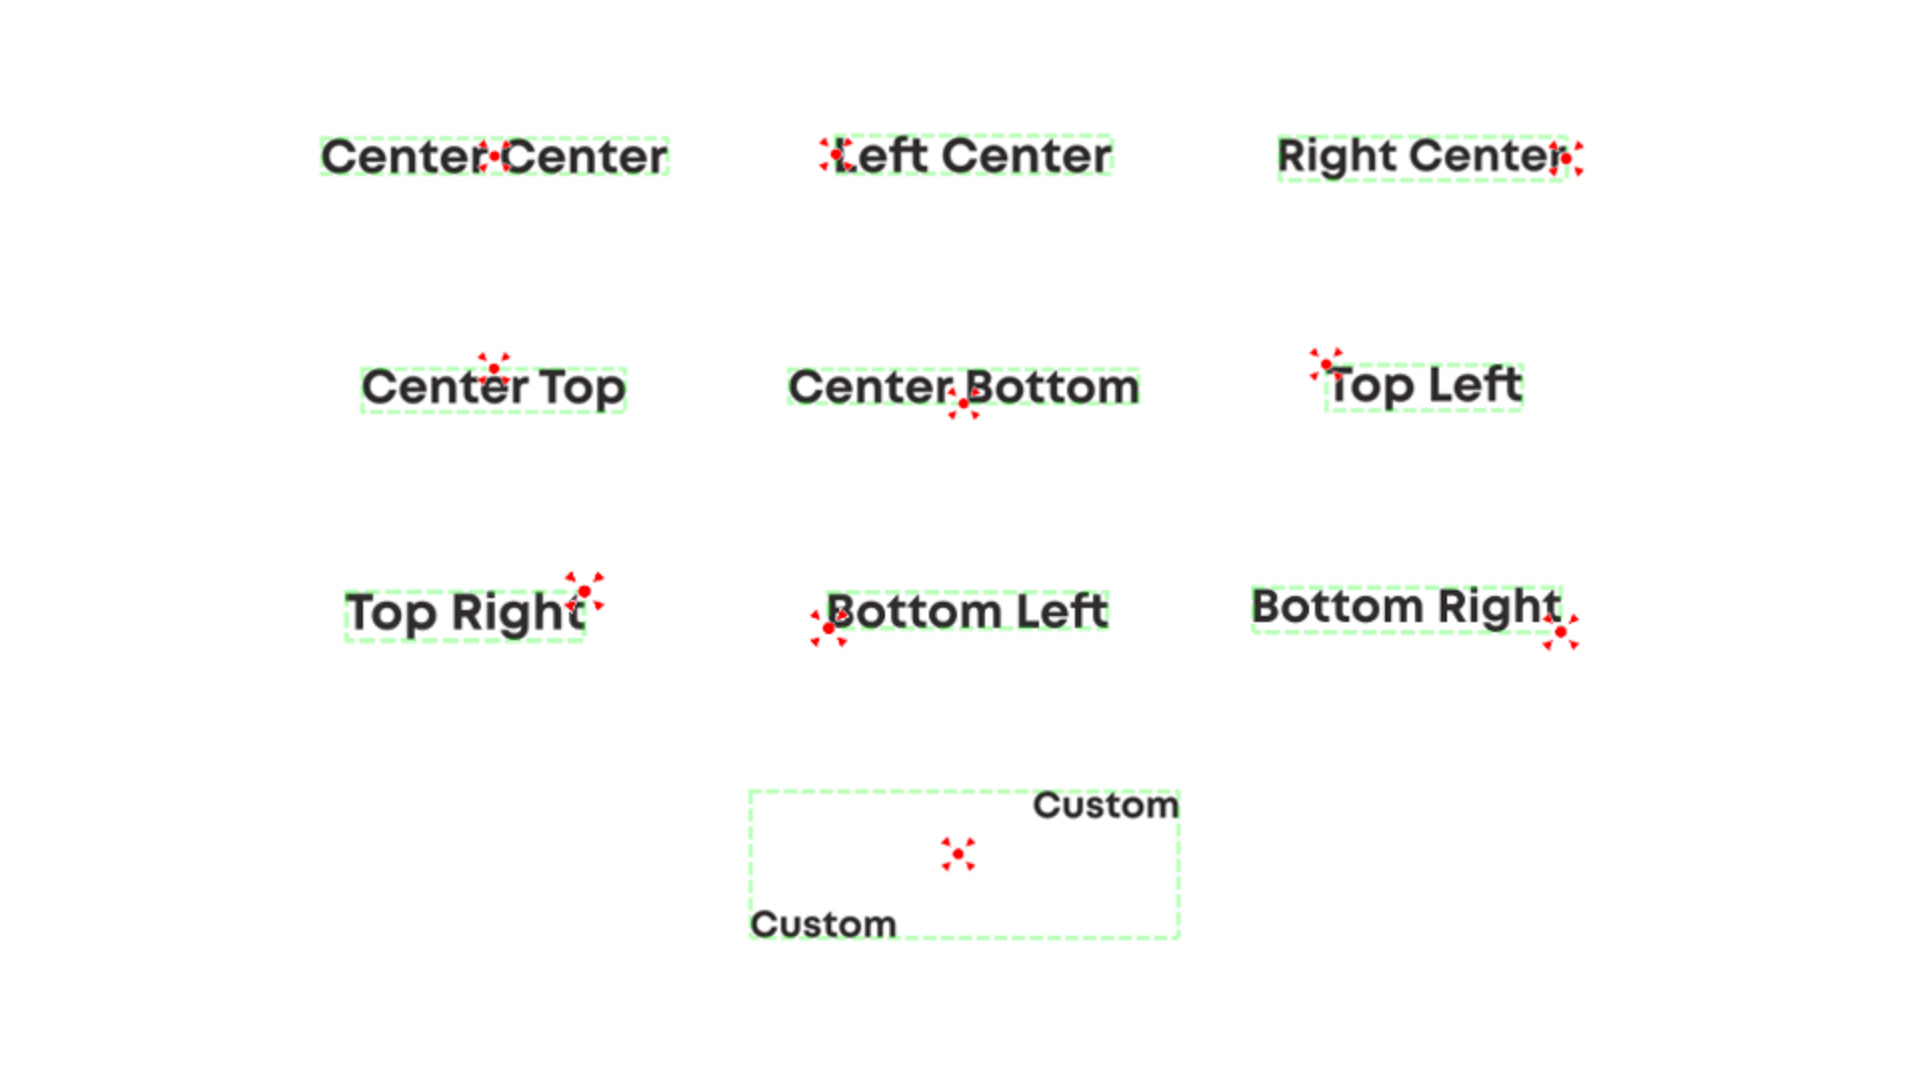
This diagram shows the position for each choice in the drop-down list with the red dot highlighting the centering point. The most common uses are Top-Left and Center-Center.

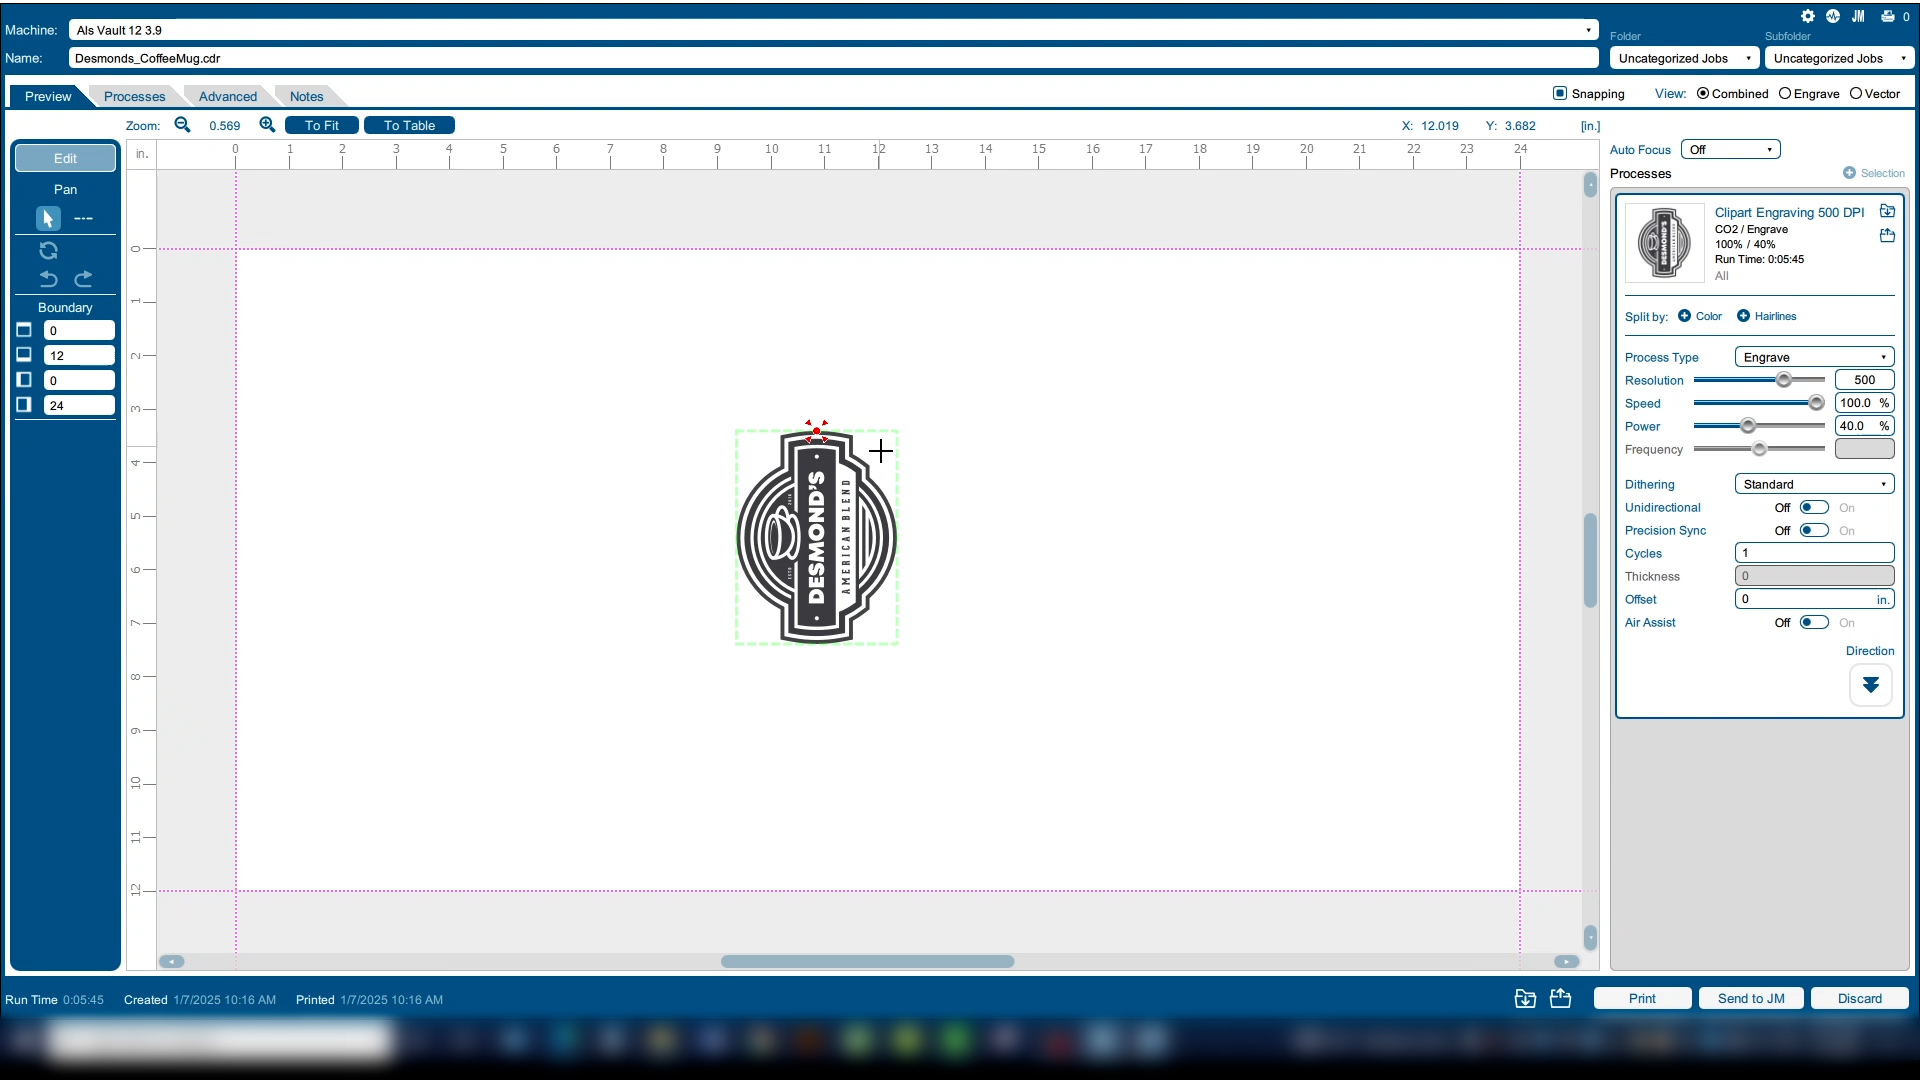
Here we’ll choose Center-Center as our centering point.
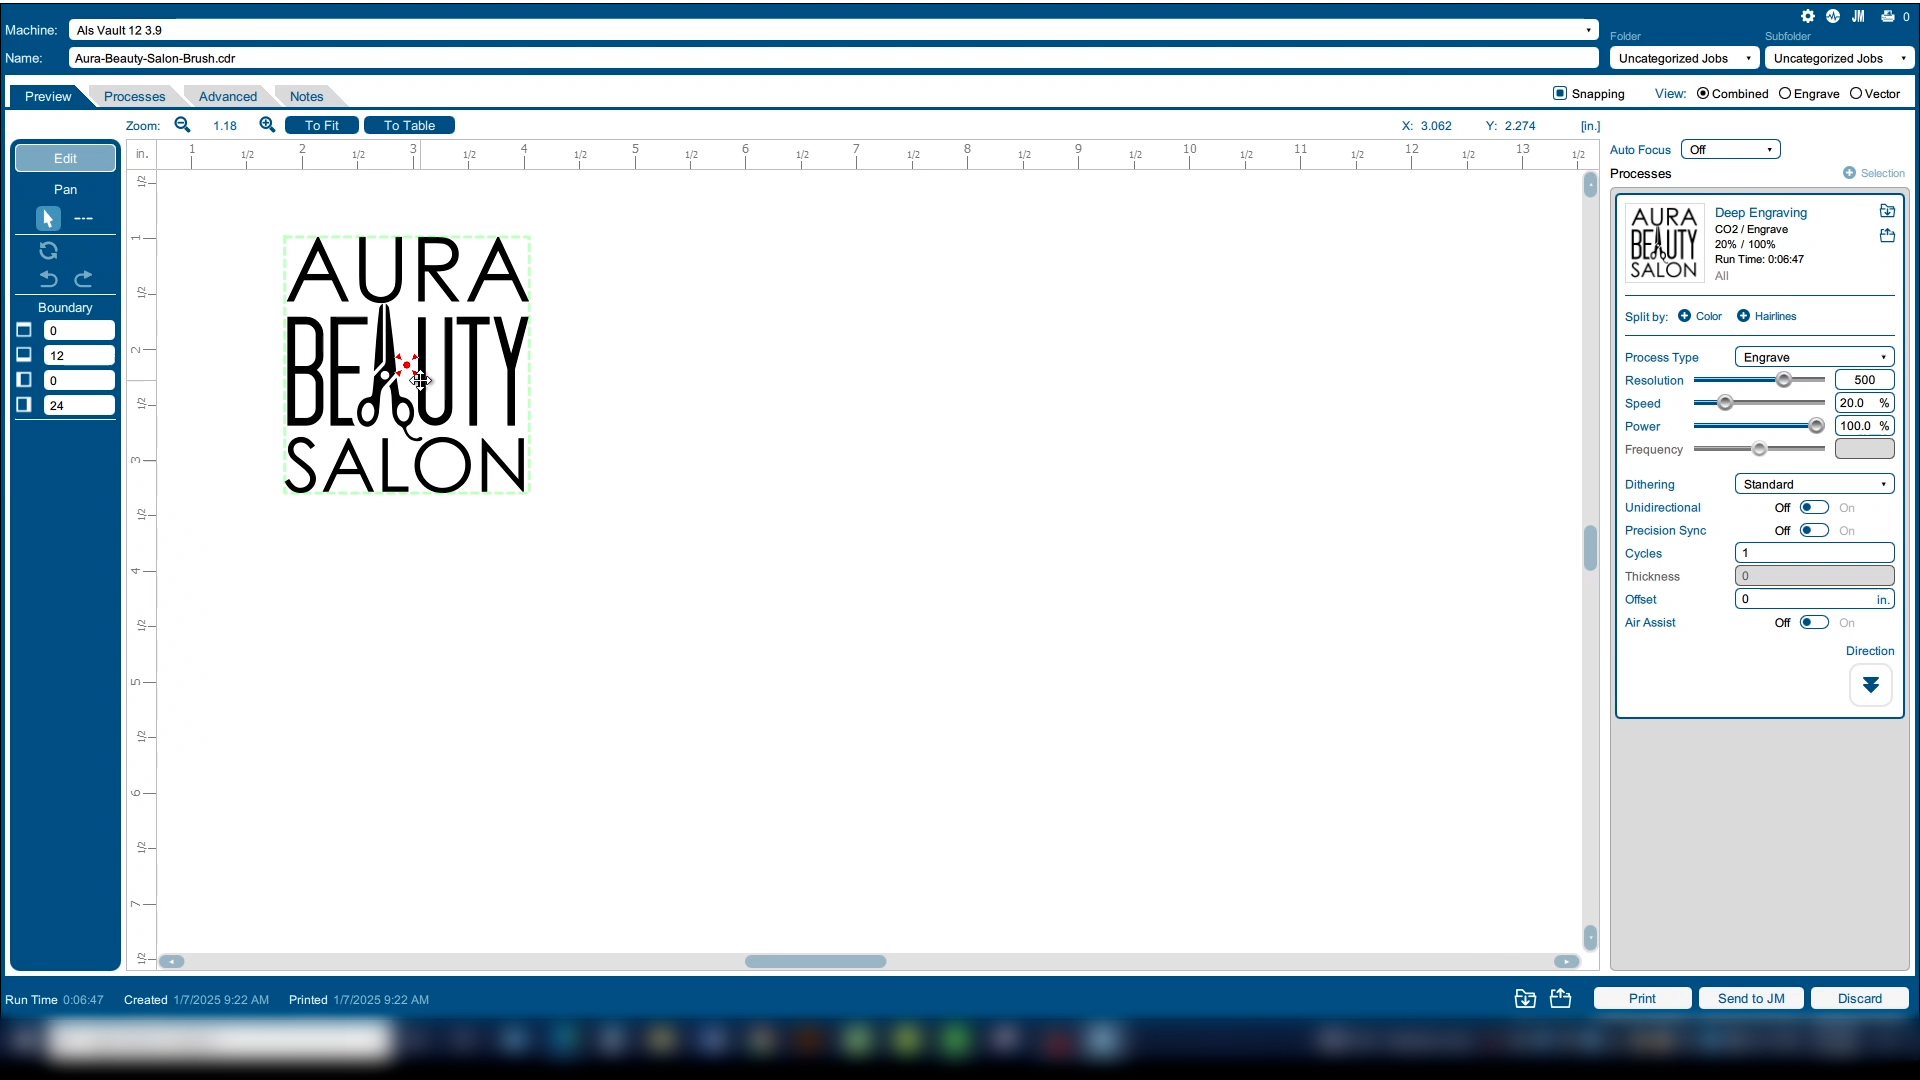
Back on the Preview tab, we can see the preview shows a red target over the center point of the graphic showing our new home position.
Home Position Setup
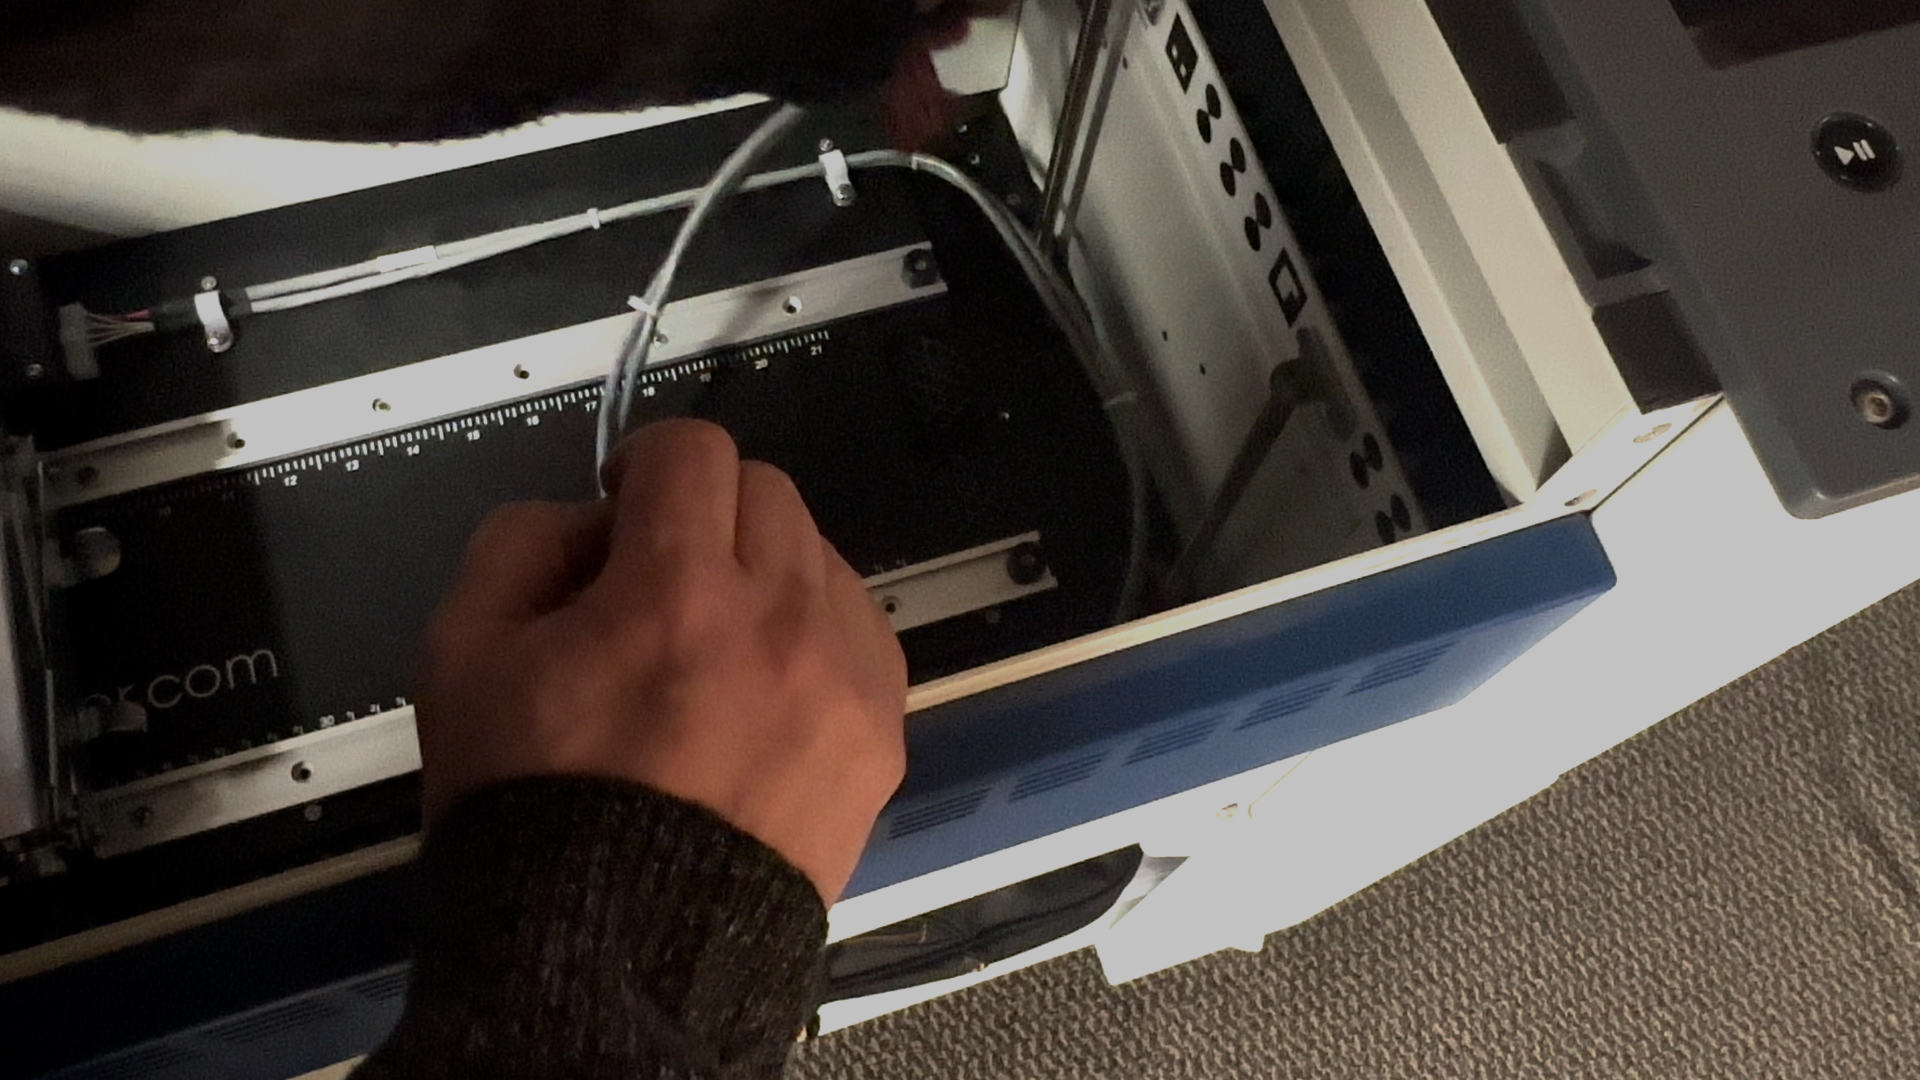
To manually set your home position, start by ensuring your engraving table is lower than the material you will be focusing on. Use the arrow keys on the control panel to move the laser head to the desired location.
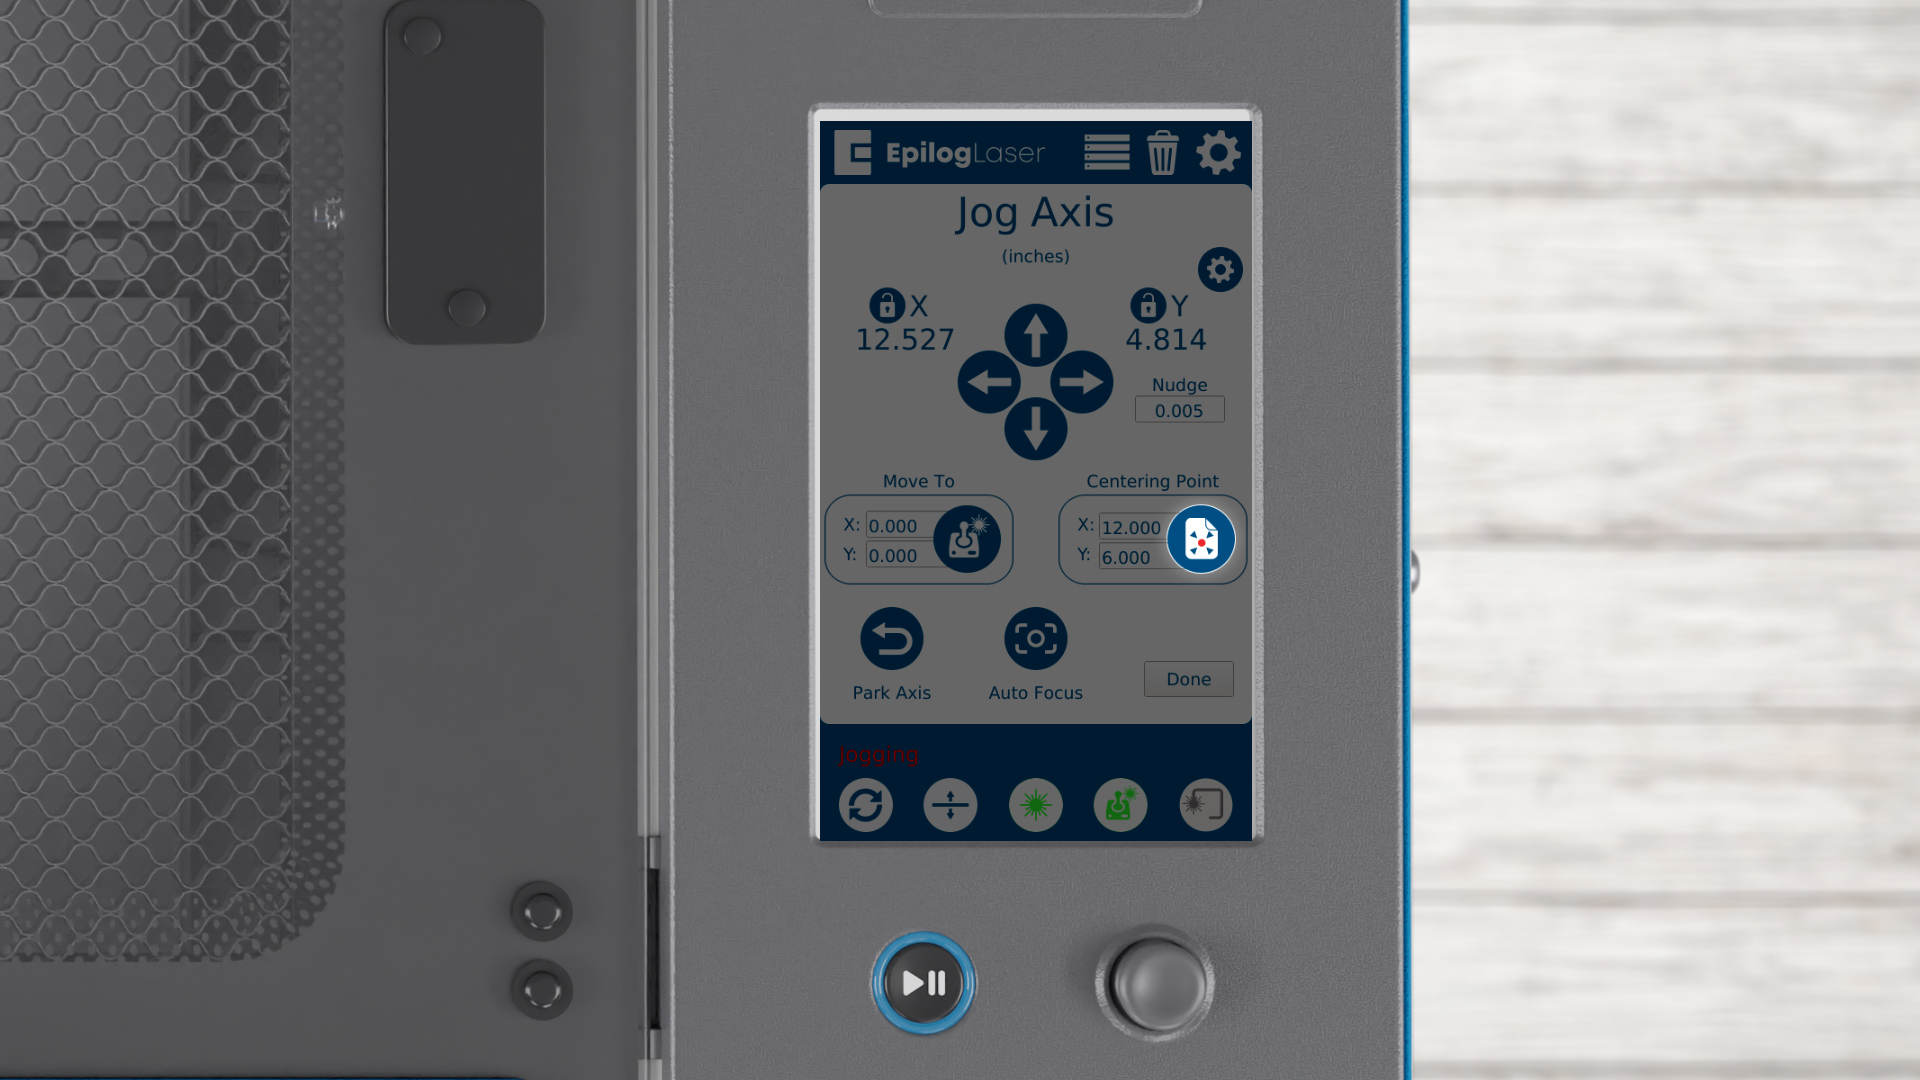
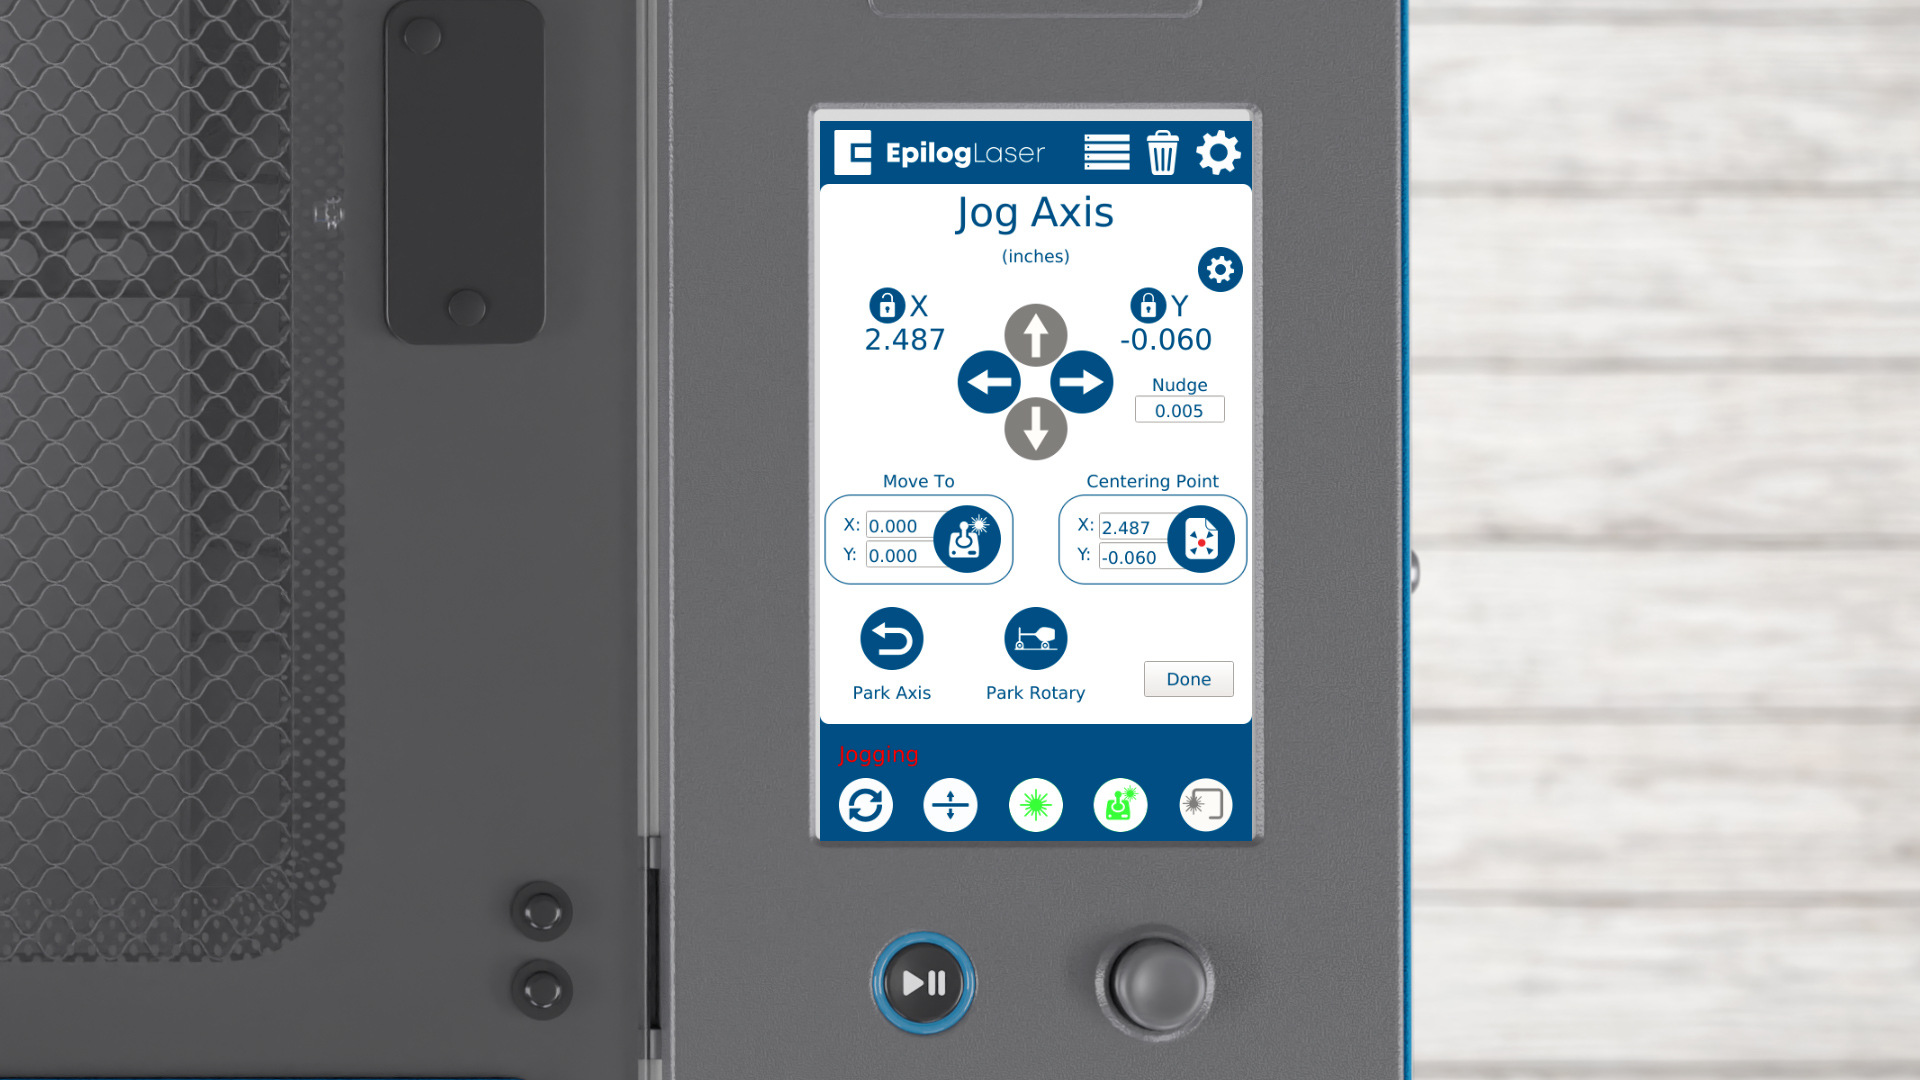
Once the laser head is in position, press the Centering Point button on the control panel. This saves your temporary home position in the system’s memory.
This home position will only apply to jobs sent to the laser with a centering point set in the Laser Dashboard. Any other jobs at the laser will continue to use the top-left corner of the table as the home position.
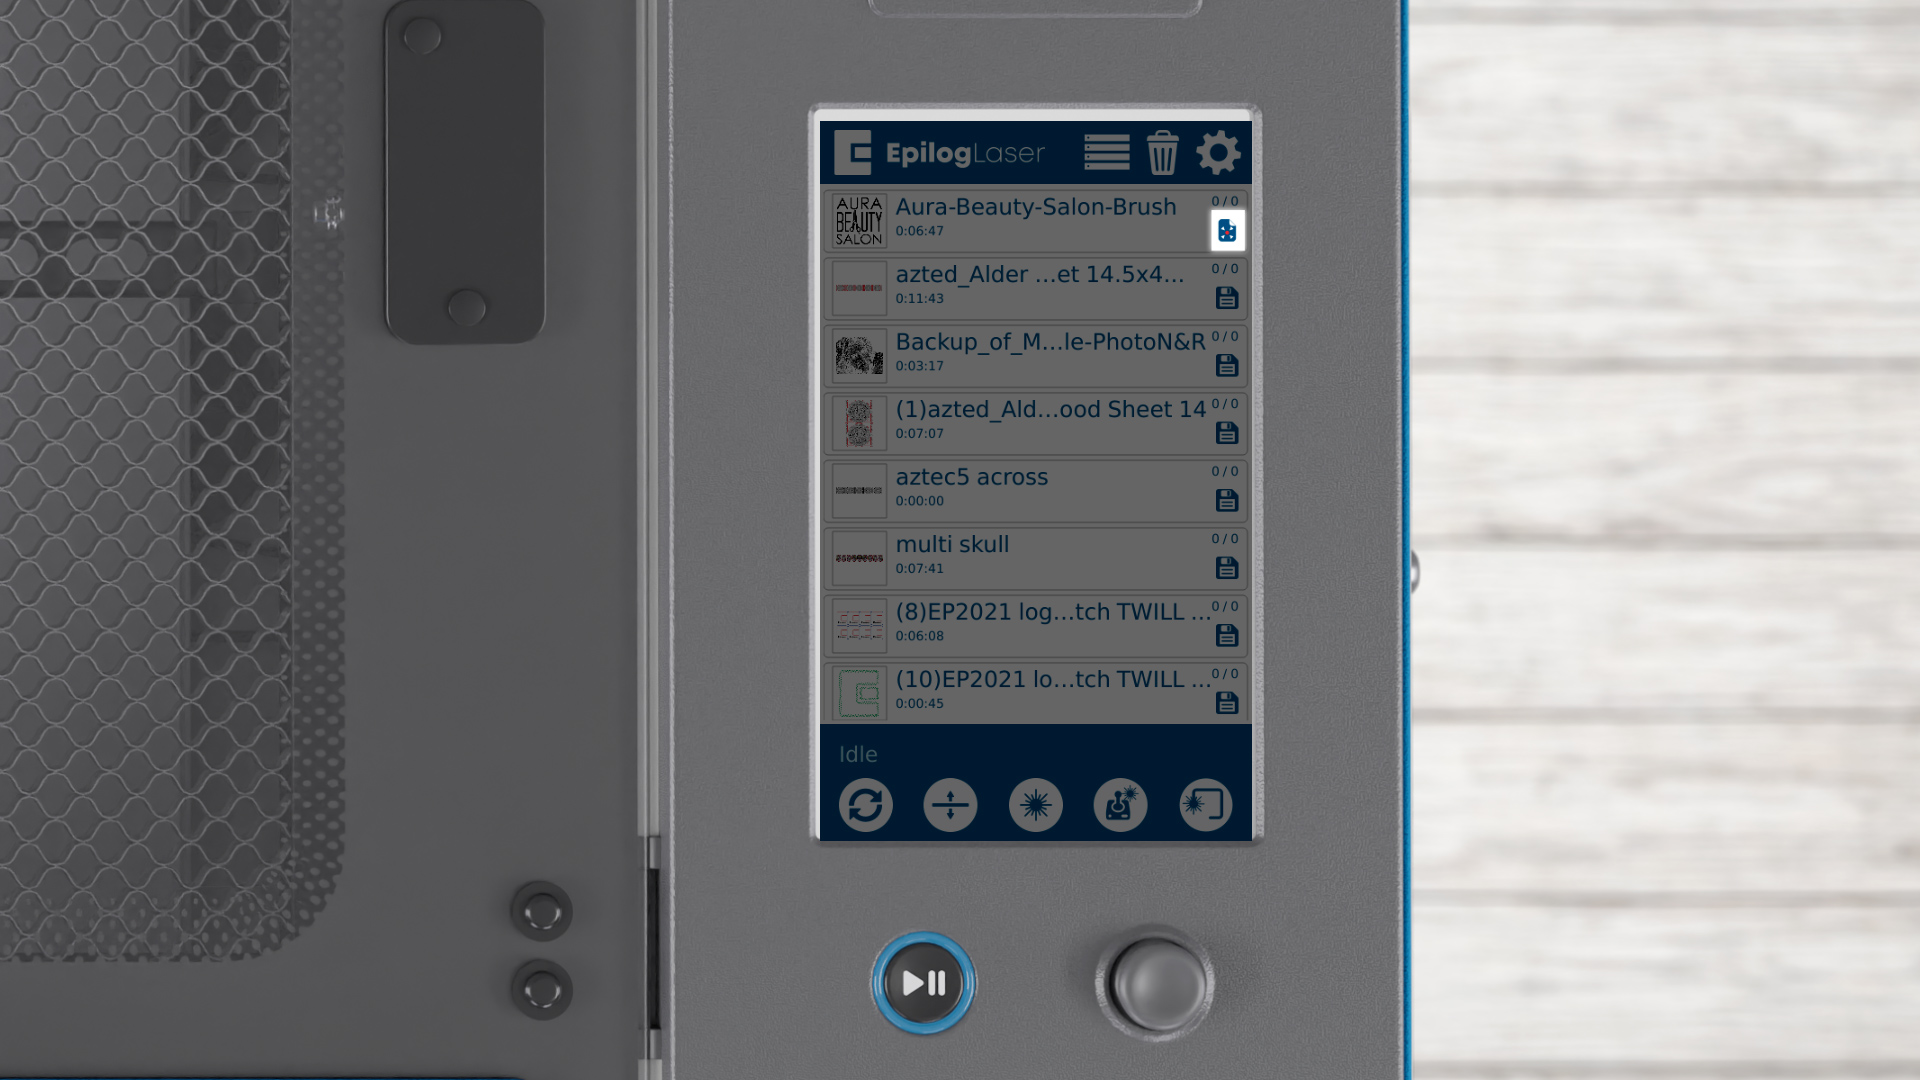
You can tell which jobs will use this home position by the inclusion of the red target icon next to the job.
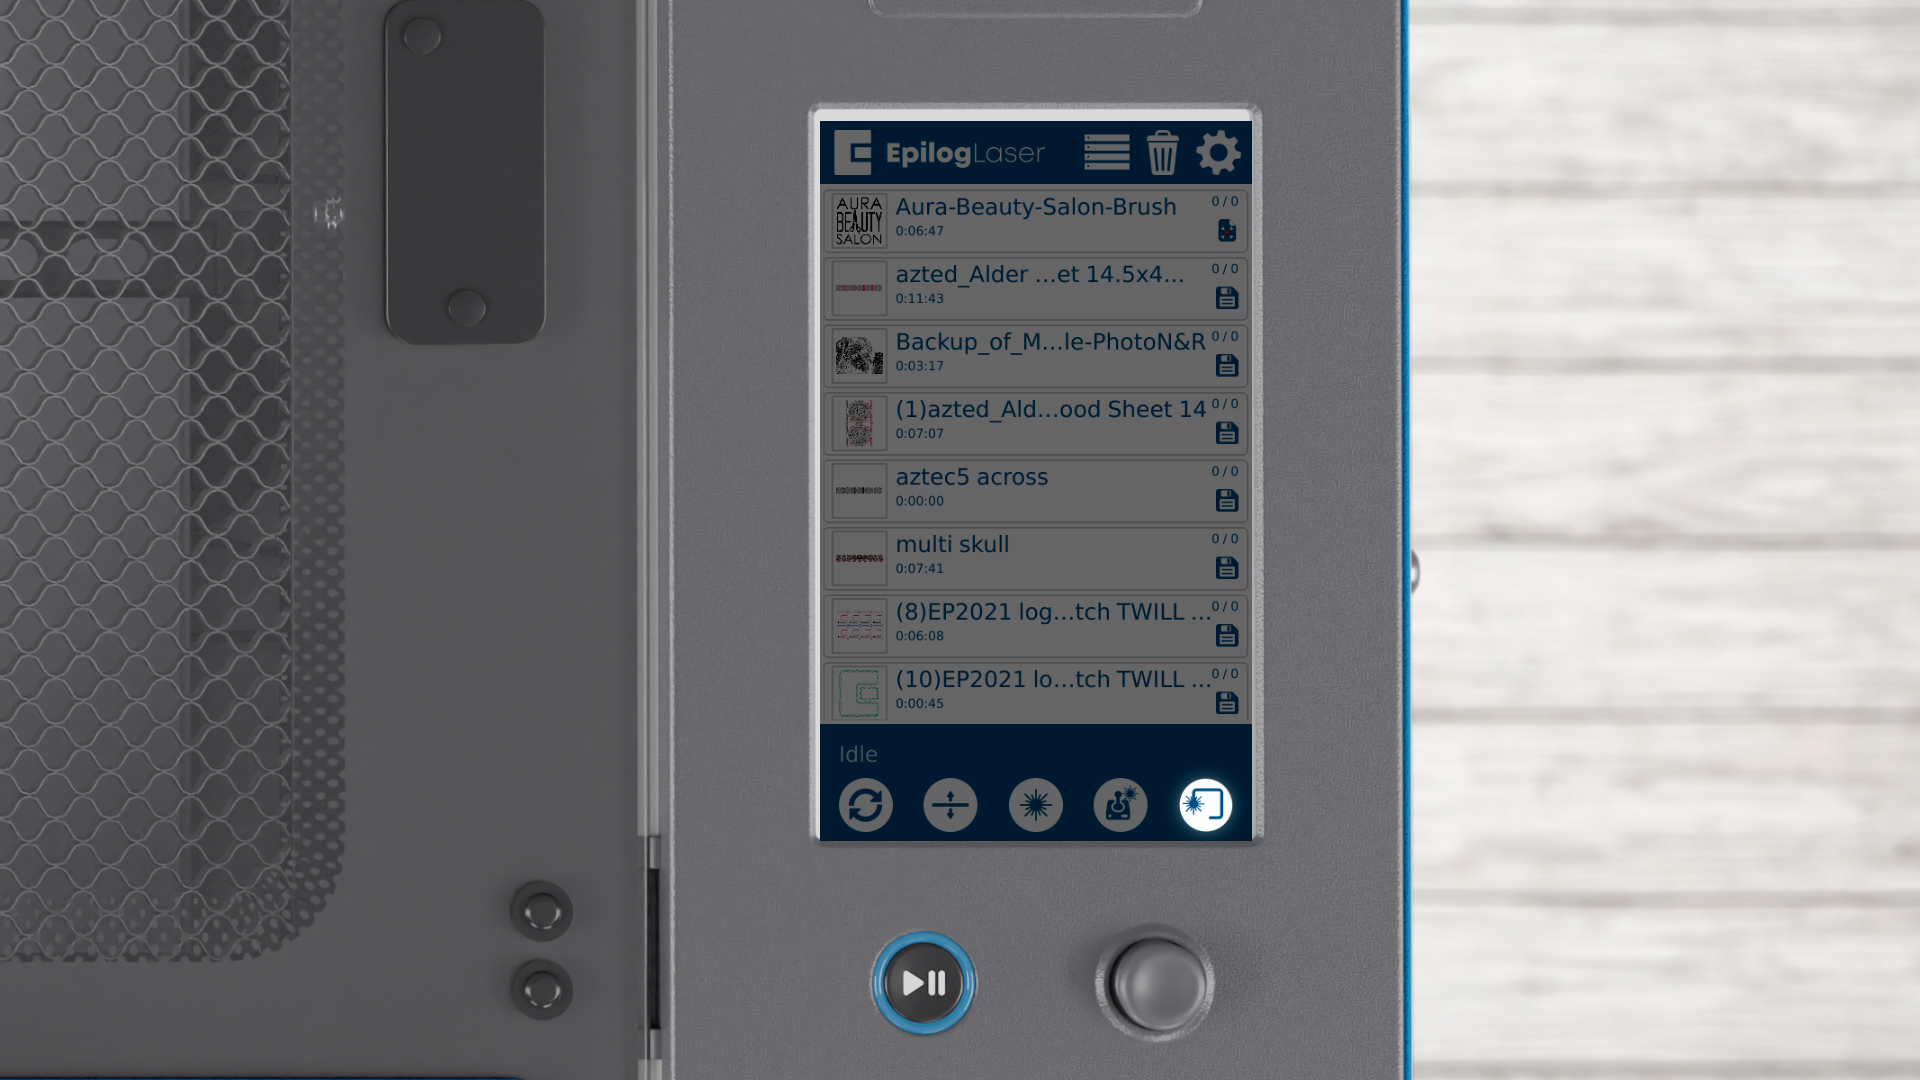
To ensure everything is set correctly, run a test job by pressing the Trace button on the control panel. This will trace a square around the engraving area and help verify your home positioning.

When you’re happy with the positioning, run your job.
Rotary Laser Dashboard Setup
One of the job types that this is most helpful for is when using the Rotary Attachment.
Print your file to the laser dashboard.
Choose your settings for leather engraving.
And go to the Advanced tab.
Turn on the rotary attachment.
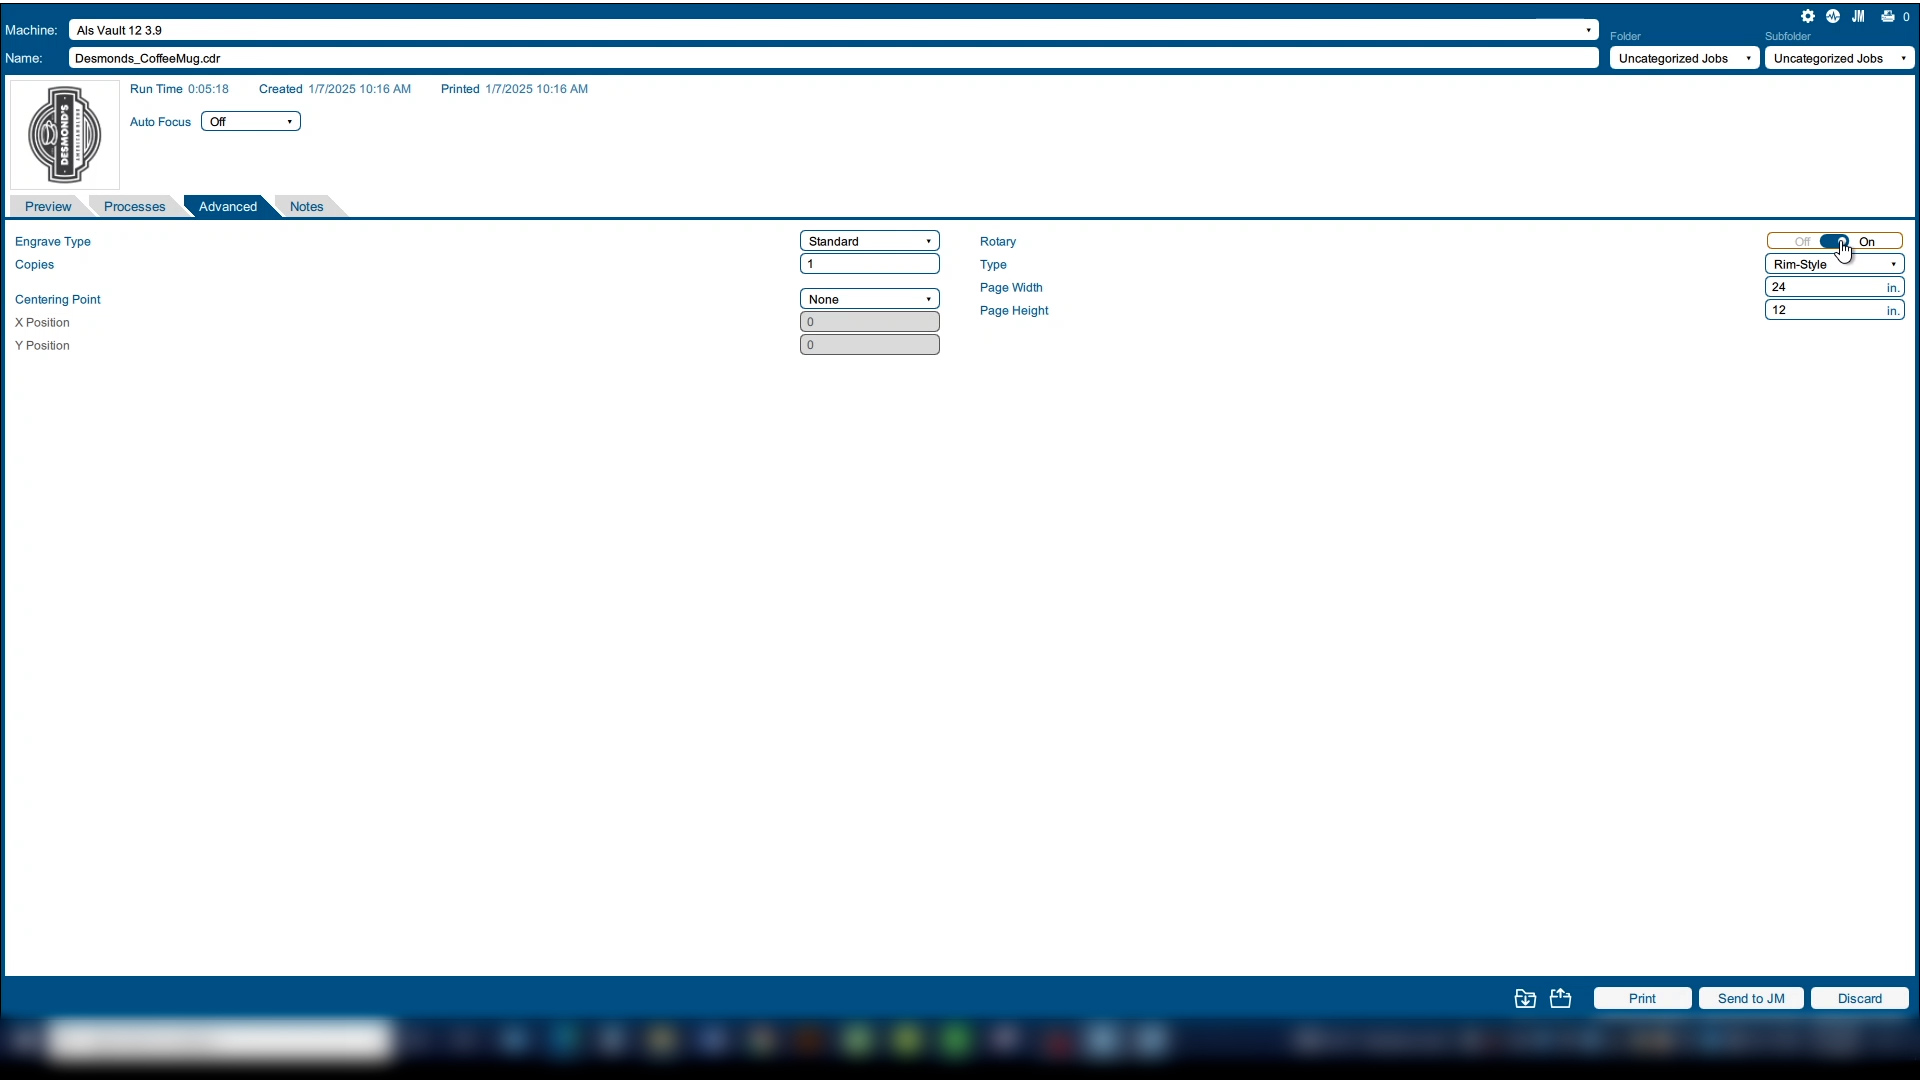
And choose Center-Top as the centering point.

Here we can see from the red target our new home position.
Print the file to the laser.
Rotary Home Position Setup
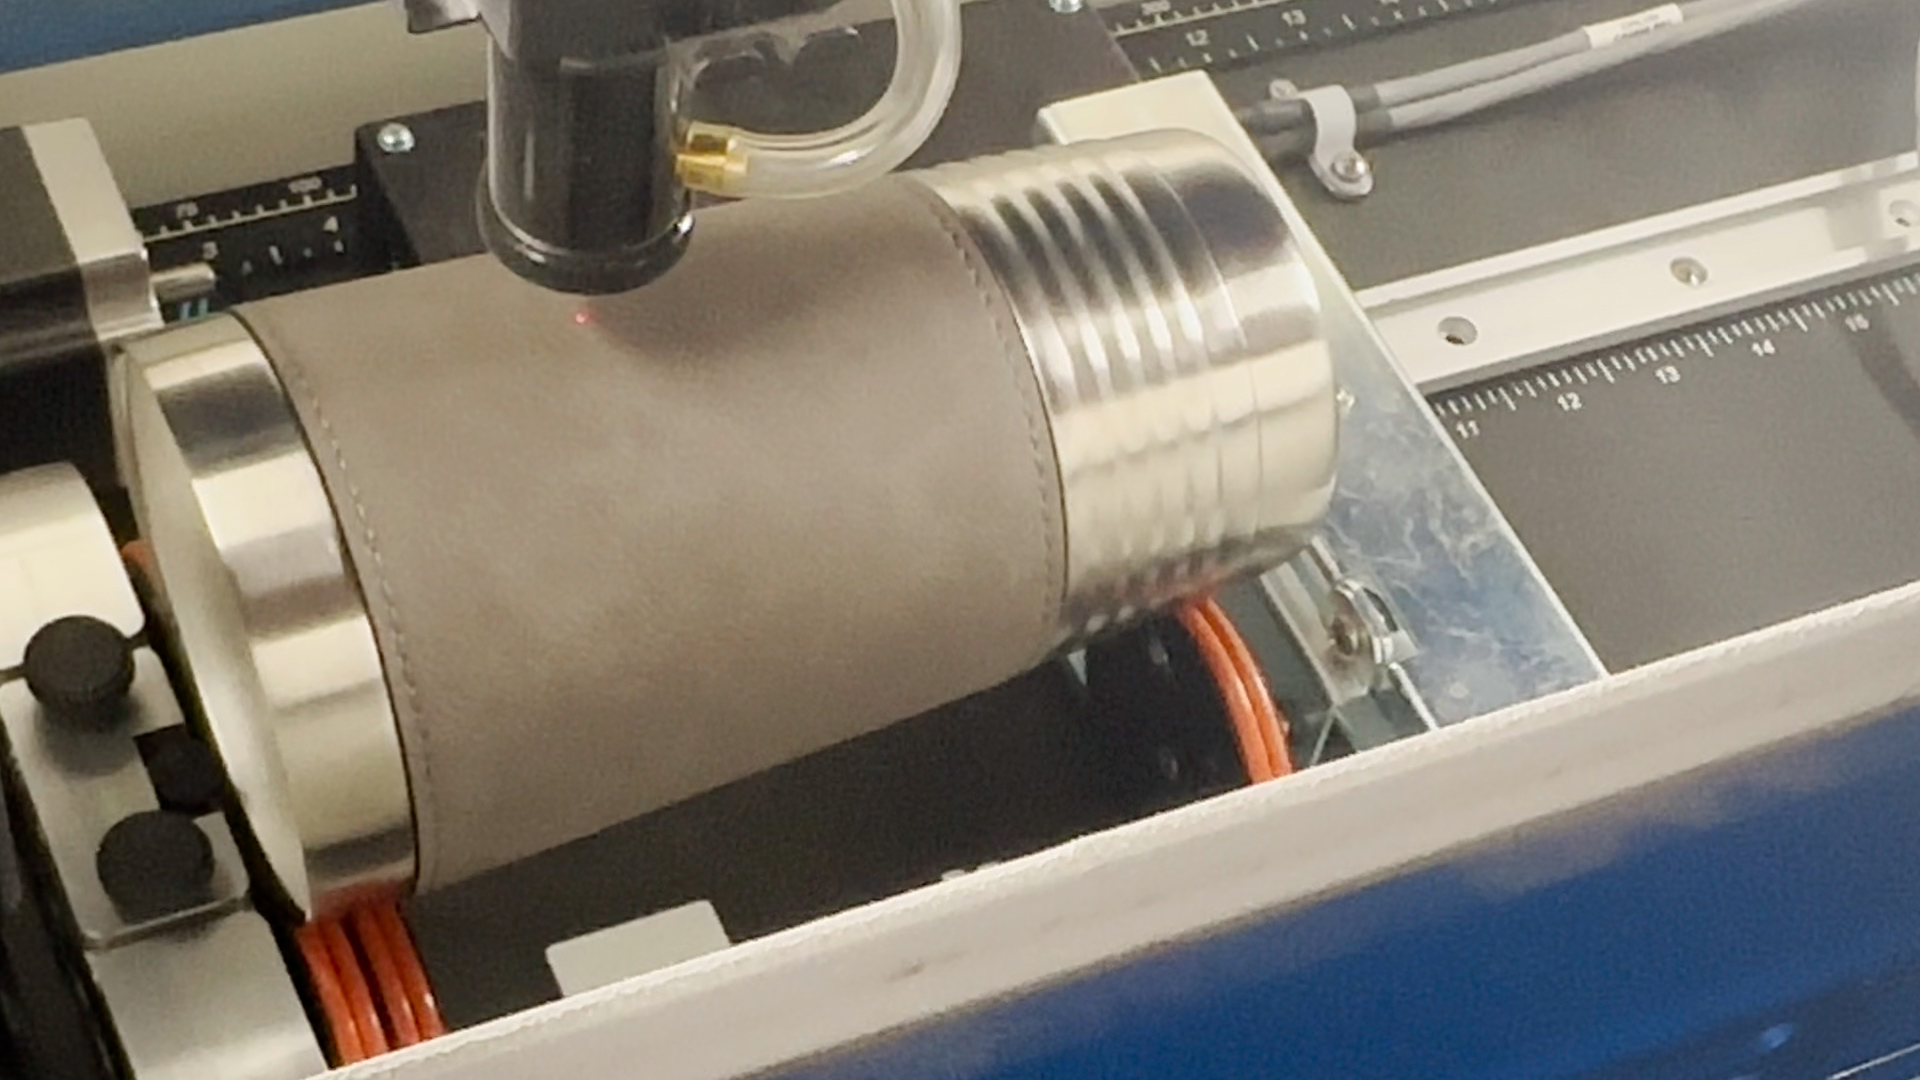
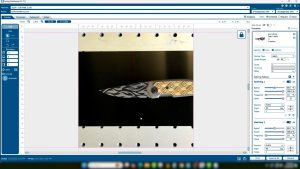
At the laser, position the red dot pointer at the center point of the mug we are engraving.
Once you have the position dialed in, press the Centering Point button on the display panel.
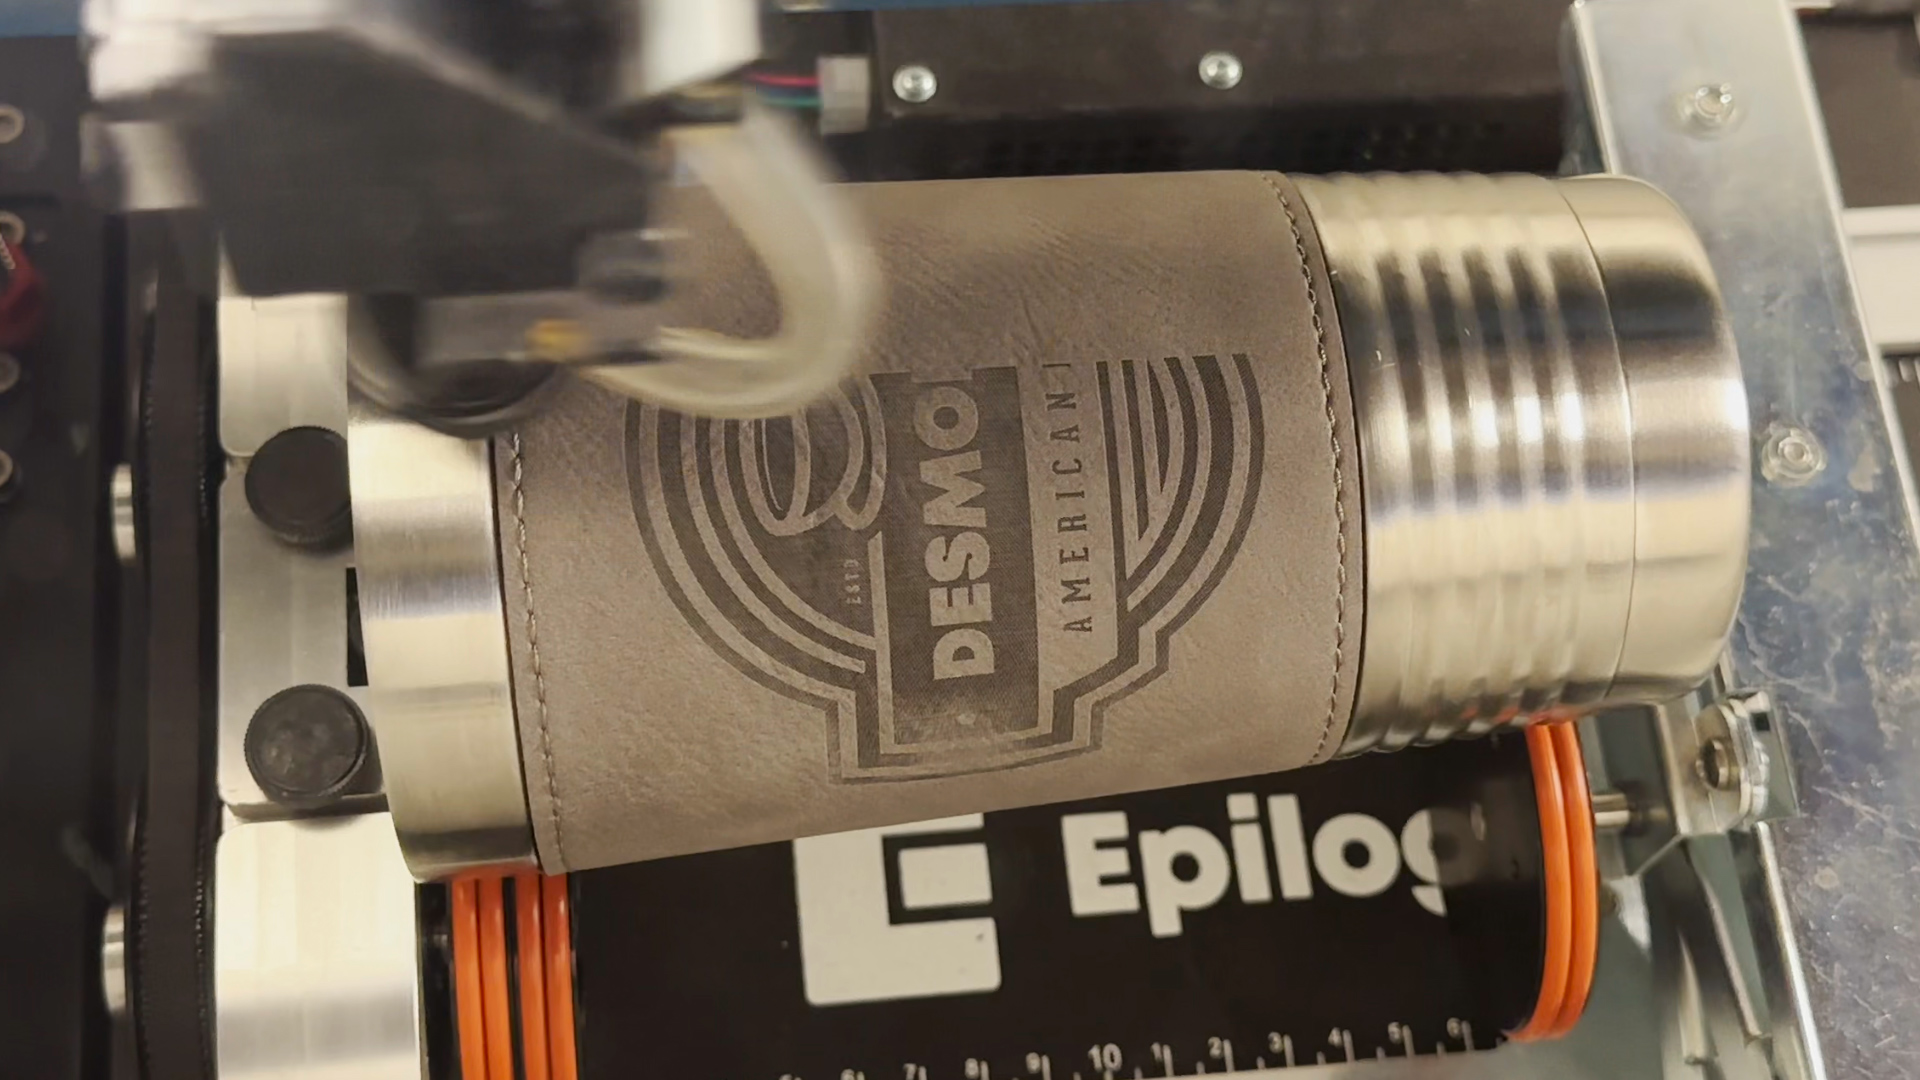
Test the position using the trace feature. If the positioning looks good, run the job.
Congratulations! You’ve successfully set your custom center home position on your Epilog Laser System. Regular practice will make this process second nature.