Today we will be walking you through replacing the X Motor on the Fusion Edge.
For this procedure you will need: A 5/32” Allen wrench, a 7/64” Allen Wrench, and a #1 Phillips Screwdriver.
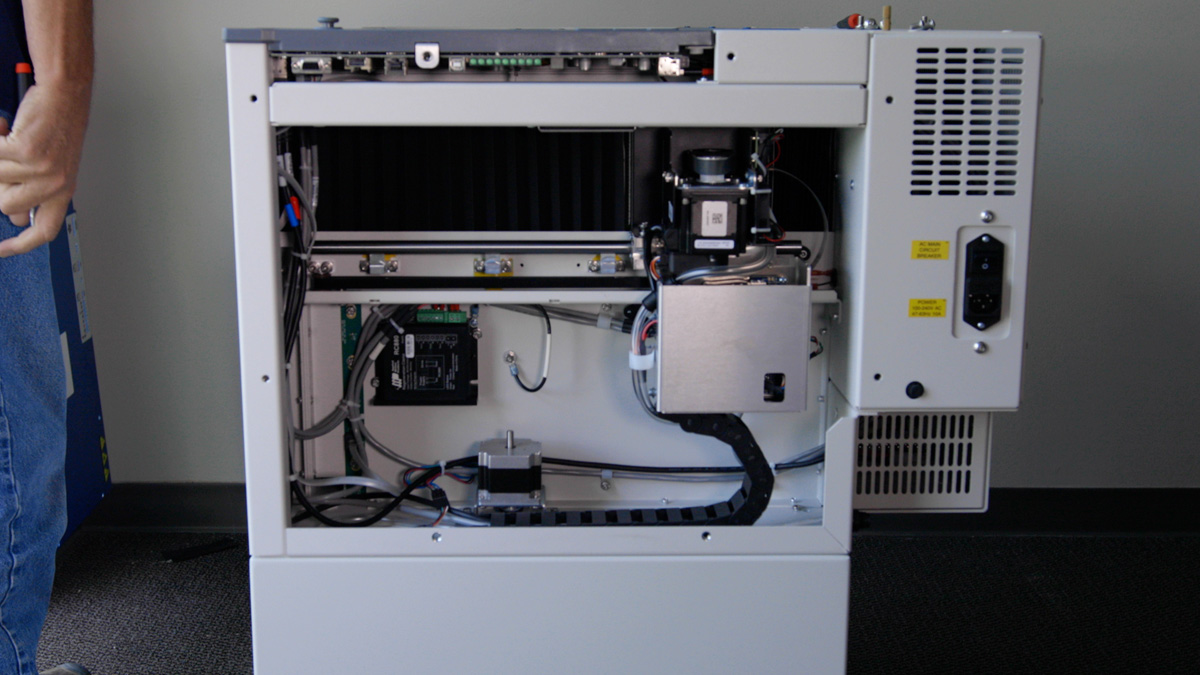
Remove Side Panel
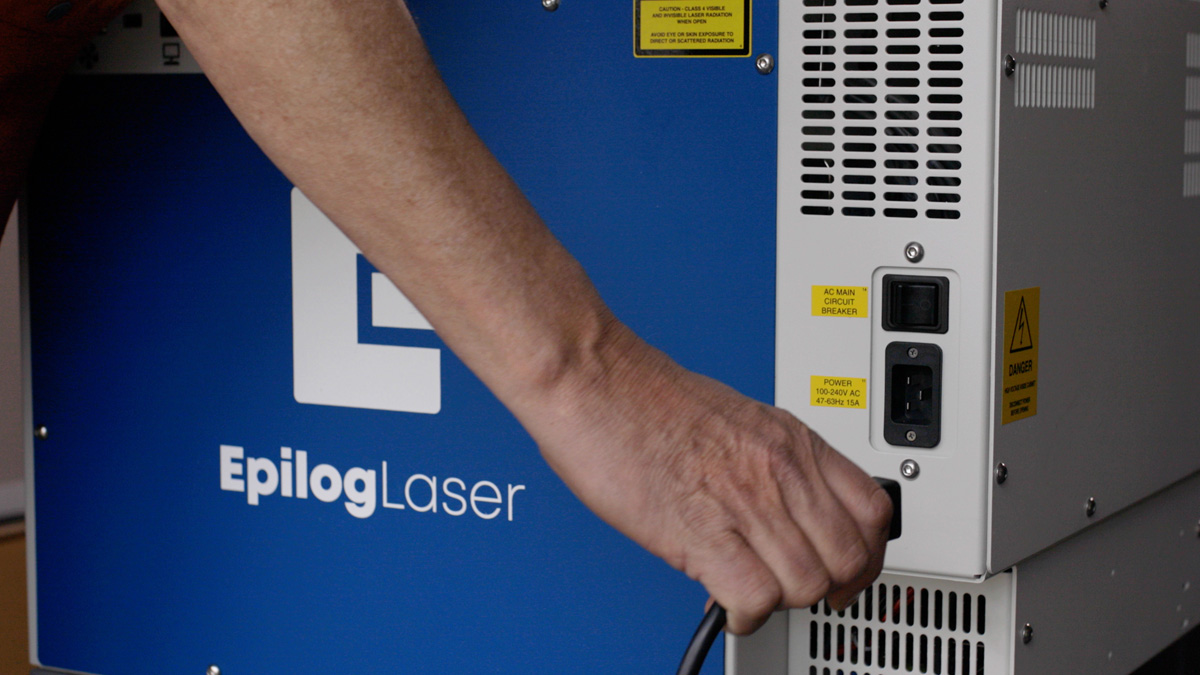
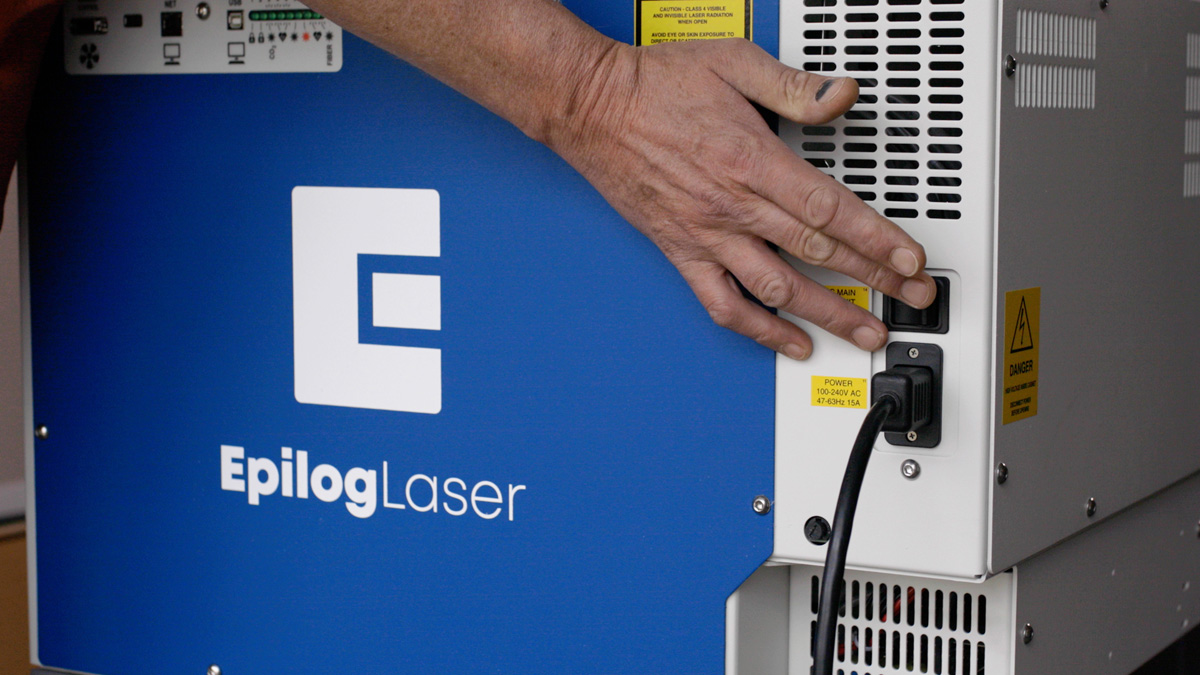
Before we begin, make sure you turn off & unplug the machine.
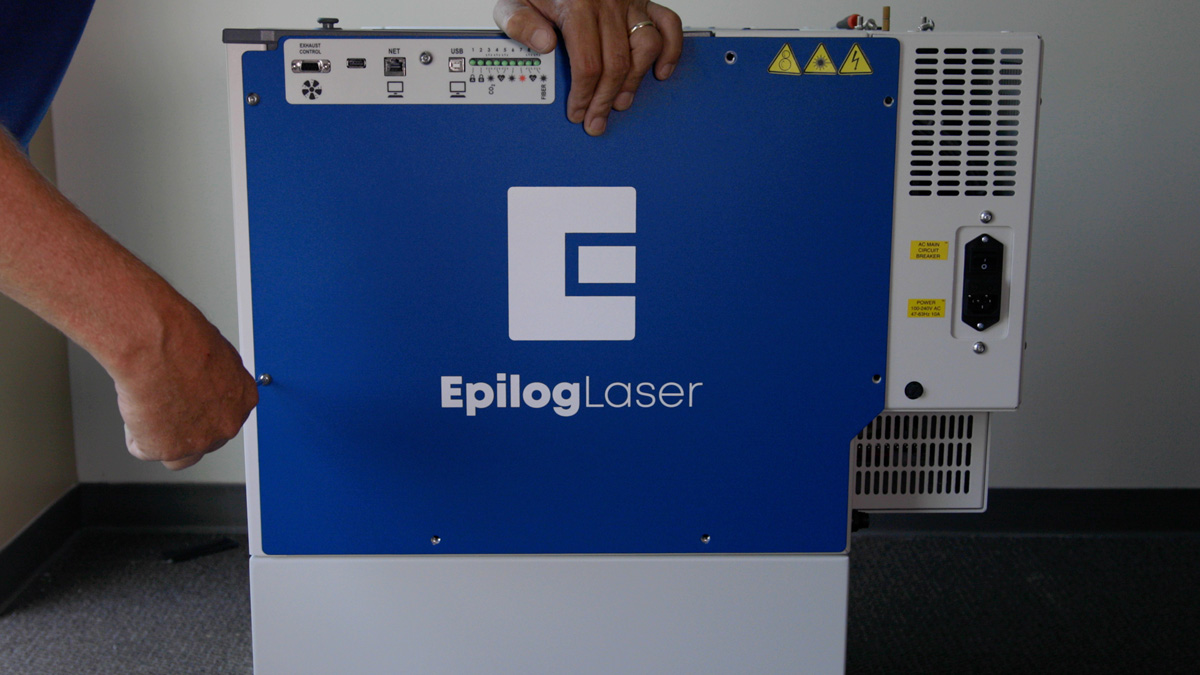
Using a 5/32” Allen wrench, remove the 8 Allen screws that secure the right-hand side panel, and set the panel off to one side.
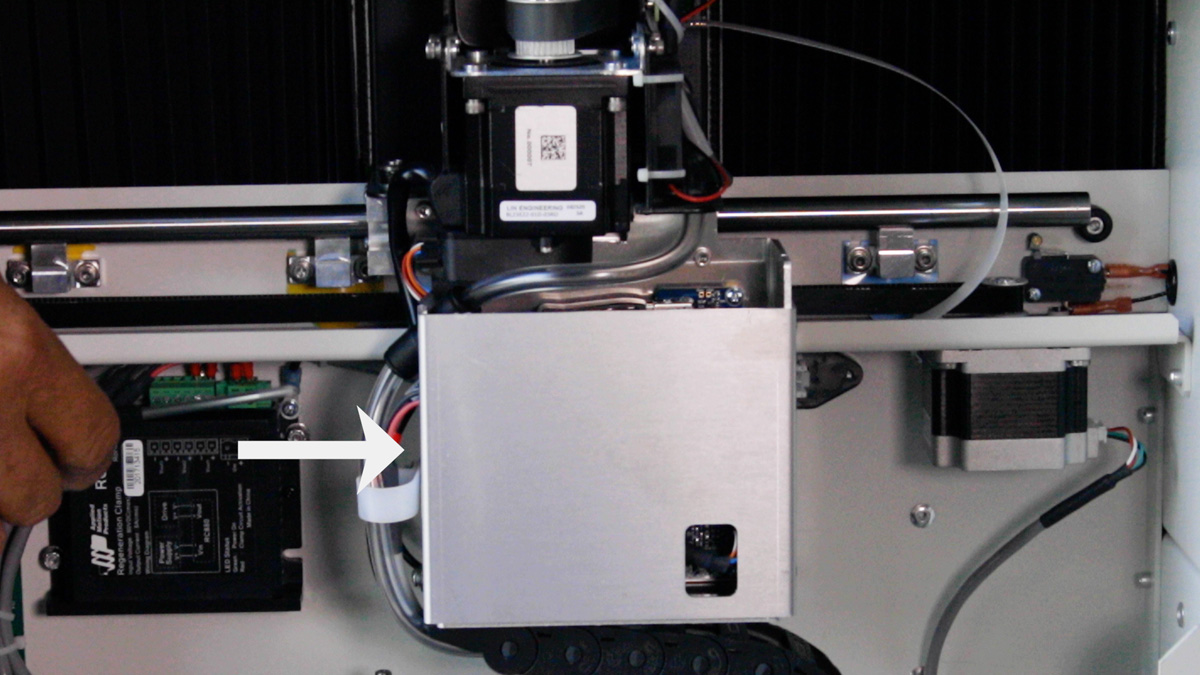
Move to the front of the machine and pull the X-axis assembly to the center of the machine.
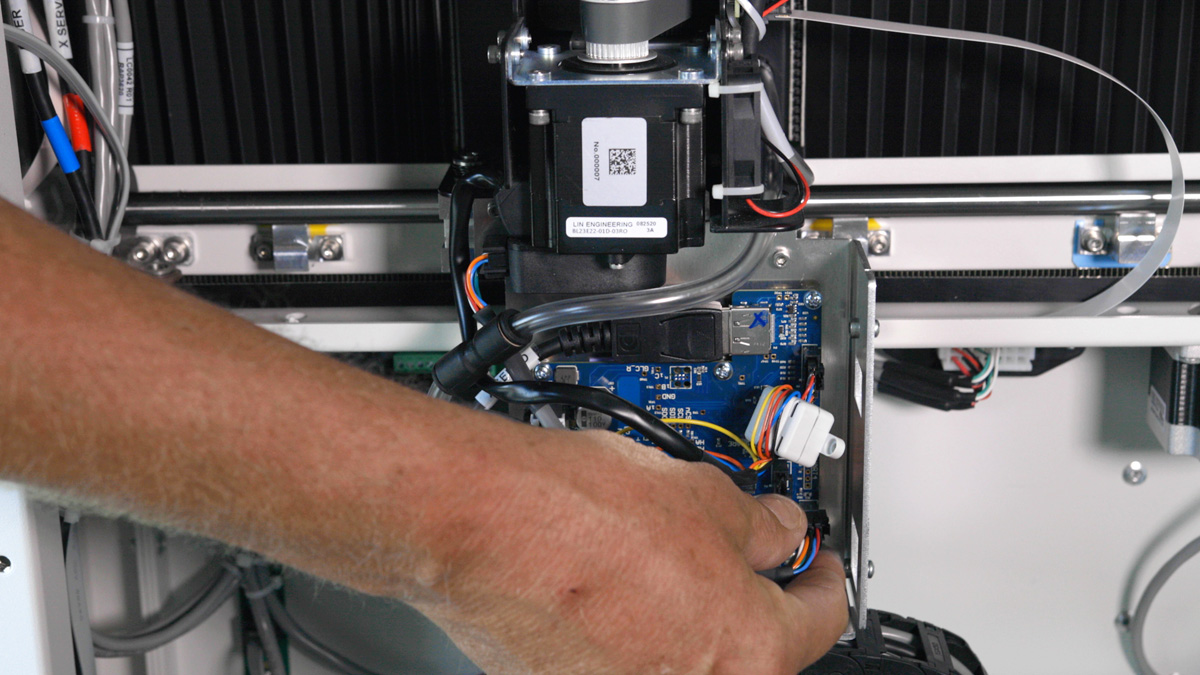
Now move back to the right-hand side of the machine and locate the silver box that covers the X Motor Driver board. This is the motor drive cover.
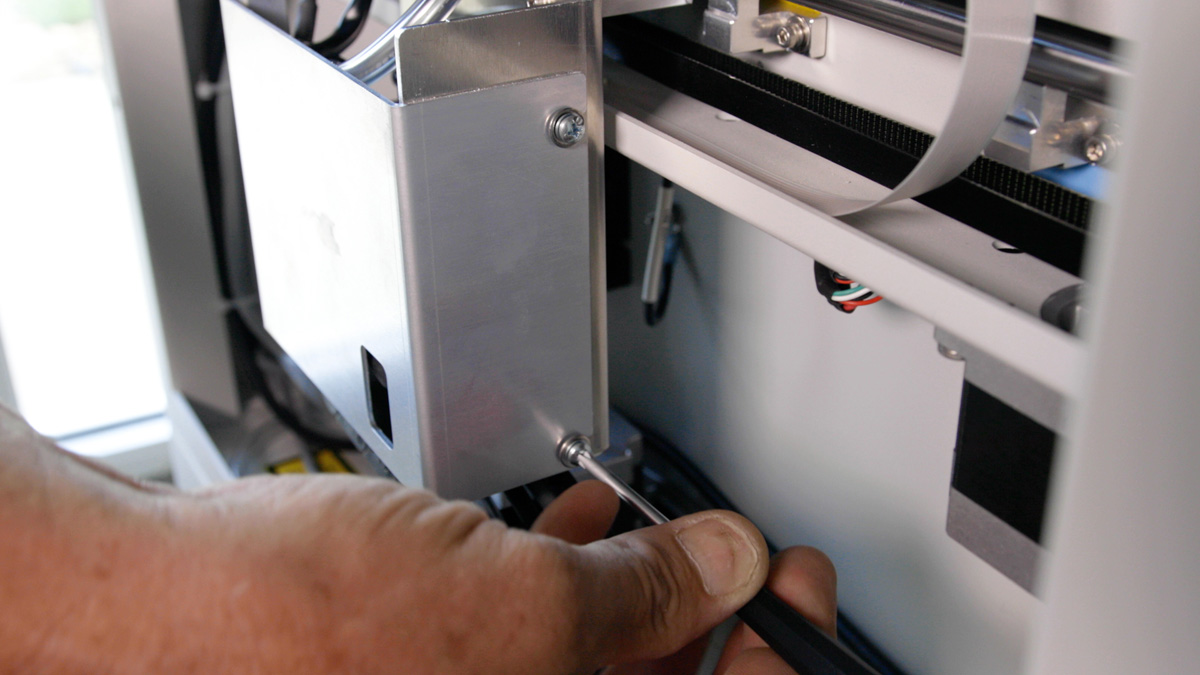
Locate the two #1 Phillips screws that secure the front of the cover to the X-axis assembly and loosen these two screws.
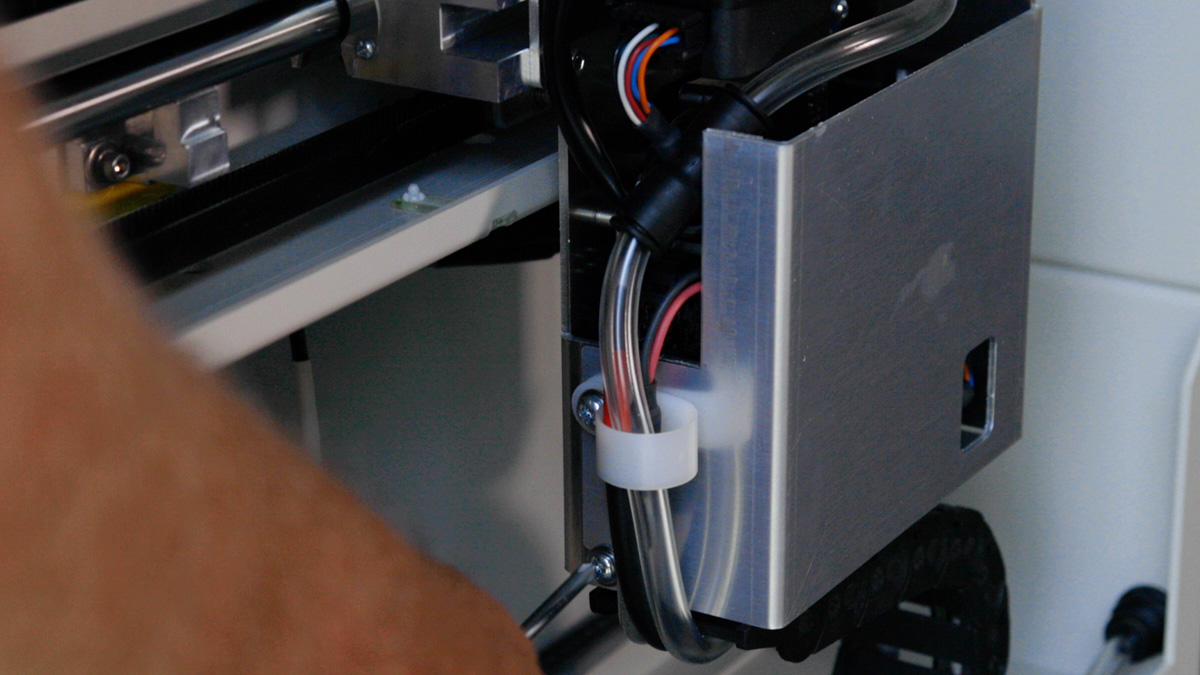
Move to the rear of the rail and loosen the two screws at the rear of the X axis motor driver board cover. These screws do not need to be removed.
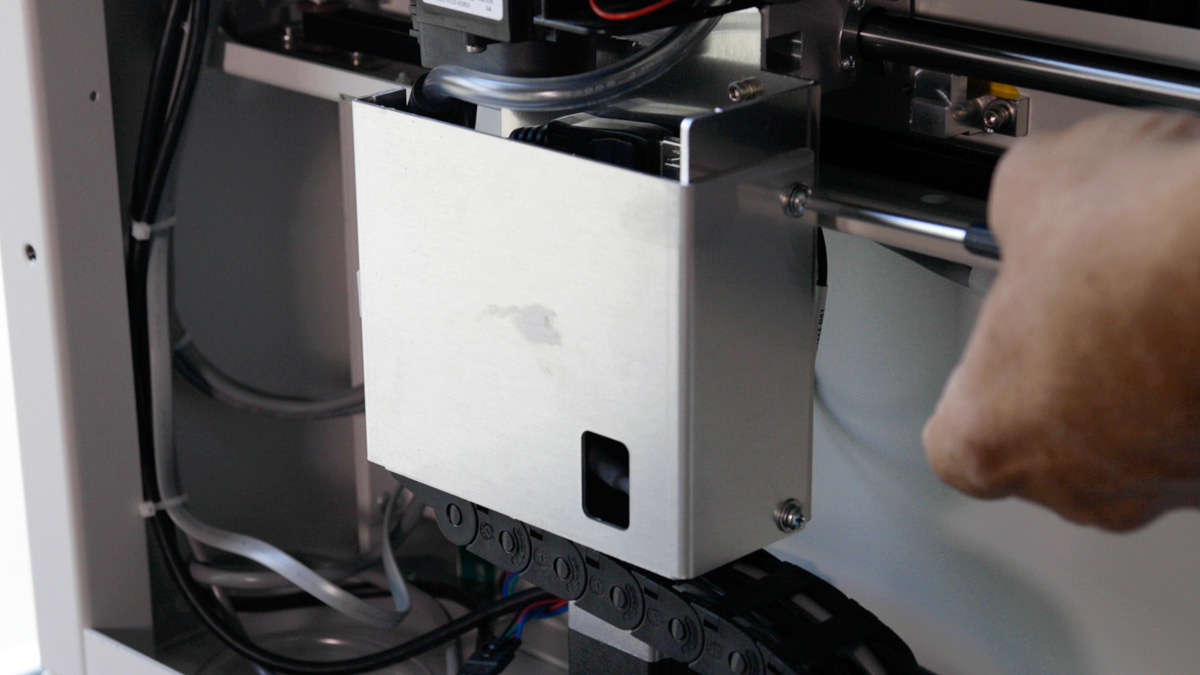
Remove the motor drive cover and set it to the side.
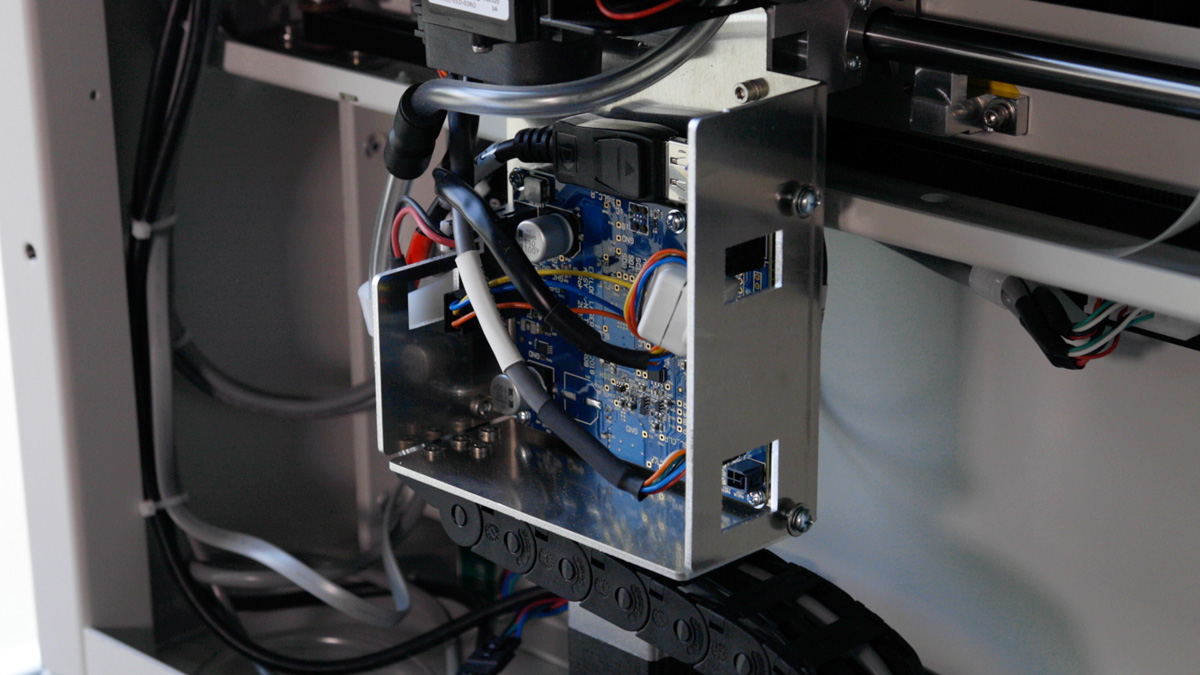
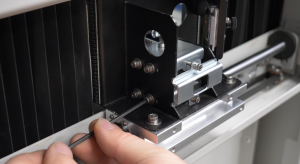
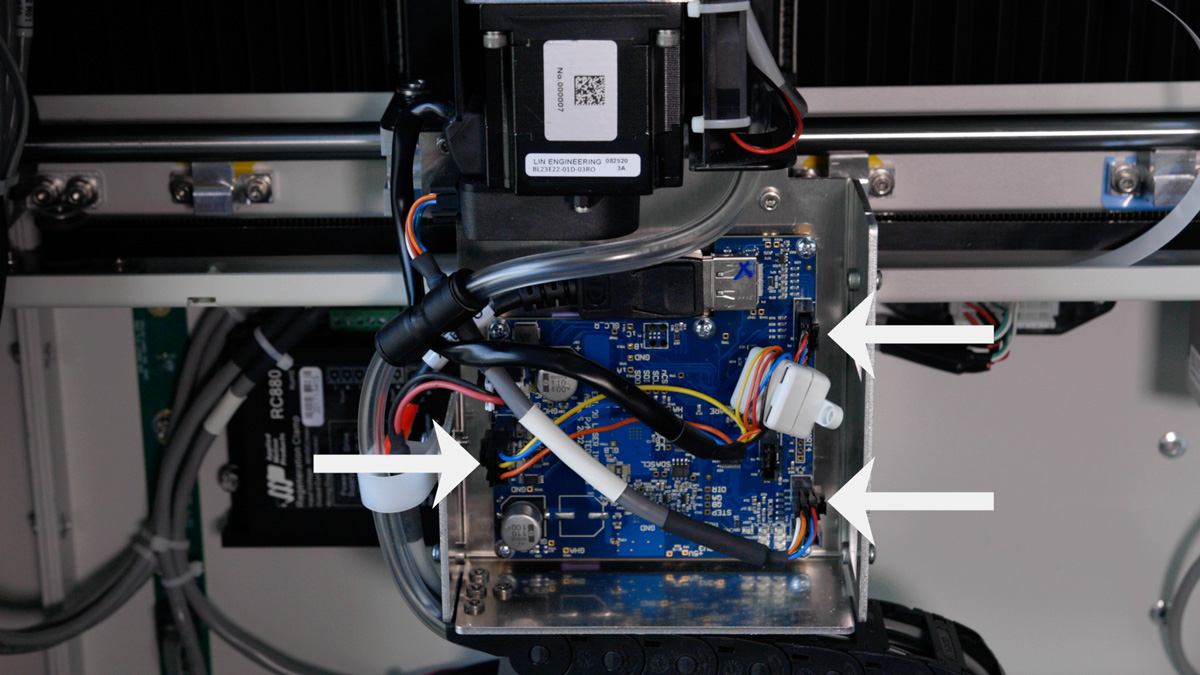
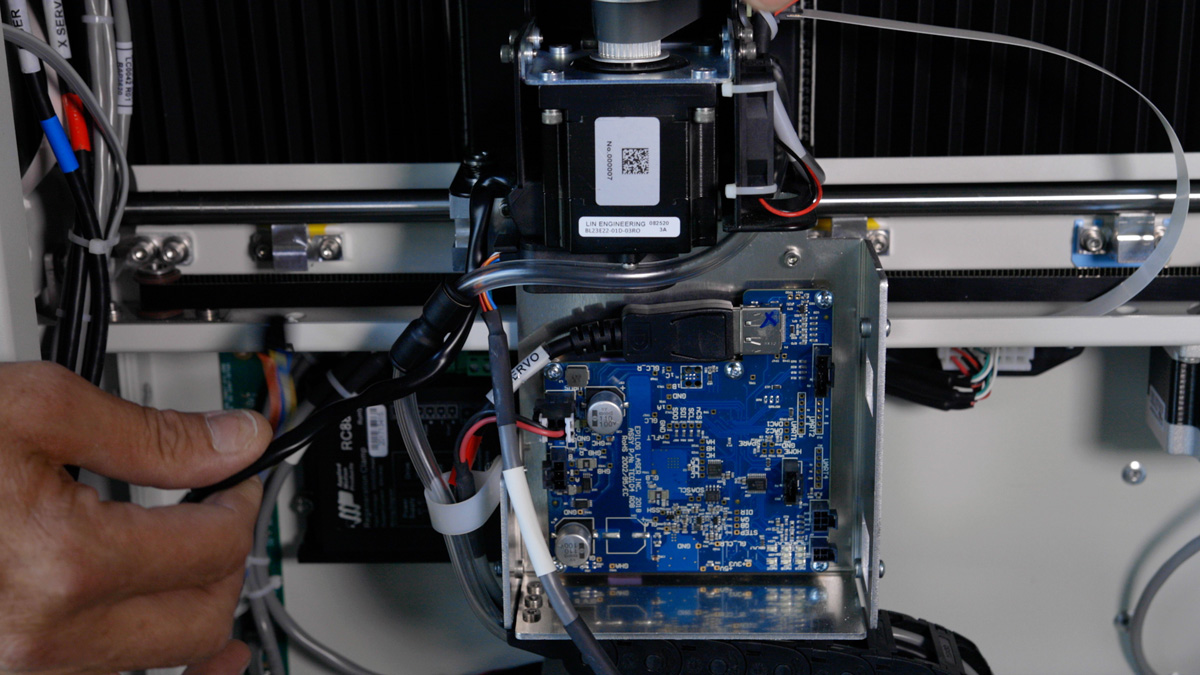
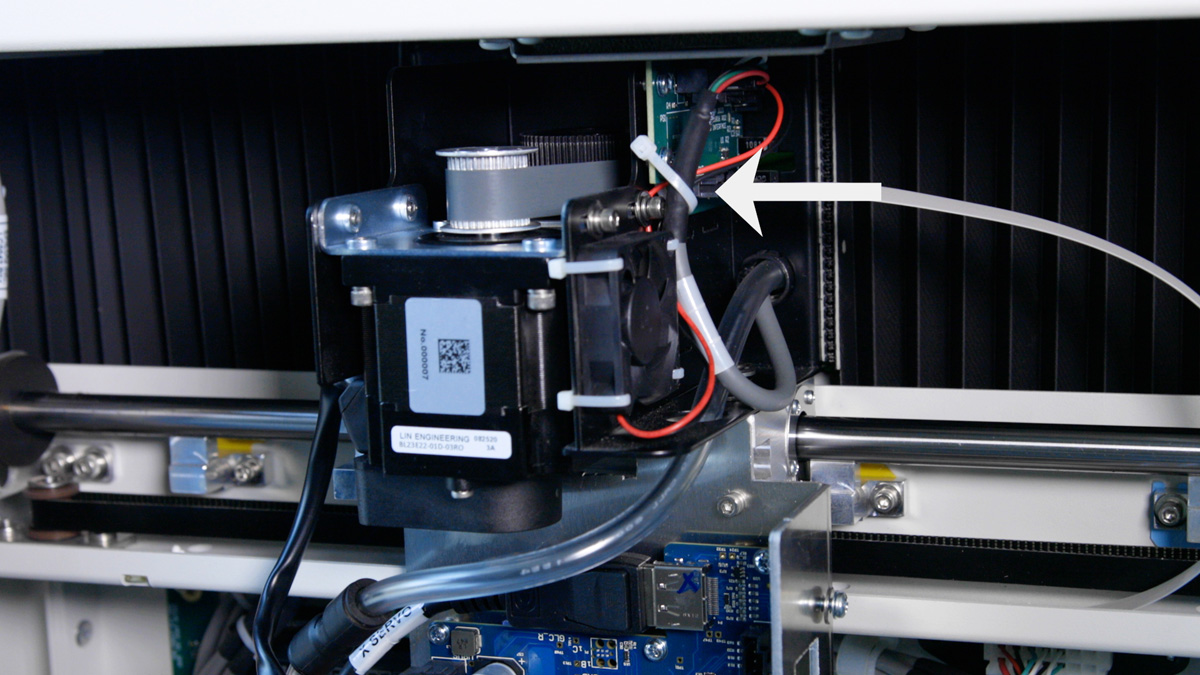
At the motor driver board there are three motor leads that need to be disconnected. Each connector is unique and can only be installed in one location on the driver board. All three connectors have locks that must be depressed for the connectors to come apart. Do not pull on the wires, instead pull on the connectors themselves to avoid dislodging the wires from the connectors.
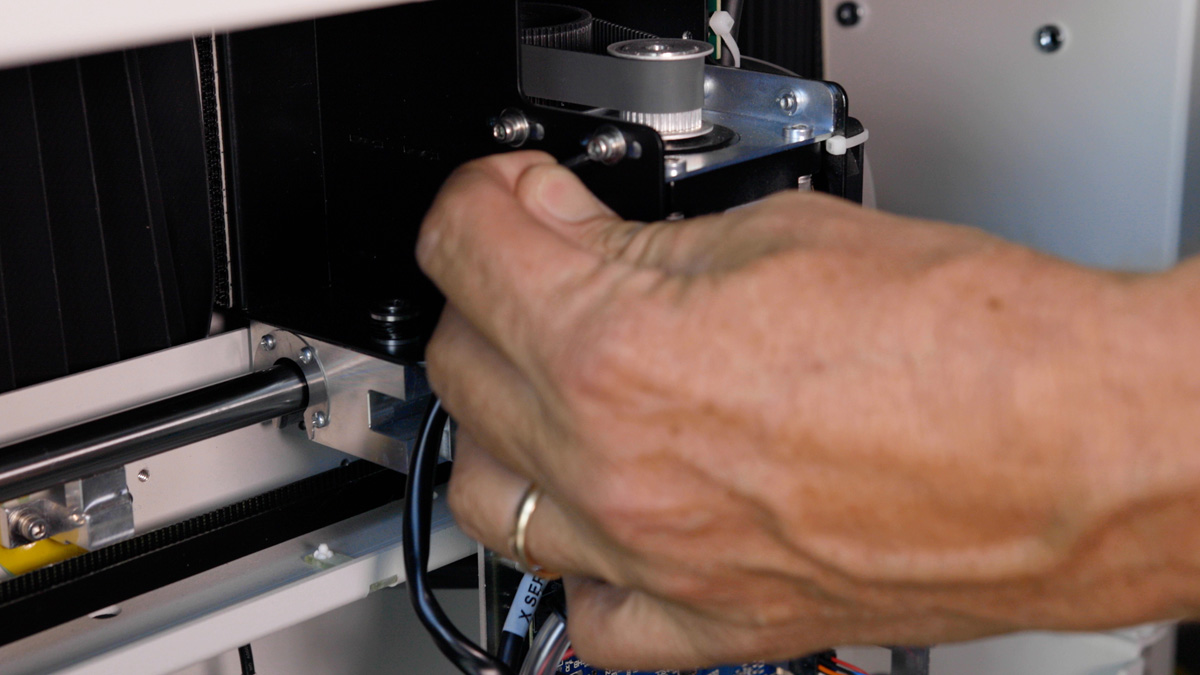
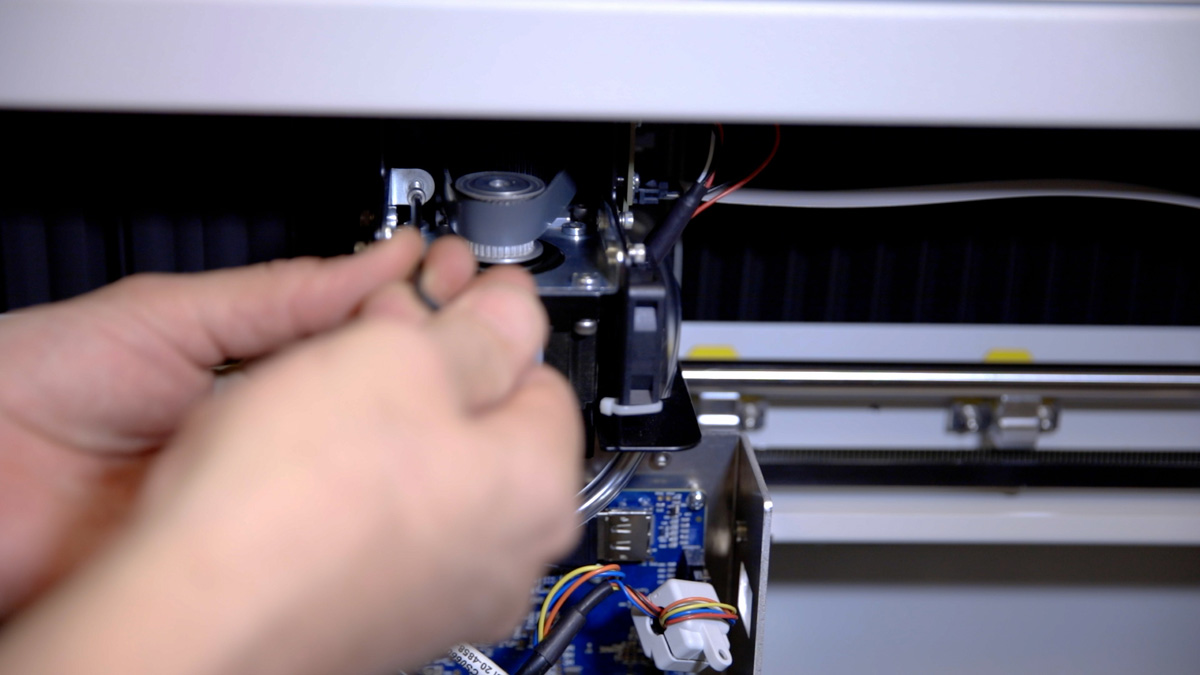
Using an 7/64” Allen wrench, remove the two screws on the front of the motor mount.
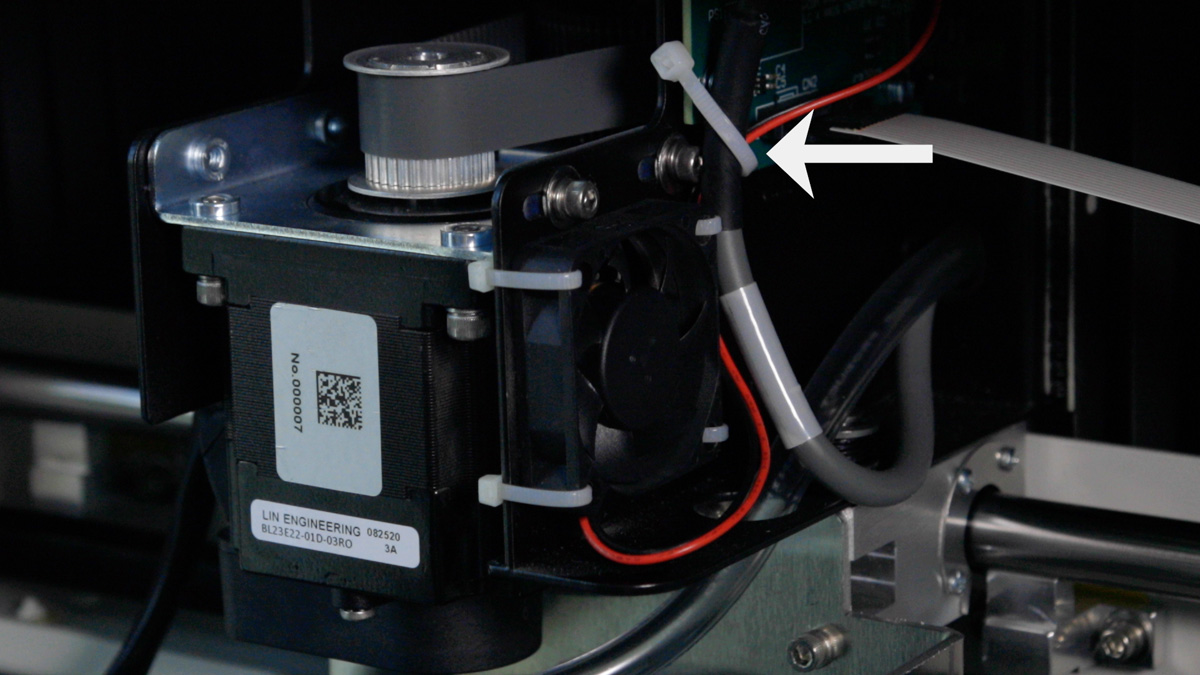
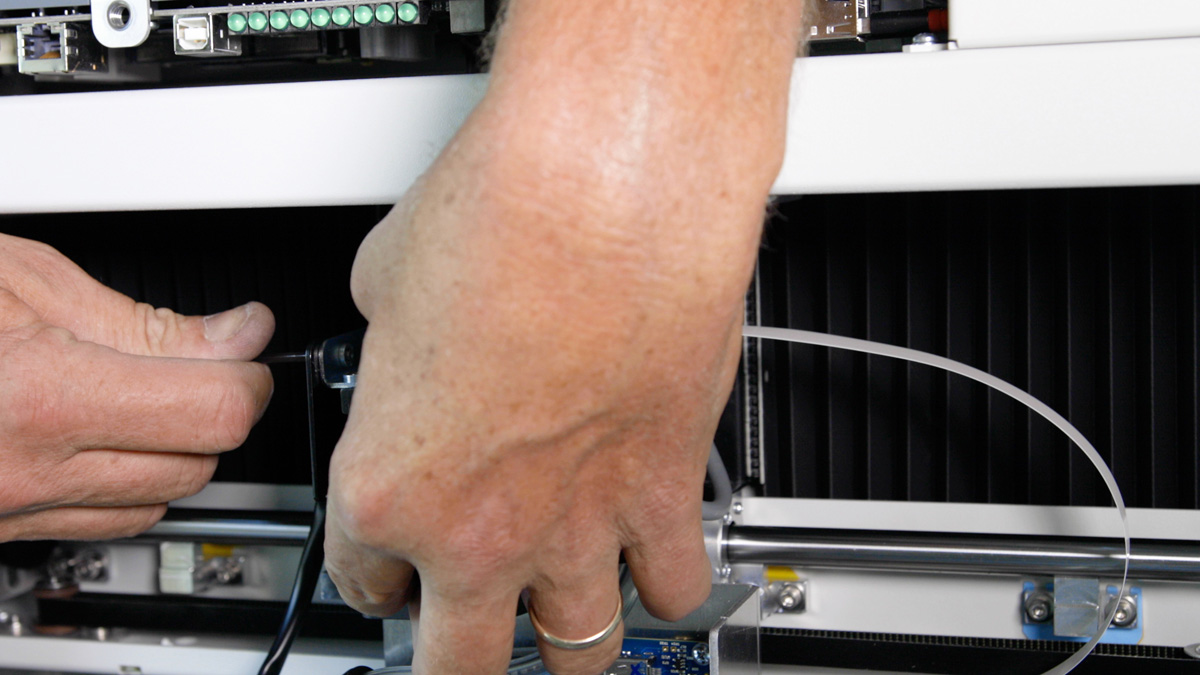
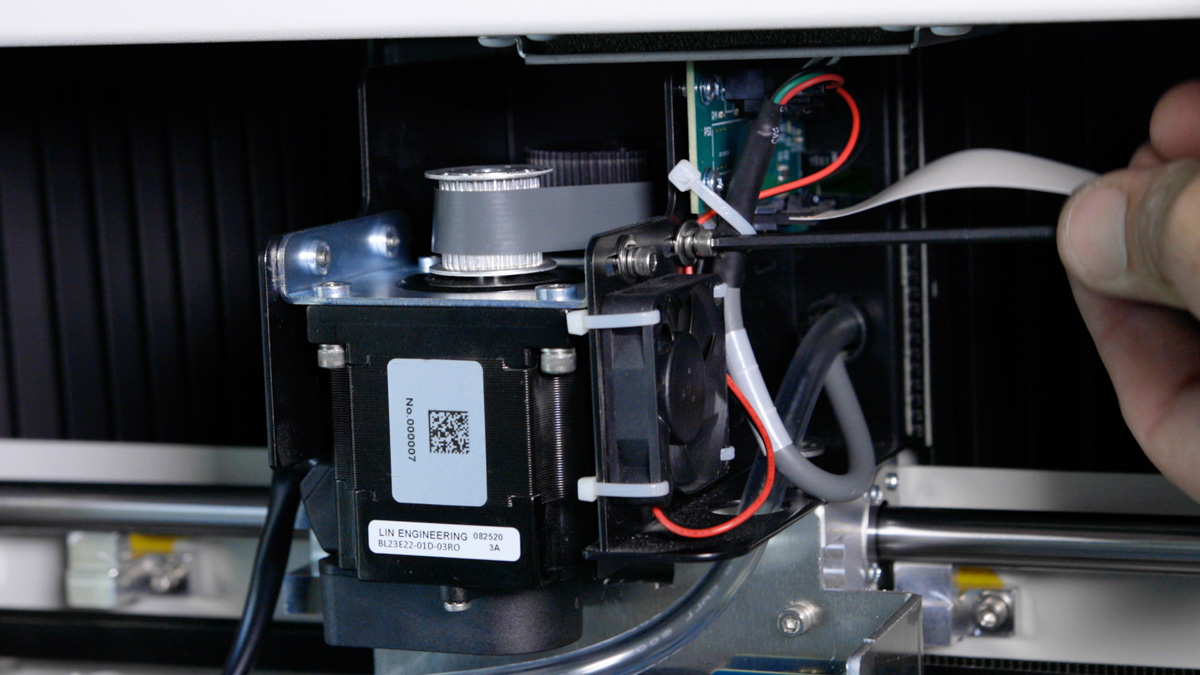
Using the same 7/64” Allen wrench, move to the rear of the rail and remove the two remaining Allen screws that secure the motor. Note: there is one Allen screw obscured by a cable tie, move the cable tie enough to use the Allen wrench to remove the screw. If the cable tie is still in the way, it can be cut, but should be replaced once the motor replacement is complete to keep the wires out of harm’s way.
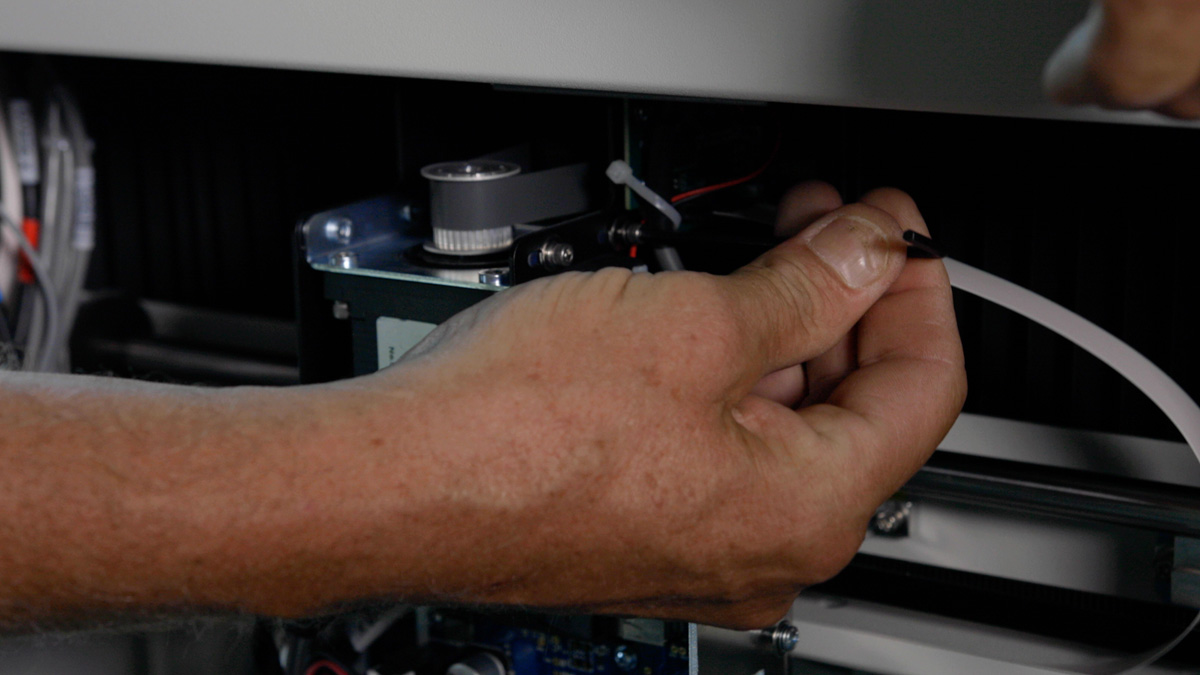
Now with the 7/64” Allen wrench, loosen the reducer drive belt adjustment screw located in the back of the motor mounting bracket. Note: Some earlier production machines do not have this additional screw, if yours does not you may skip this step.
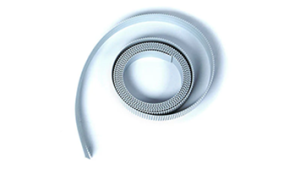
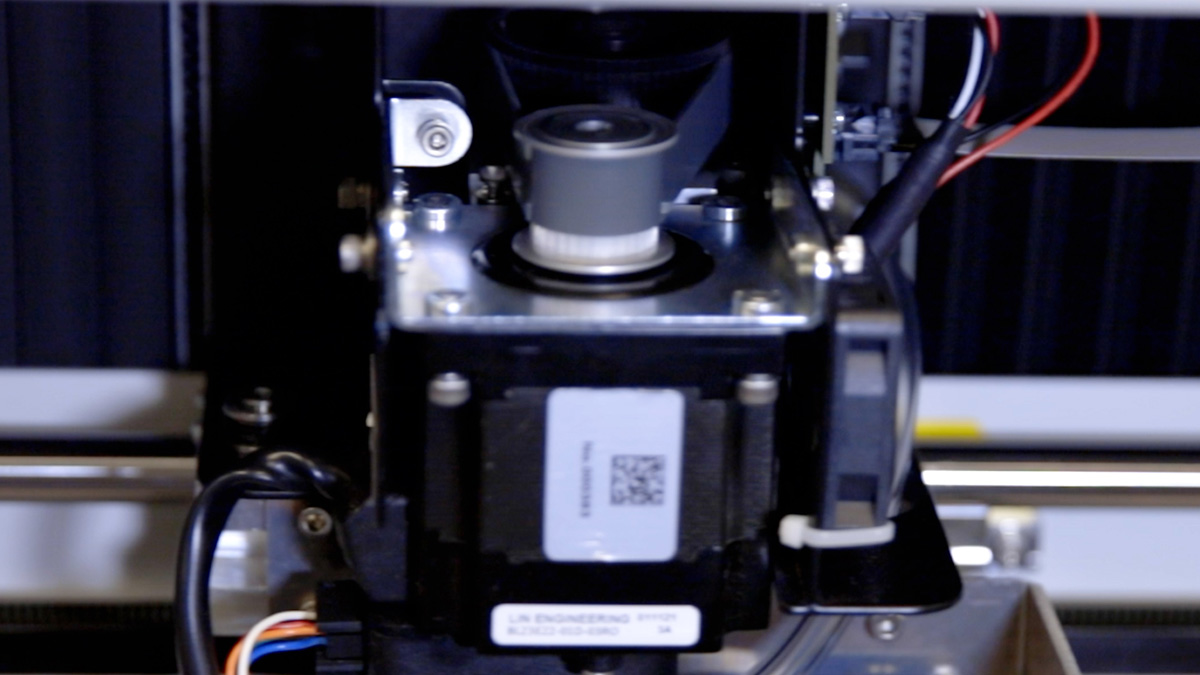
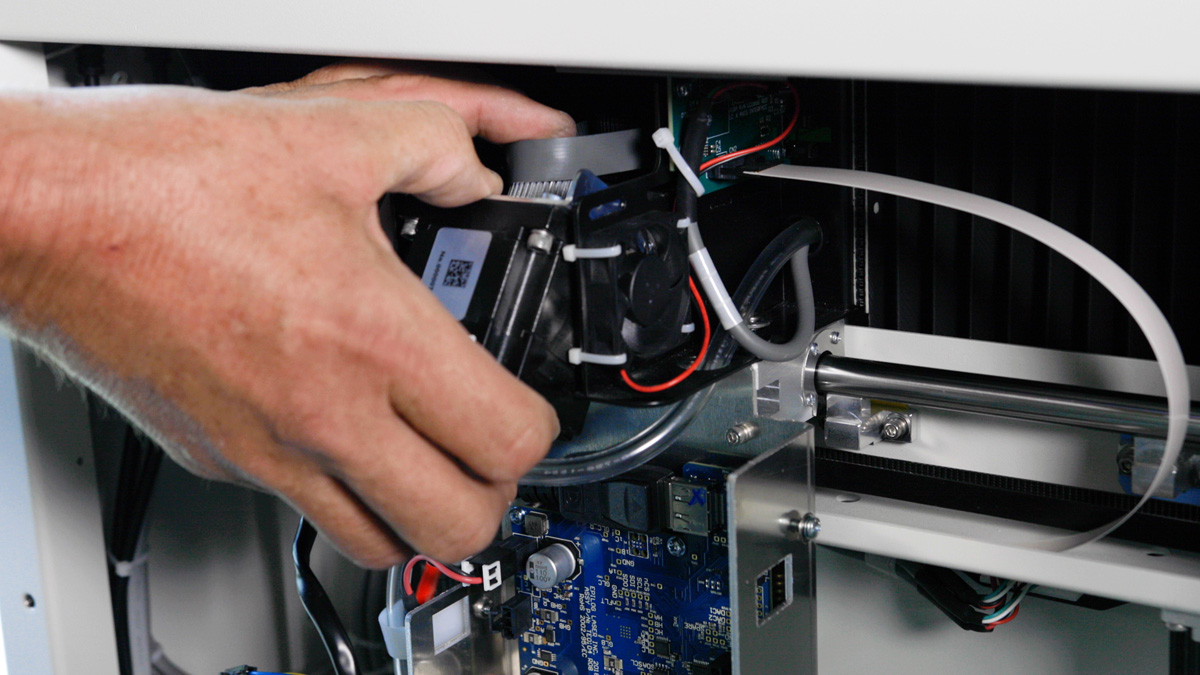
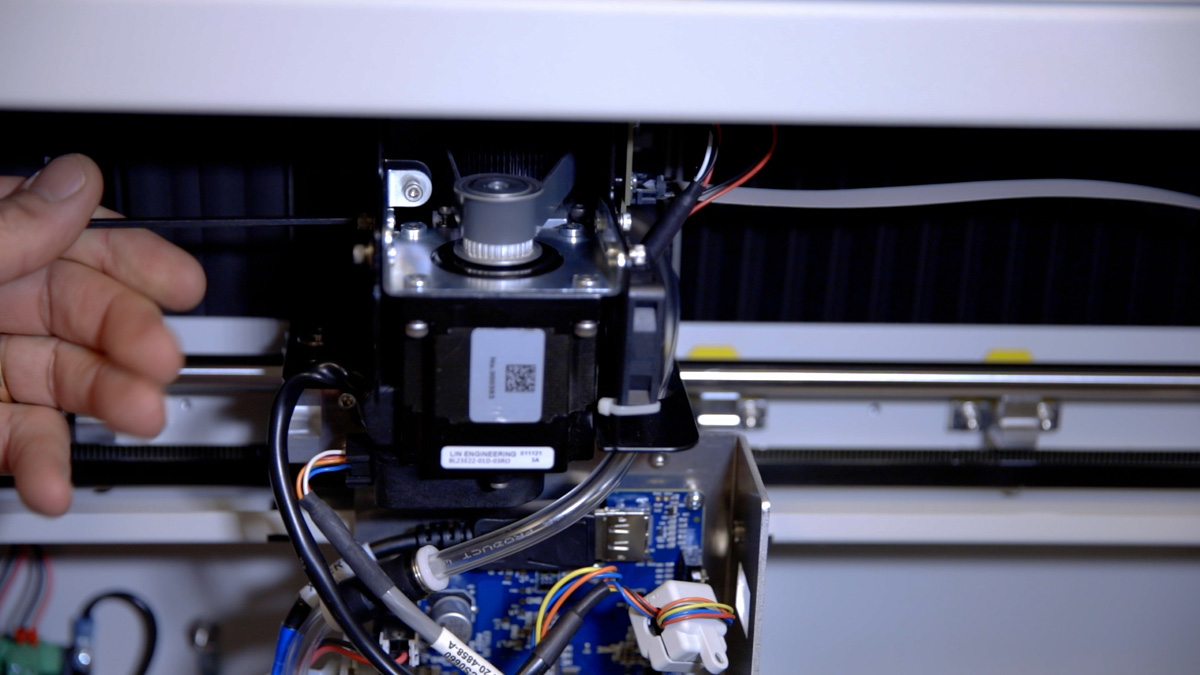
Now tilt the motor toward the engraver, slipping the Reducer drive belt from the X motor and remove the X motor from the machine.
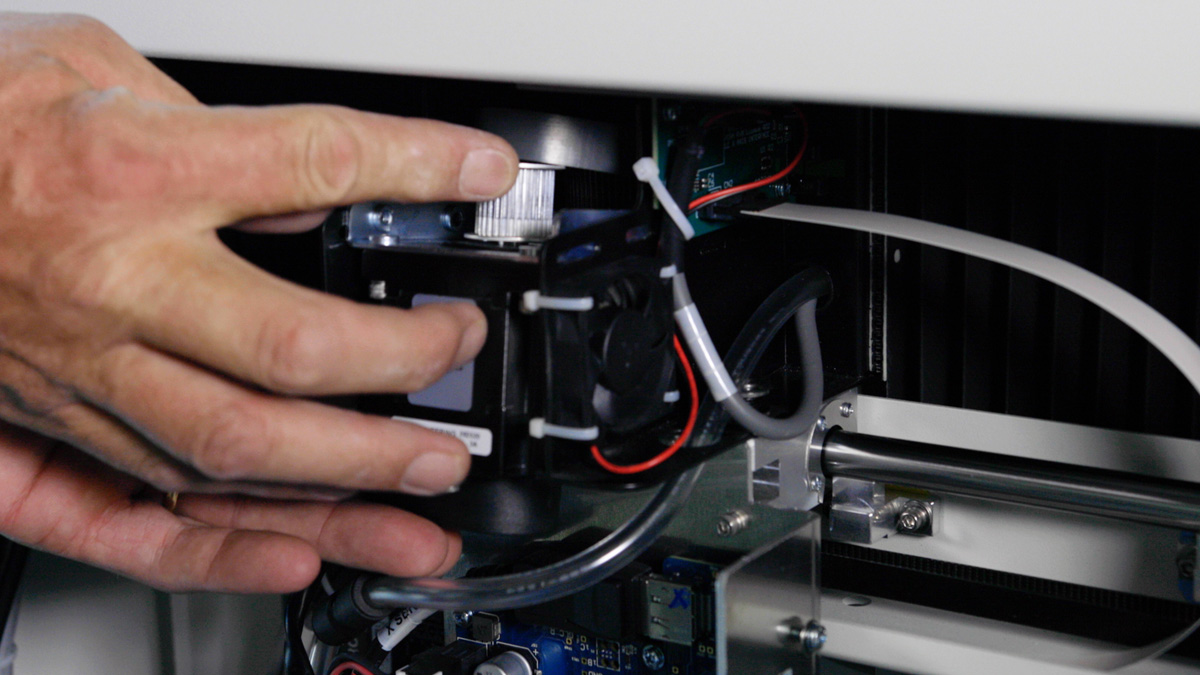
Install the New Motor
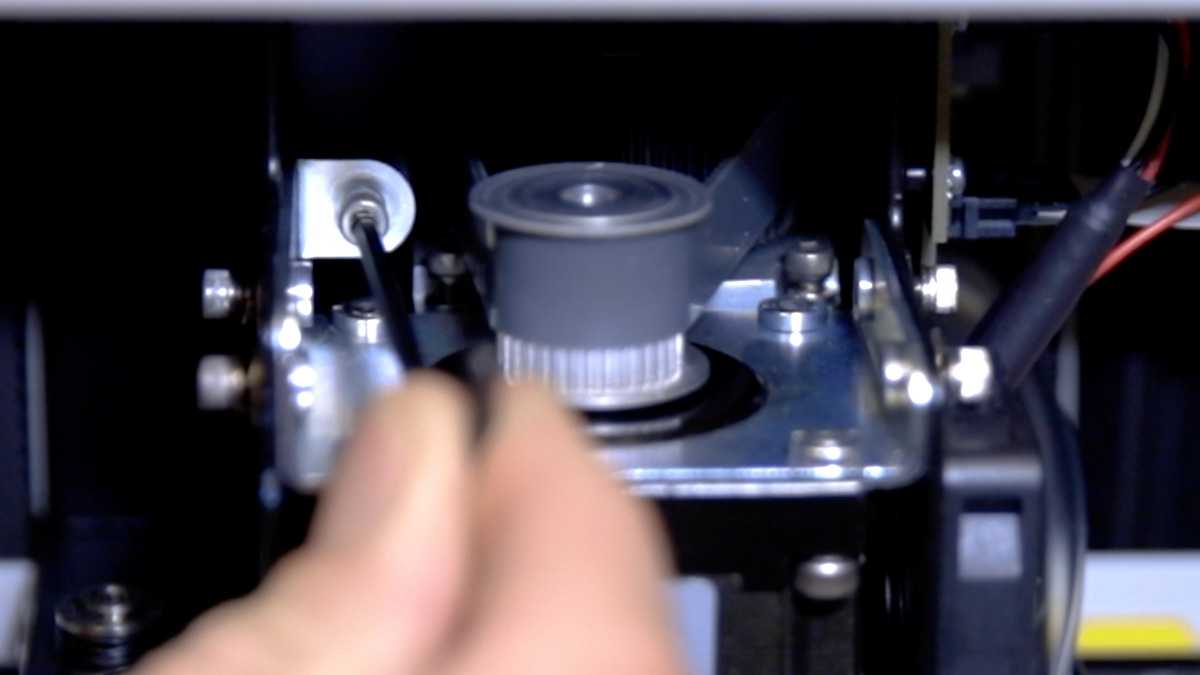
While tilting the motor at about a 45-degree angle, loop the Reducer drive belt over the motor drive pulley.
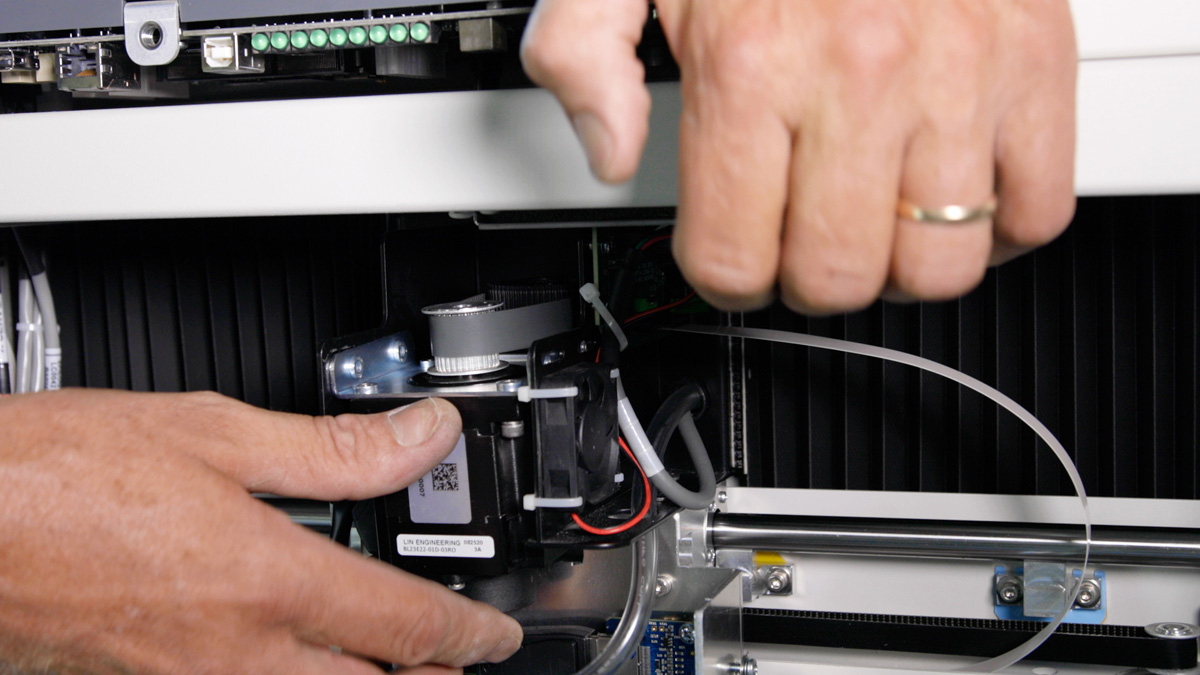
Install one screw to the front side to hold the motor in place while the other three screws are installed. Do not tighten the screws fully.
Using the 7/64” Allen wrench to tension the reducer drive belt, tighten the reducer drive belt adjustment screw until the belt is no longer loose around the motor drive pulley. Again, if your machine does not have this additional screw, you may skip this step.
Tighten the remaining motor mounting screws using the 7/64” Allen wrench.
Replace the cable tie if it was cut previously.
Reconnect the 3 harnesses that were disconnected from the motor driver board.
With a #1 Phillips Screwdriver, replace the motor drive cover and tighten the four screws that secure it.


Using a 5/32” Allen wrench, install the 8 Allen screws that secure the right-hand side panel.
Plug in and power on the machine.
Once complete, run an engraving test to ensure the results look correct. If you notice any issues, check that everything is plugged in and positioned properly, and that the tension on the reducer driver belt is adequate.
This completes replacing the X motor on the Fusion Edge.