Welcome to this training video on how to use the helpful tool of Copy Background Image in the Epilog Laser Dashboard. We’ll demonstrate how to use this feature, as well as show a helpful example of when this feature will best be utilized to shorten your production time when creating files.
The Copy Image Background feature allows you to use the IRIS camera system in your laser to accurately take a screen shot of the laser bed to assist you with both precise artwork placement and to fill an area of your image to be engraved. Let’s get started!
Flatbed – Copying the Background Image
-
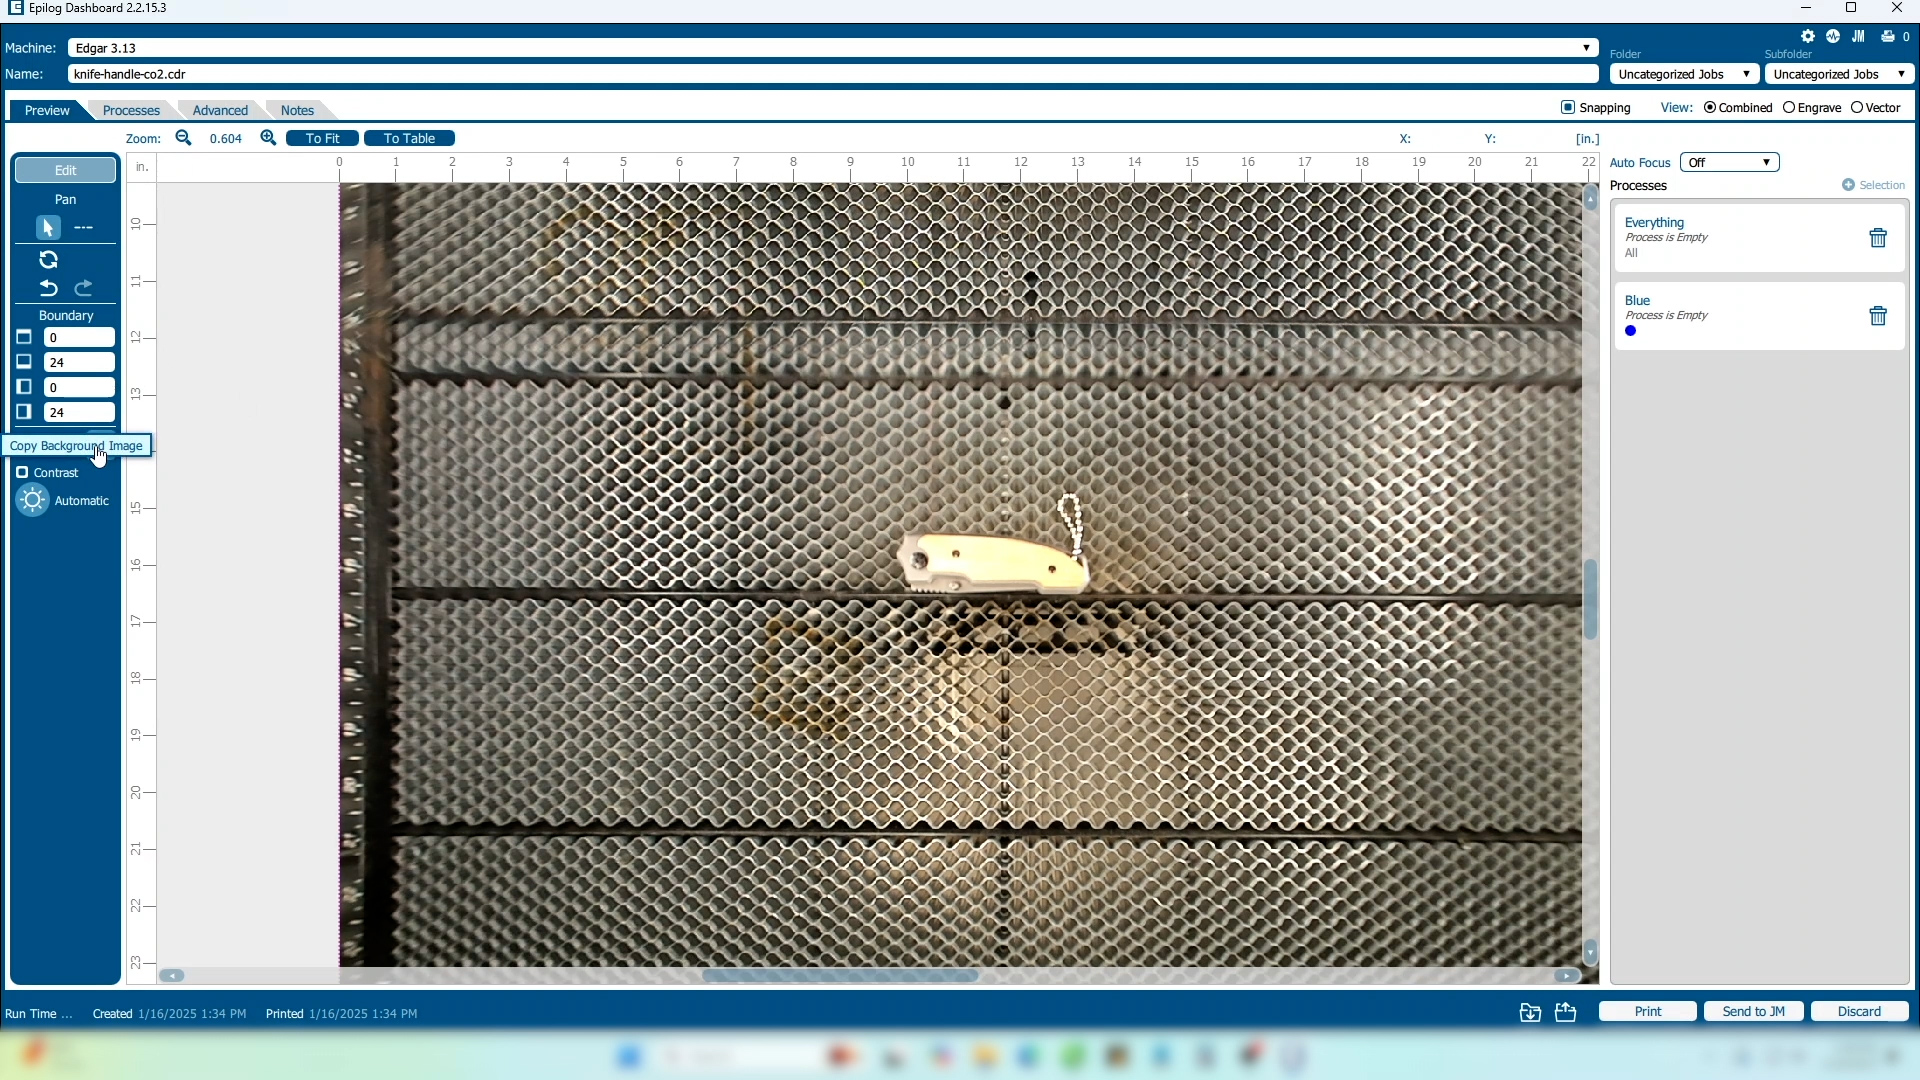
We’ll start in the Laser Dashboard.

-
Position your product on the engraving bed under the cameras for the most precise image.
-
In the tool bar on the left side of the screen, select the Copy Background Image button.
Artwork Setup
-
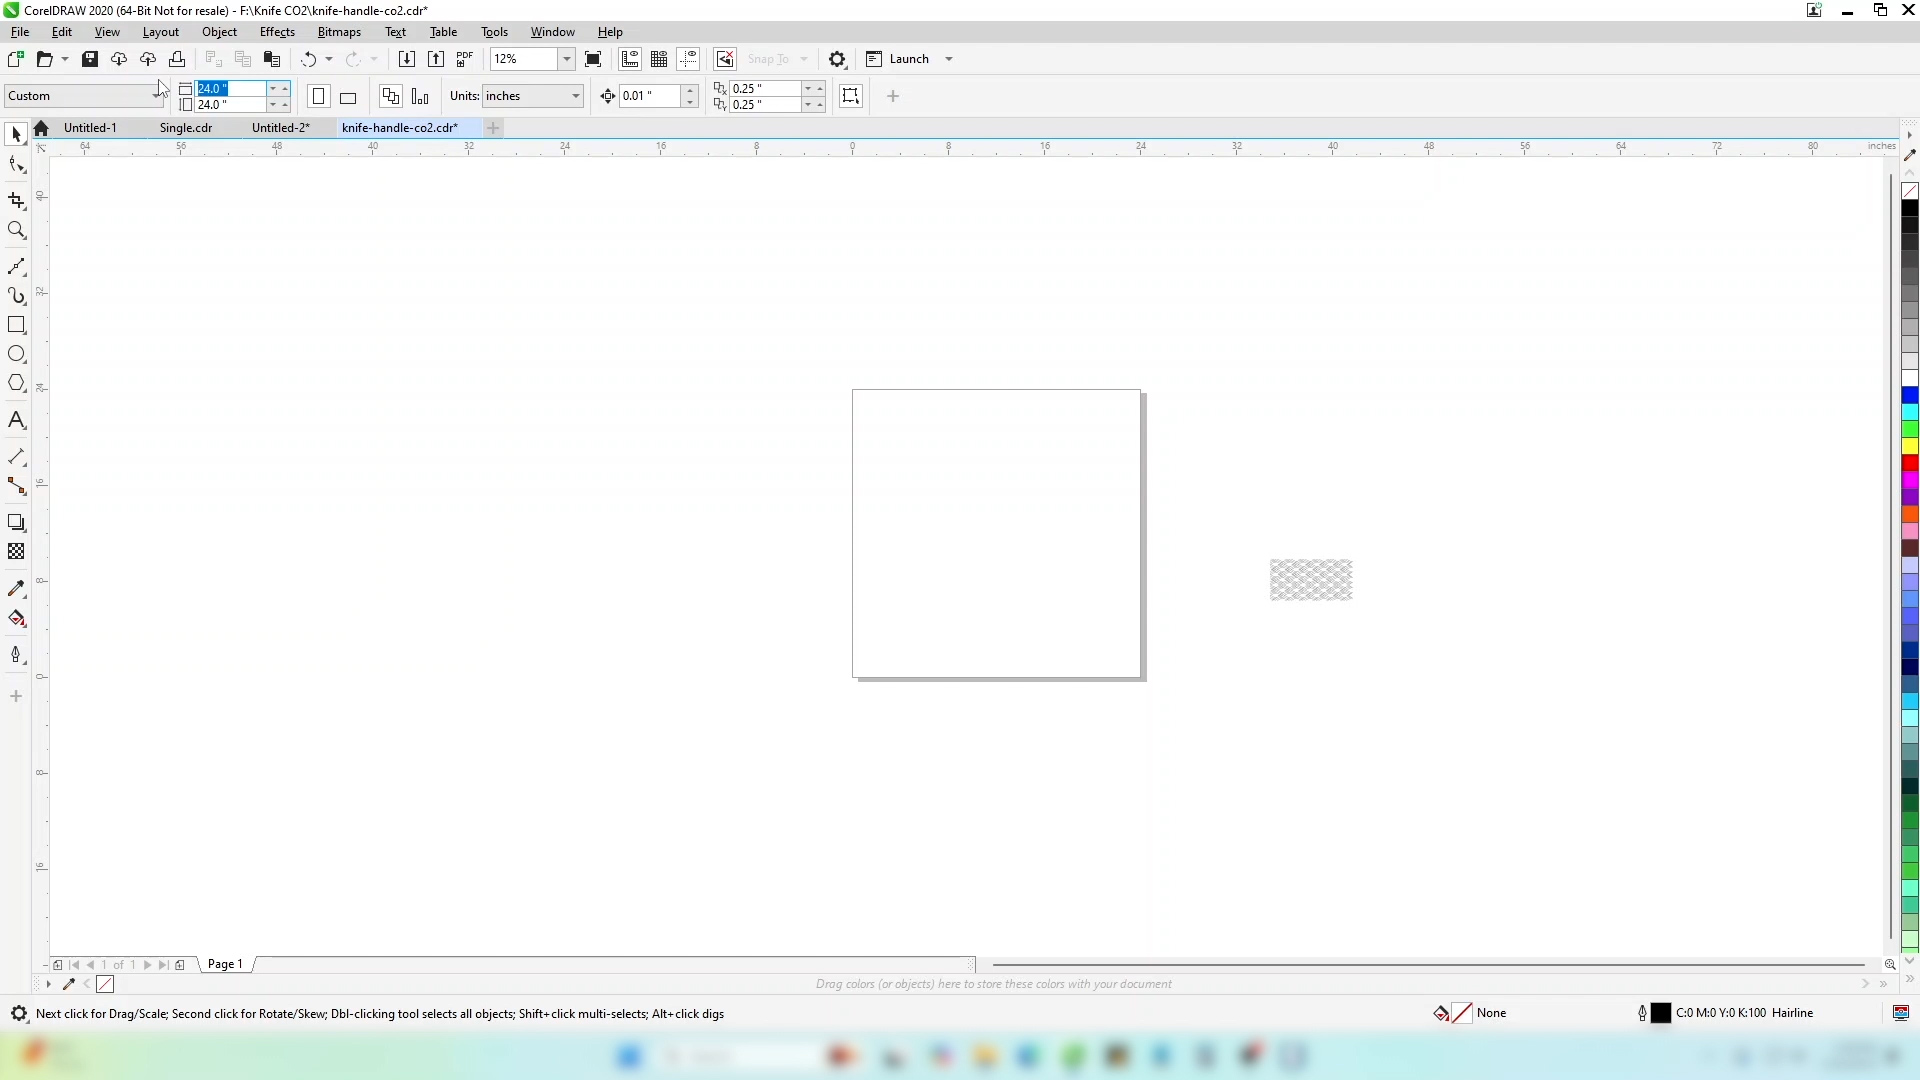
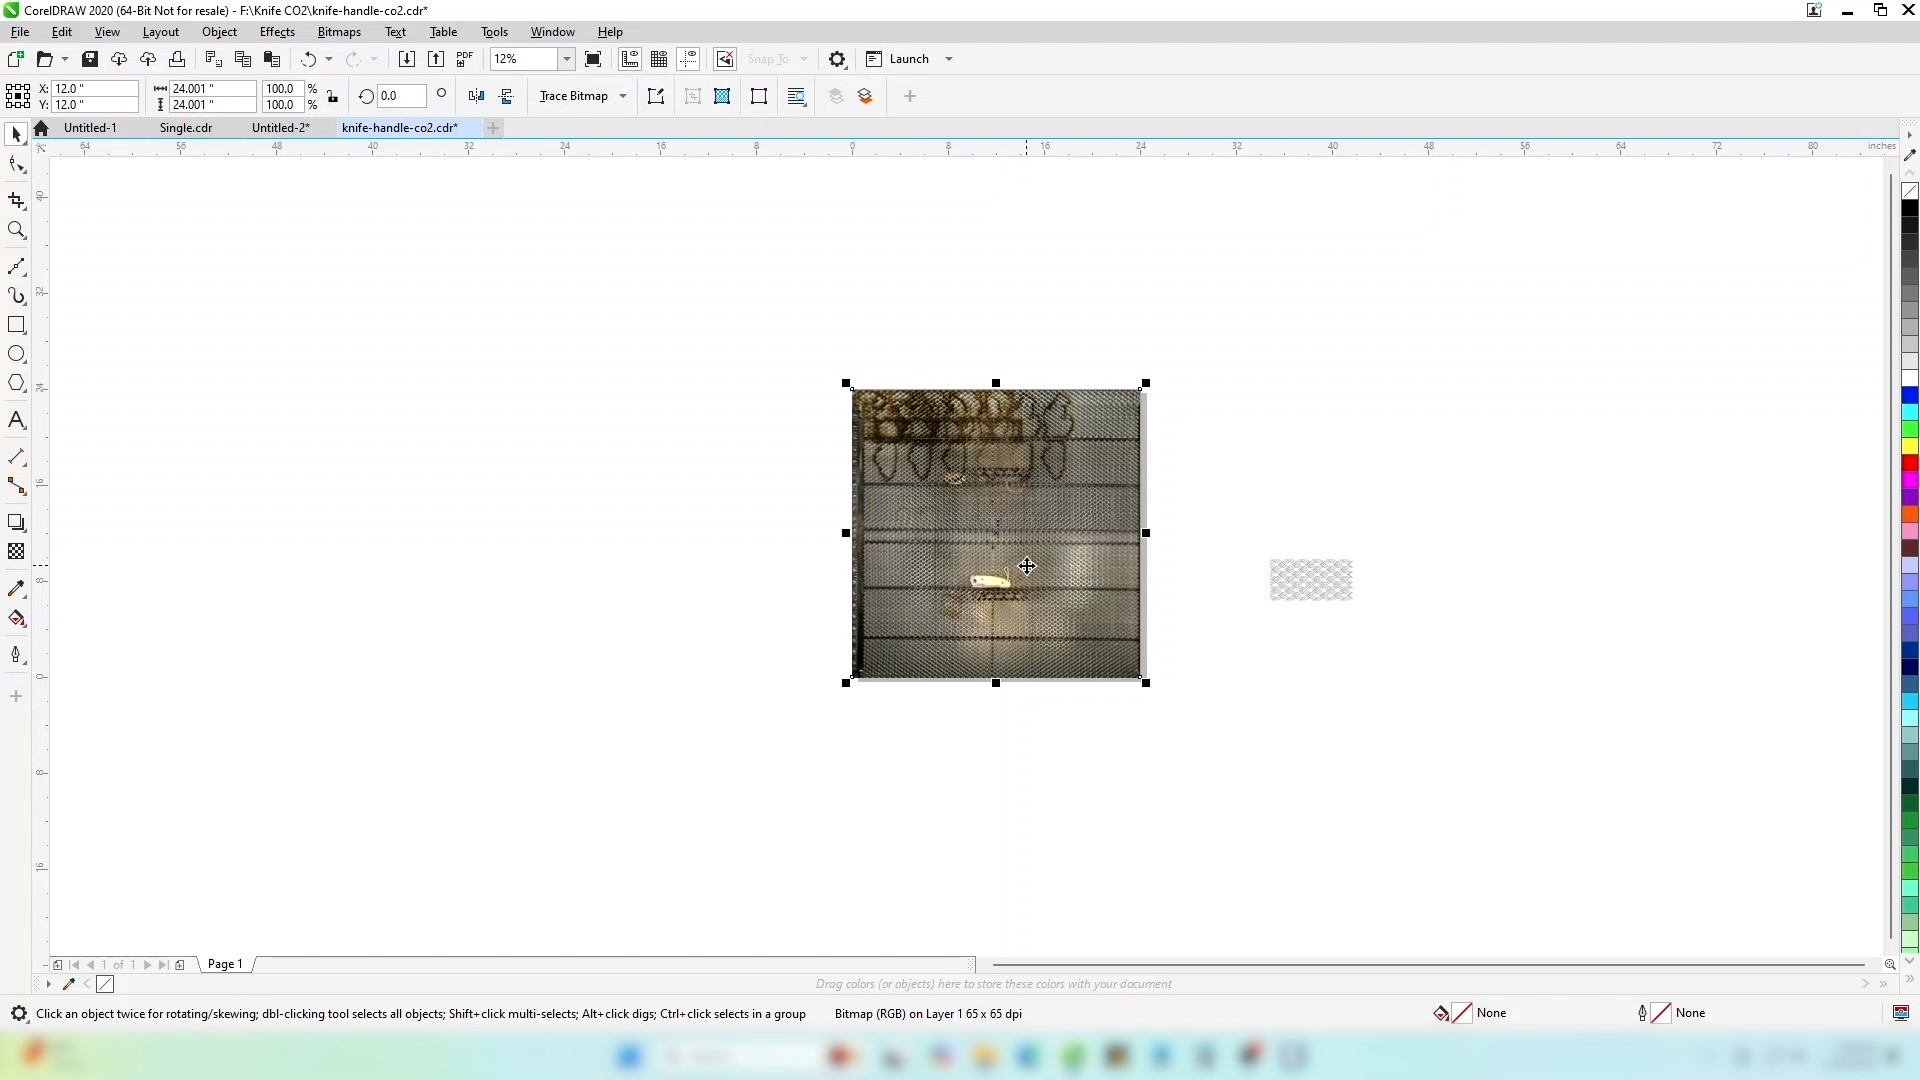
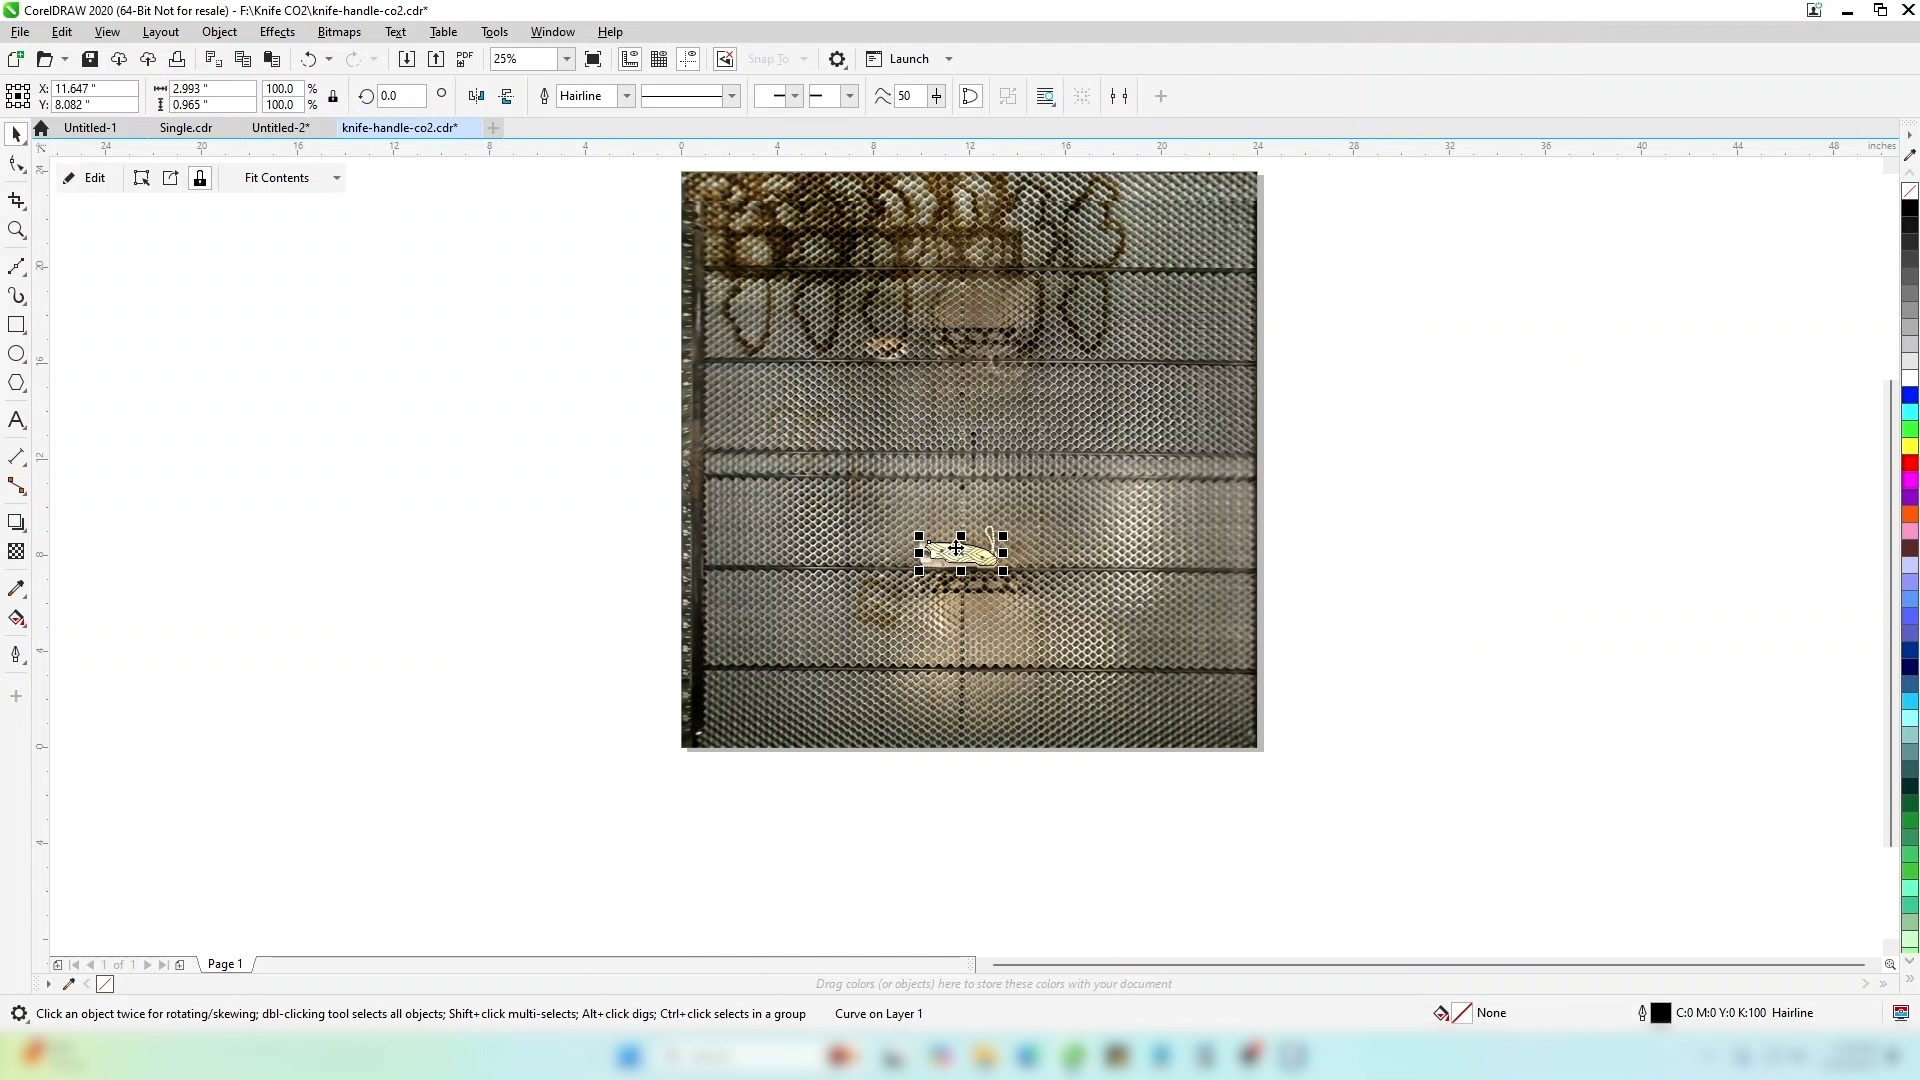
In your design software, set the page size to the size of your engraving bed. In this case 24” x 24”.
-
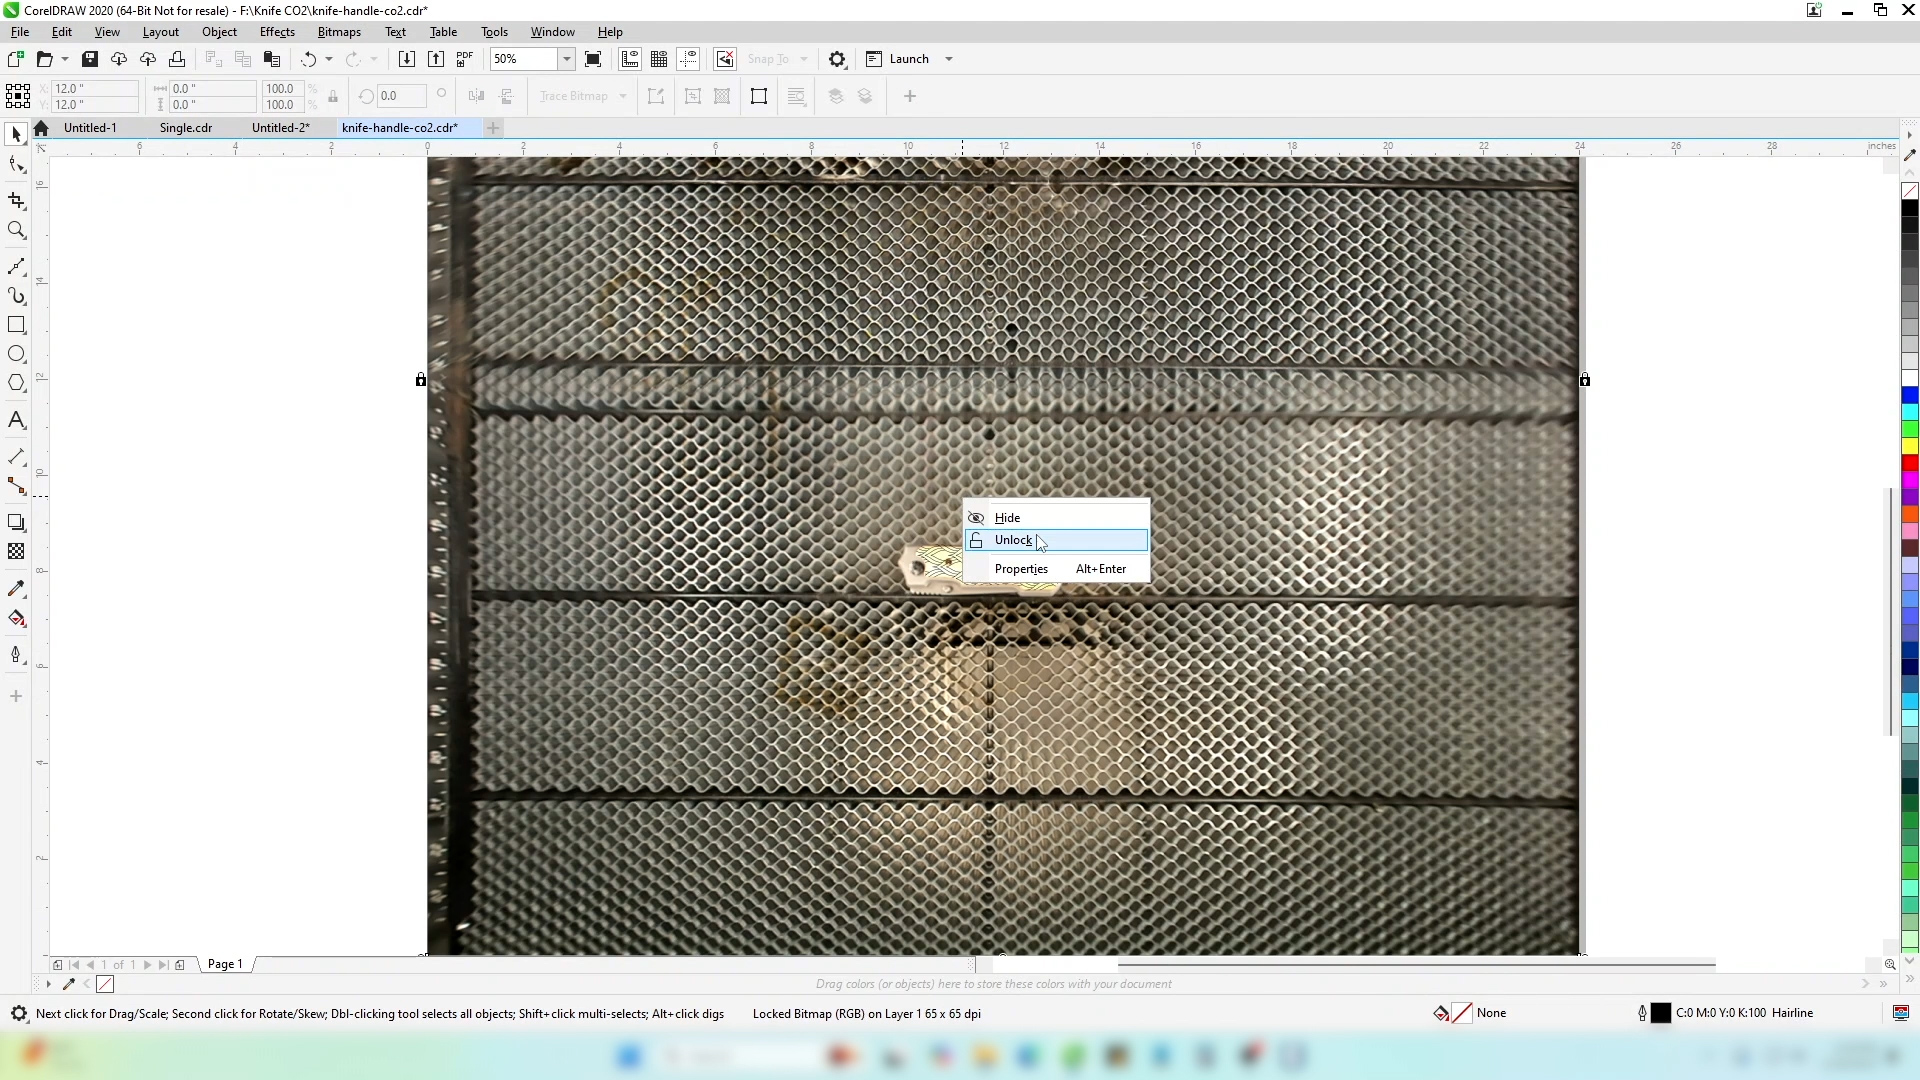
Paste your image. It will be the same dimensions as the page you have created.
-
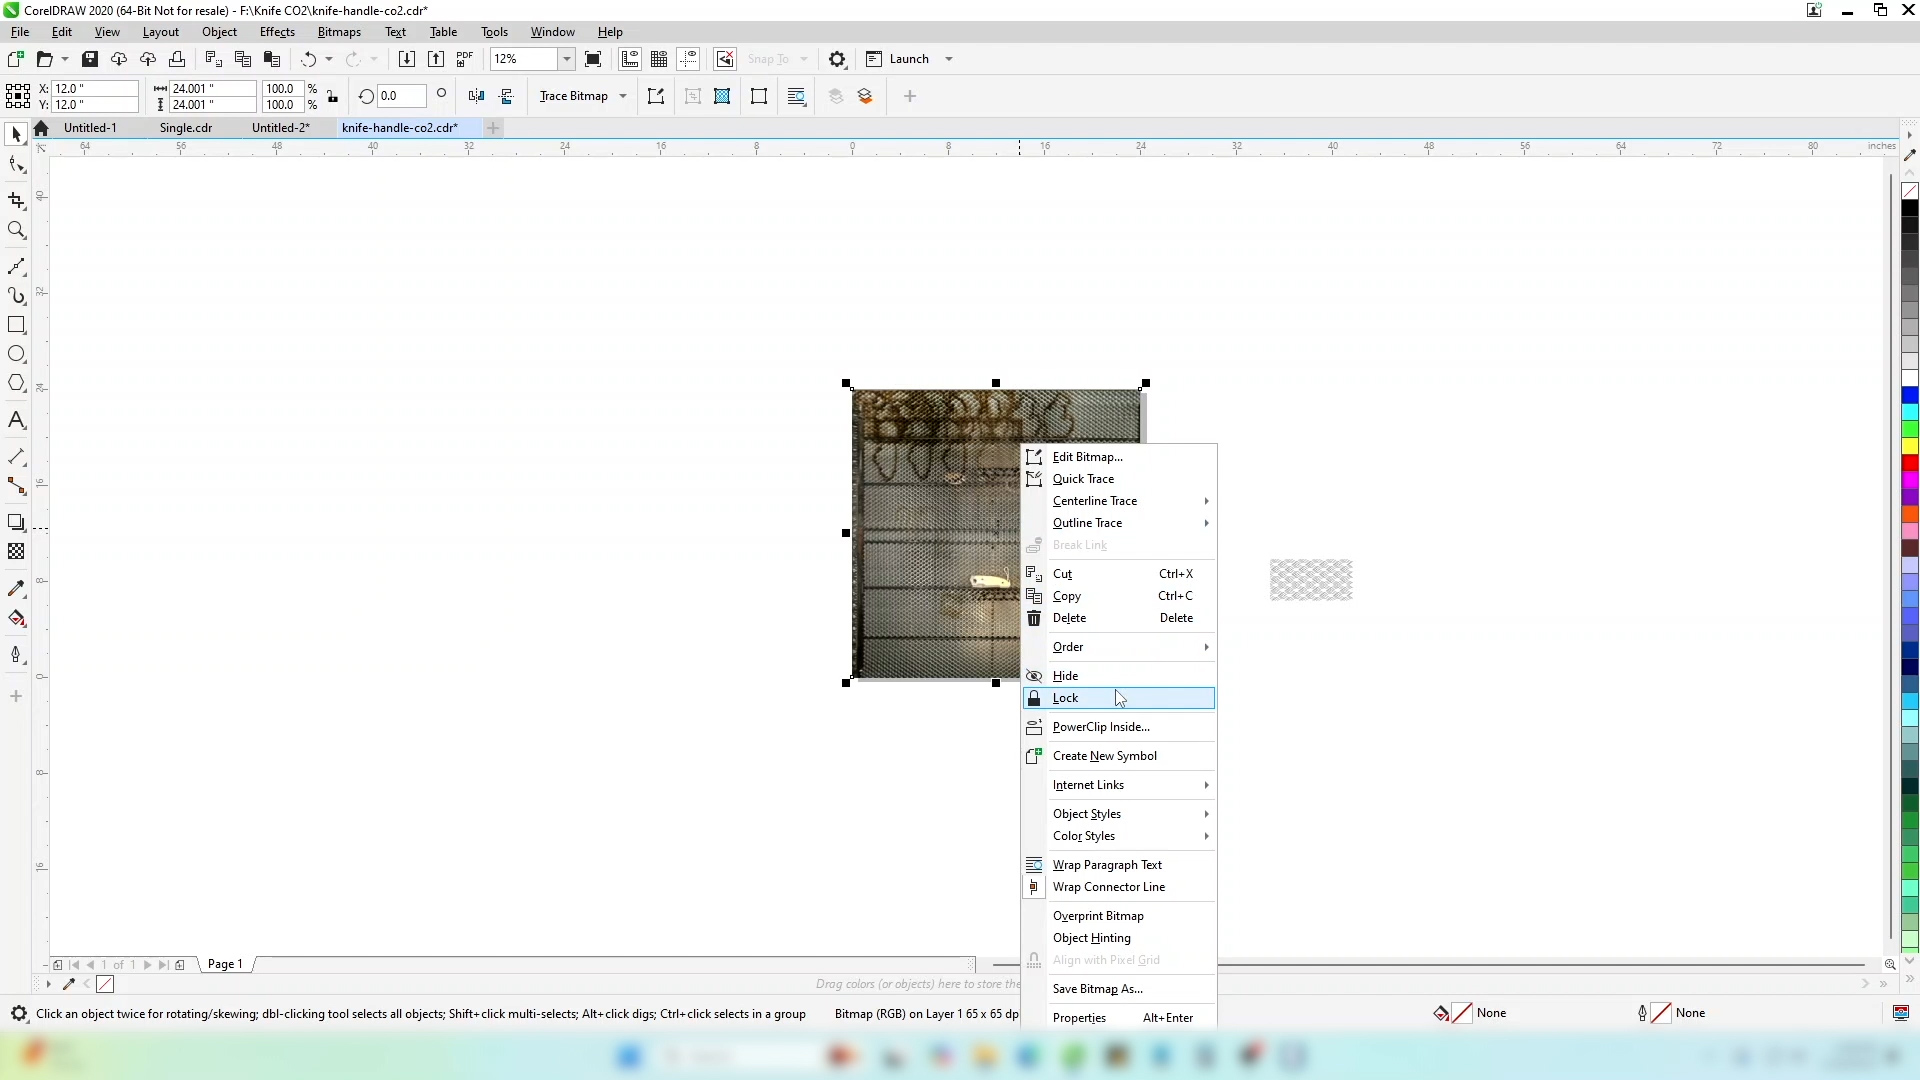
Lock the background image so it doesn’t accidentally move.
-
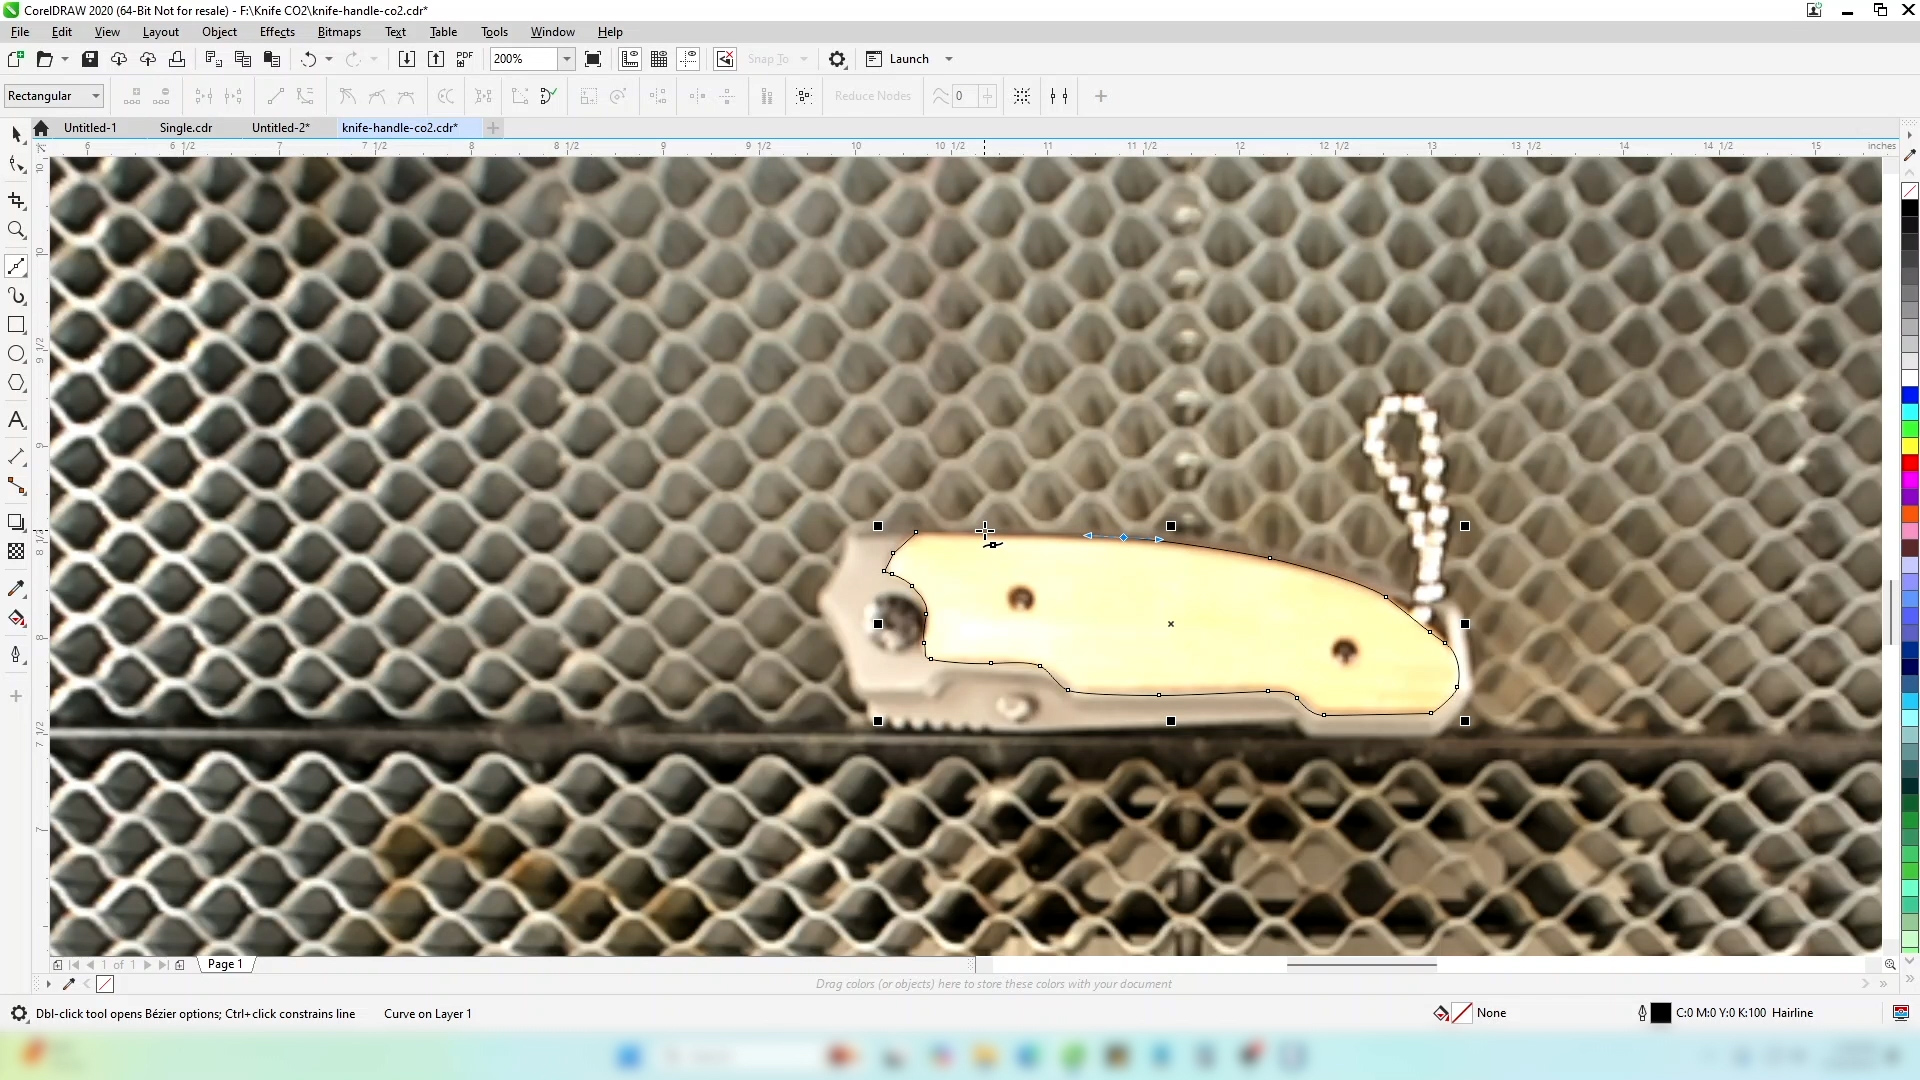
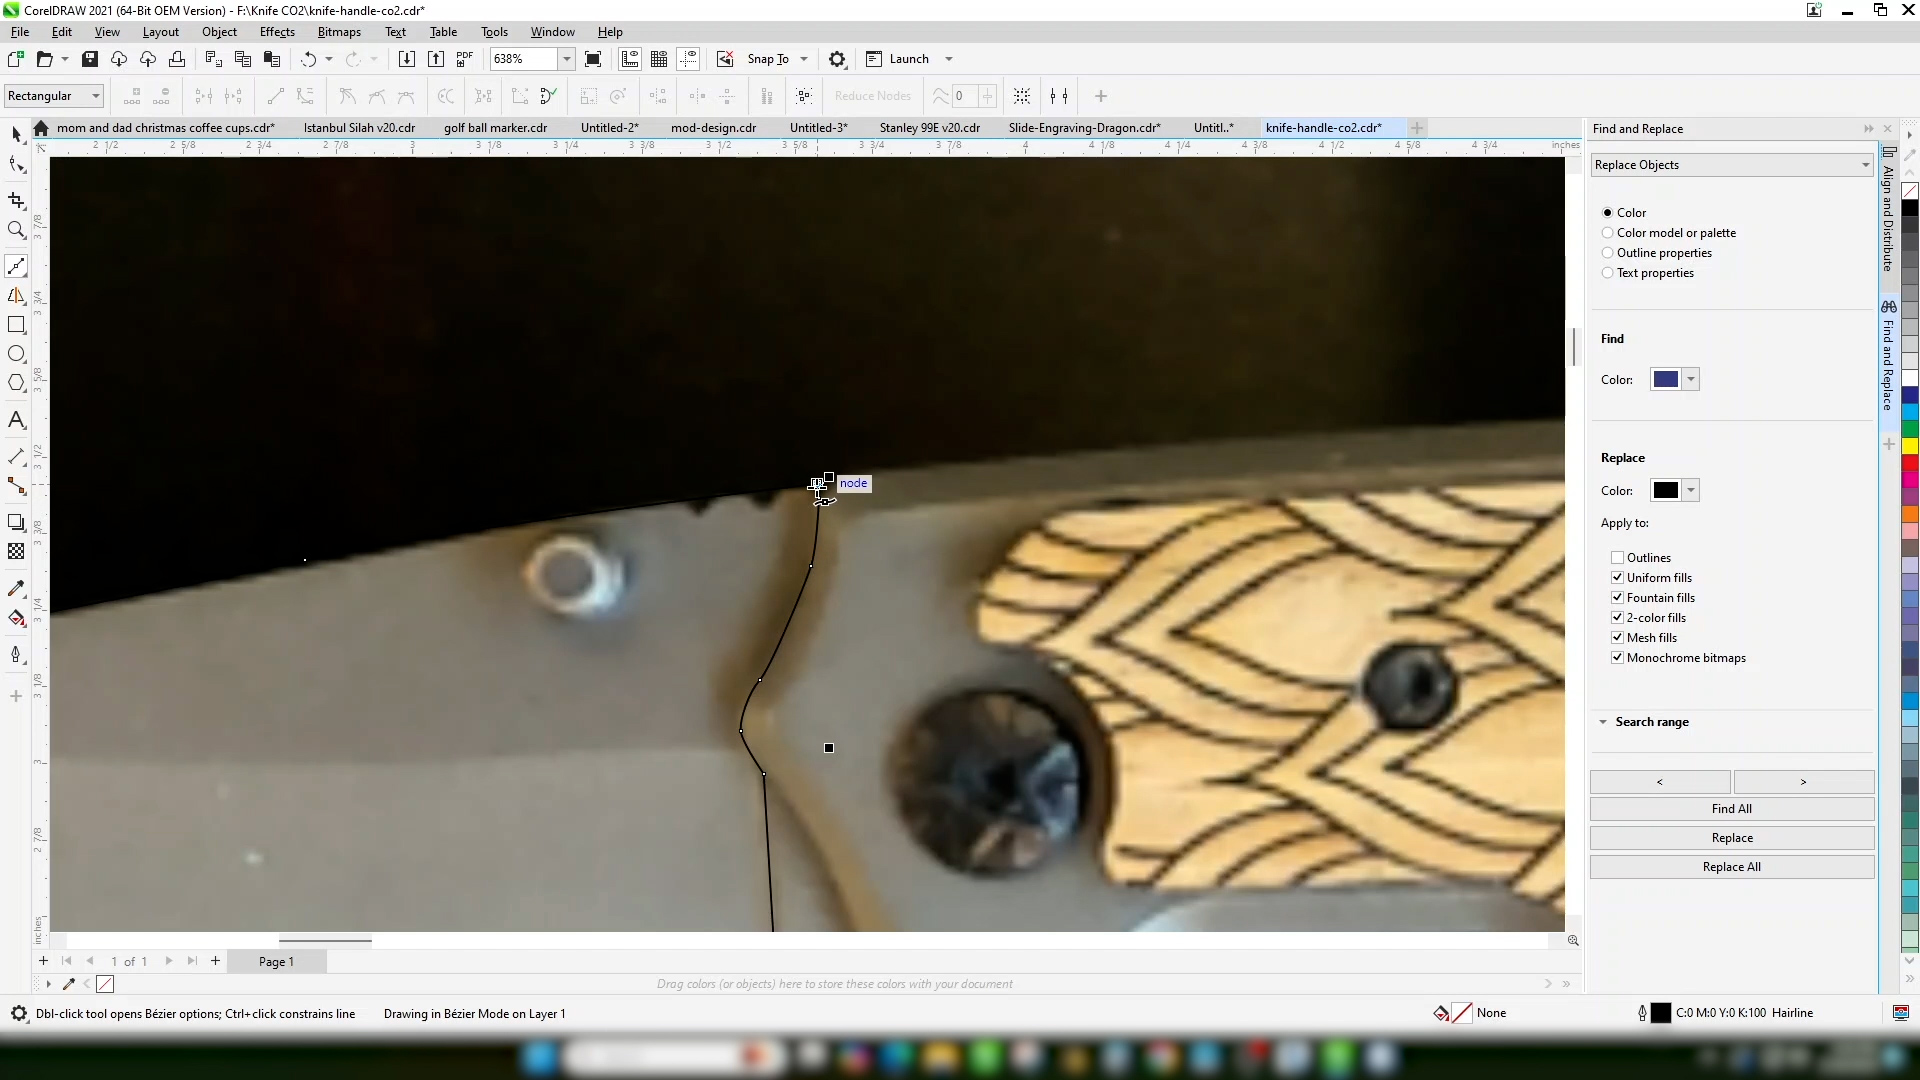
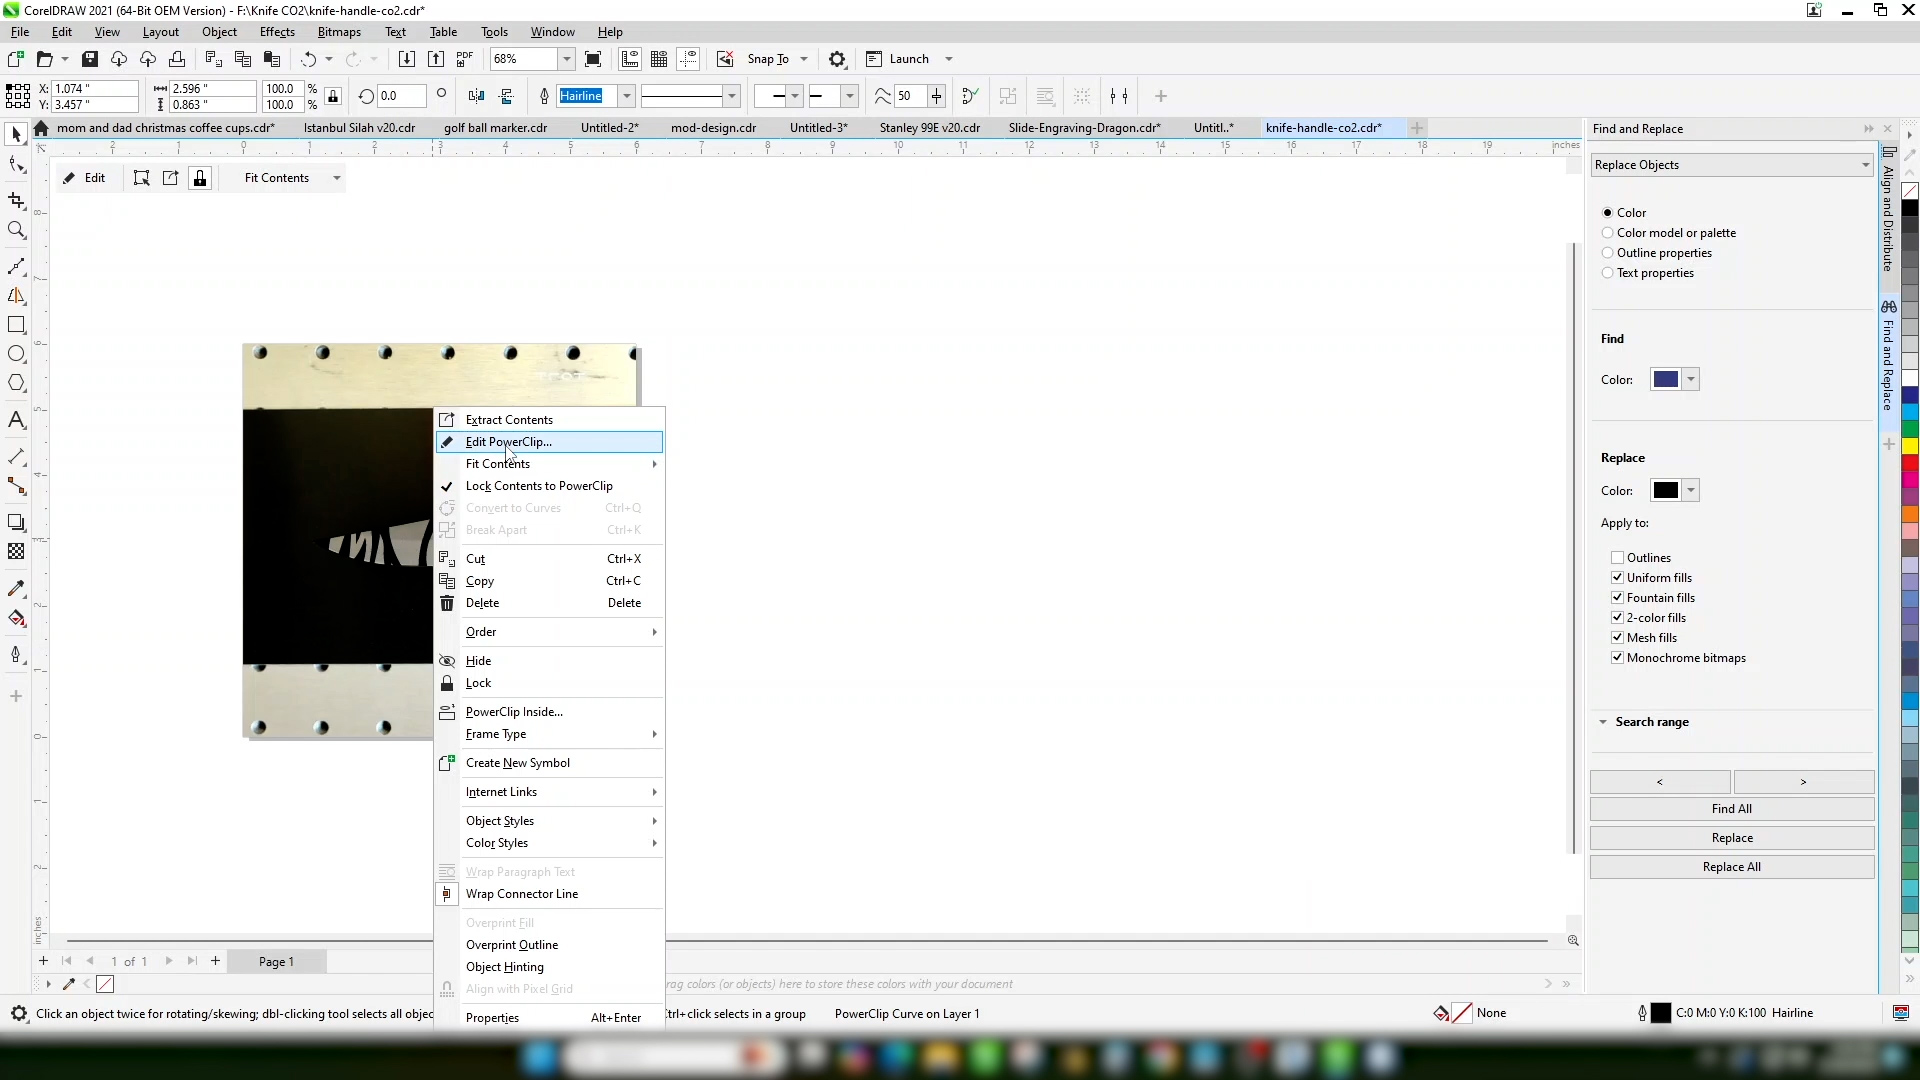
Using the Bezier tool, draw an outline around the area you want to engrave. Click to create straight lines, or click and drag to create curves. This will become easier with more practice.
-
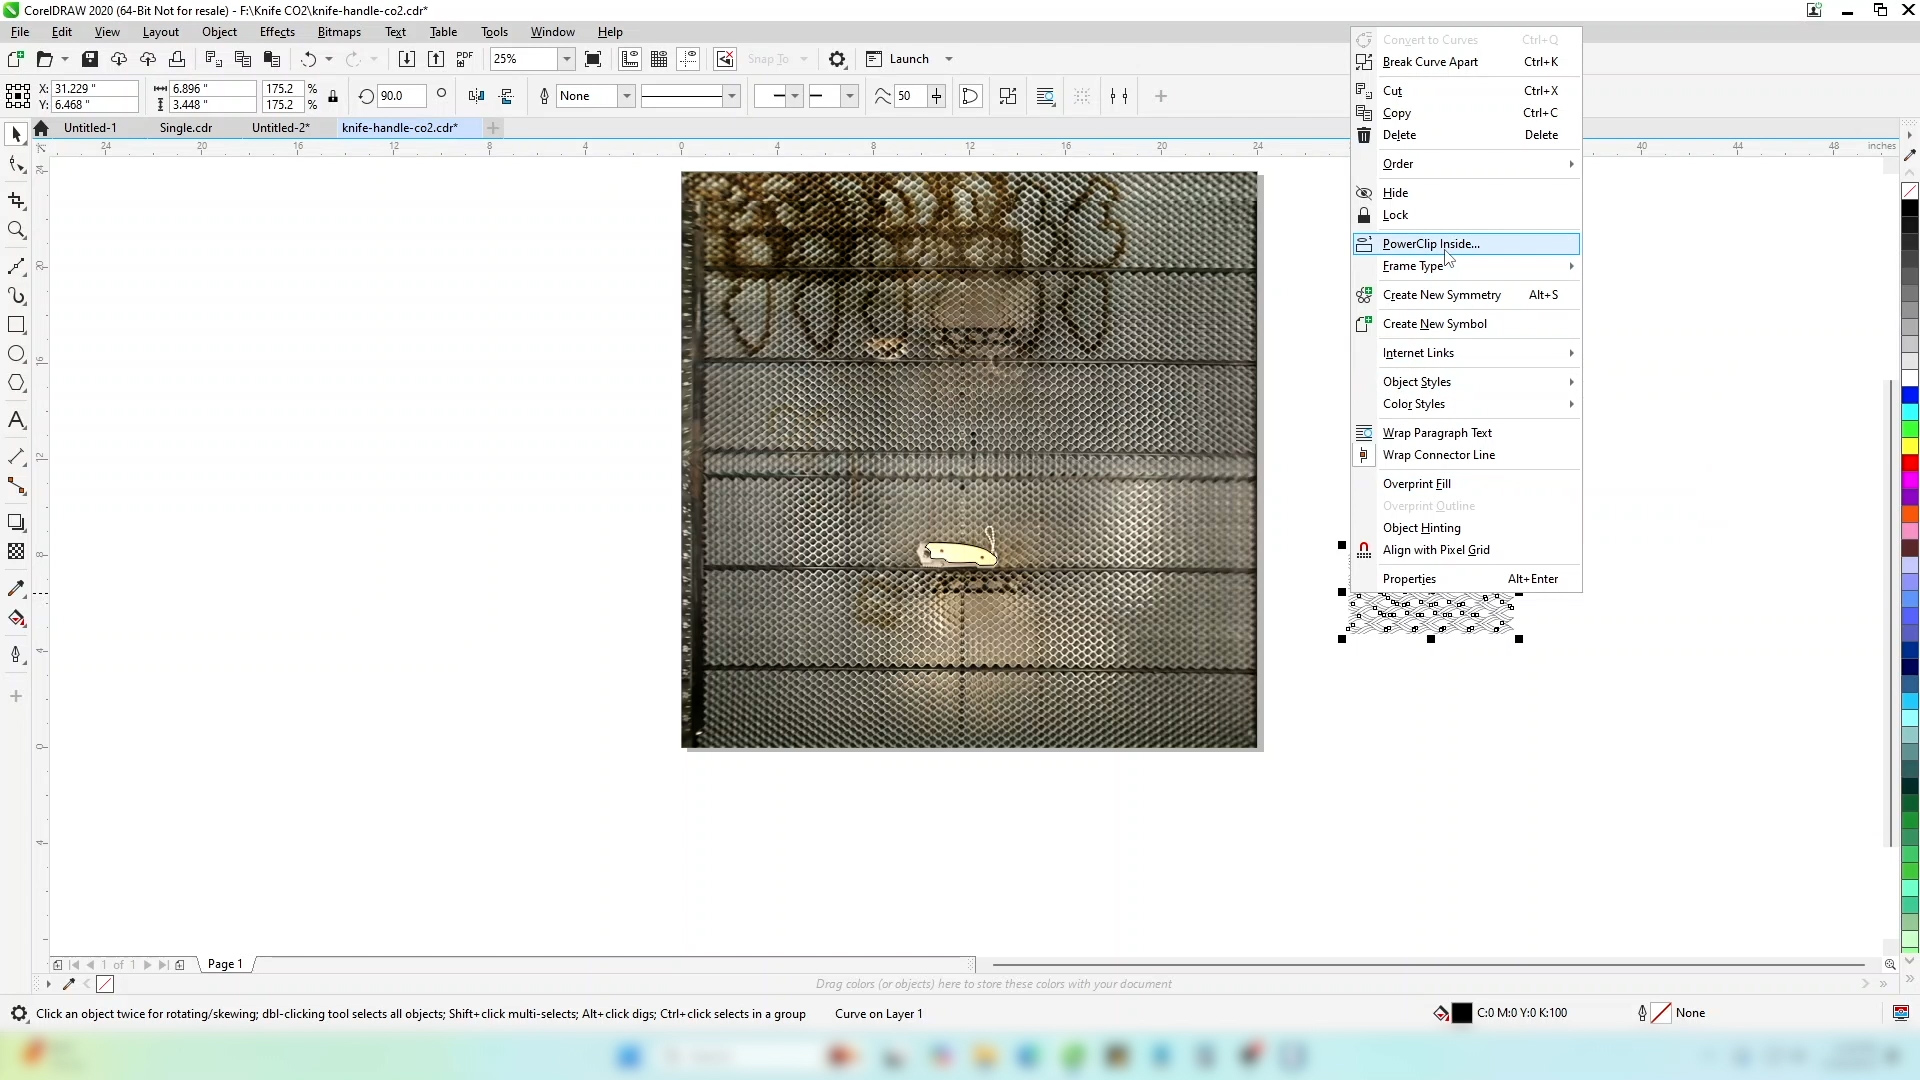
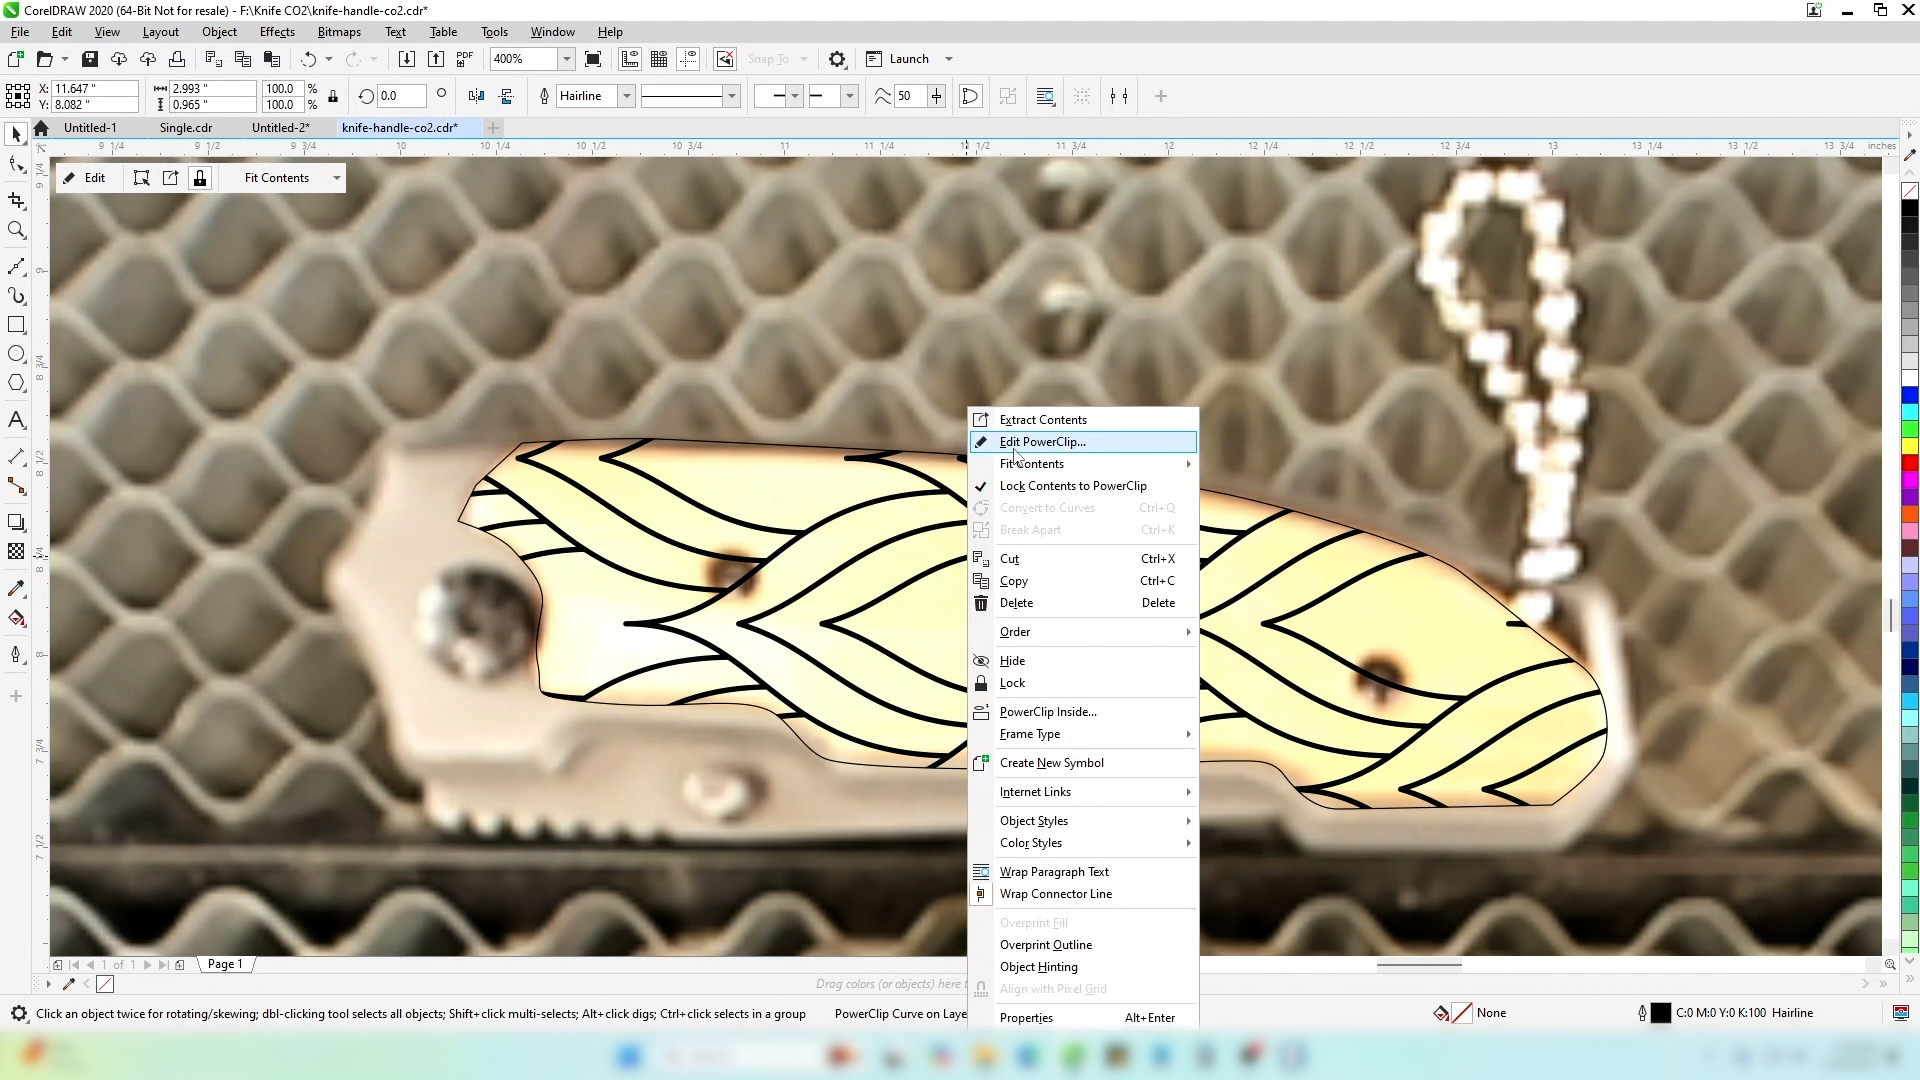
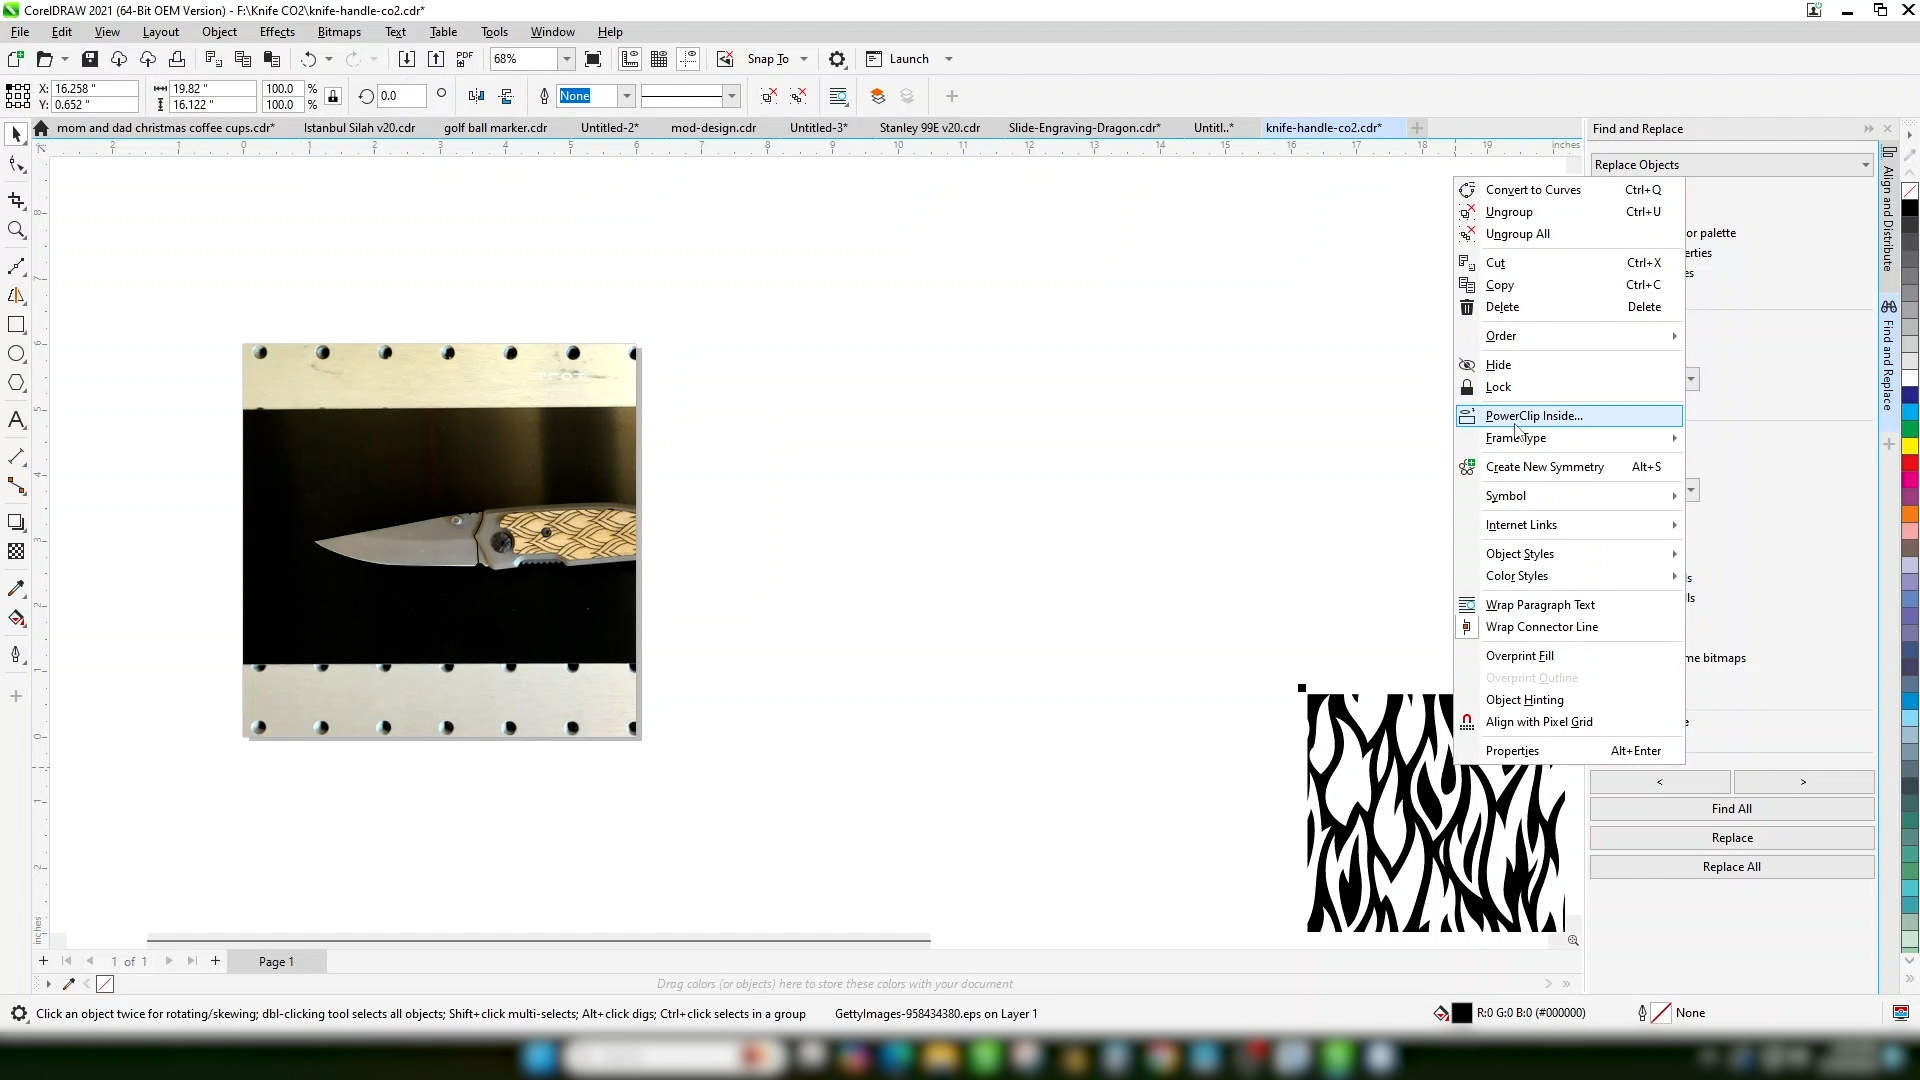
When you’re happy with the outline, select your image and power clip it inside the outline you have created.
-
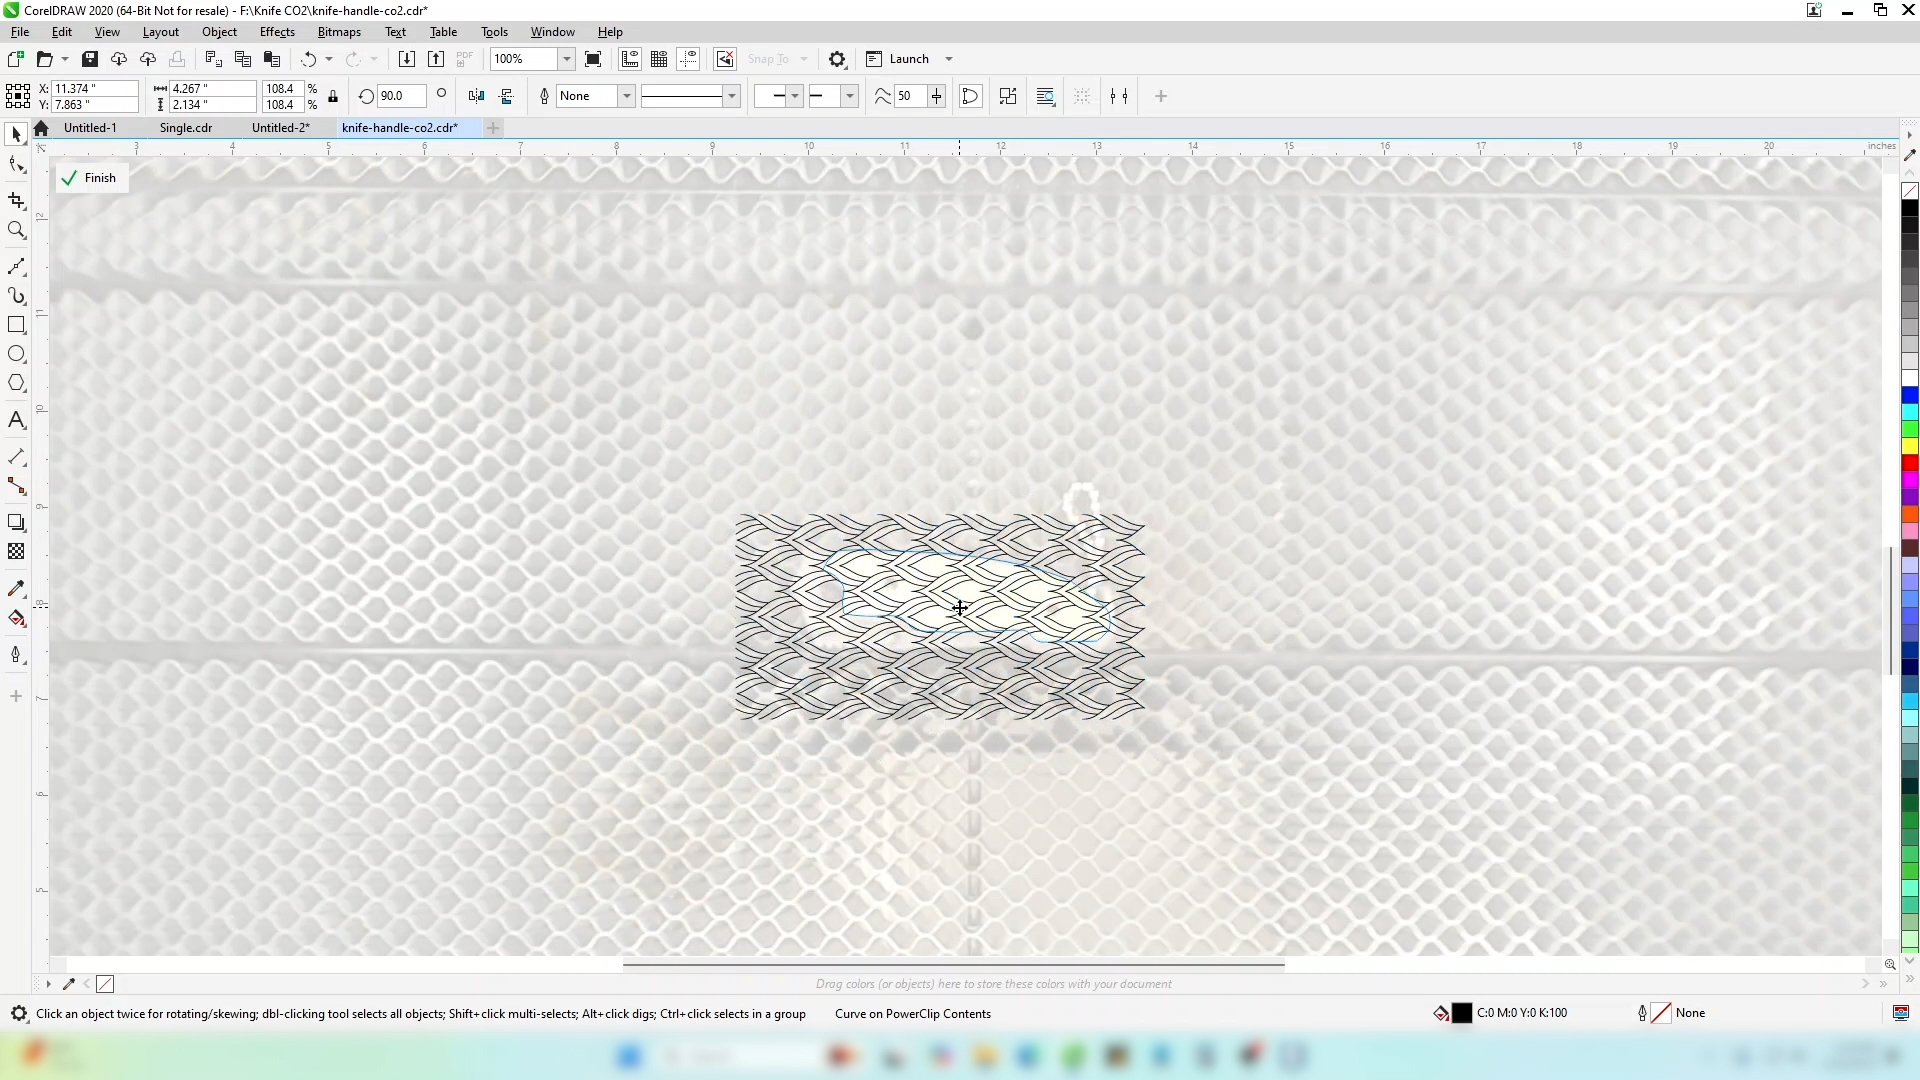
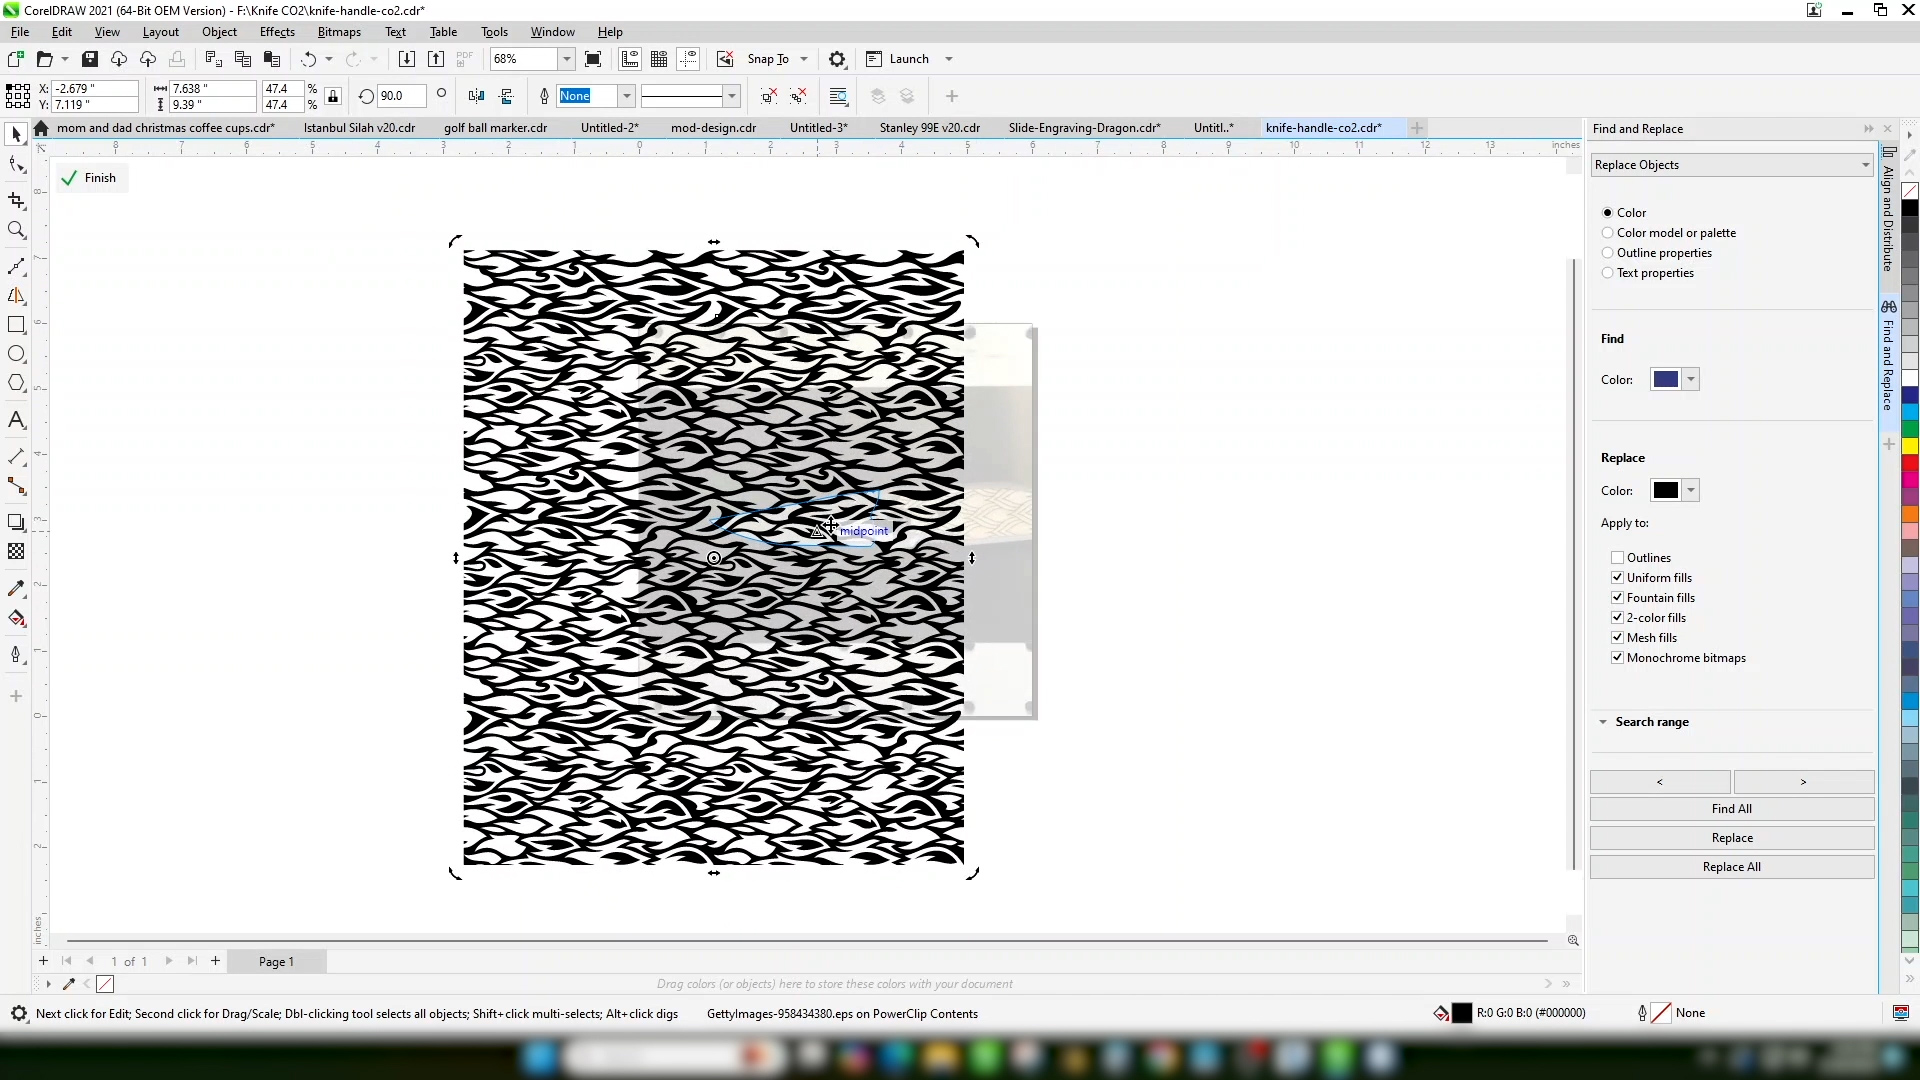
Now you can edit the powerclip to resize and position your artwork to fill the area how you’d like it to appear on the product when engraved.

-
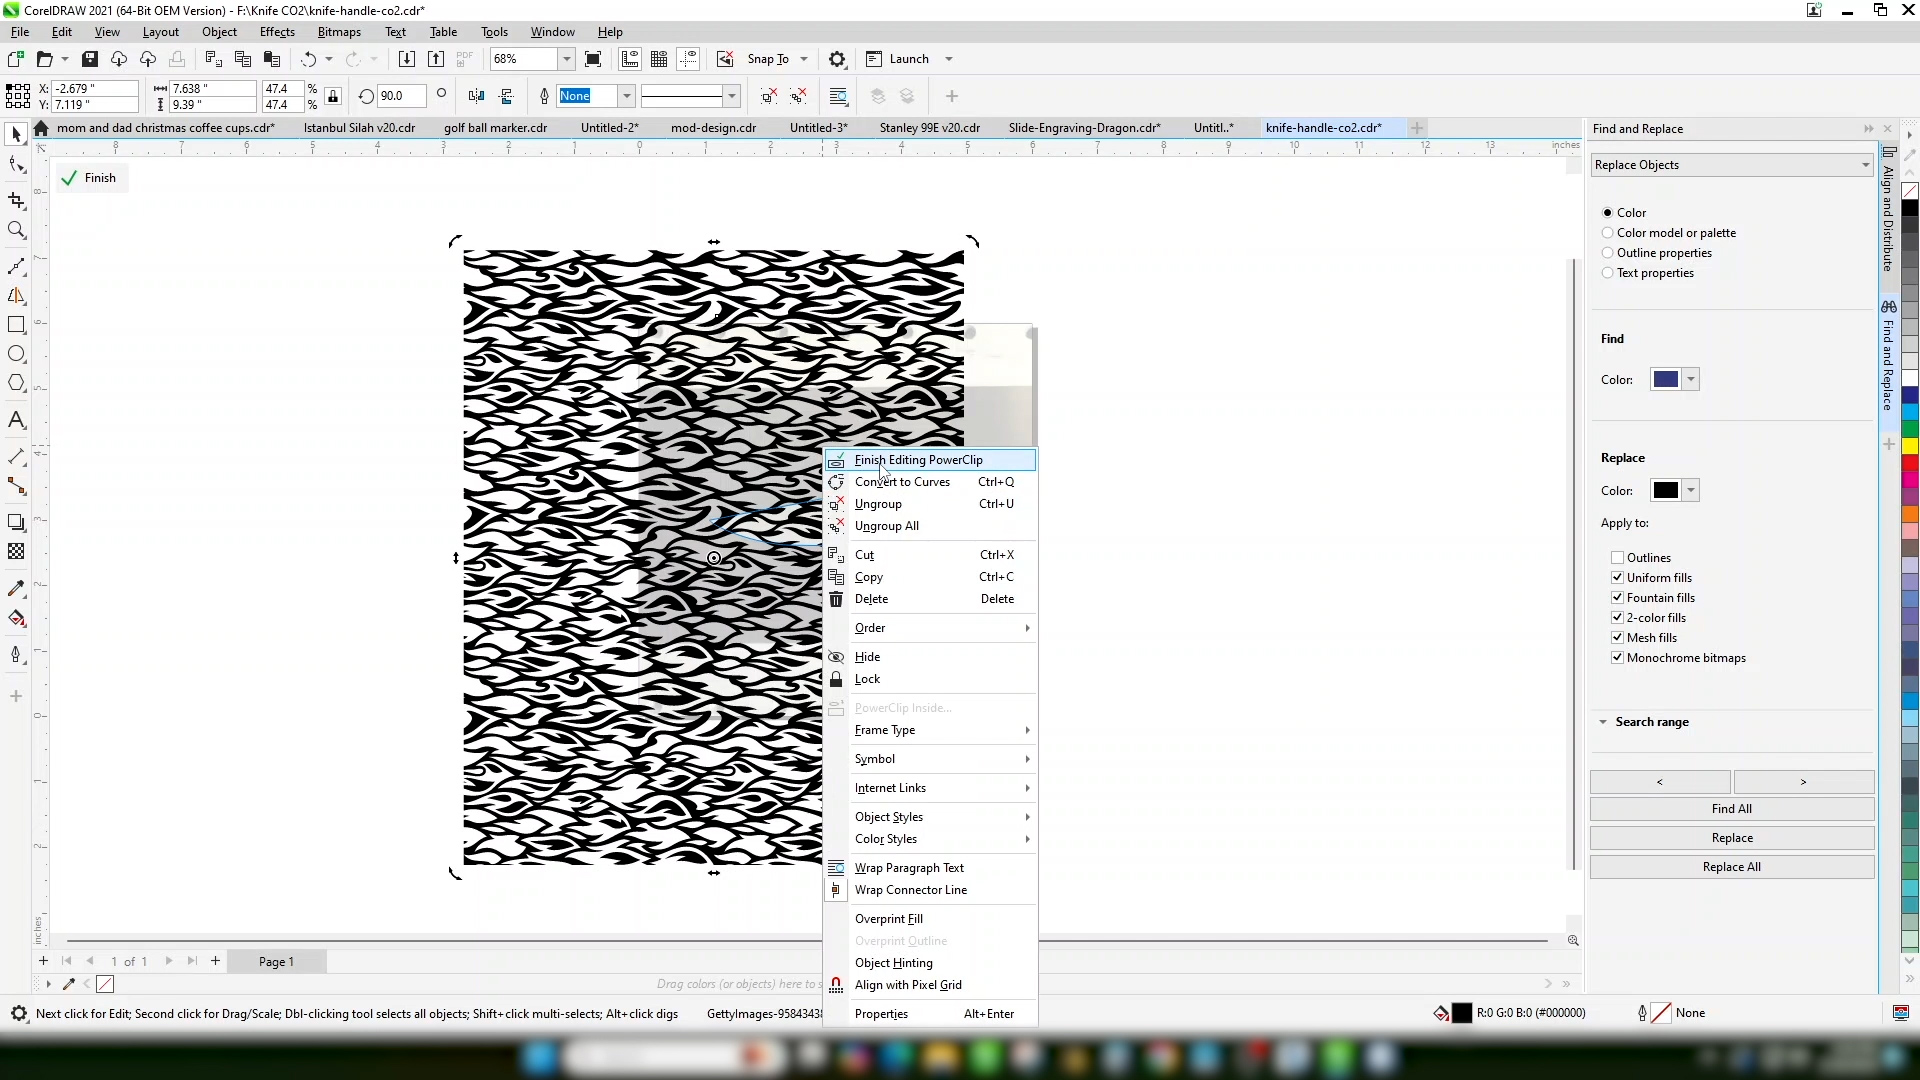
Select Finish Editing Powerclip when you’re happy with the design.
-
Turn off the border on the outline so it doesn’t print to the laser.
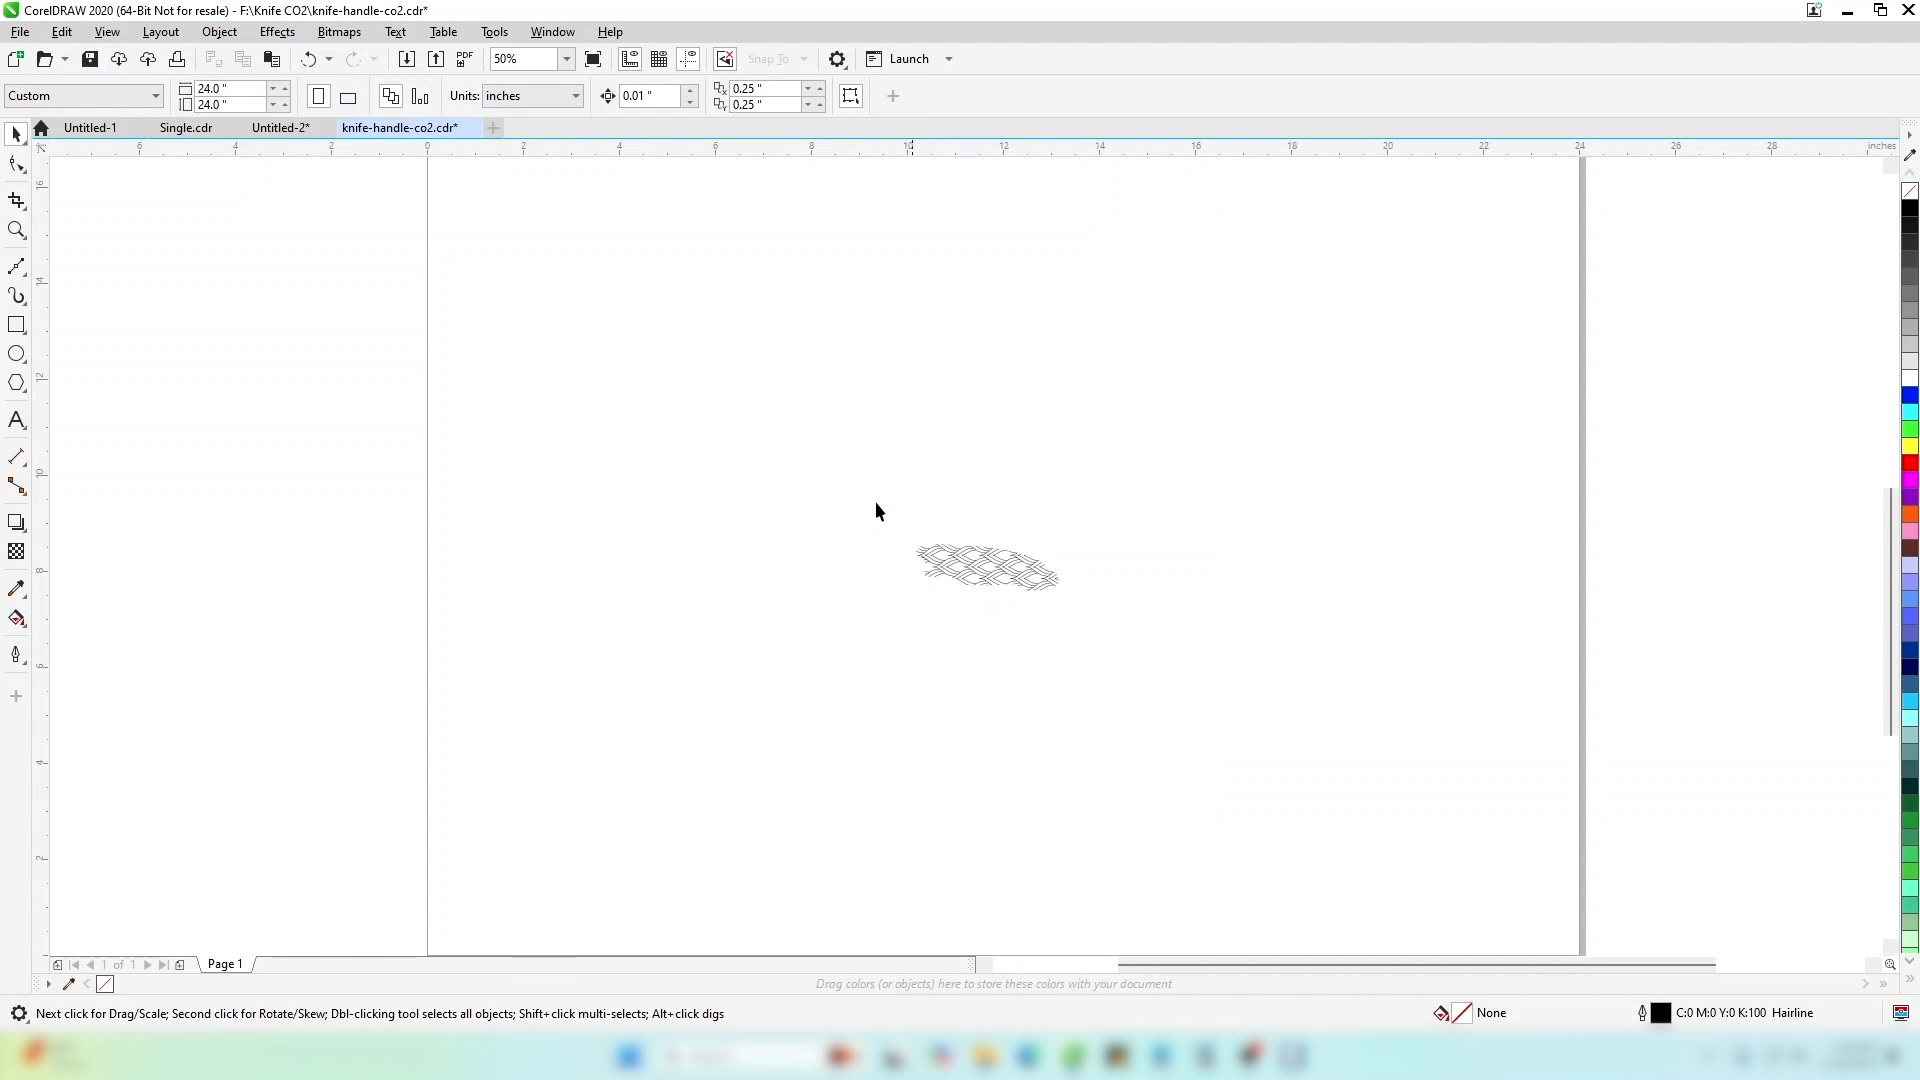
-
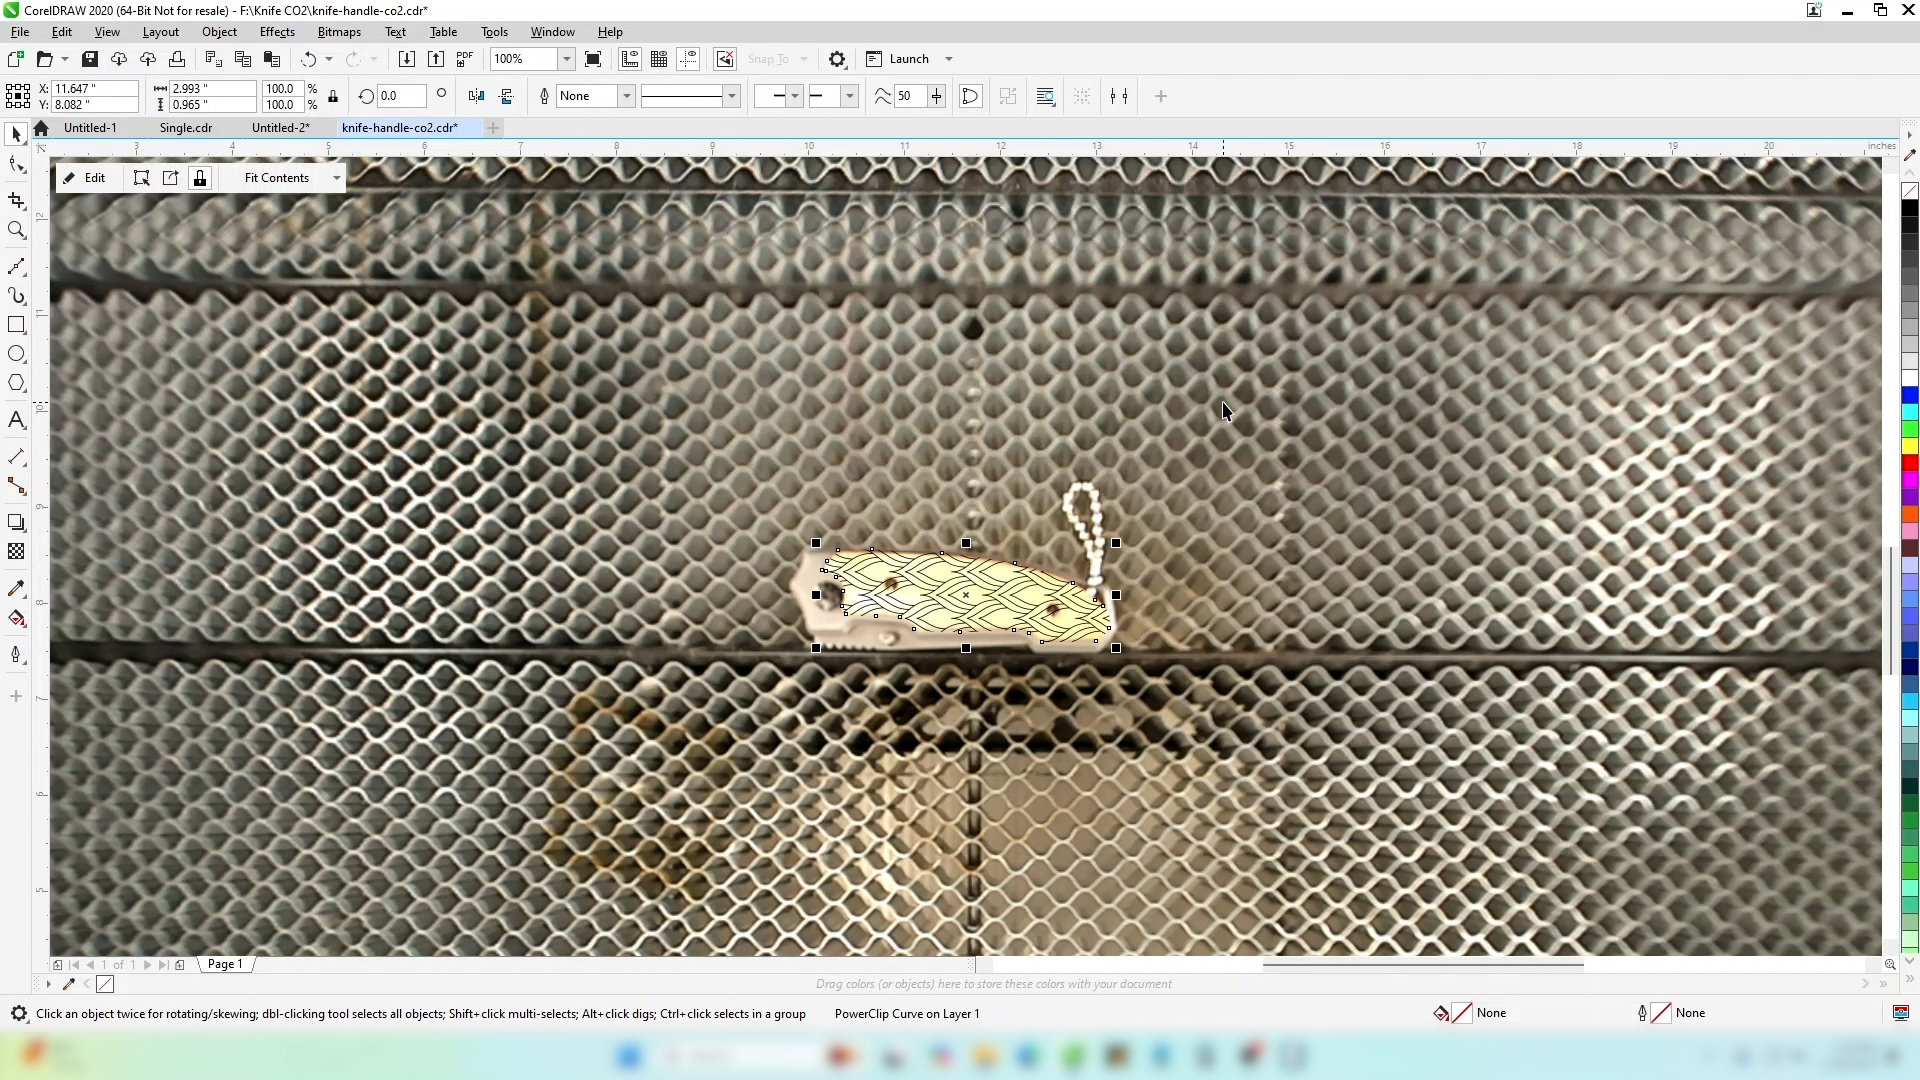
Now you can delete the background image that we used for placement.
Laser Dashboard Setup
-
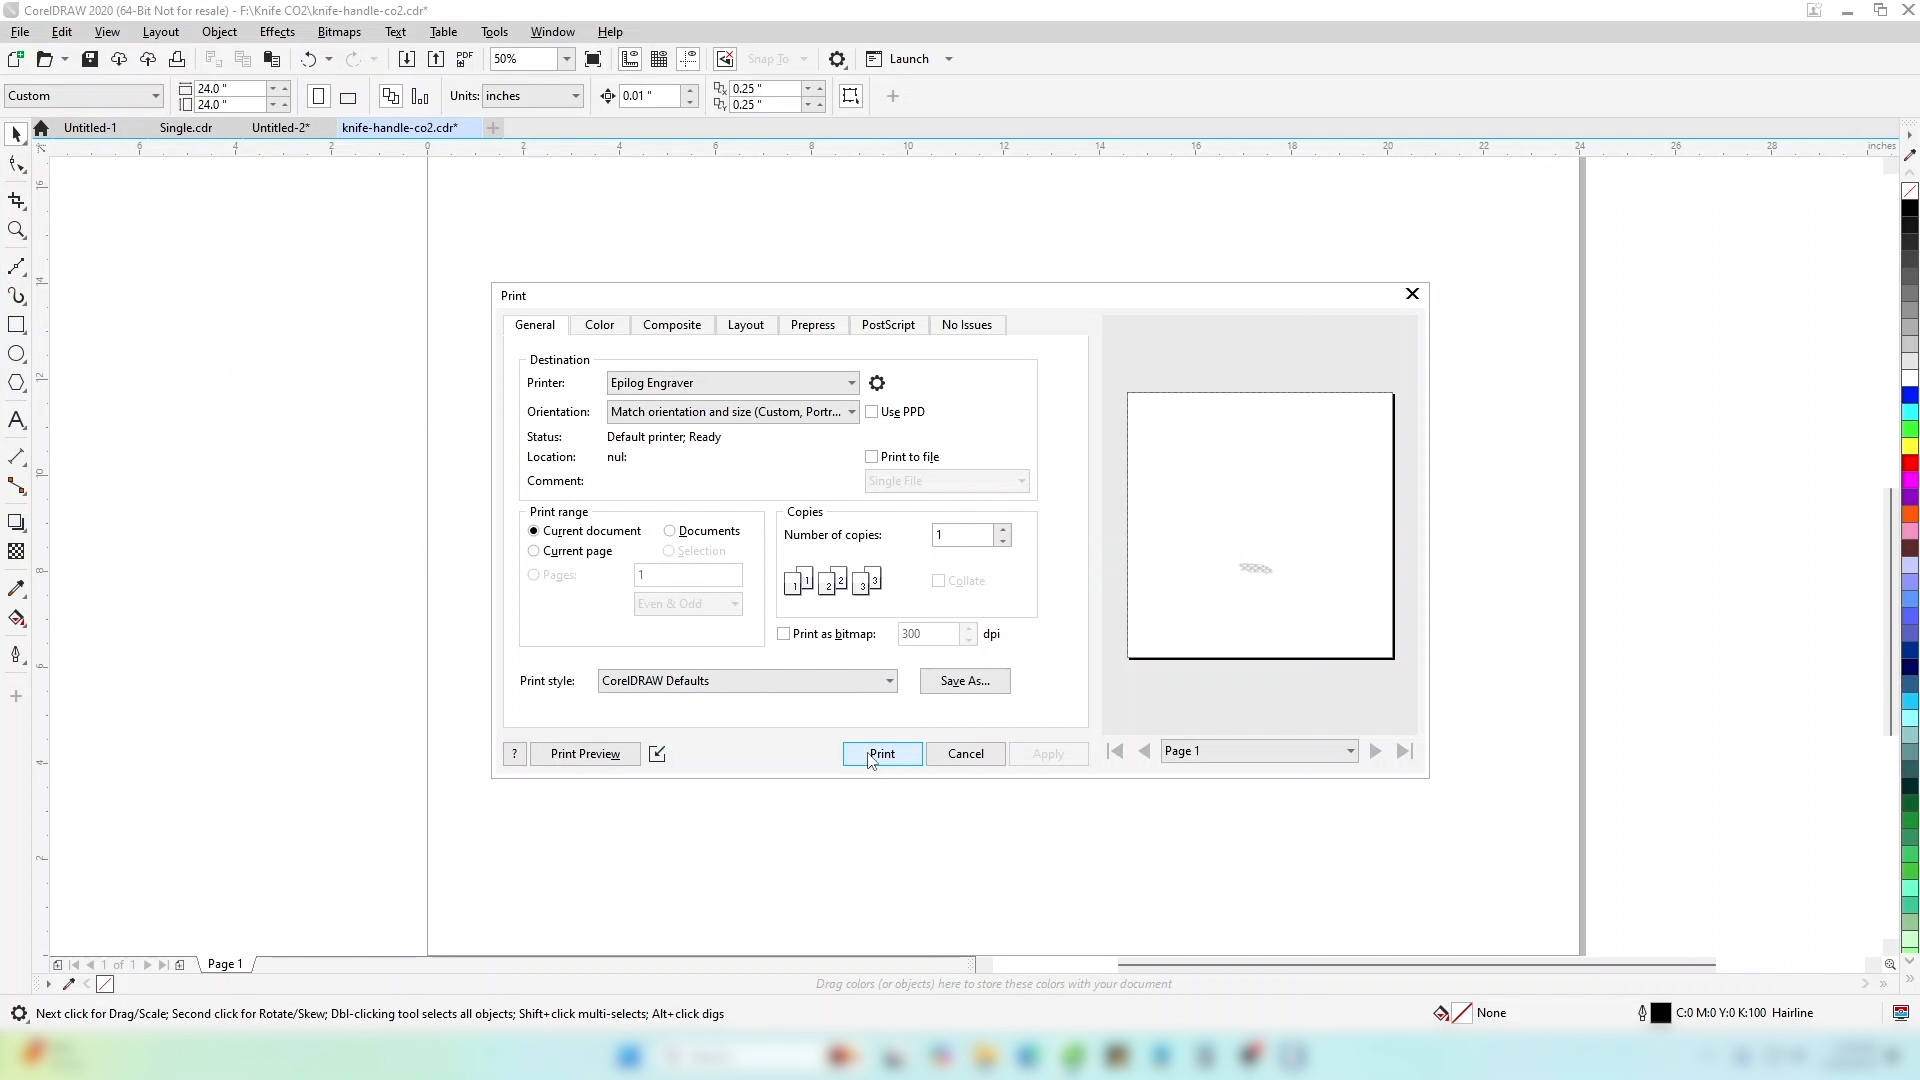
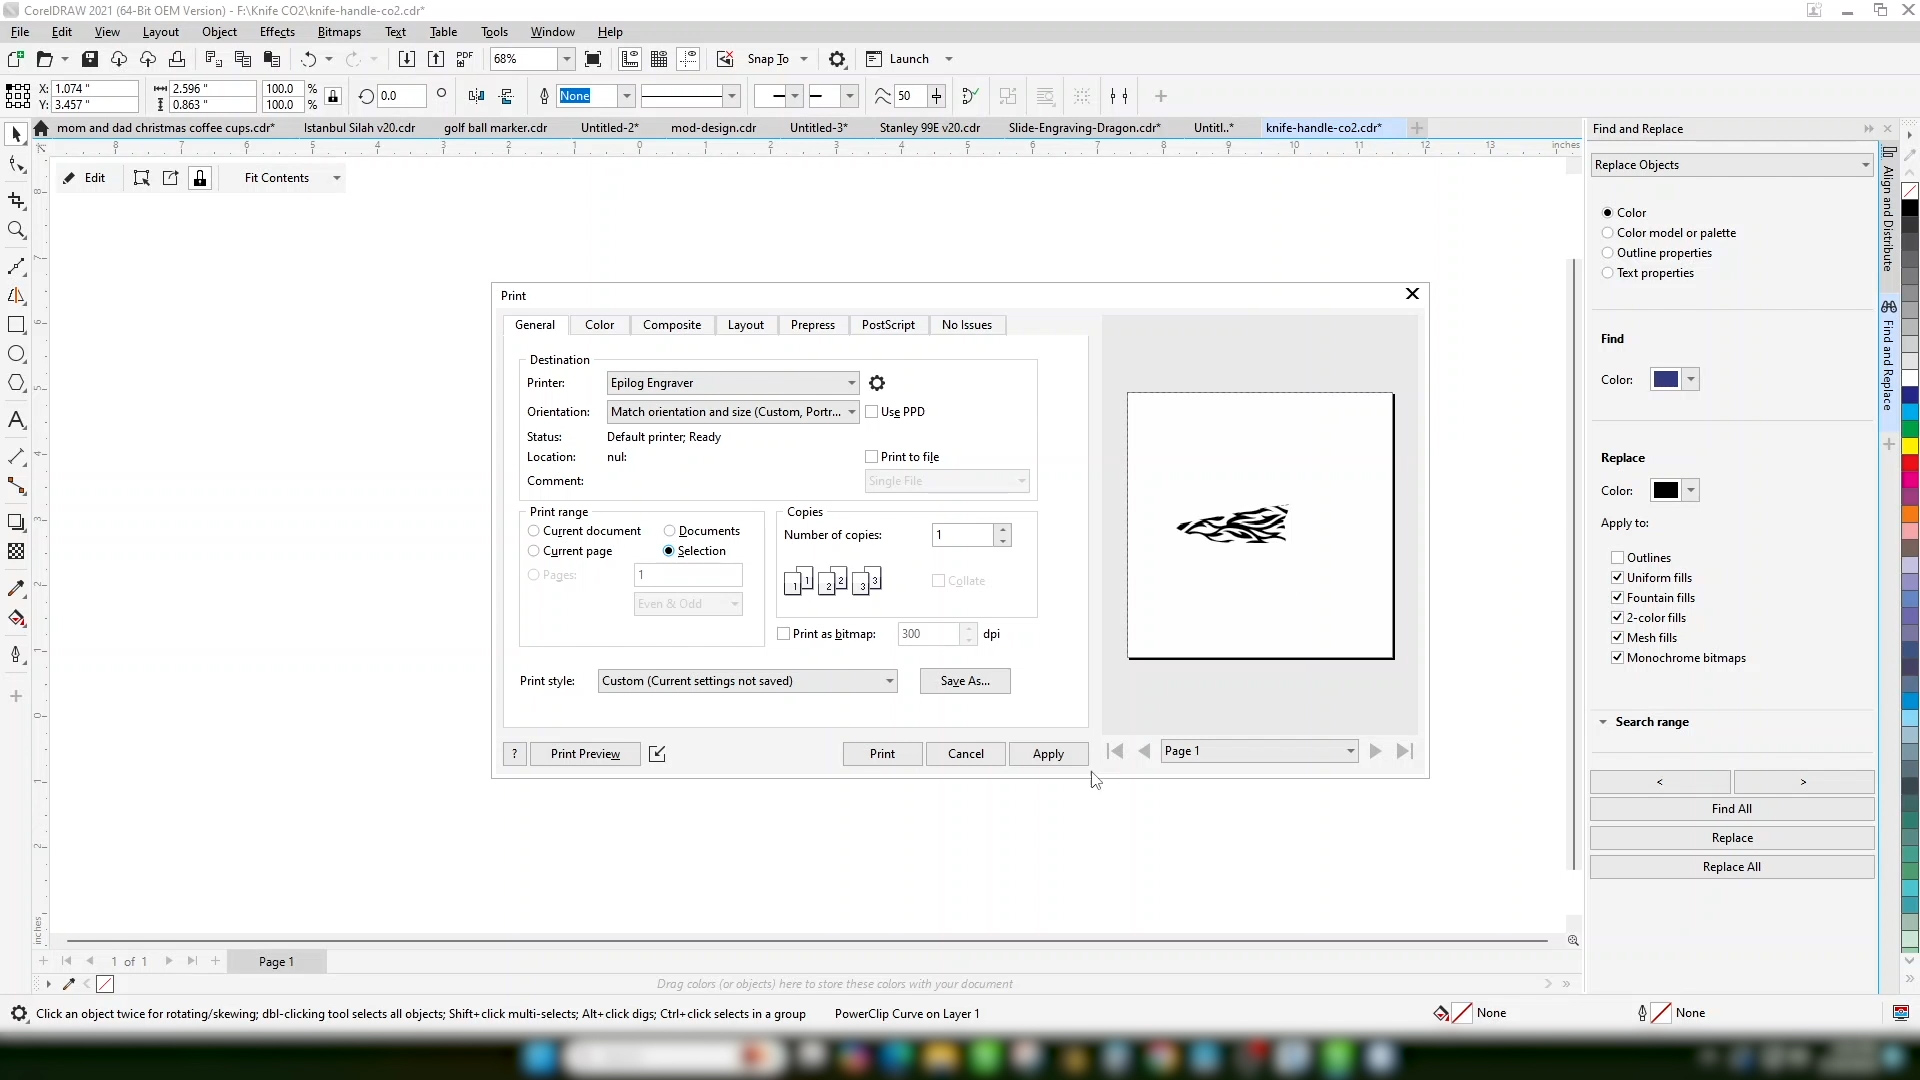
Print the file to the laser.
-
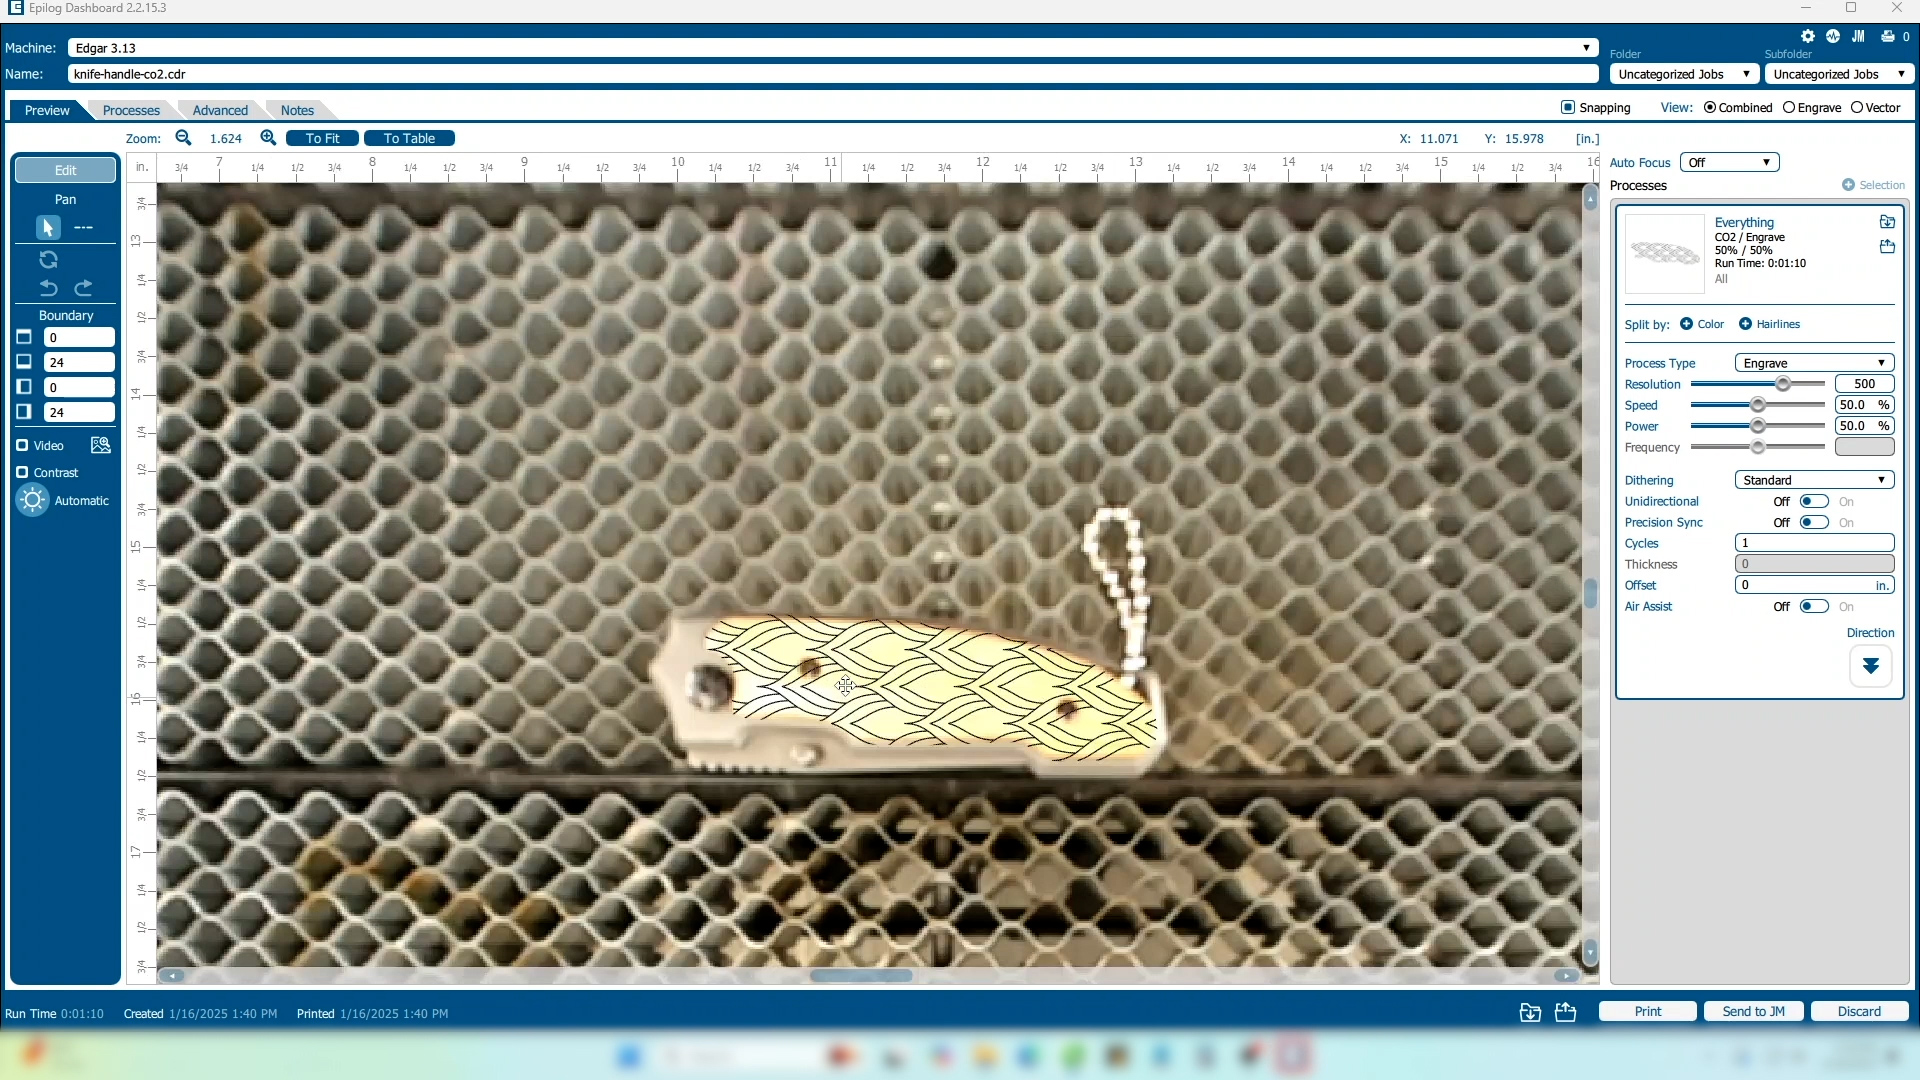
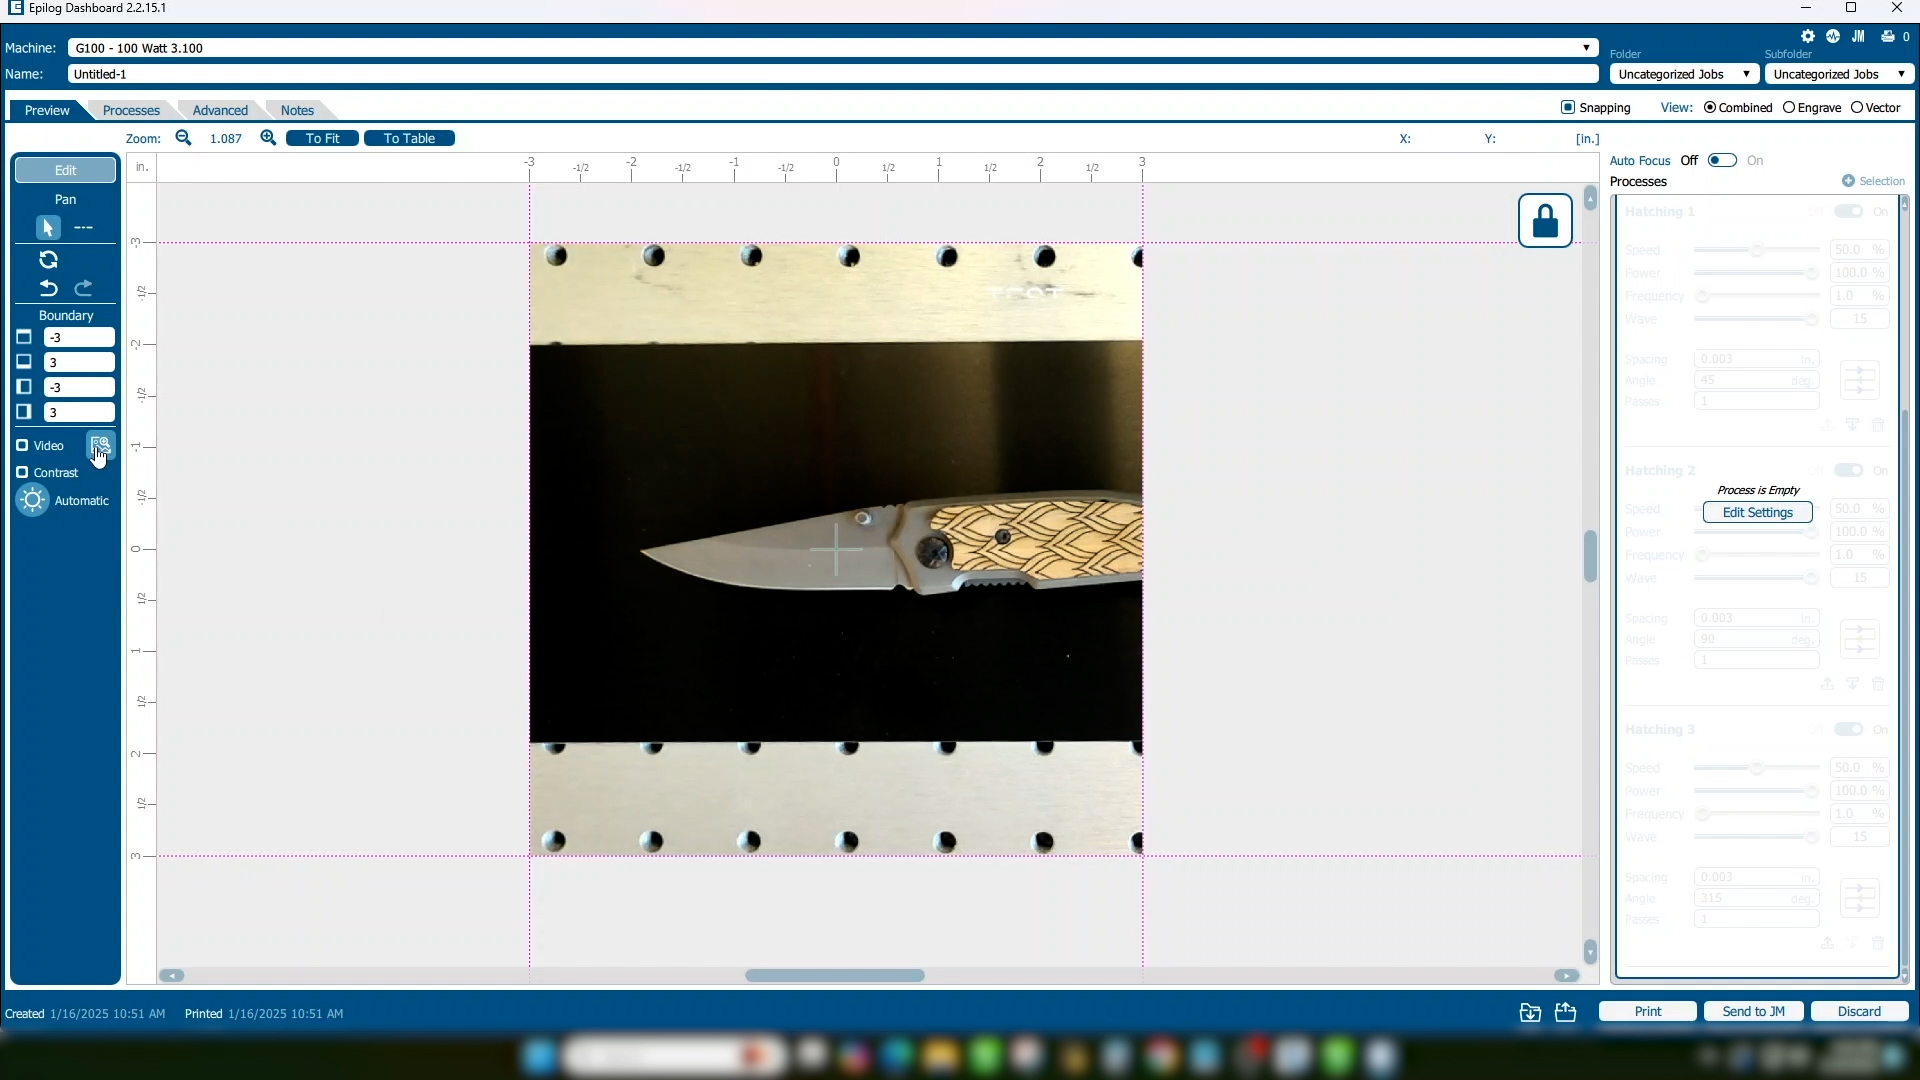
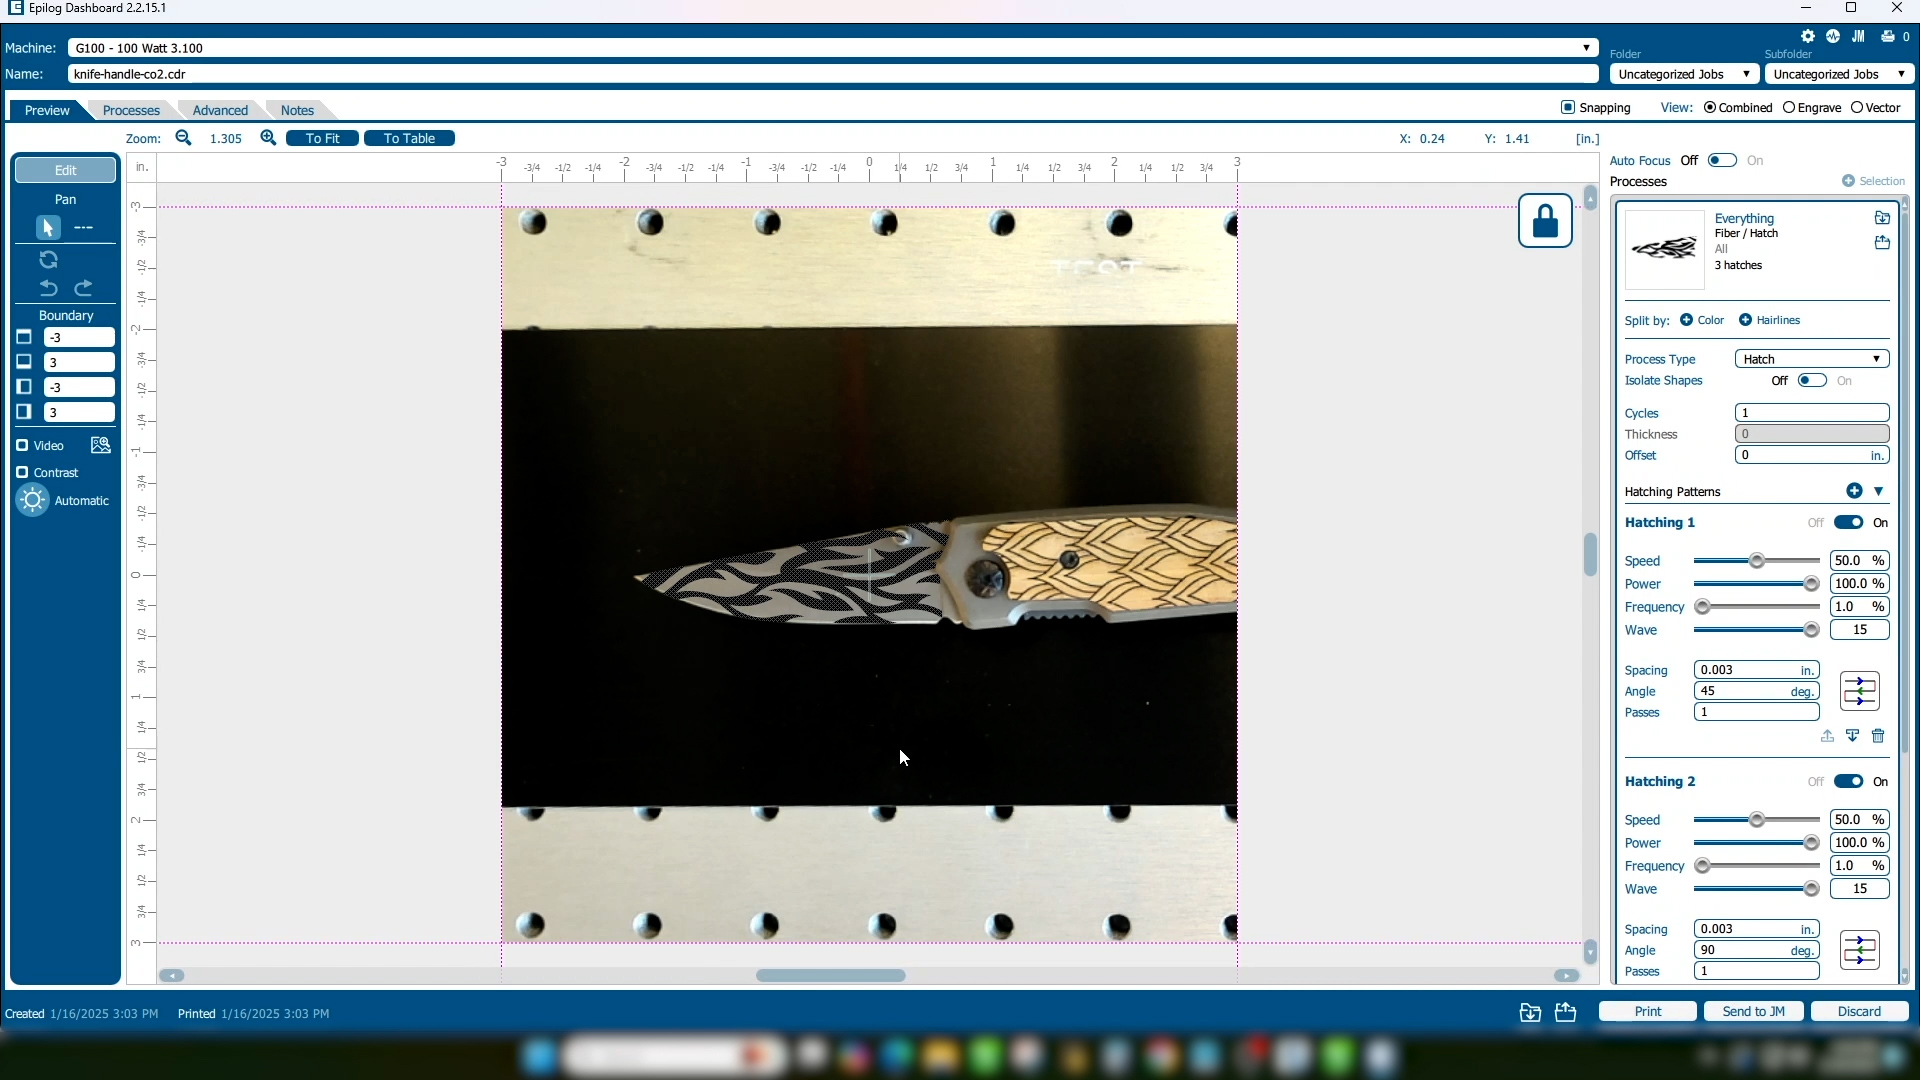
In the Laser Dashboard we can now see our graphic is perfectly positioned on our knife handle and ready to run.

-
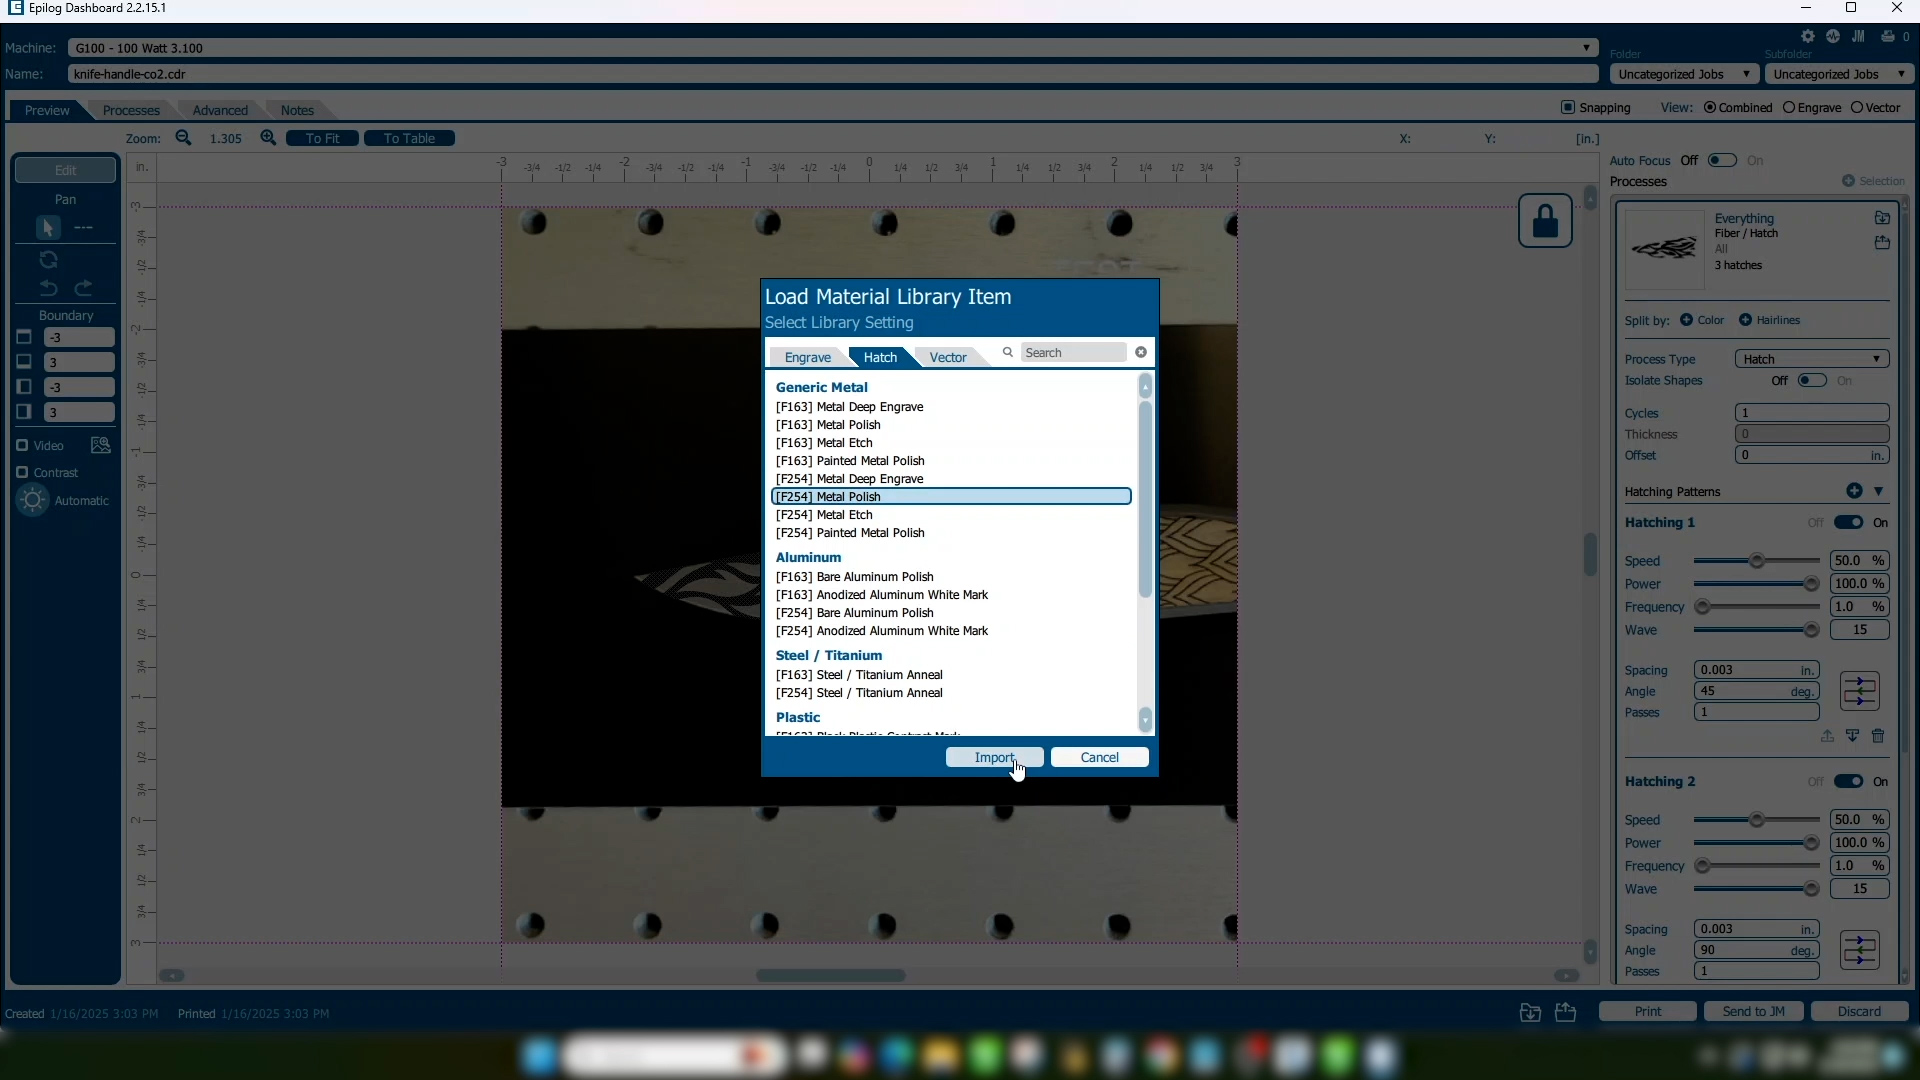
In the processes area of the screen, import or set your material settings.
-
Print your file to the laser. That’s all there is to it!
Fusion Galvo – Copying the Background Image
-
If you’re using the Fusion Galvo G100, the process is identical to the process on the flatbed CO2 lasers.
-
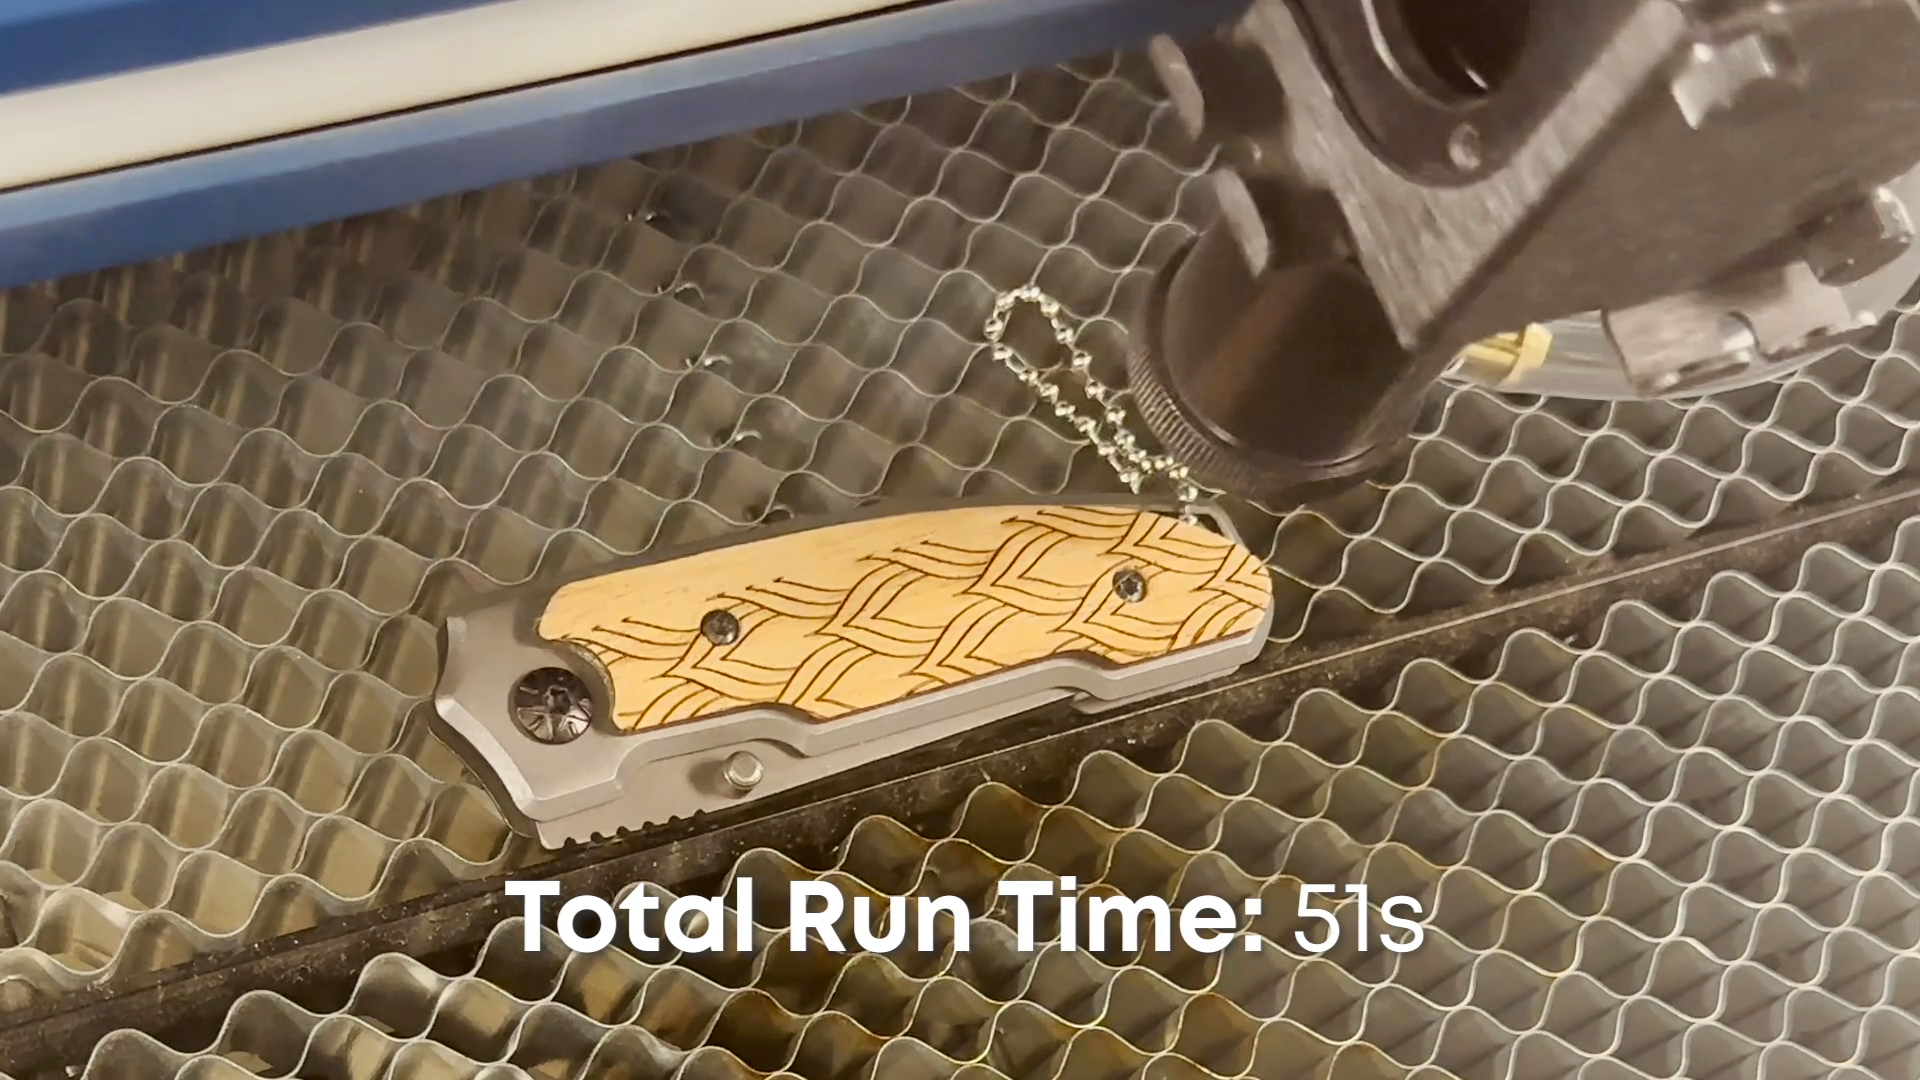
With our knife blade positioned in the Galvo laser and focused, we’ll select Copy Background Image.

-
Set your page size to the size of the engraving area. We’ll use 6” x 6” for this example.
Paste your copied image on the page.
-
Use the Bezier tool to draw your outline.
-
Powerclip your artwork in the outline you drew.
-
Edit the Powerclip to size and position your artwork.
-
Select Finish Editing Powerclip when you’re happy with the design.

-
Turn off the outline.
-
Print the file to the laser. Since we didn’t delete the background image, we’ll choose print selection only.
Artwork Setup
Laser Dashboard Setup
-
Our artwork is now perfectly positioned.
-
Import your material settings for the type of mark you want to achieve.
-
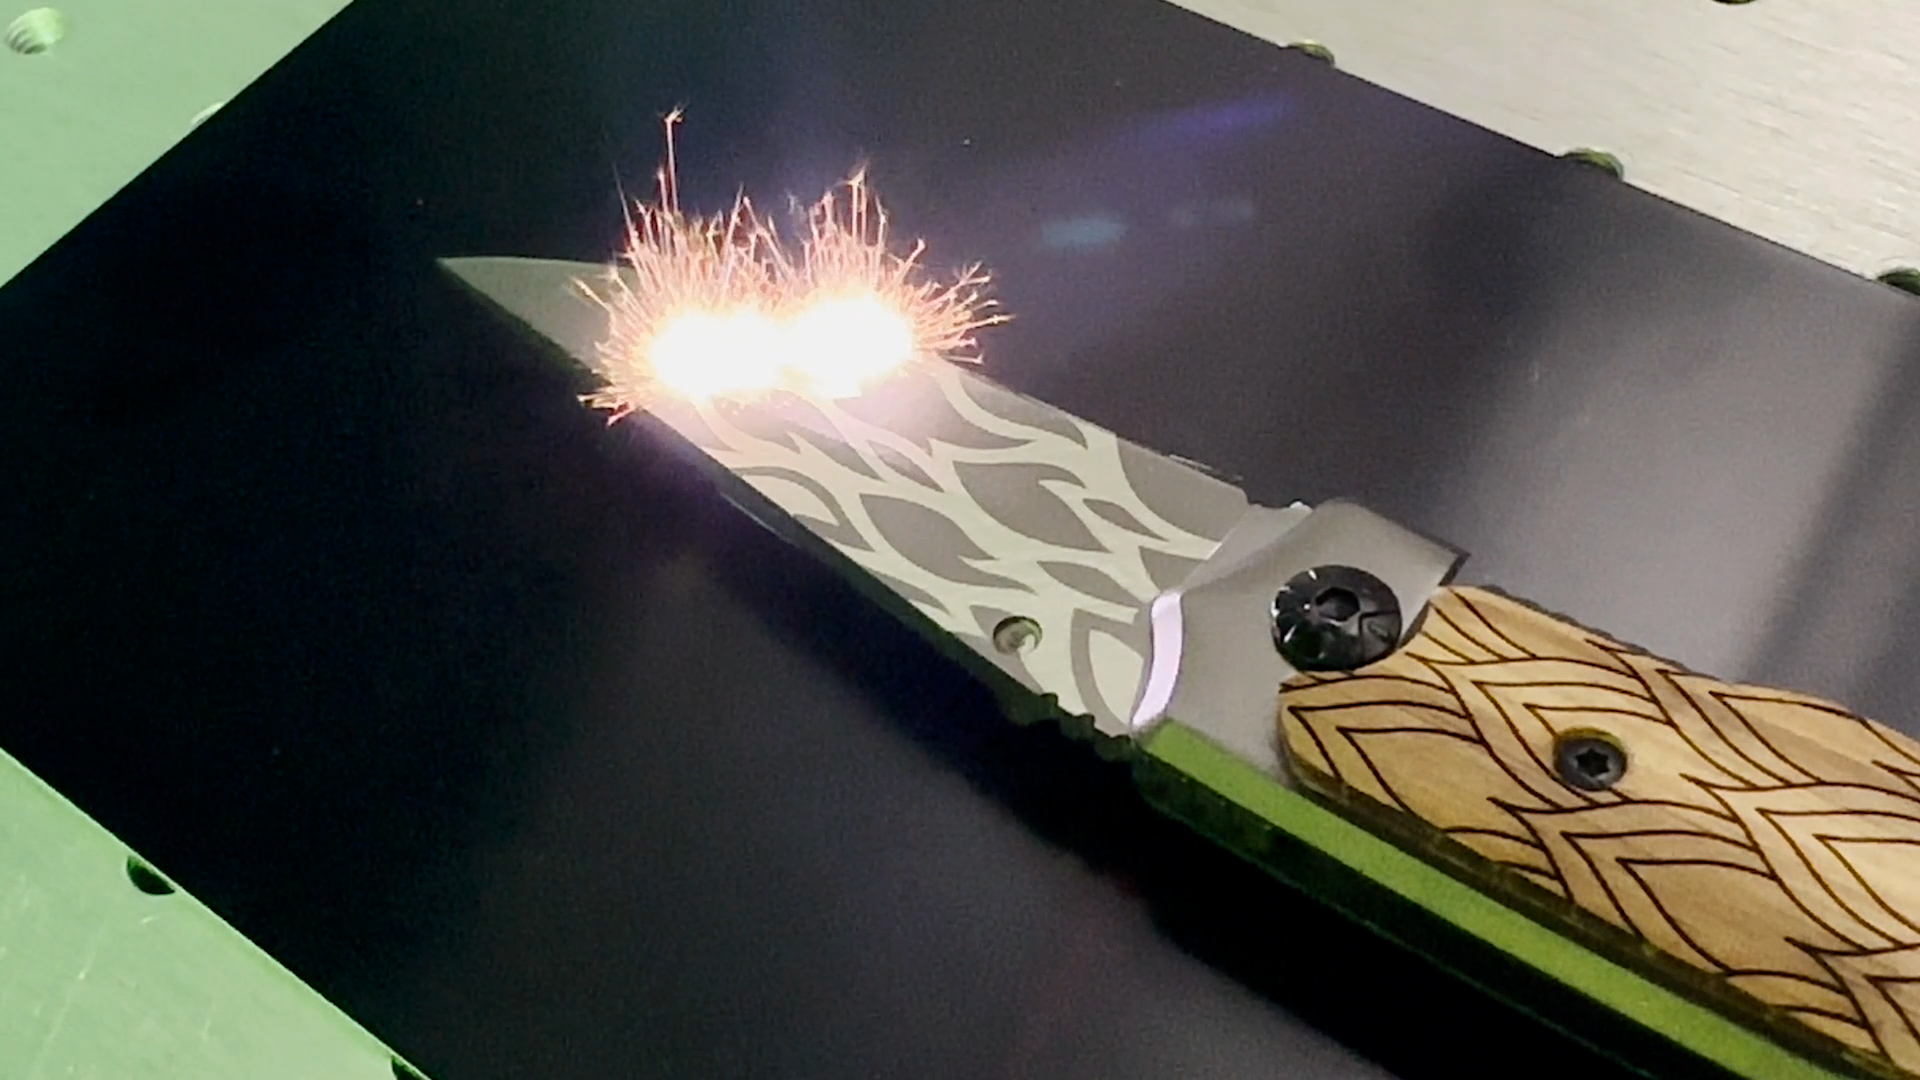
And print the file to the laser.
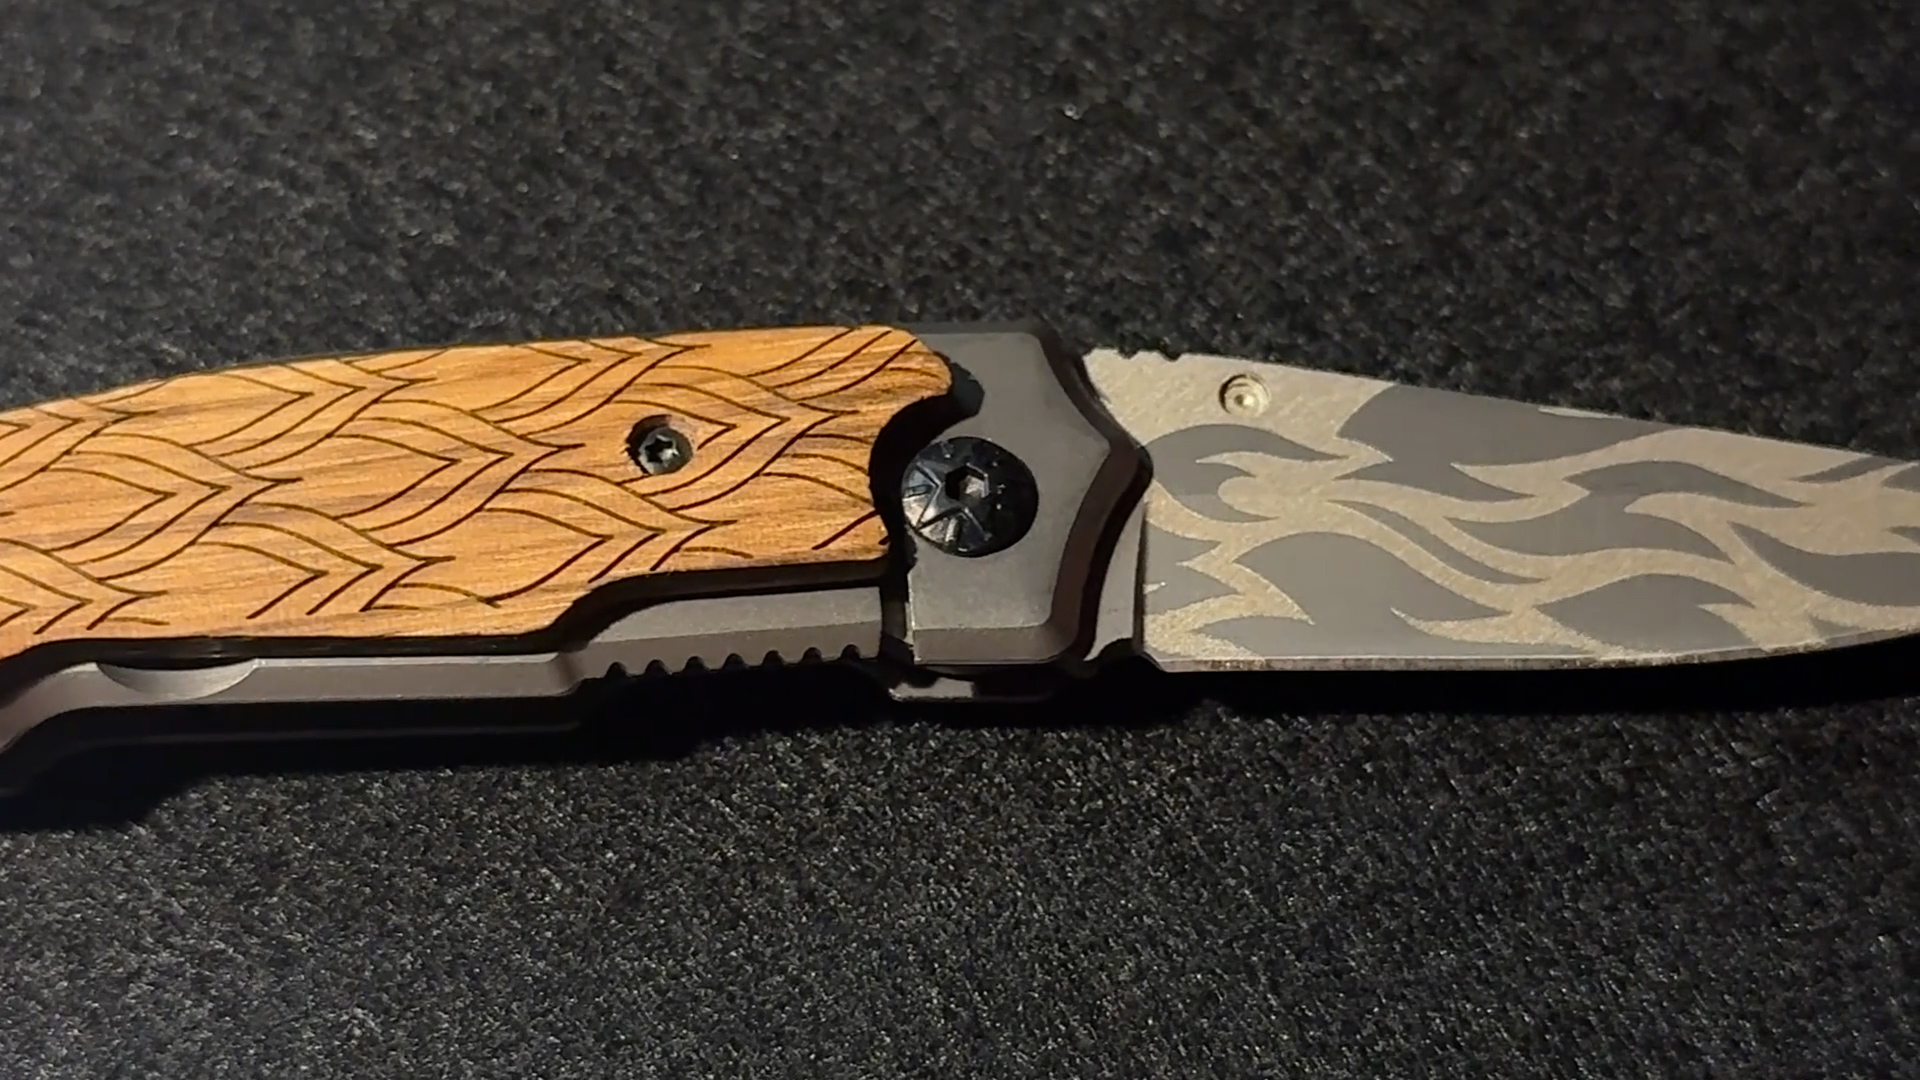
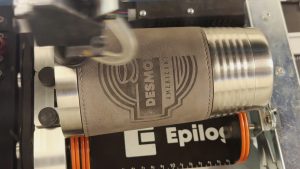
You’ve successfully engraved your artwork on an irregularly shaped image and have a beautiful custom engraved product to sell!