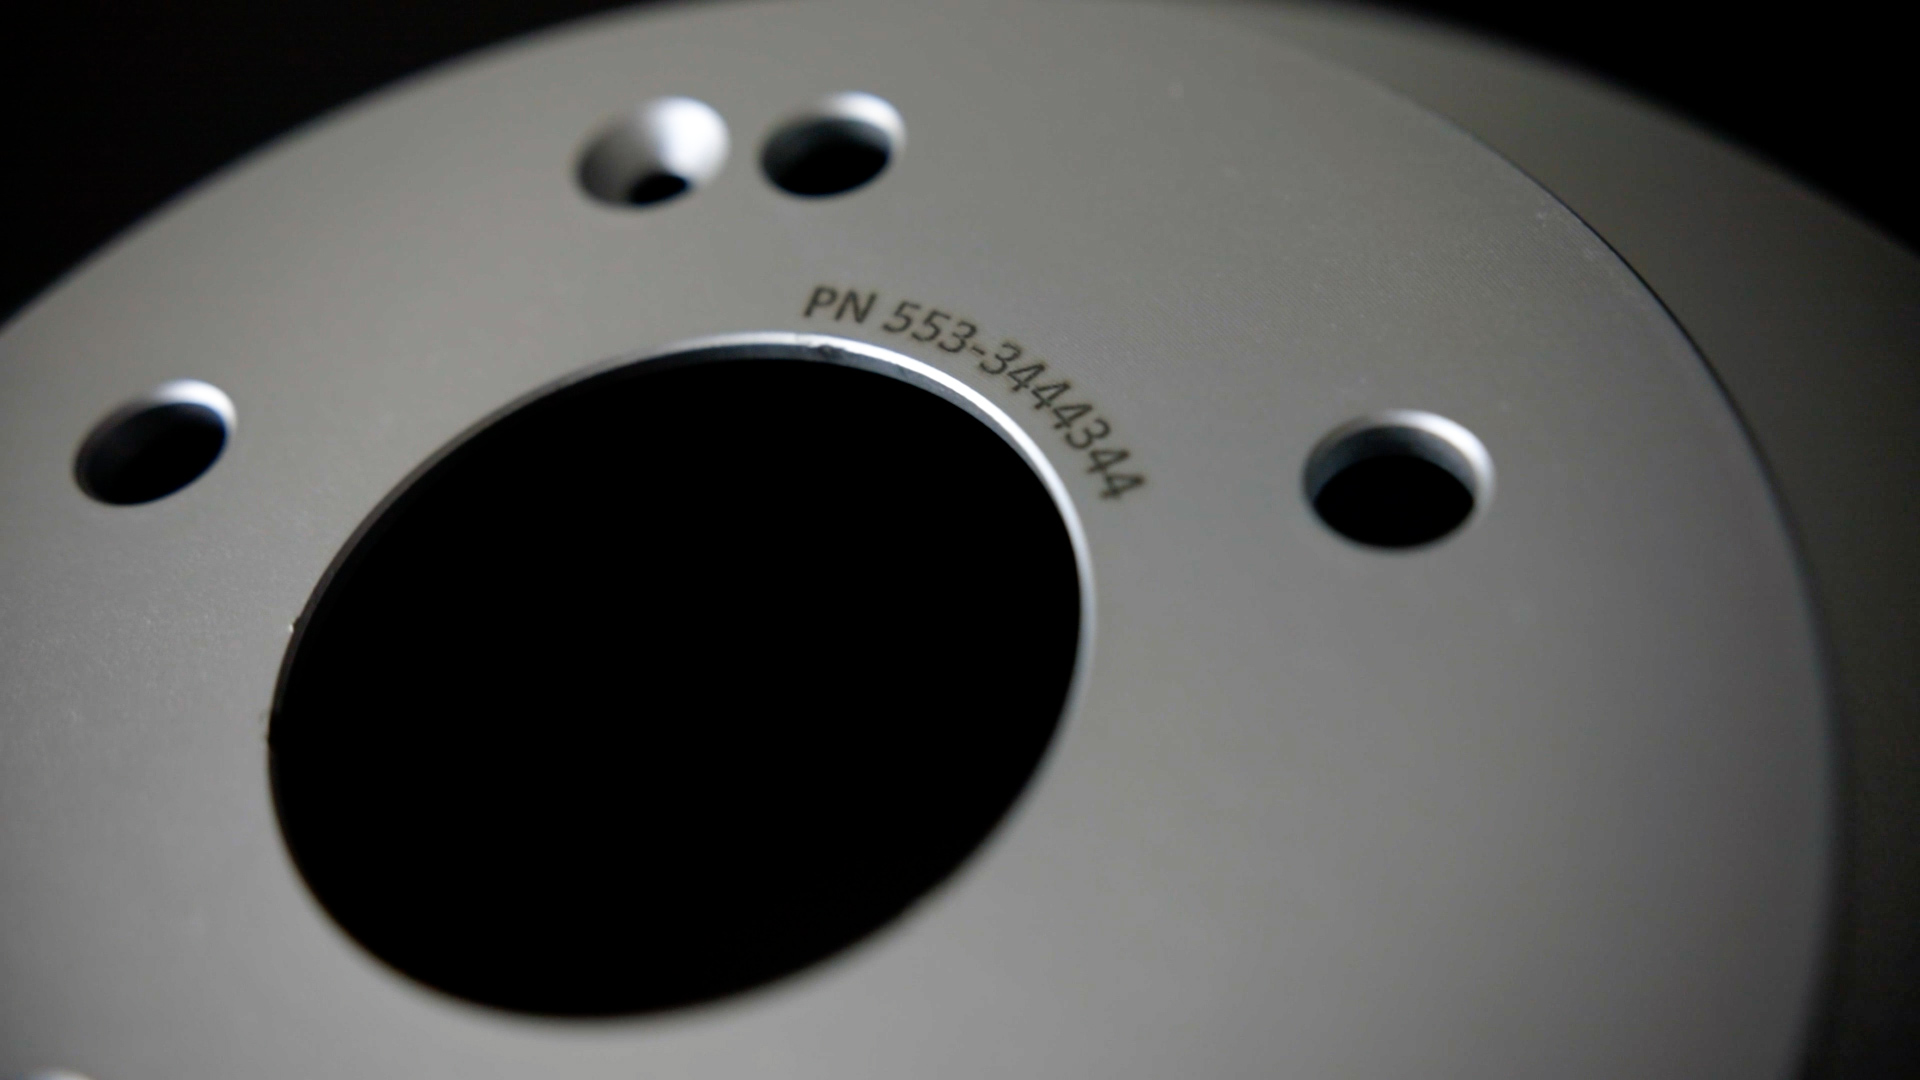
Today, we're going to walk you through how to engrave a serial number that fits a specific shaped part on the Fusion Galvo using the Epilog Dashboard features.
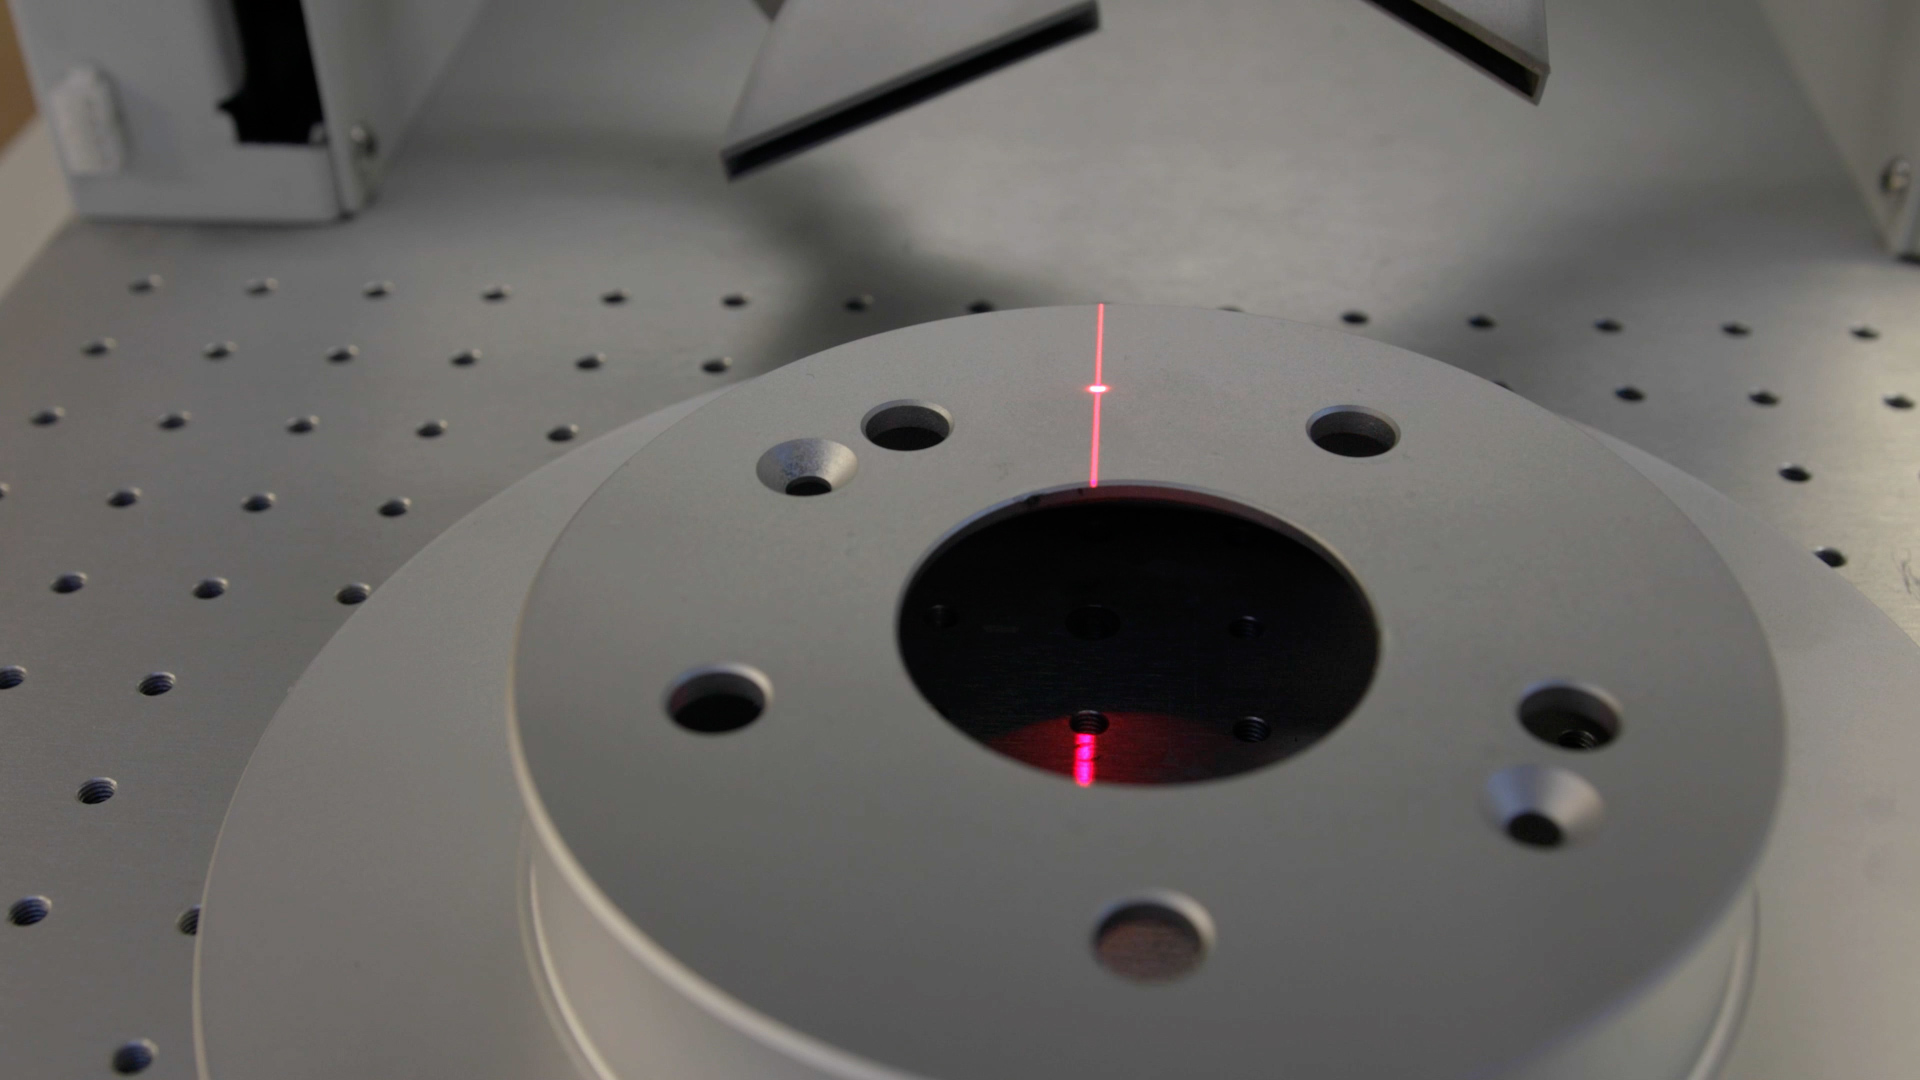
Let’s start creating your custom shaped artwork by placing your part on the table of the laser. Then bring the part into focus using the focus menu. Once the red dot pointer aligns with the vertical line, your part is in focus.
For this tutorial will be using CorelDraw as our design software.
Setup
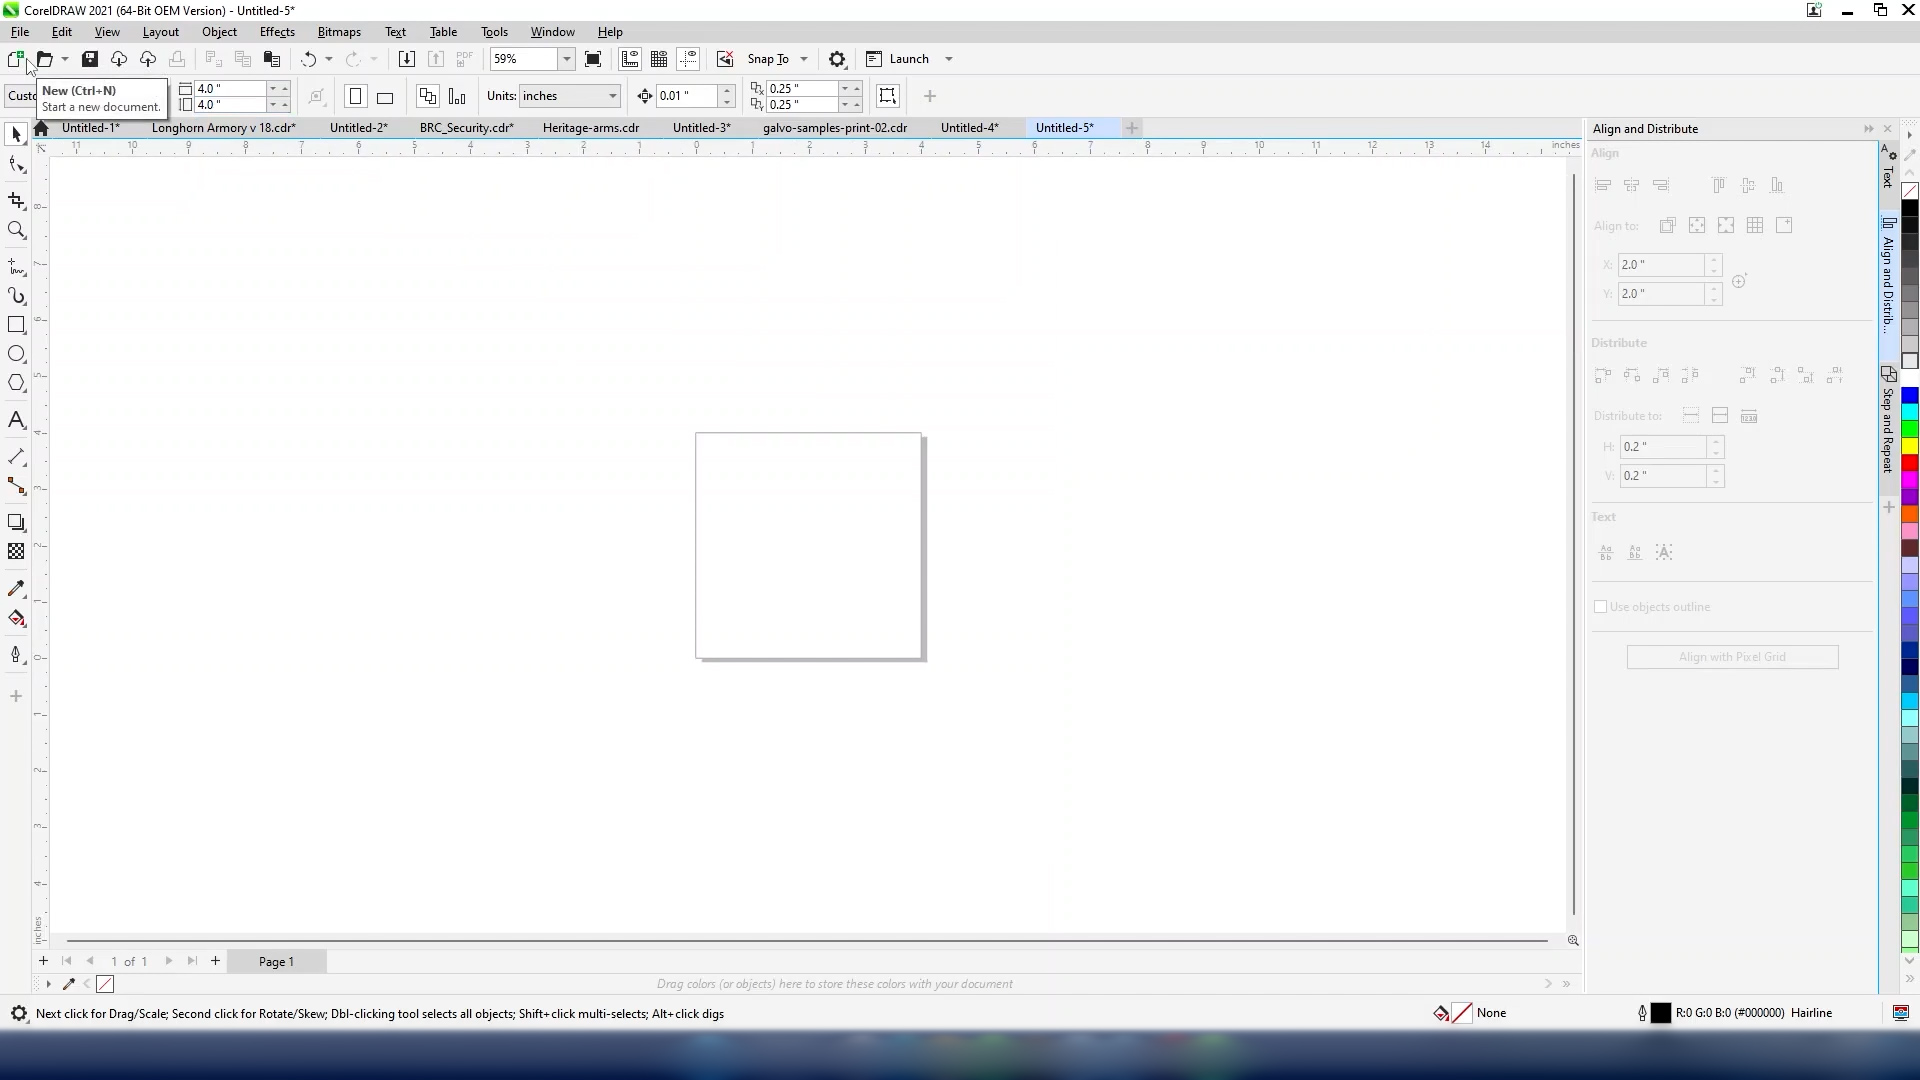
Within CorelDraw, we’ll start by matching the page size to our engraving area. In our case, the engraving area is 4×4 inches.
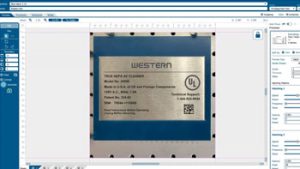
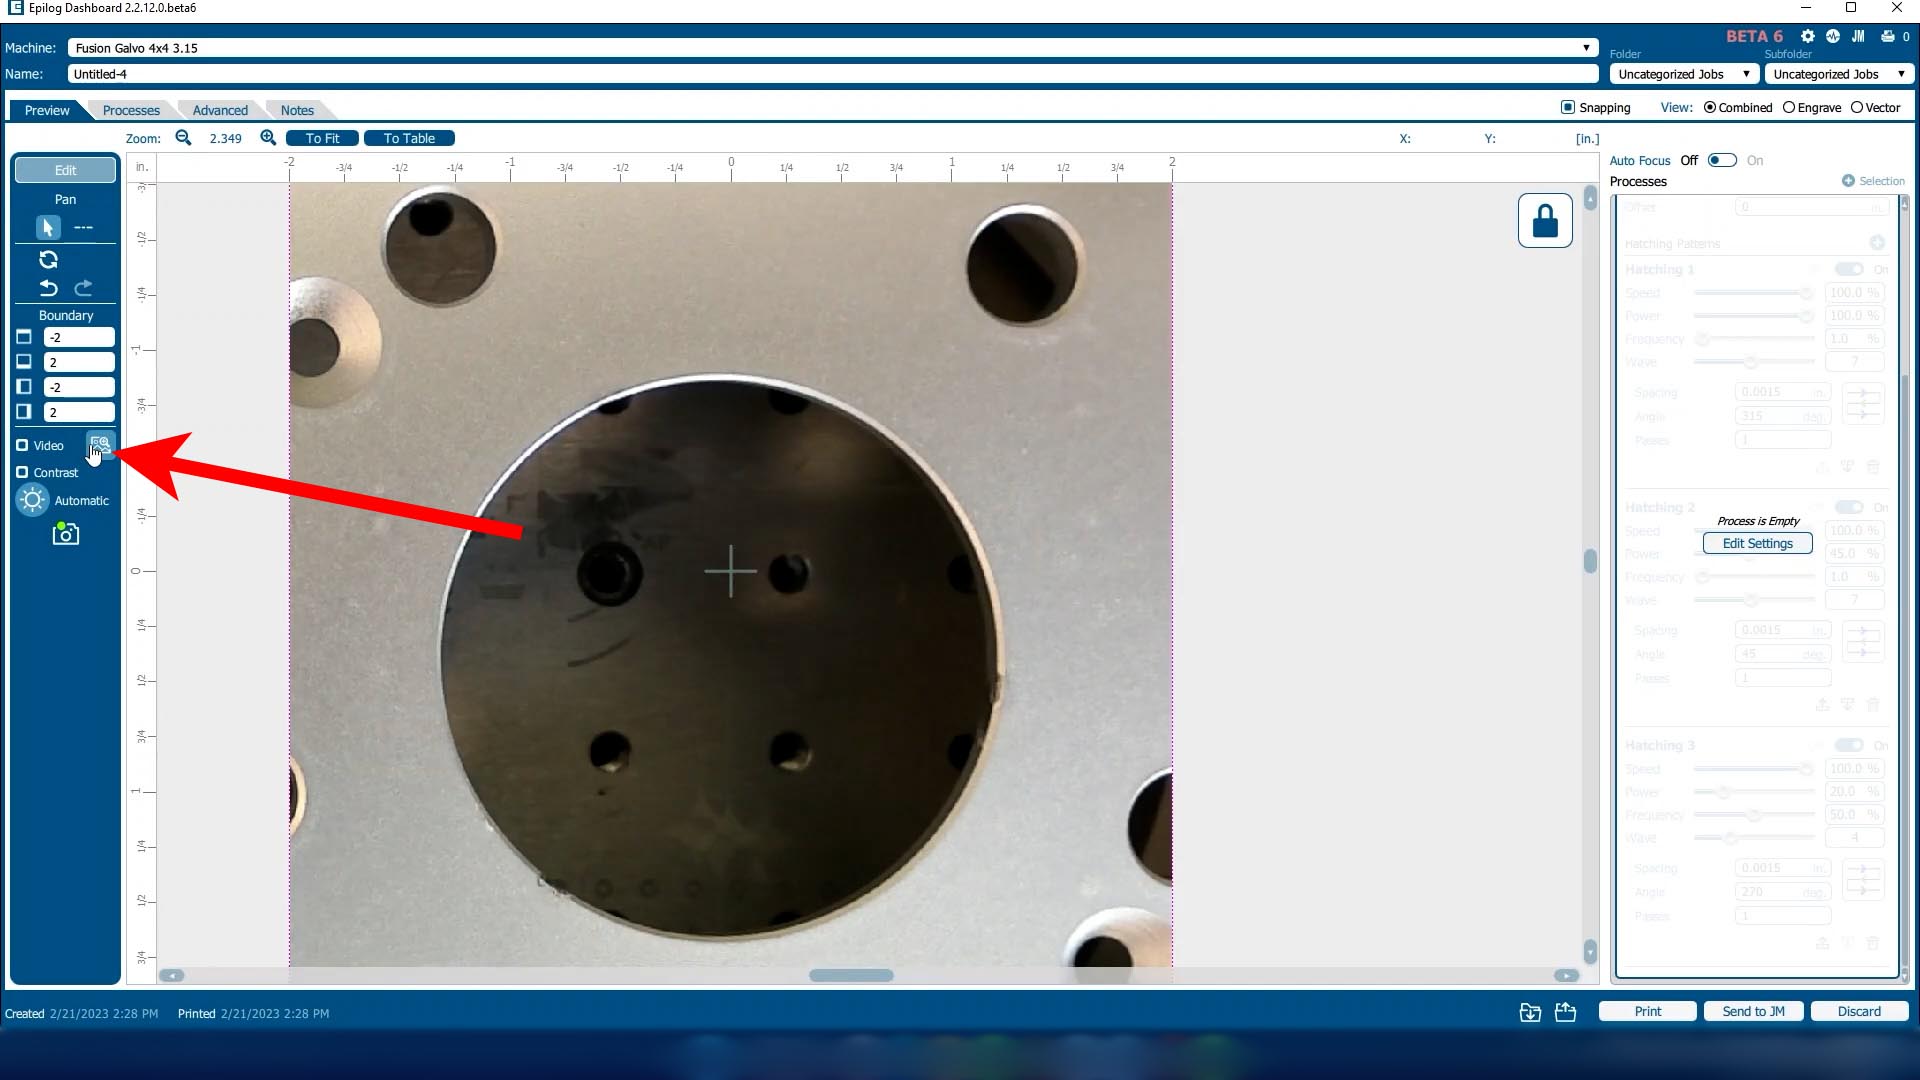
Now at the Laser Dashboard, click on “Copy Background Image”, then paste the image on the page in CorelDraw.

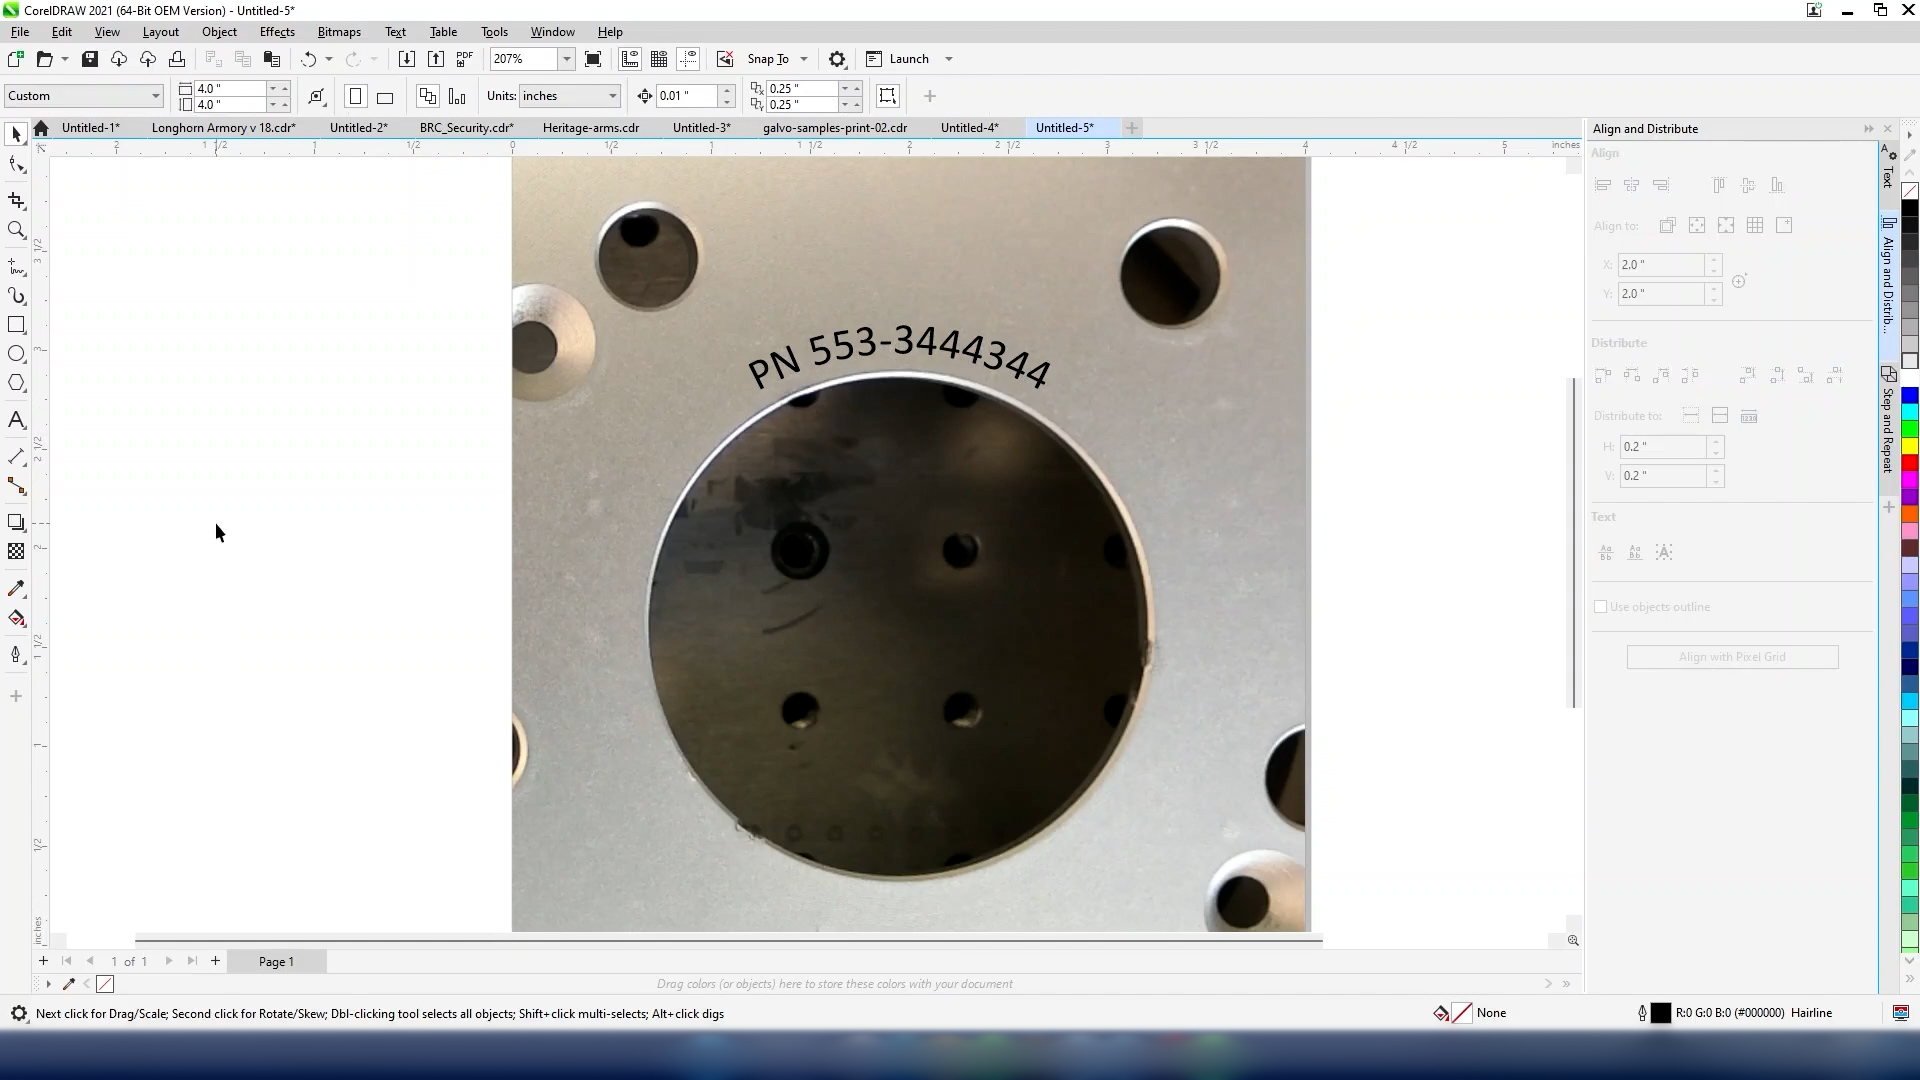
We want to line up the serial number with the center circle of the machine part, so we’re going to create a shape outline that matches the circle, then resize it to be slightly larger, so that the text wraps around the edge of the center hole.

With the text tool selected, hover over the shape until you see the edge icon appear, then click on the circle.

Customize Artwork
You may now type out your serial number and customize the font size and type.

Once the serial number is created, select the circle shape and delete it from the design.

Print to Dashboard
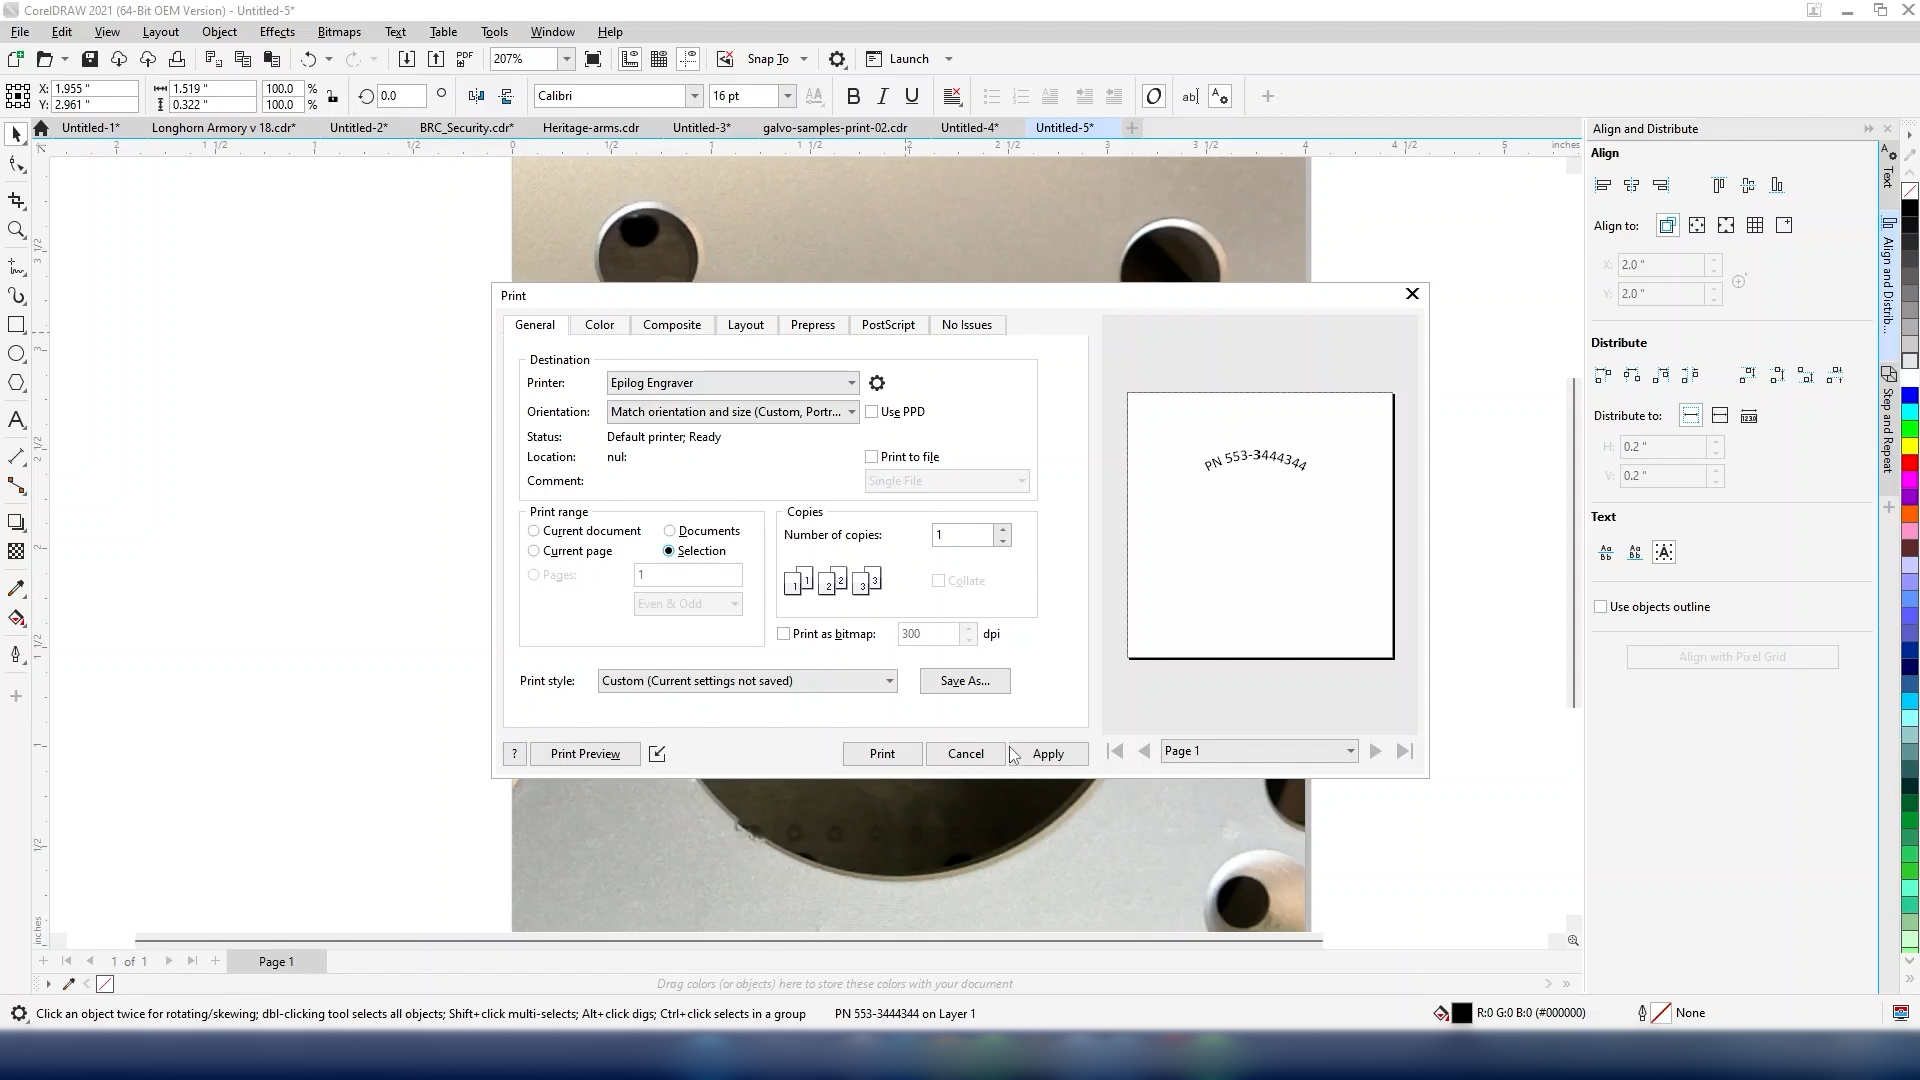
Now you’re ready to print to the Laser Dashboard.
Select the text, then use “control + P” to bring up the print menu. Under “Print Range” select “Selection” so that you don’t send over the pasted background image to the laser dashboard.
Now your custom shaped artwork should be perfectly placed in the Laser Dashboard.
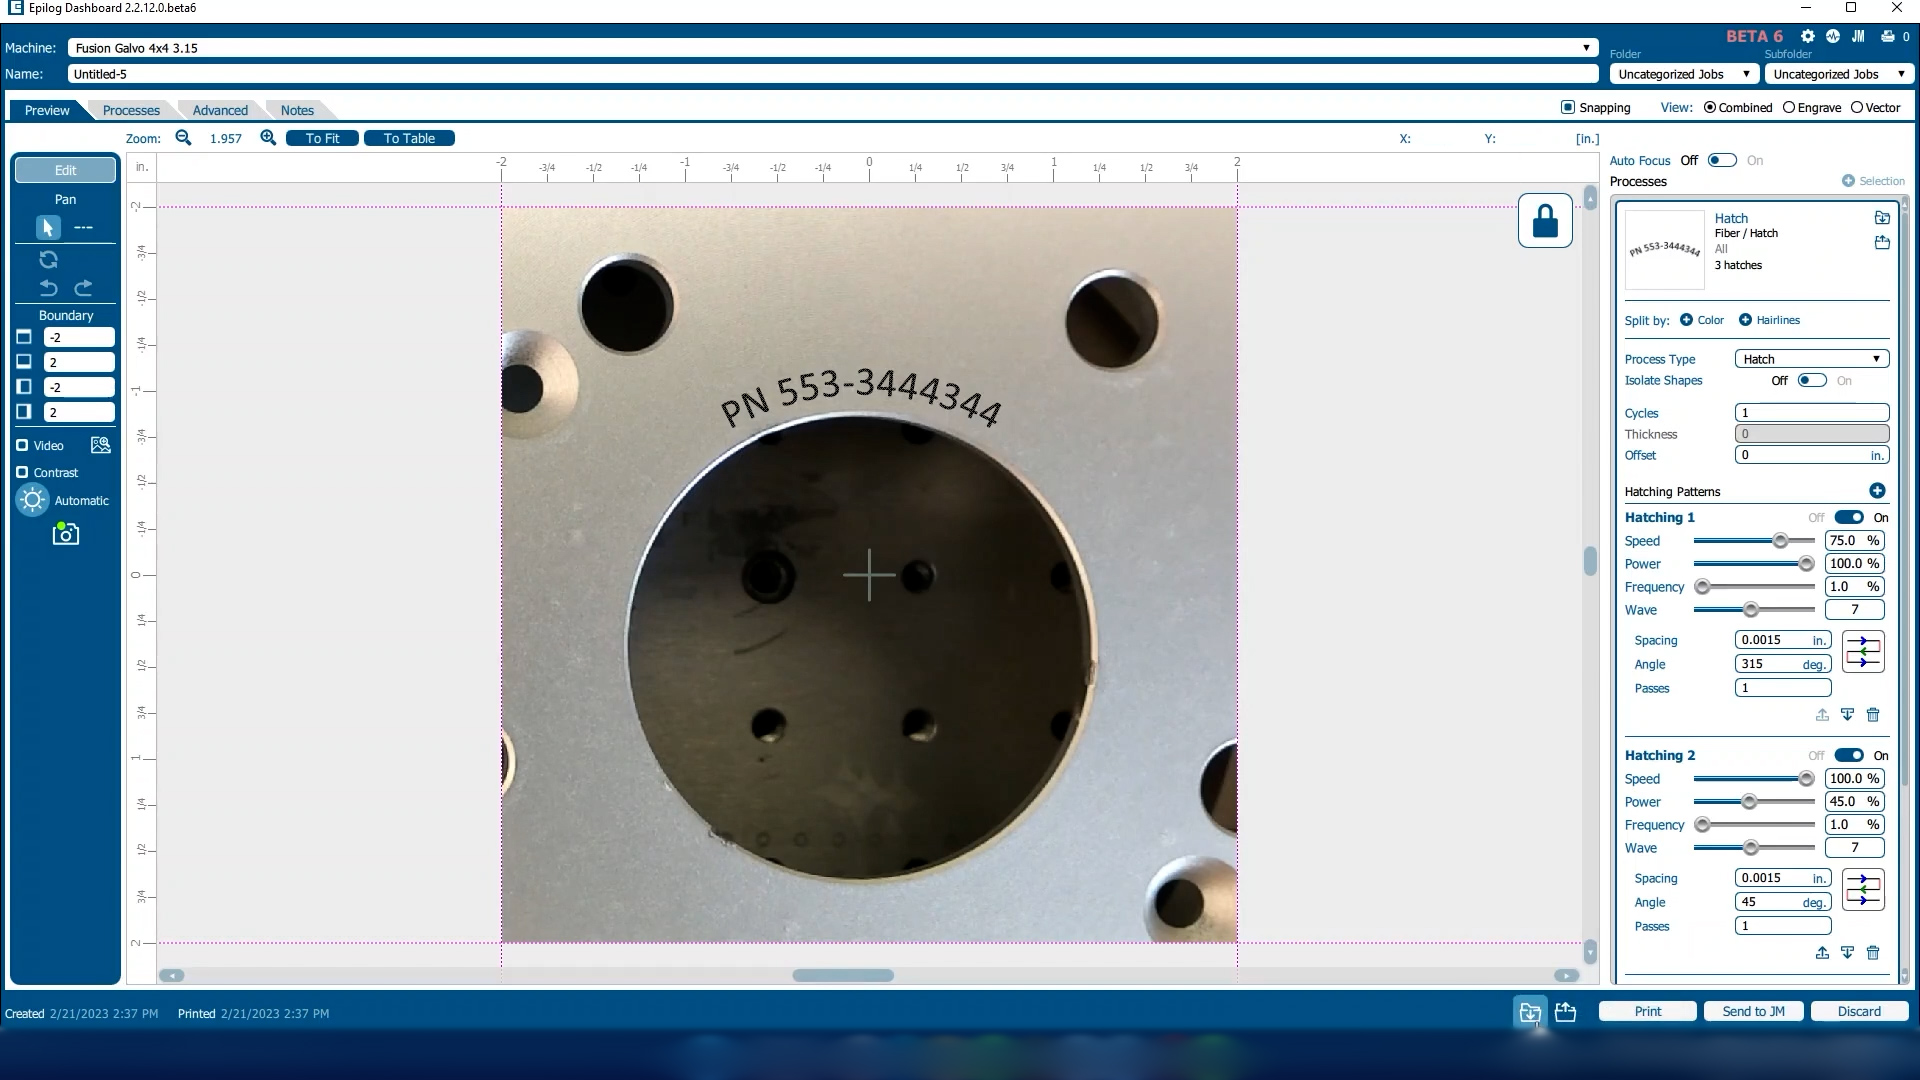
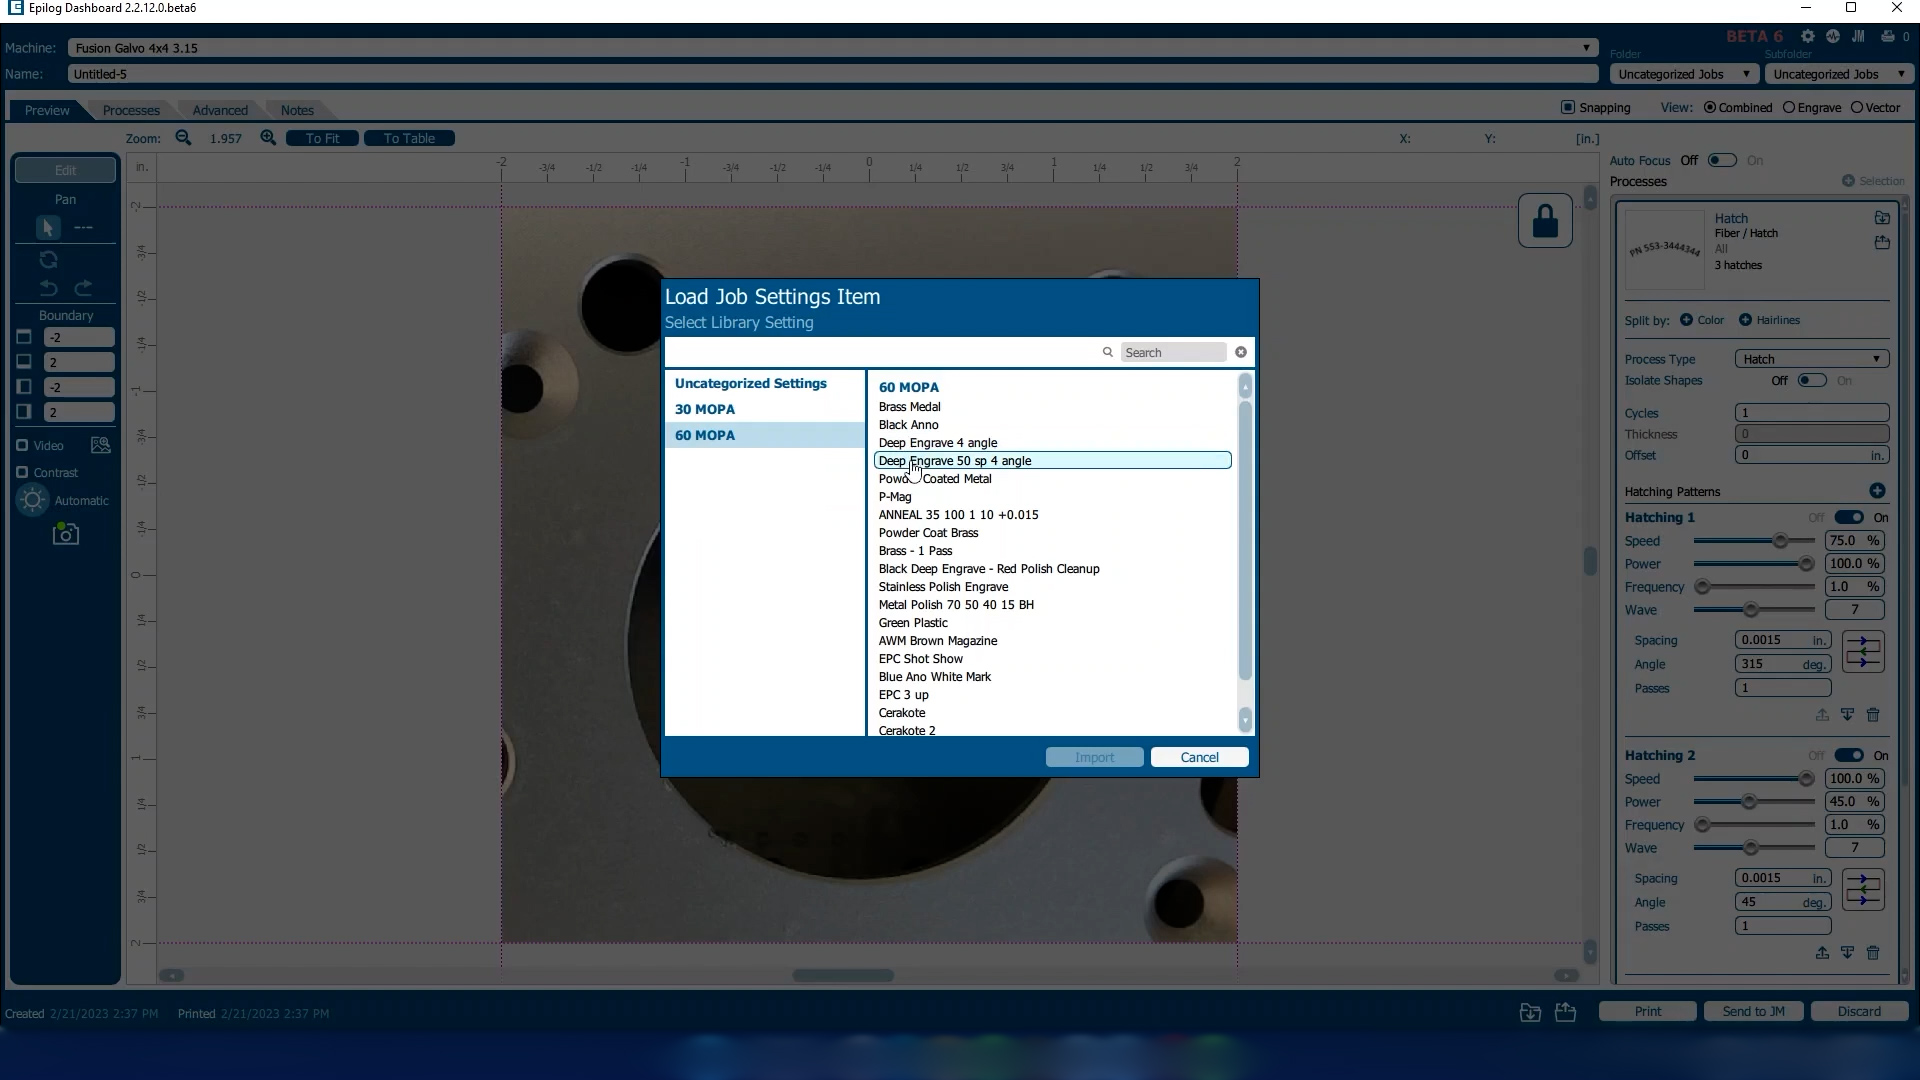
Input your preferred job settings before sending the job to the Galvo.
Trace Custom Shaped Artwork
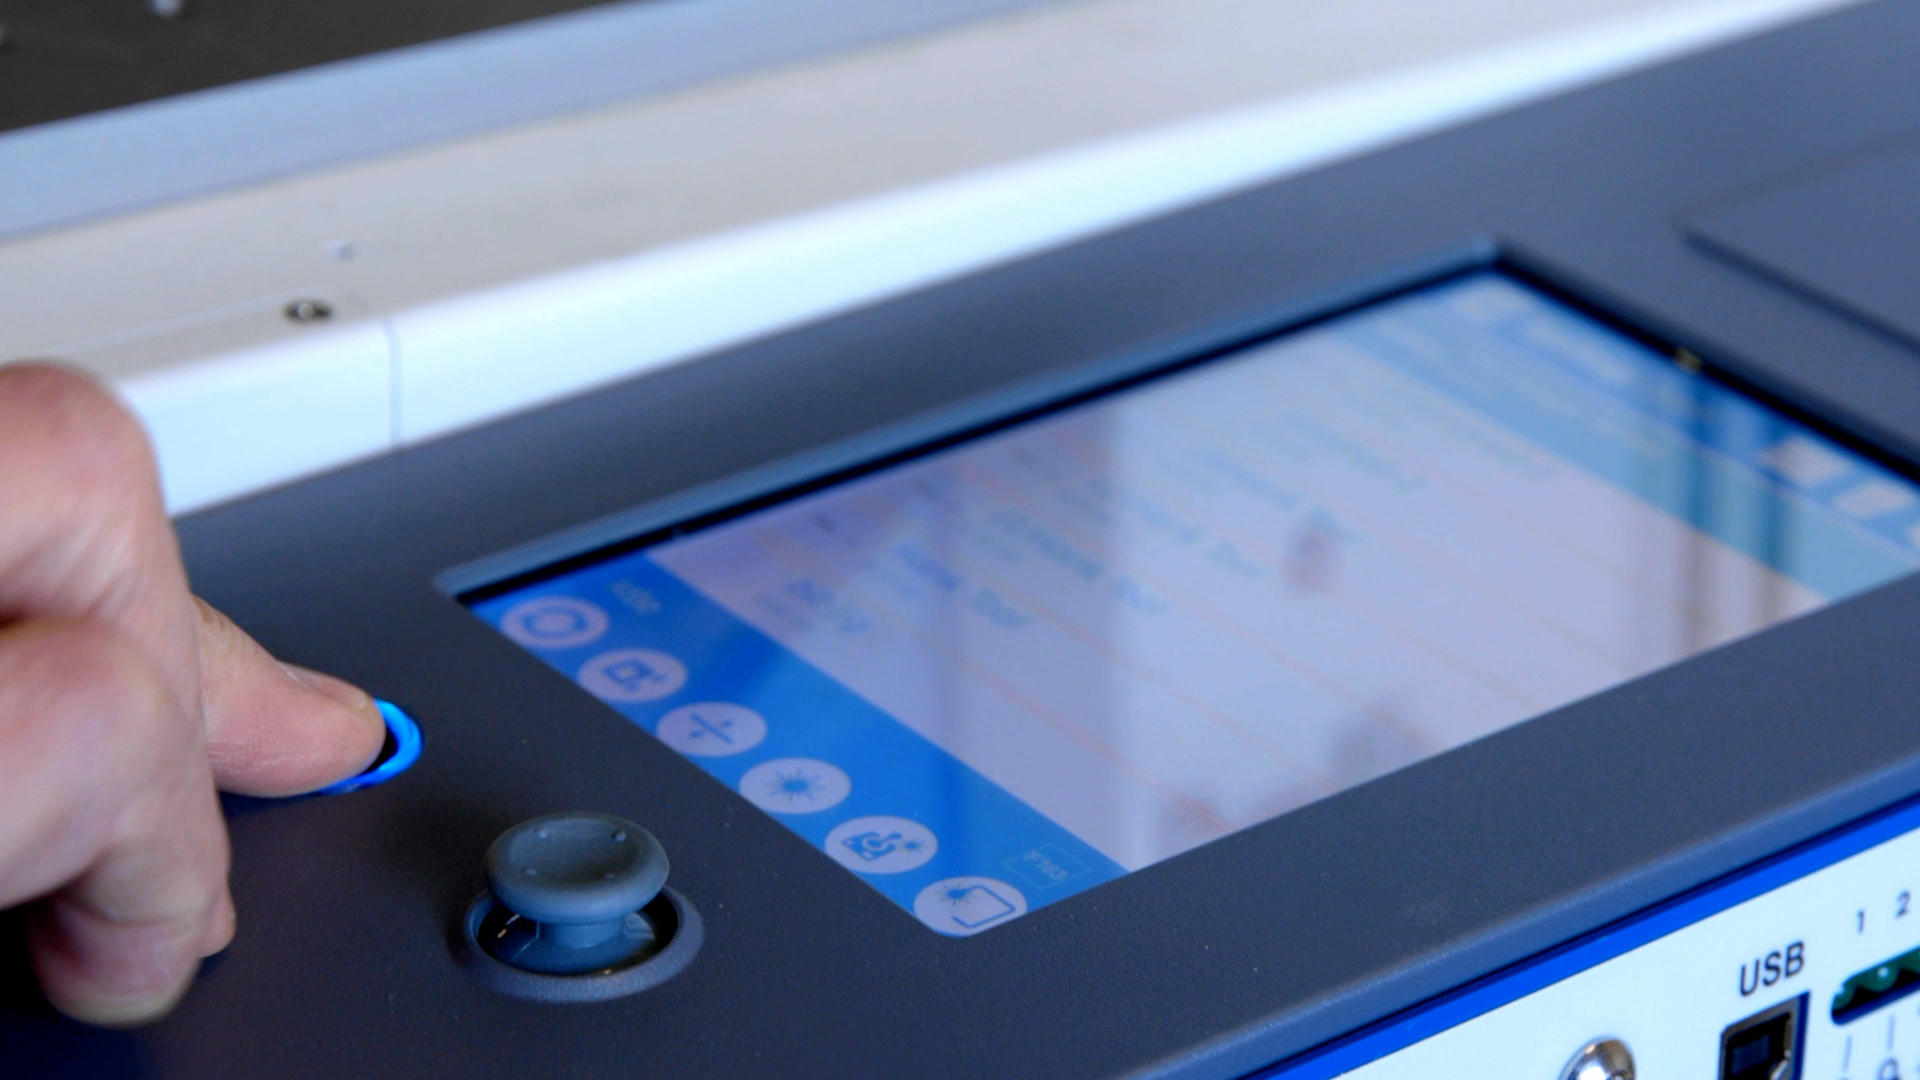
At the laser, we can double check our artwork placement using the trace function at the display.

Run Job with Custom Shaped Artwork
If everything looks accurate, select the job and press “Go” to begin engraving the serial number.
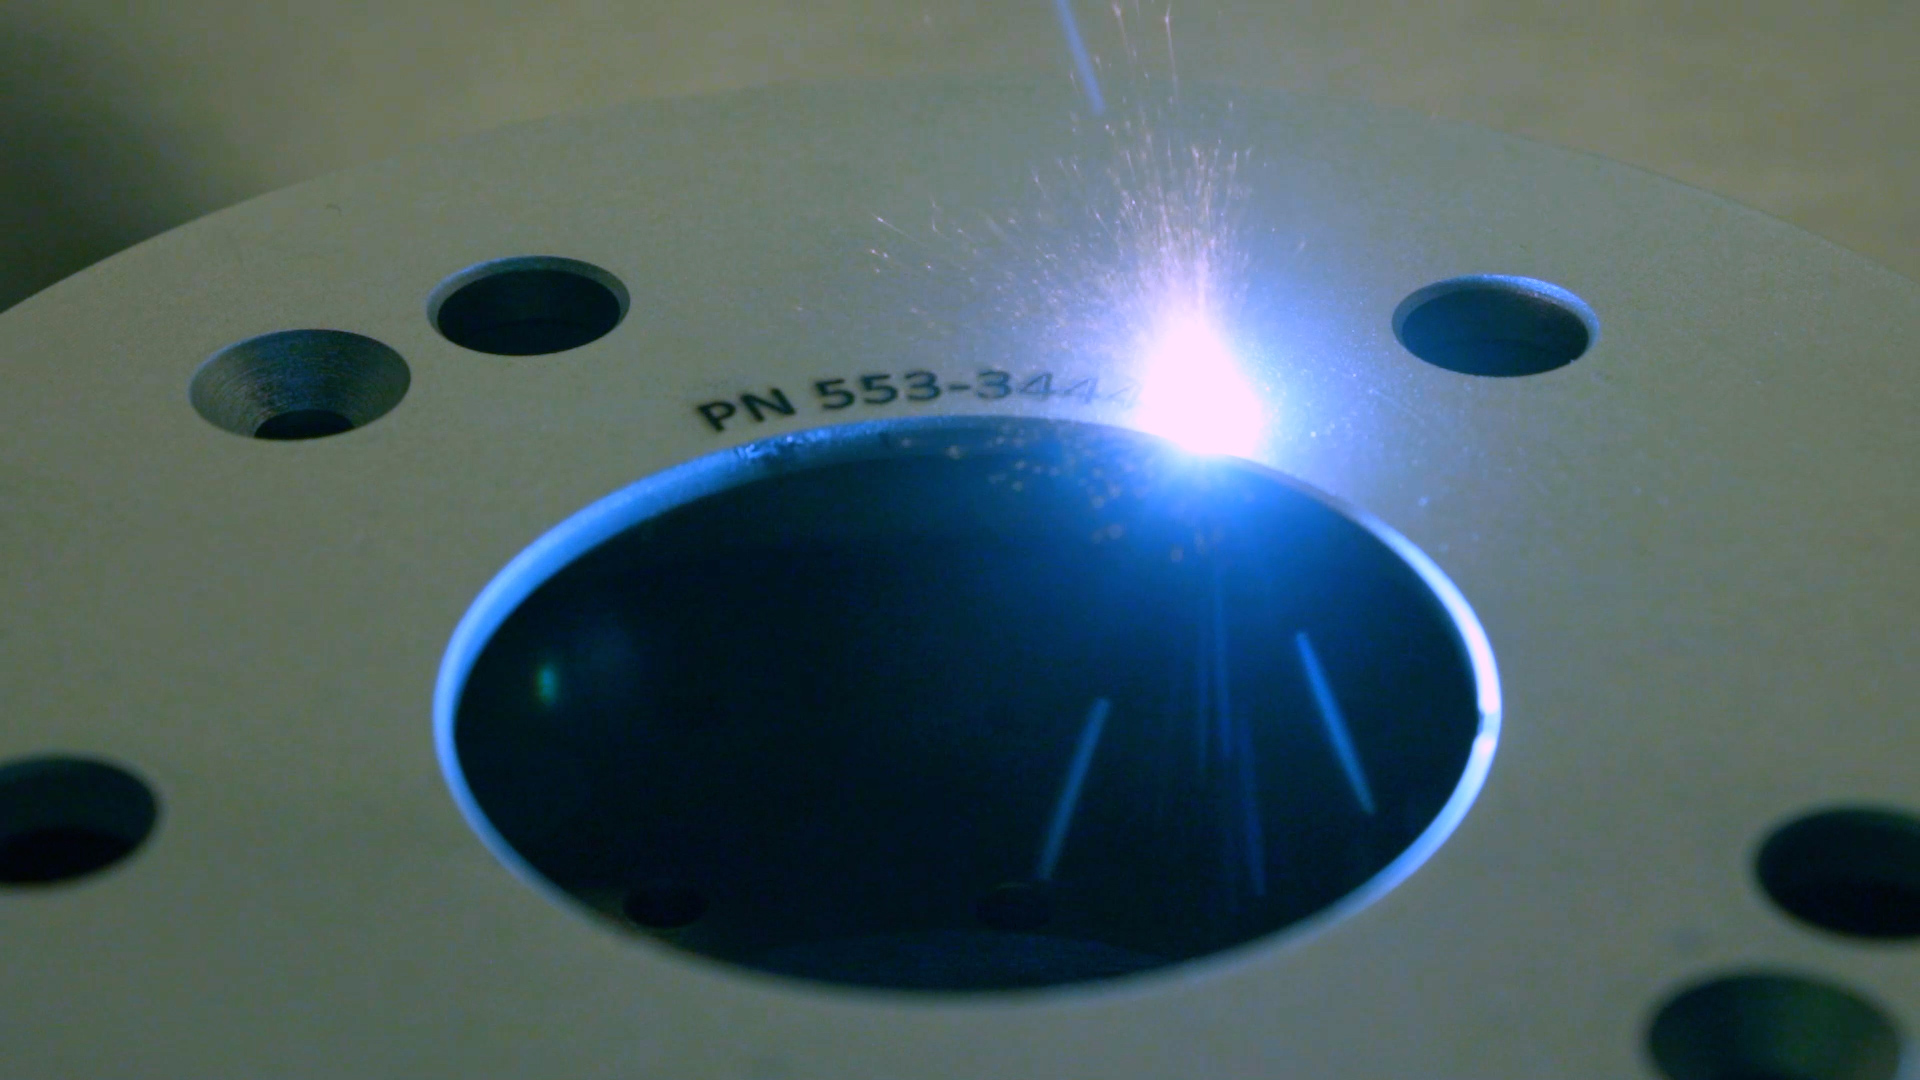
Now you’re ready to engrave custom parts quickly and with ease using the Epilog Fusion Galvo.