In this lesson we’ll walk through replacing the Epilog Fusion M2’s 120-watt Laser Tube.
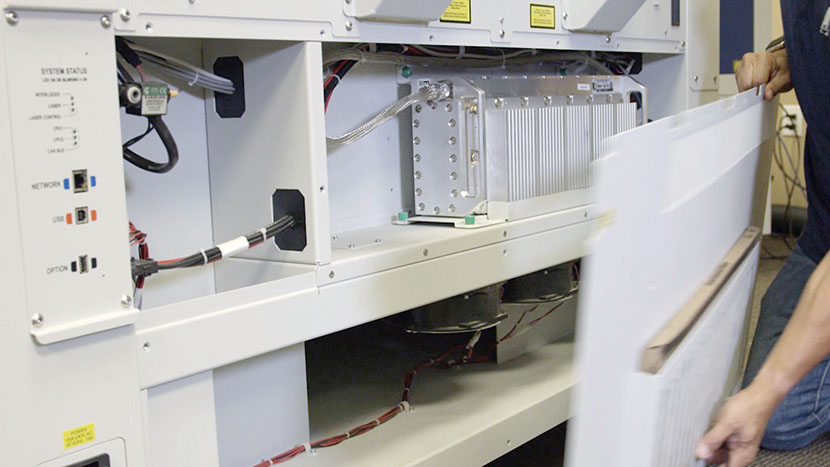
Remove Panel
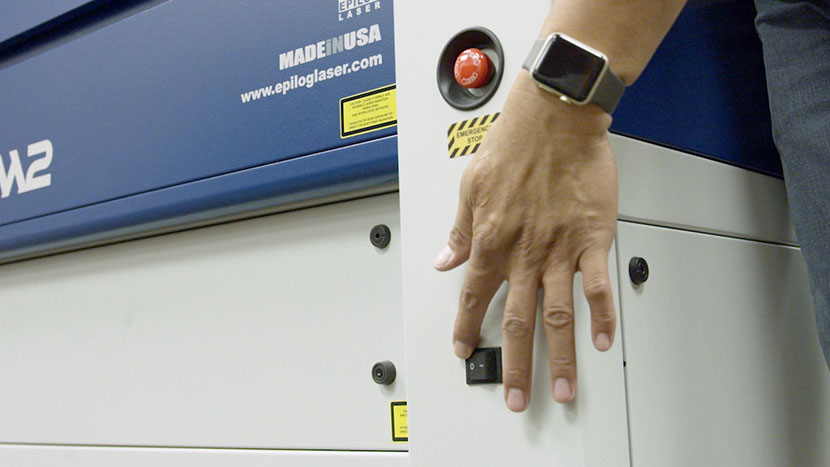
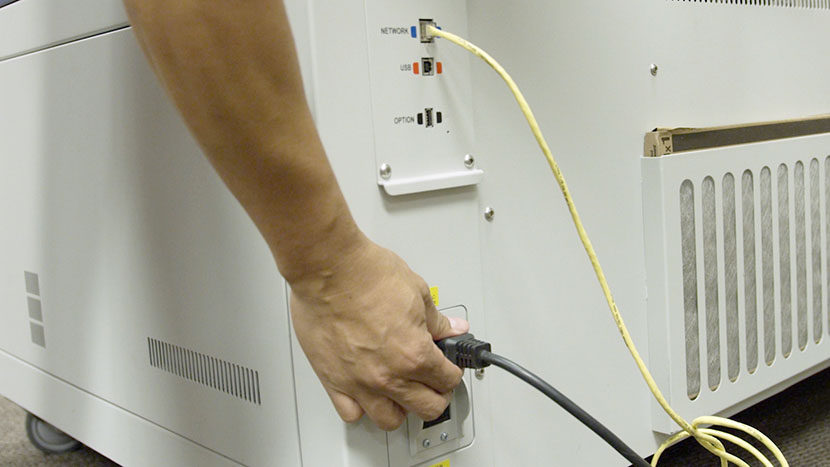
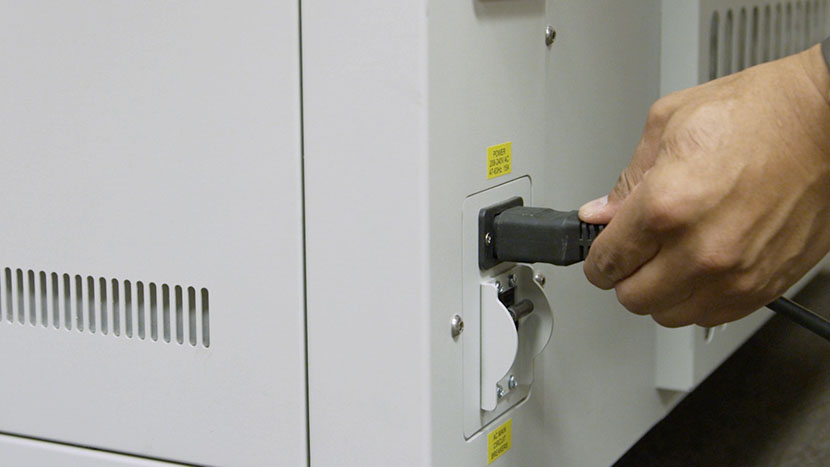
Shut off the laser and remove the power cord from the machine.
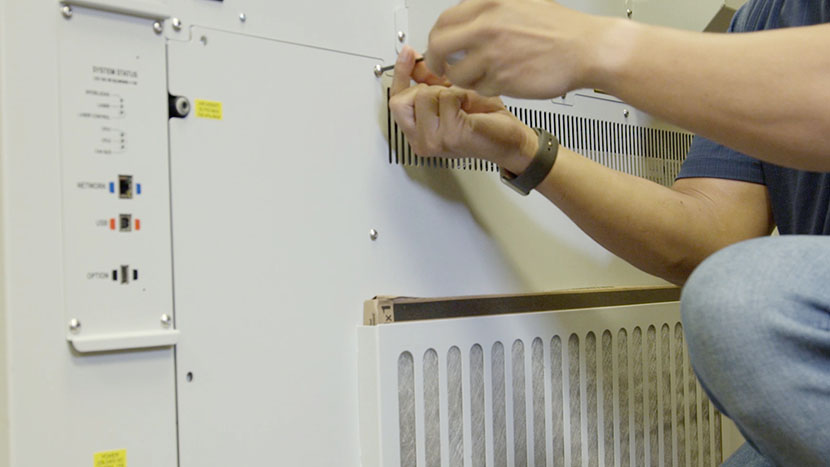
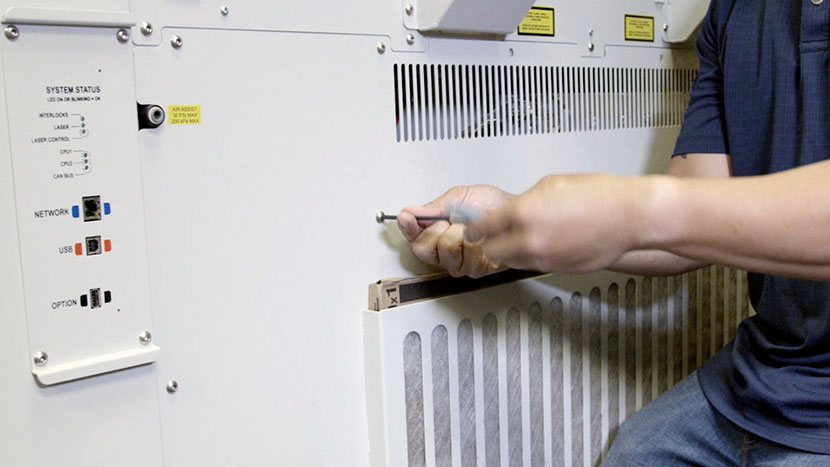
Use a 5/32” hex key to remove the hex screws which secure the lower panel on the rear of the machine, then remove the panel
Remove Old Laser Tube
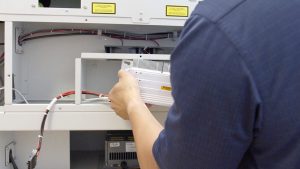
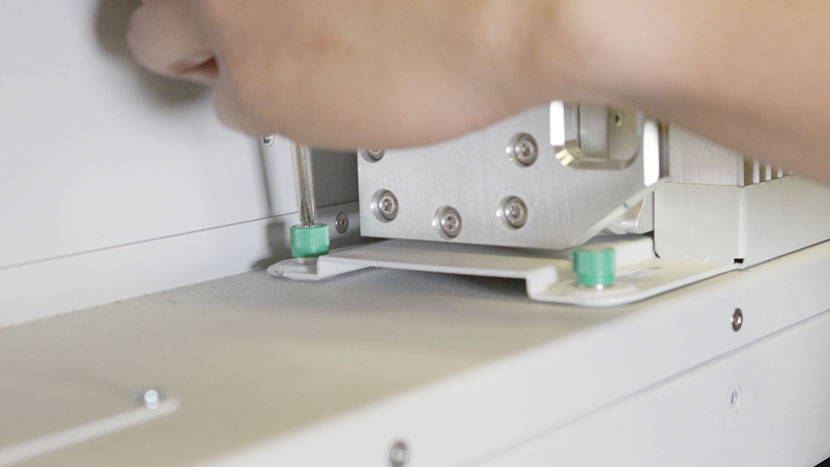
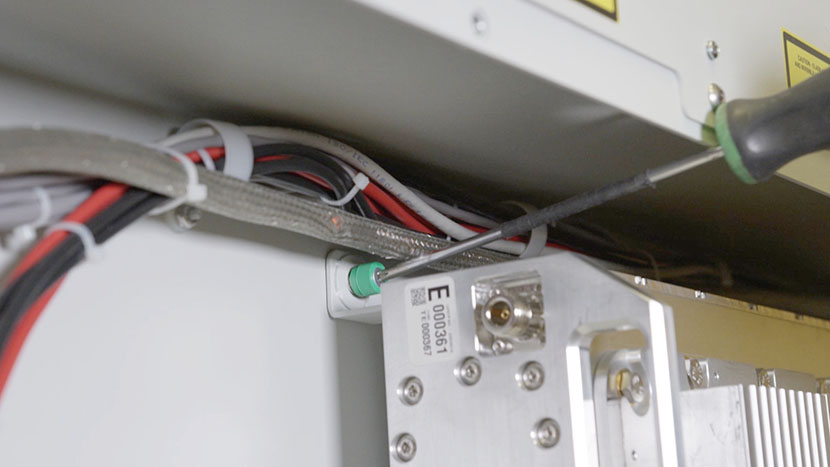
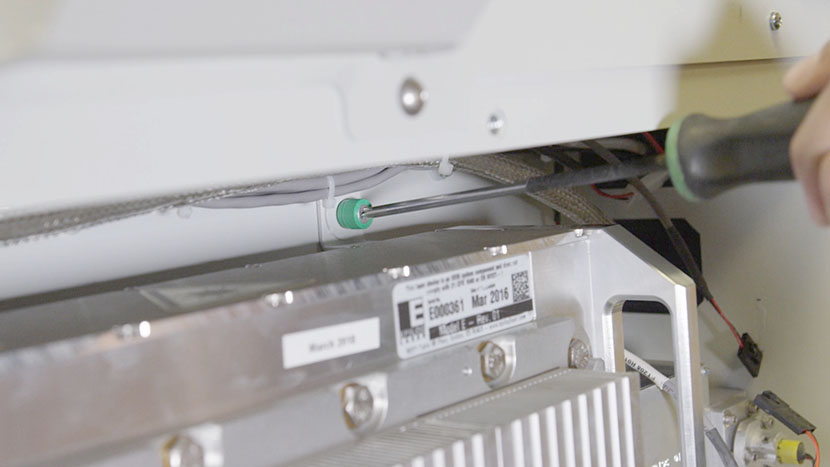
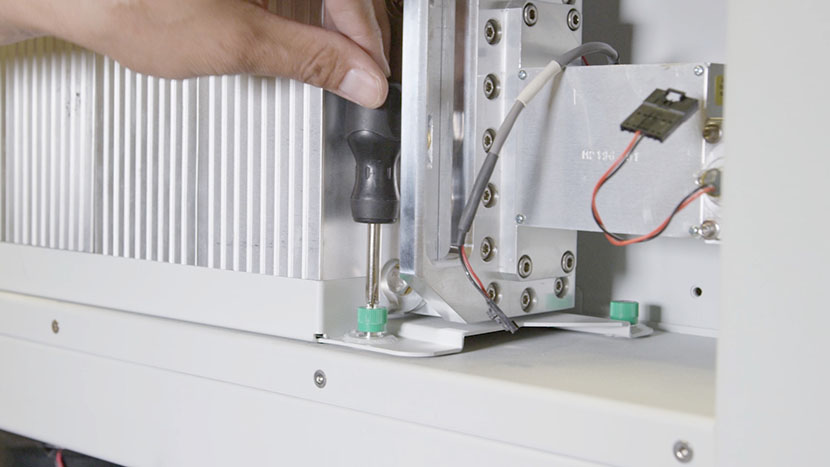
Use a Phillips screwdriver to loosen the four green captive screws on the four corners of the laser tube base, as well as the two green captive screws attaching the top of the laser tube to the interior of the machine.
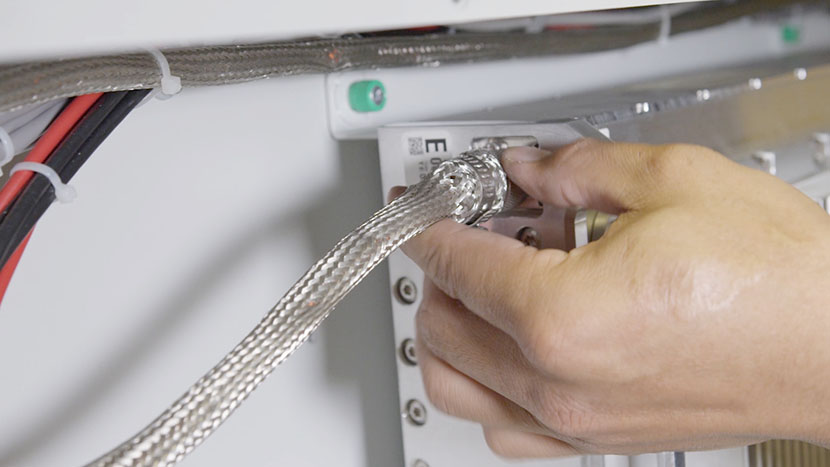
Unscrew the RF power supply cable from the end of the laser tube.

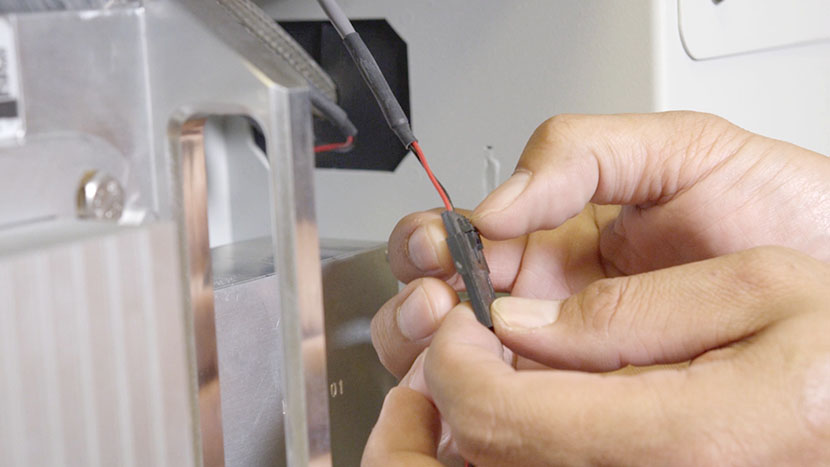
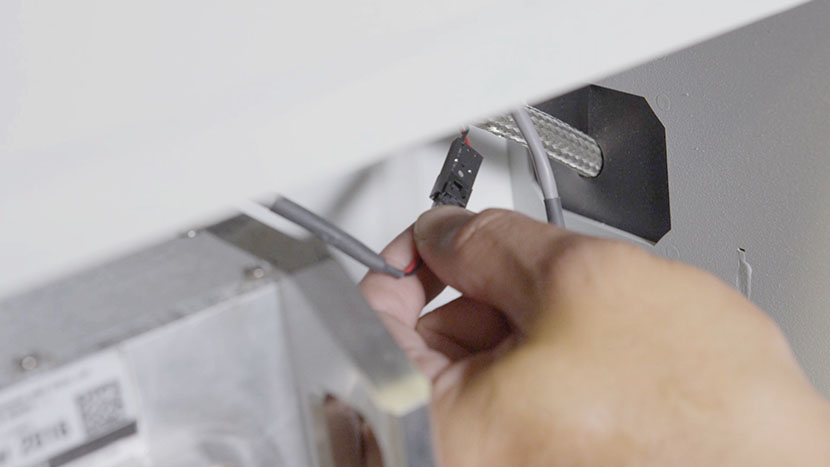
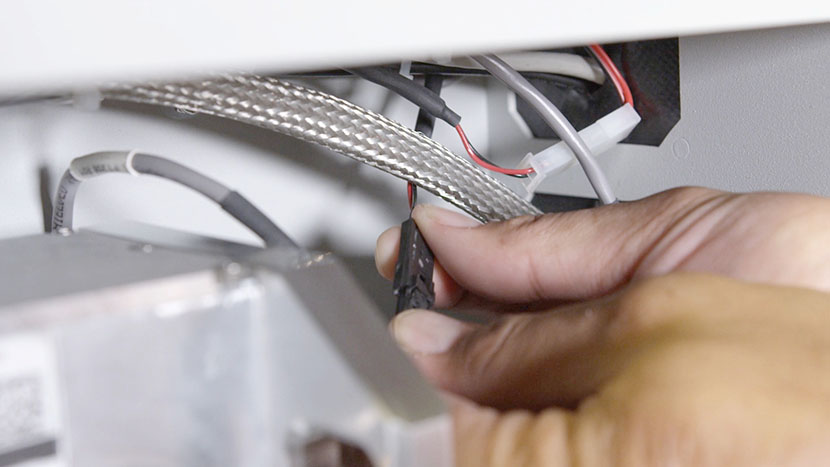
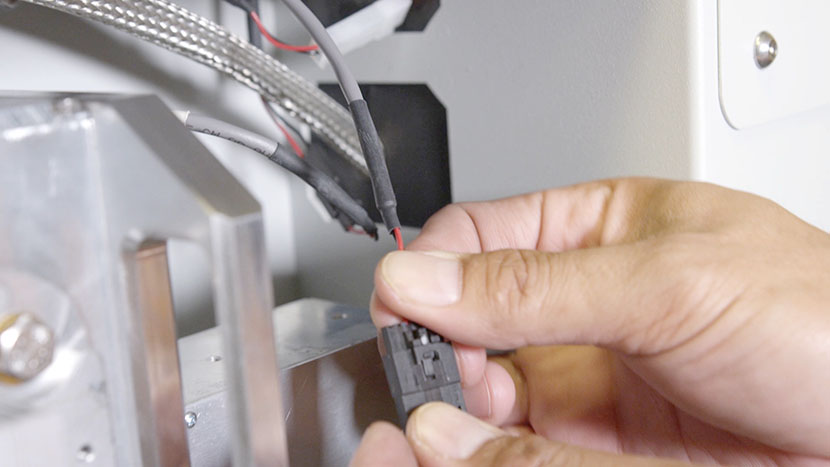
Disconnect the two black connectors from the other end of the laser tube.
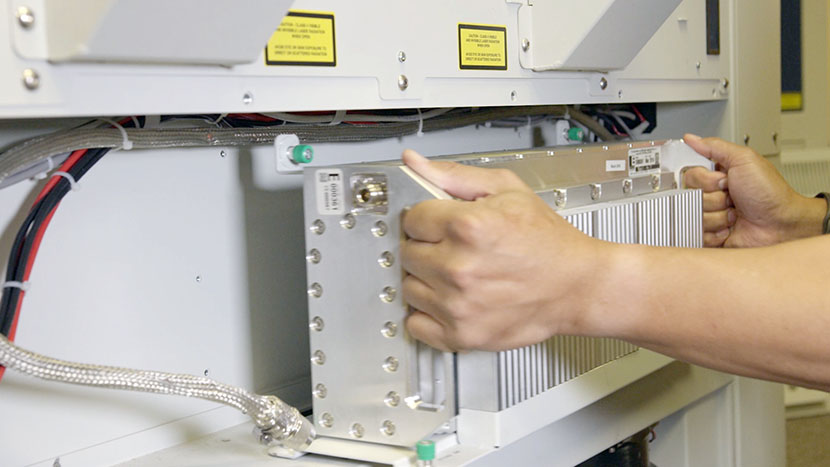
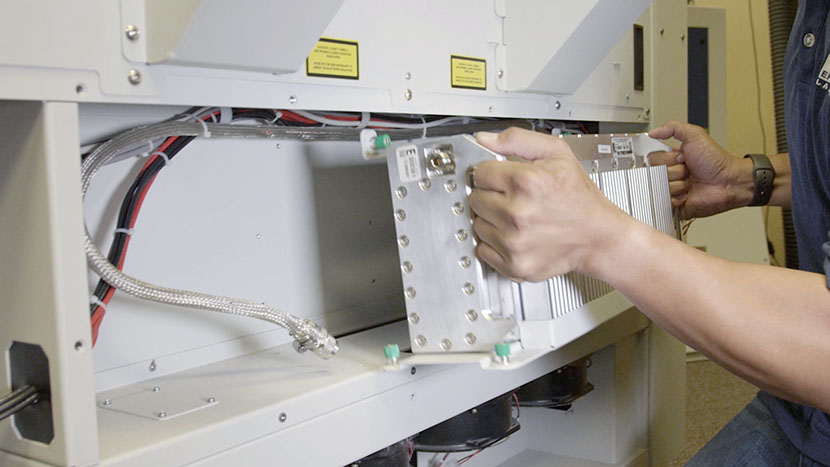
Remove the laser tube from the machine. The assembly is quite heavy, so lift with caution.
Install New Laser Tube
Place the new laser tube in the machine, lining up the captive screws with the appropriate screw holes.
Affix the new laser tube to the machine by tightening the six green captive screws.
Reconnect the RF power supply cable to the end of the laser tube by screwing it in.
Reconnect the two black connectors at the other end of the laser tube.
Reinstall Panel
Use a 5/32” hex key to insert the hex screws which secure the lower panel on the rear of the machine.
Plug the machine in and turn it on.
Before attempting to use the laser be sure to complete the laser alignment procedure.