In this lesson we’ll walk through replacing the Epilog Fusion M2’s Fiber Laser Tube.
Remove Panels
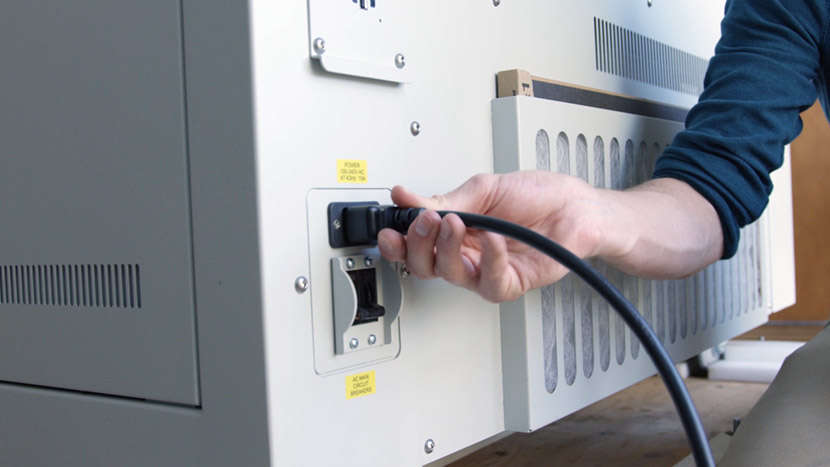
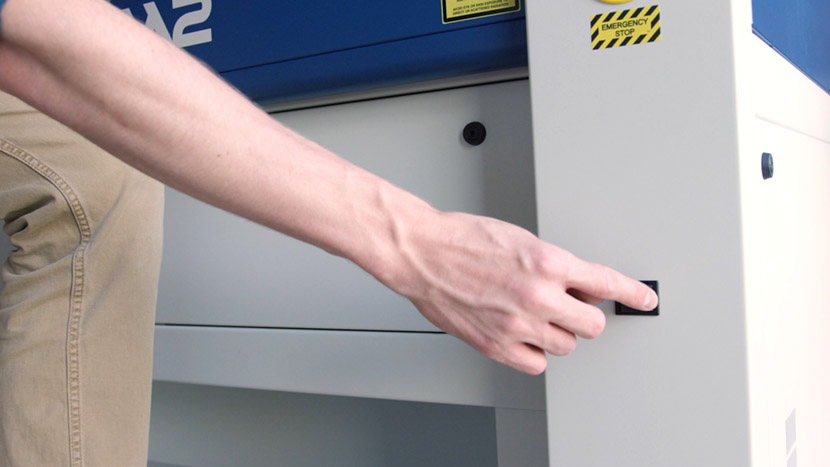
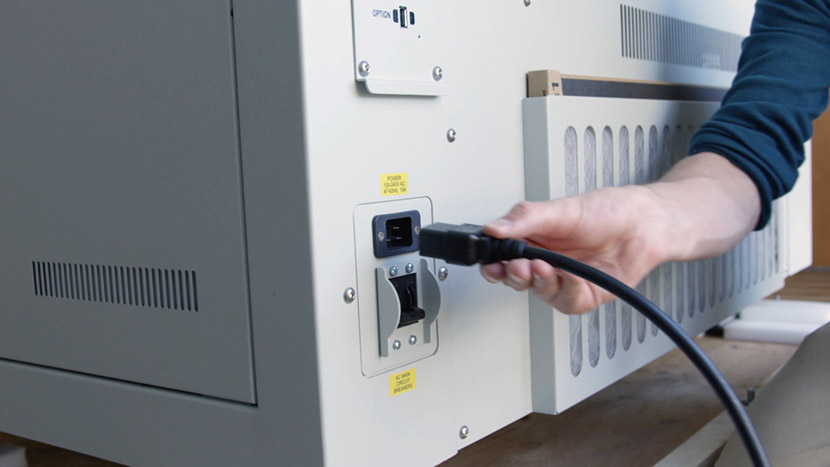
Shut off the laser and remove the power cord from the machine.
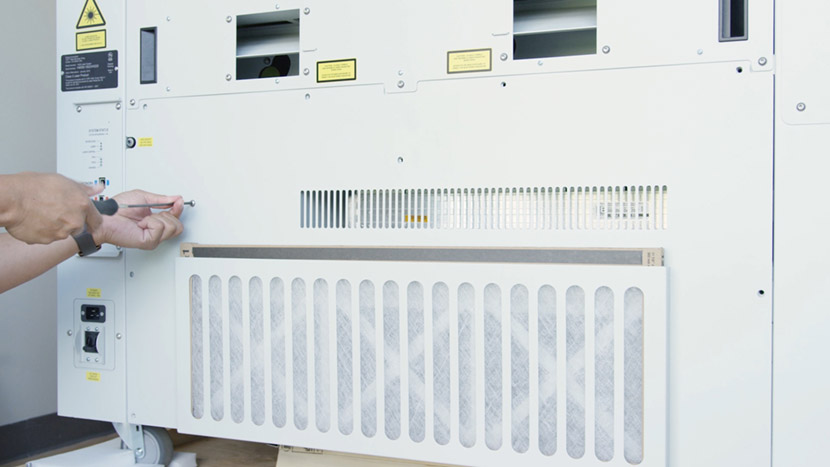
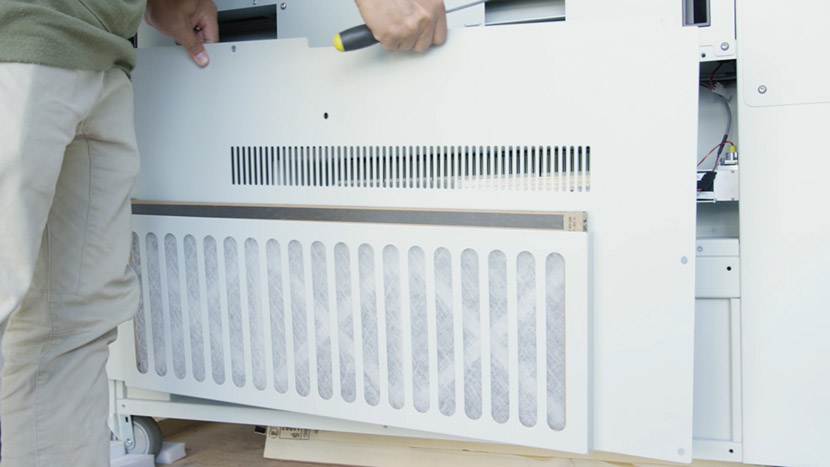
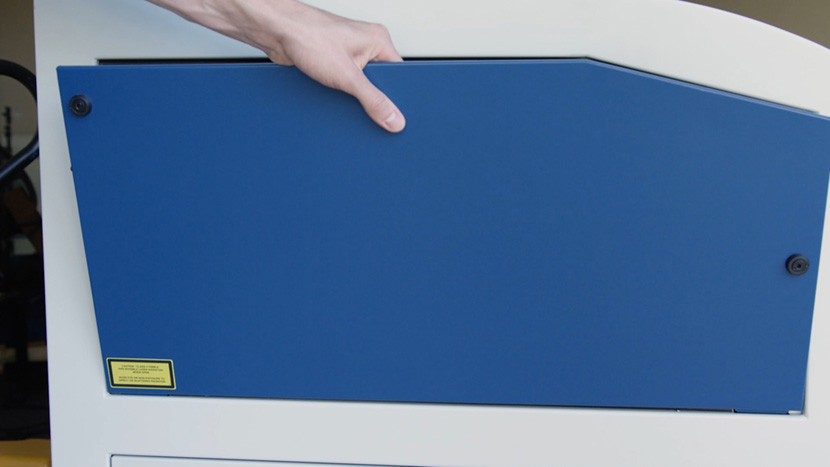
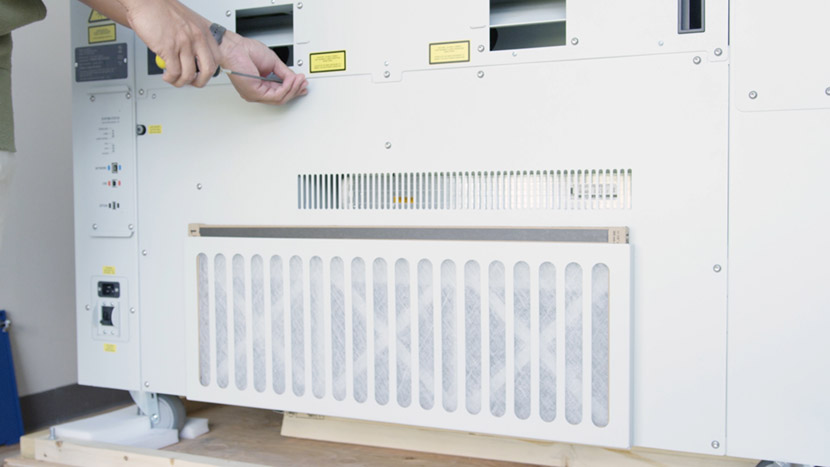
Use a 5/32” hex key to remove the hex screws that secure the lower panel on the rear of the machine, then remove the panel.
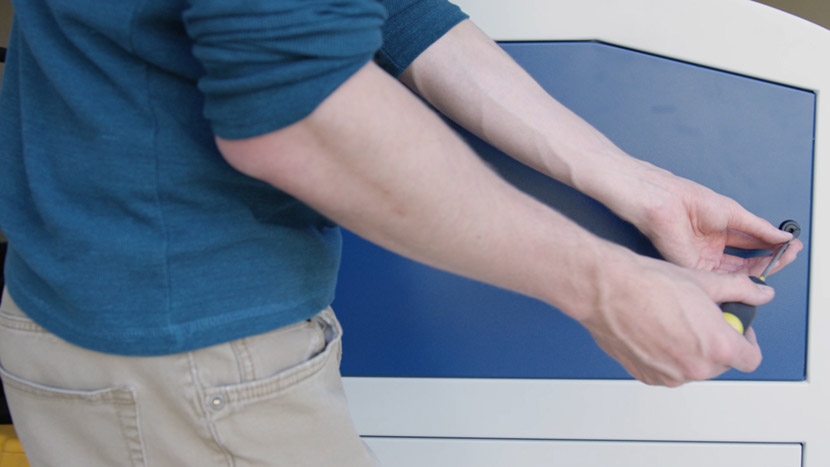
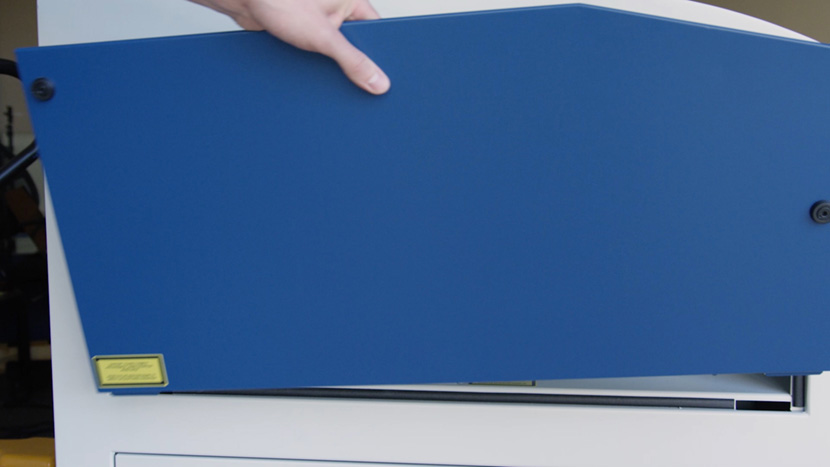
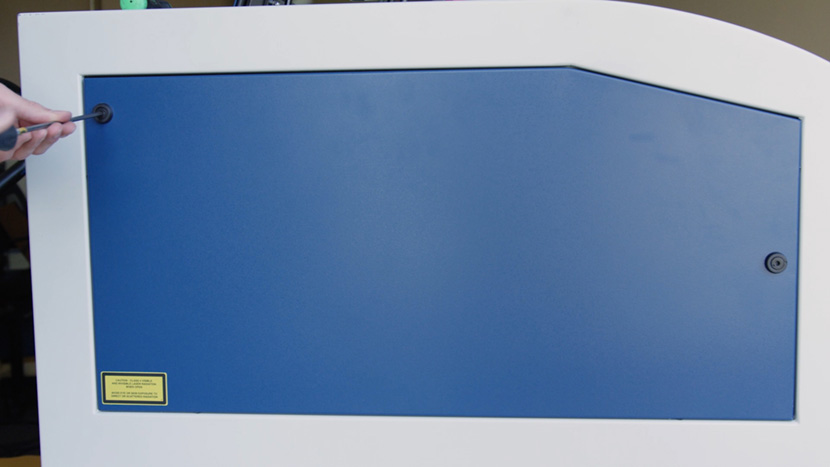
Remove the top access panel on the left side of the machine by using a 5/32” hex key to turn the black panel locks ¾ of the way counter-clockwise.
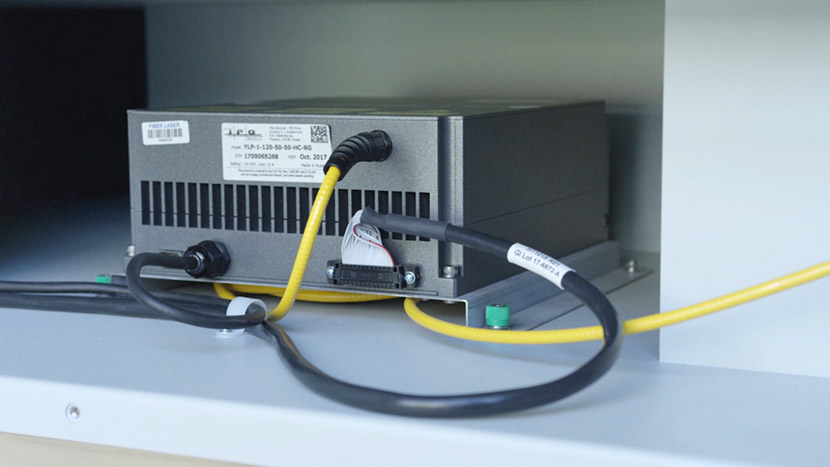
Remove Old Fiber Laser Tube
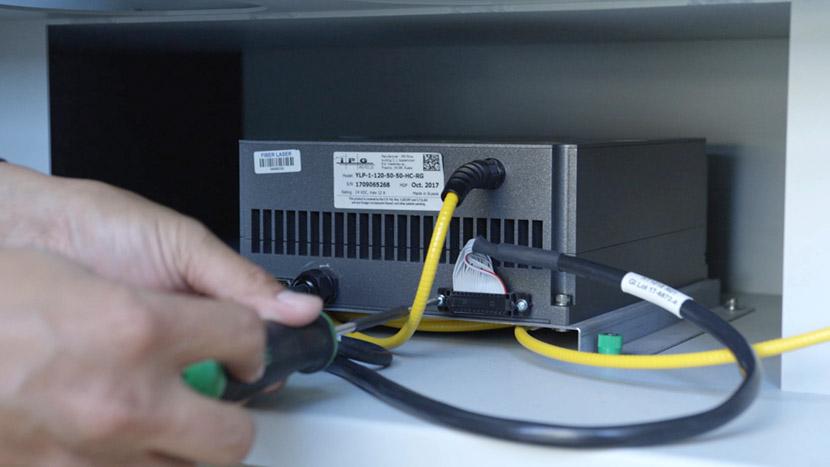
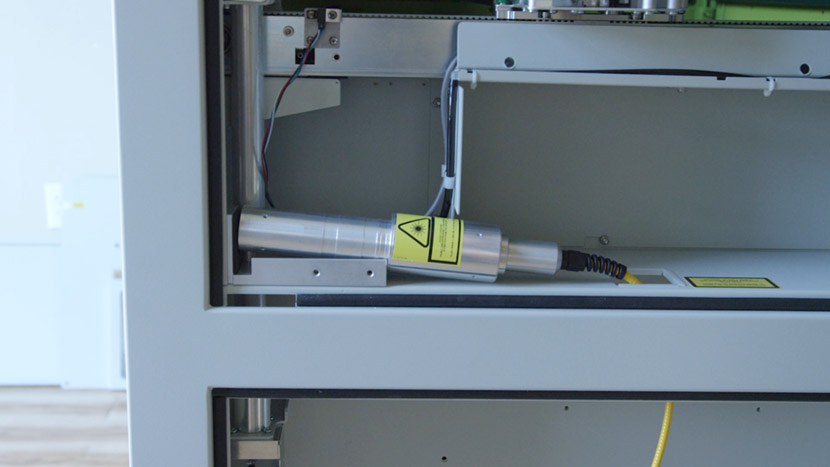
The Fusion M2 Fiber Laser Tube is located on the bottom compartment of the machine.
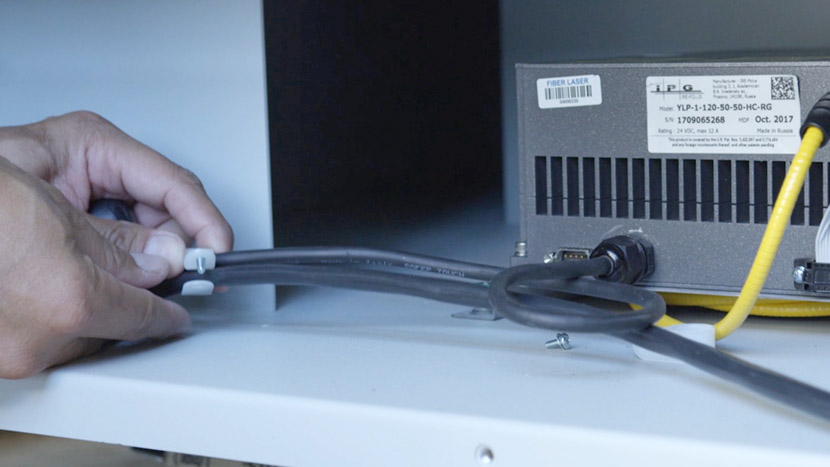
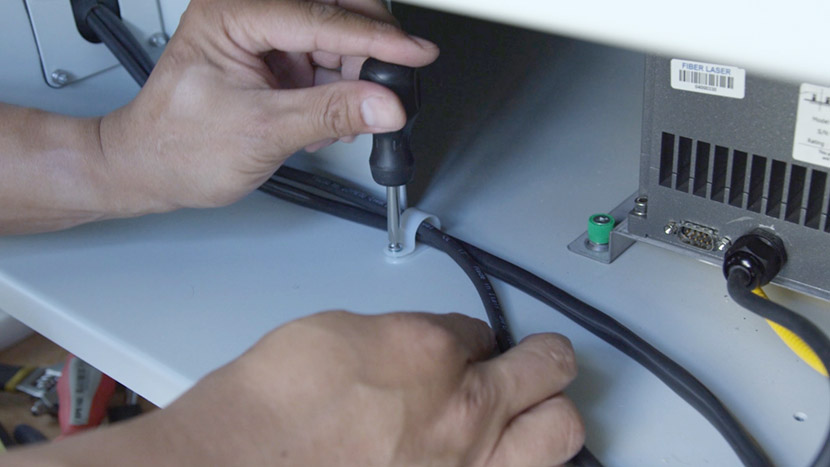
Use a Phillips head screwdriver to remove the two plastic wire clamps securing the laser tube’s black wires.
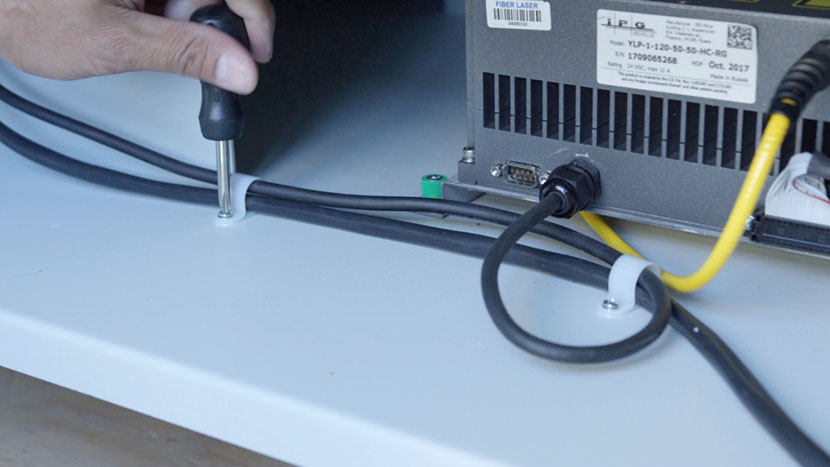
Slide the wires out of the clamps.
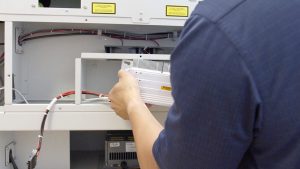
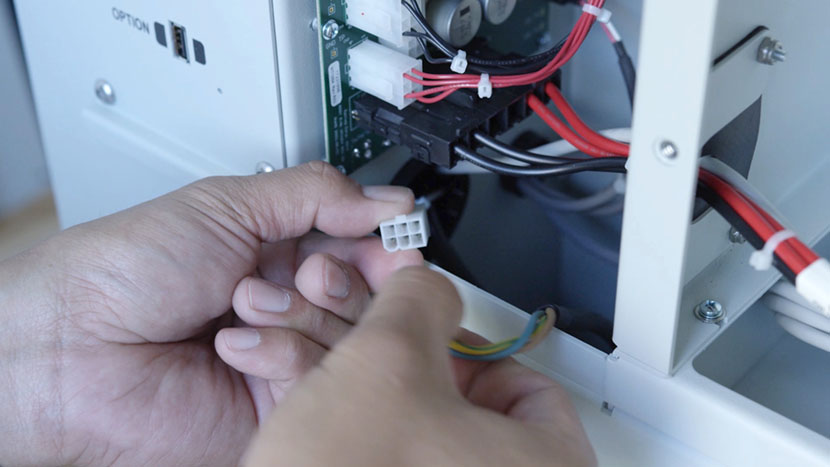
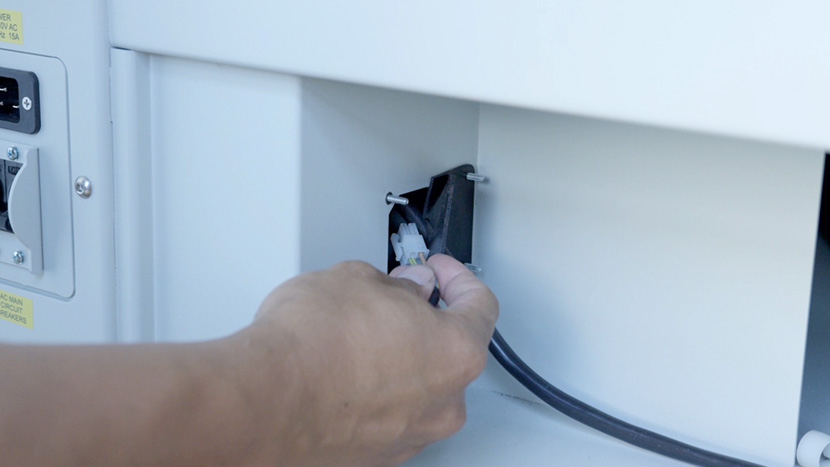
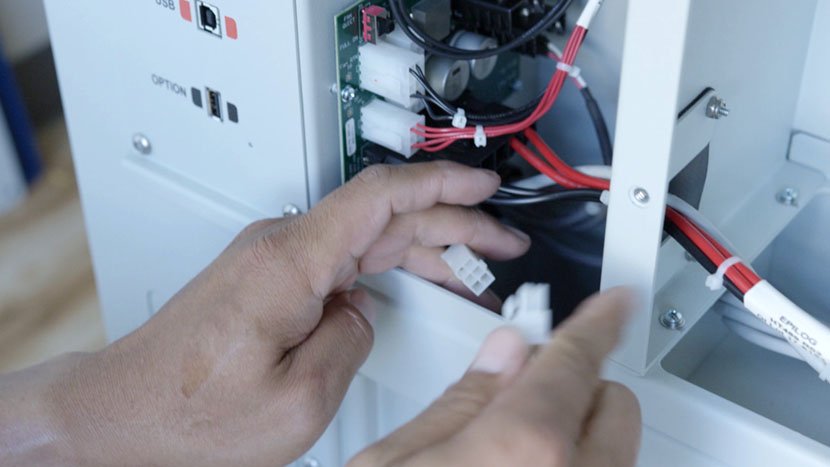
In the control board compartment, disconnect the white connector at the end of one of the laser tube’s wires.
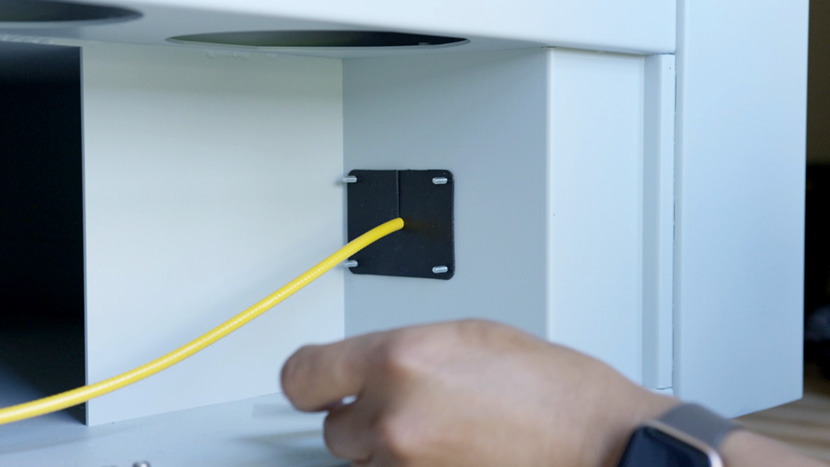
Use a 5/16” nut driver to remove the four mounting screw nuts securing the U-shaped panel on the left of the bottom compartment.
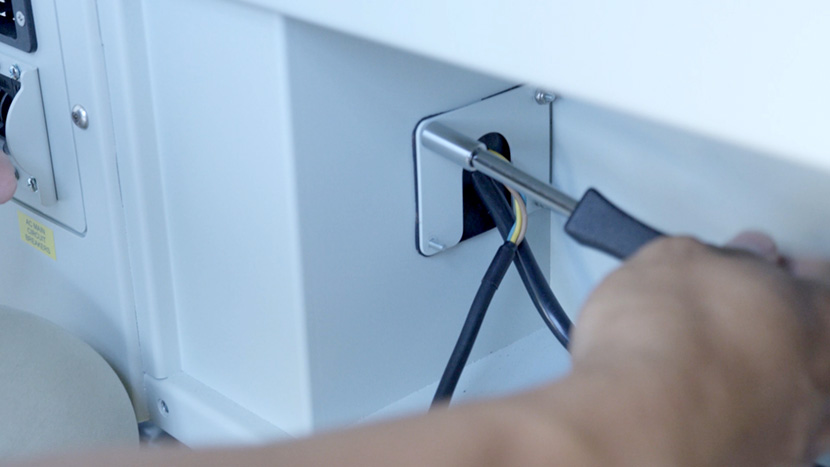
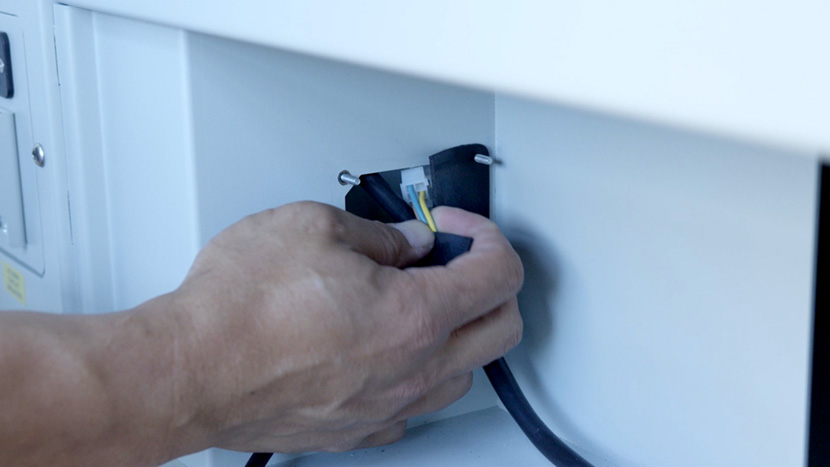
Set the panel aside and carefully pull the white connector through the rubber flap.
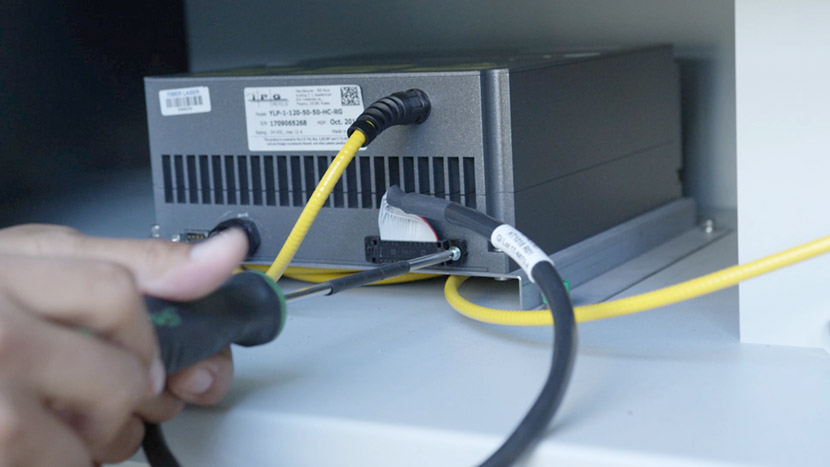
Use a Phillips head screwdriver to remove the large connector on the right corner of the laser tube.
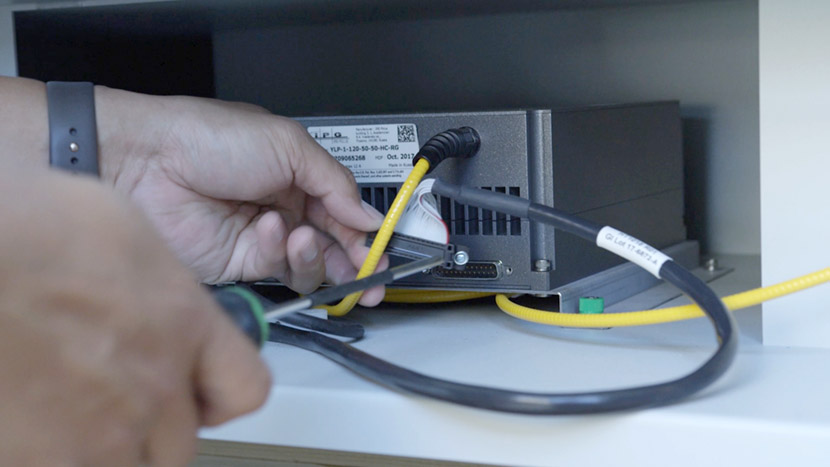
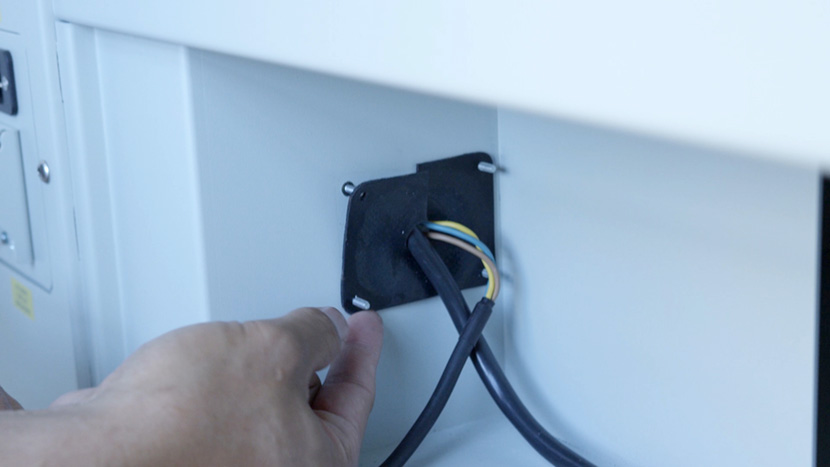
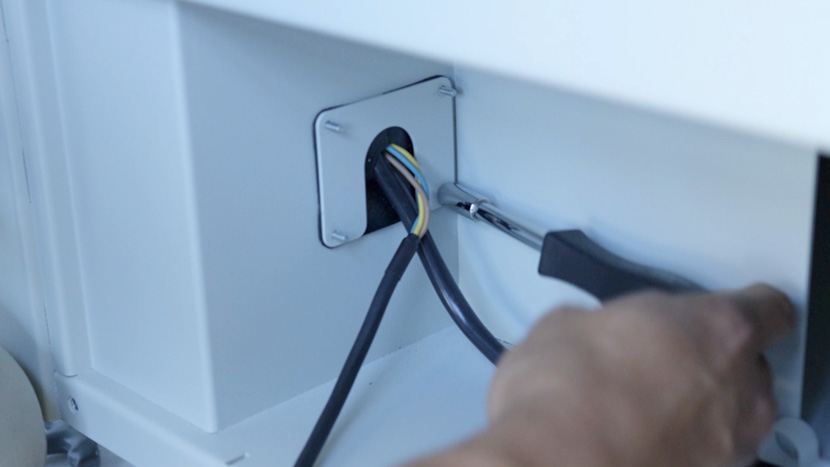
Use a 5/16” nut driver to remove the four nuts securing the U-shaped panel on the right side of the compartment.
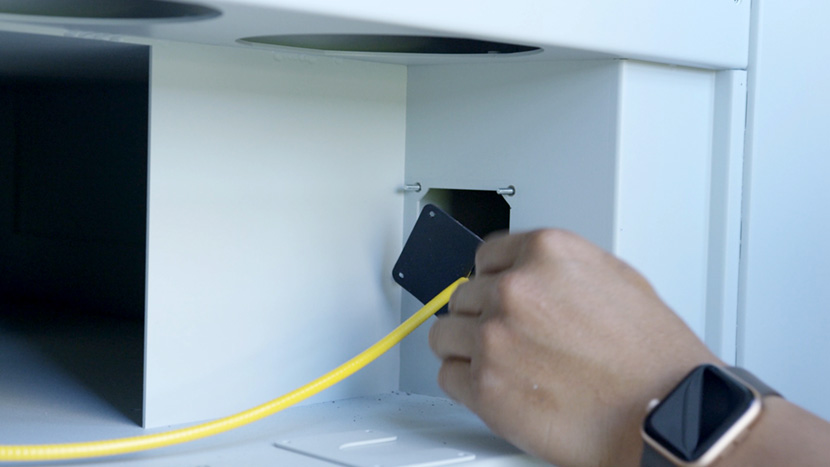
Remove the panel and rubber flap and set them both aside.
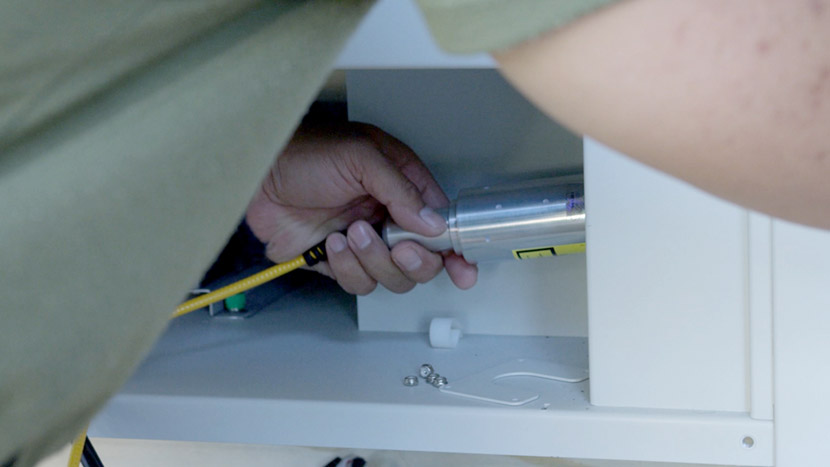
From the left side of the machine, use a 5/32” hex key to remove the four hex screws securing the laser head clamp.
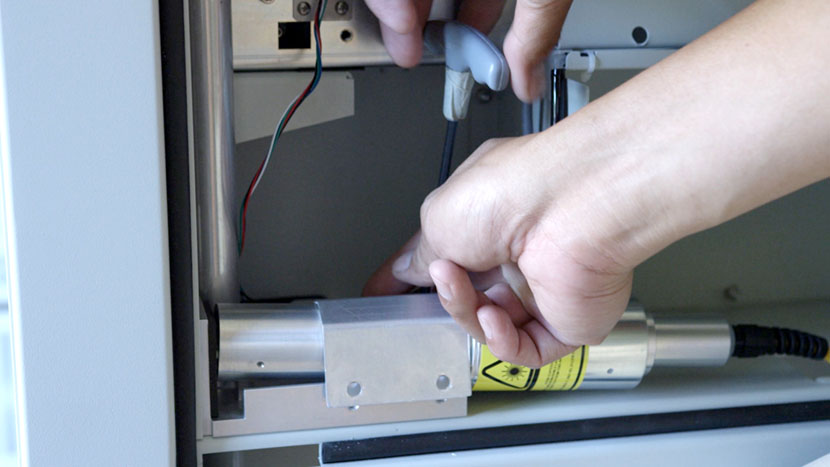
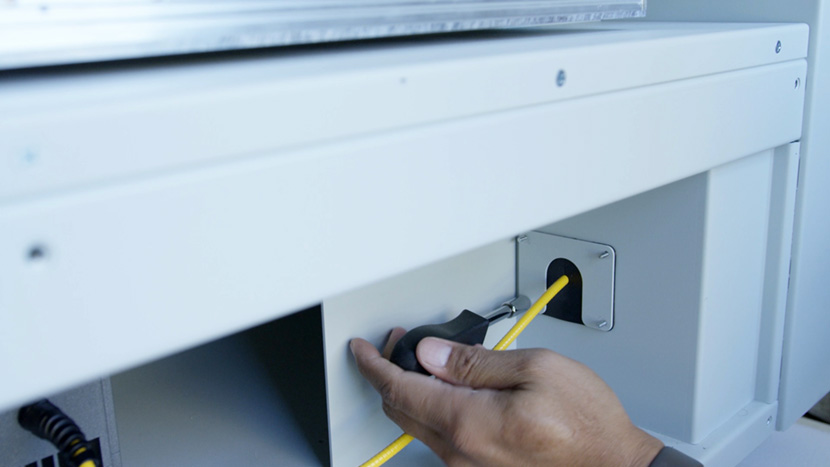
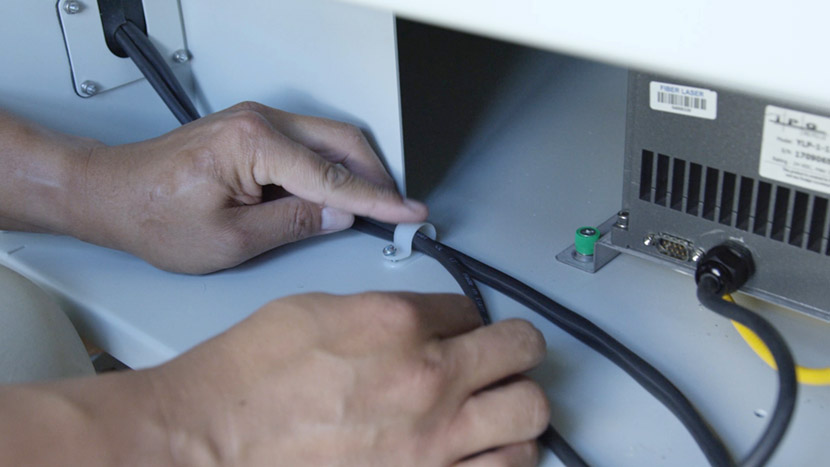
Set the clamp aside, then feed the laser head down through the square hole in the bottom of the upper compartment.
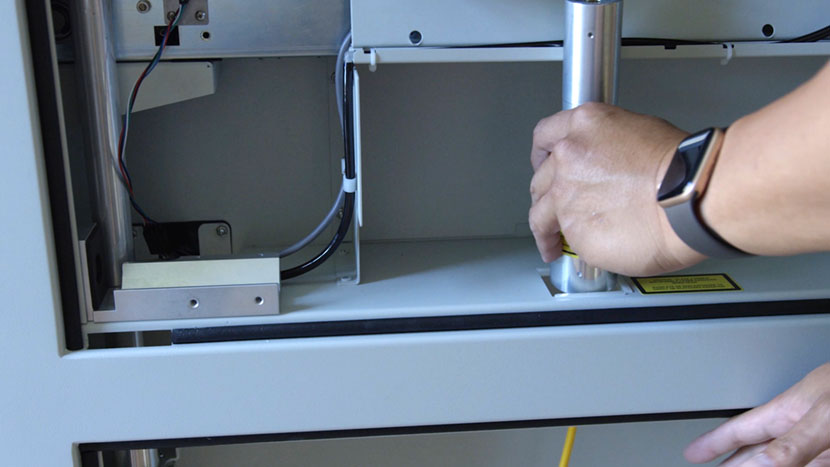
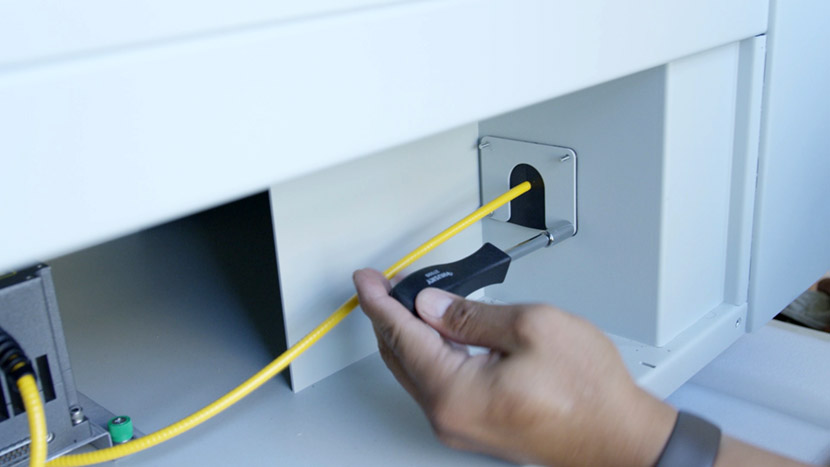
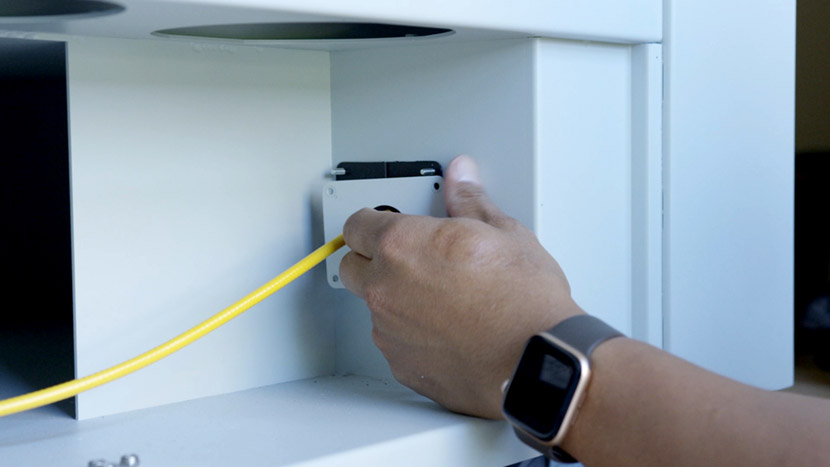
Then feed the laser head through the hole at the rear of the bottom compartment.
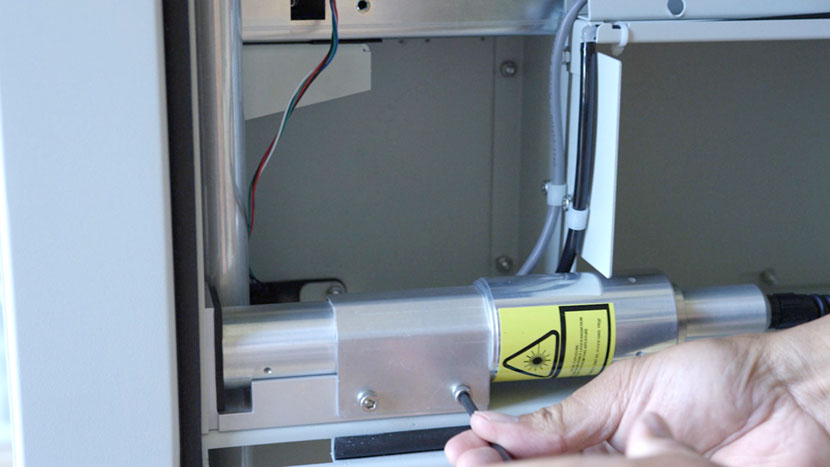
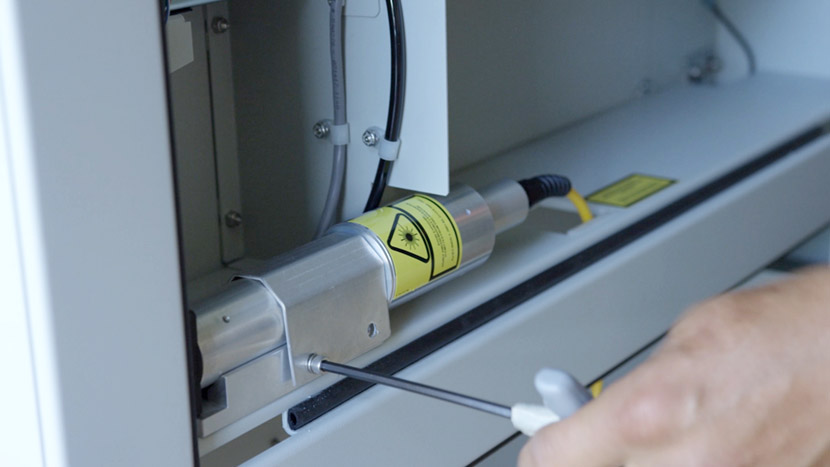
Next use a 5/32” hex key to remove the two hex screws securing the back of the laser tube.
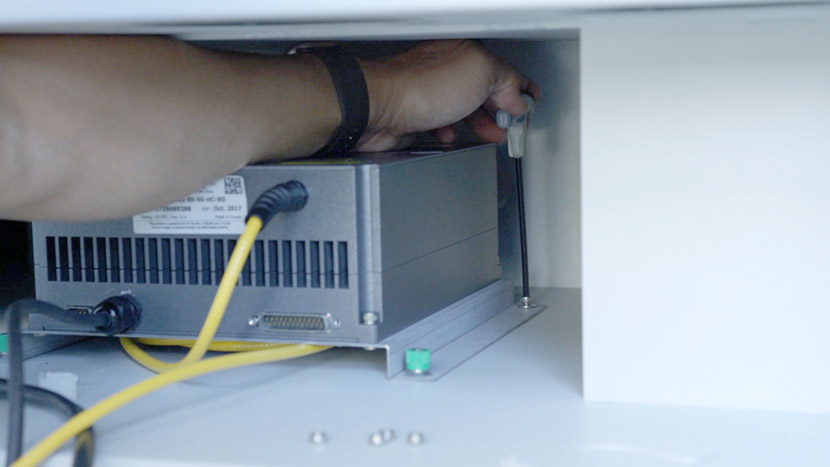
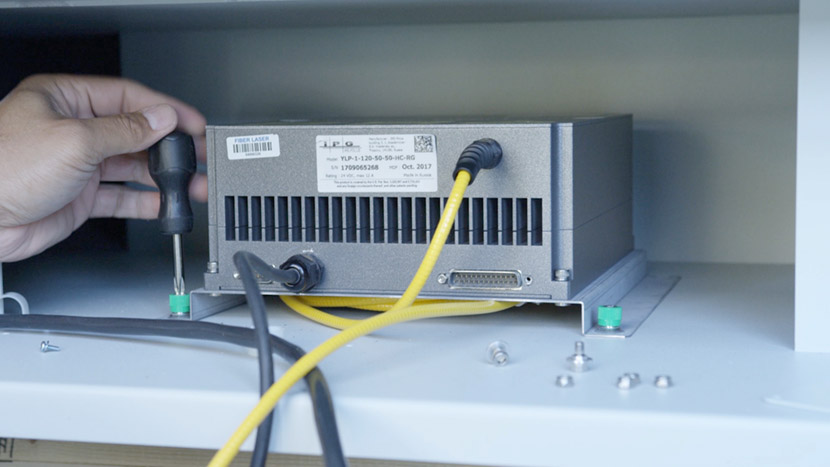
Use a Phillips head screwdriver to loosen the two green captive screws securing the front of the laser tube.
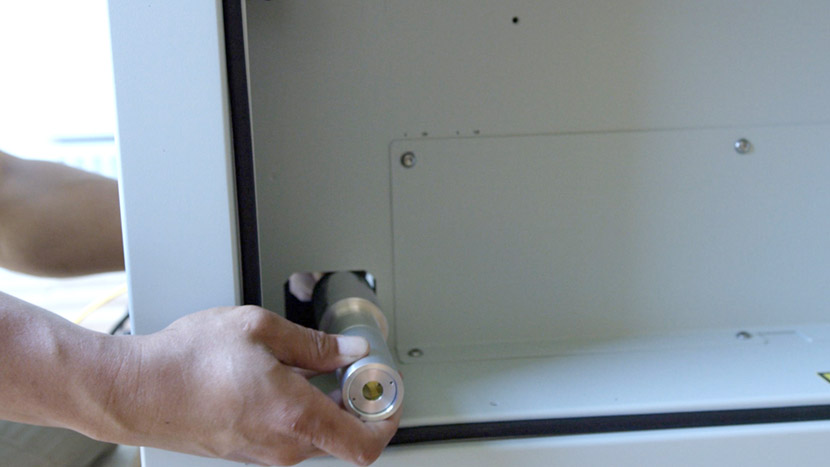
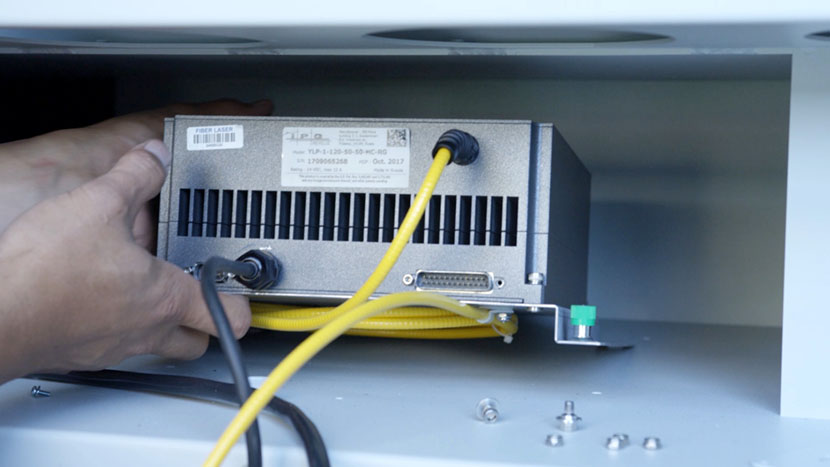
Carefully lift the laser tube out of the machine.
Install New Fiber Laser Tube
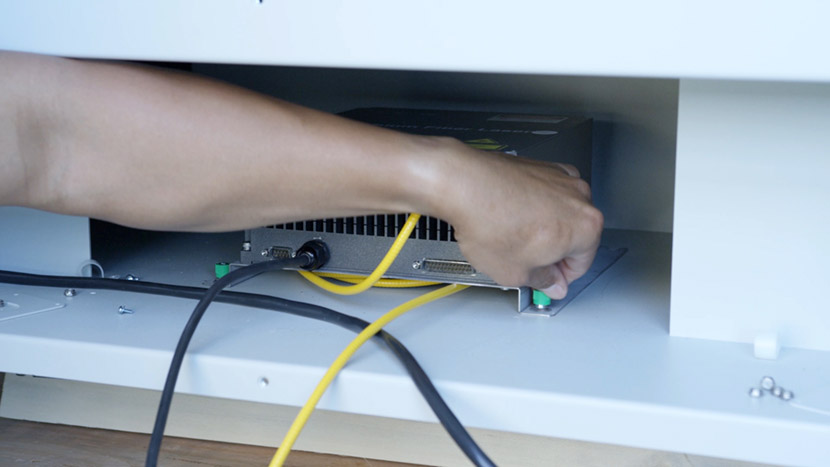
To install the new fiber laser tube, place the laser tube in the bottom compartment and align the front captive screws with the screw holes in the chassis.
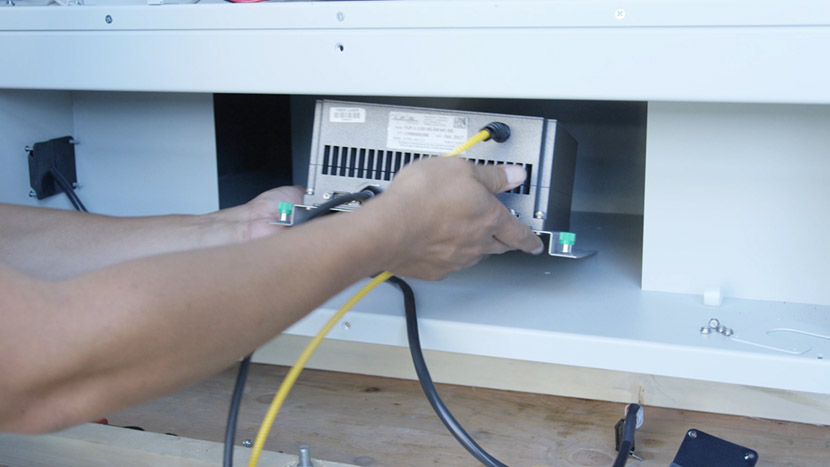
Tighten the captive screws.
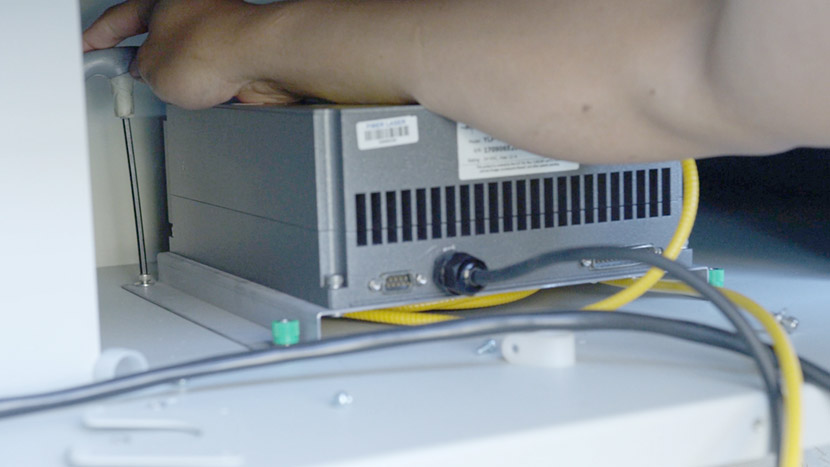
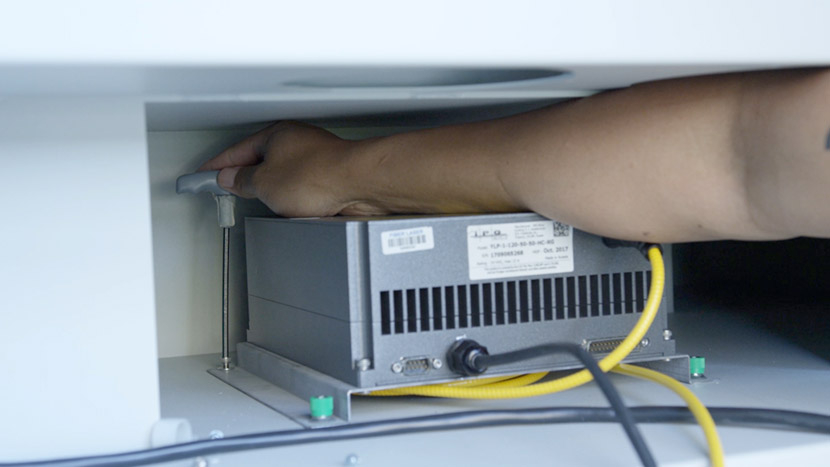
Use a 5/32” hex key to insert and tighten the two hex screws in the back corners of the laser tube.
Feed the laser head through the hole in the right side of the compartment, then up through the hole in between the two compartments on the left side of the machine.
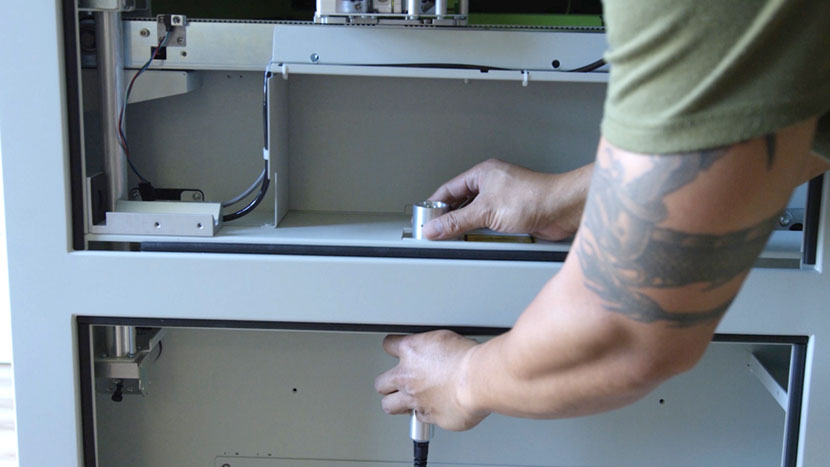
Rest the laser head on the mount near the rear of the compartment.
Using a 5/32” hex key, insert the four hex screws to secure the clamp around the laser head, making sure the laser head is gently pressed up against the back felt pad to create a good seal.
In the back of the machine, replace the U-shaped panel and rubber flap on the right side of the compartment by using a 5/16” nut driver to secure the four nuts.
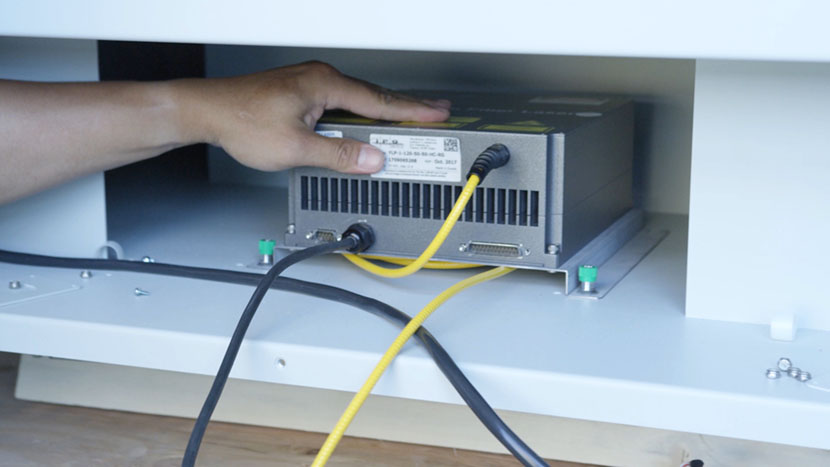
Use a Phillips head screwdriver to attach the large connector to the bottom right of the laser tube.
Feed the laser tube’s white connector through the rubber flap on the left side of the compartment, then up into the control board compartment and connect it.
Make sure the rubber flap on the left side of the bottom compartment is secure, then use a 5/16” nut driver to secure the U-shaped panel with four nuts.
Slide the two black wires into the plastic wire clamps, then use a Phillips screwdriver to secure the clamps to their respective screw holes.
Reinstall Panels
Replace the top access panel on the left side of the machine, using a 5/32” hex key to turn the black panel locks ¾ of the way clockwise.
Use a 5/32” hex key to insert the hex screws that secure the lower panel to the rear of the machine.
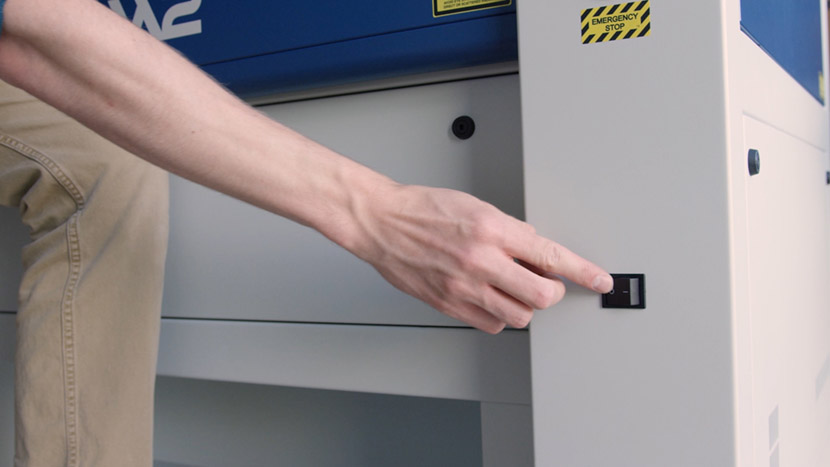
Plug the machine in and turn it on.