Bartender is a powerful tool when it comes to engraving barcodes, QR codes, and more. Here we show you the steps for creating and marking variable data using Bartender.
Import Variable Data
We have our file for a 5” x 3” serial tag setup in Bartender. There are two pieces of variable data on the tag: the serial number field and a scannable barcode with the serial number.

We also have an excel file with a list of serial numbers to be engraved.

To pull this information into the file, go to File > Database Connection Setup.

Choose the file type.

Select the file.

Fields from the file are shown under Database Fields.

Attach the Variable Data
With the Serial Number field selected, drag the database field to the selected field.


And drag the field to the barcode.

We can now see that there are five records with different serial numbers.

Print the file to the Epilog Engraver.
Configure Engraving
In the Epilog Dashboard we can see the table for the galvo with our metal plate in a jig.

We’ve set up the laser to use the previous settings, so the settings are already assigned to each page.
Print the file to the laser.
You can see there are five tabs for the five serial tags, so they will all go to the laser.

Run the Job
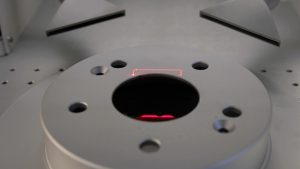
At the laser you can see the five files with variable data are in order and ready to be run.

Select the first file. The door closes automatically and starts engraving.

When the job finishes, the door opens, and the operator can replace the item or the whole jig and start the next file.