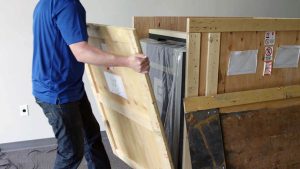
The Fusion Pro 48 is capable of fitting through a standard 36” door once its pedestal is removed, allowing it to be installed in locations where many large systems cannot.
In this lesson we’ll walk you through removing the pedestal from the Epilog Fusion Pro 48 laser system.
We recommend reviewing this lesson in its entirety before starting the process yourself.
Prepare the Machine
Position the machine in an open space with enough clearance behind it to accommodate the machine once it has been positioned on its back.
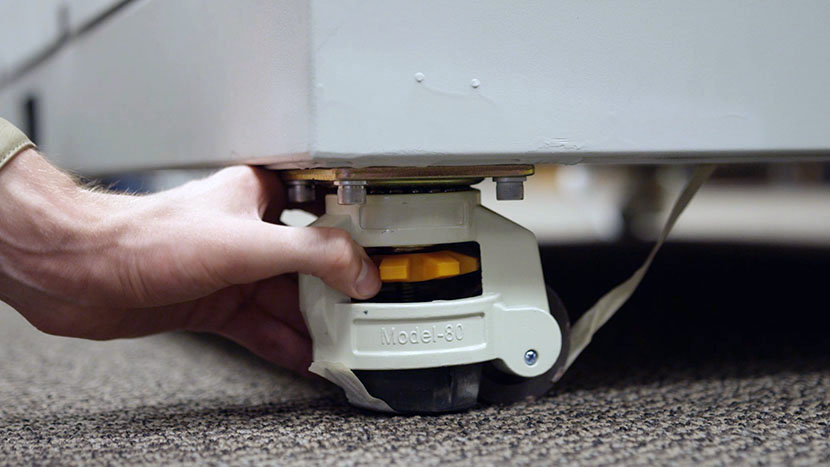
With the caster feet in the up position, roll the machine backwards so the caster wheels face the front of the machine and the rubber feet are positioned toward the rear of the machine.

Then lower the feet.
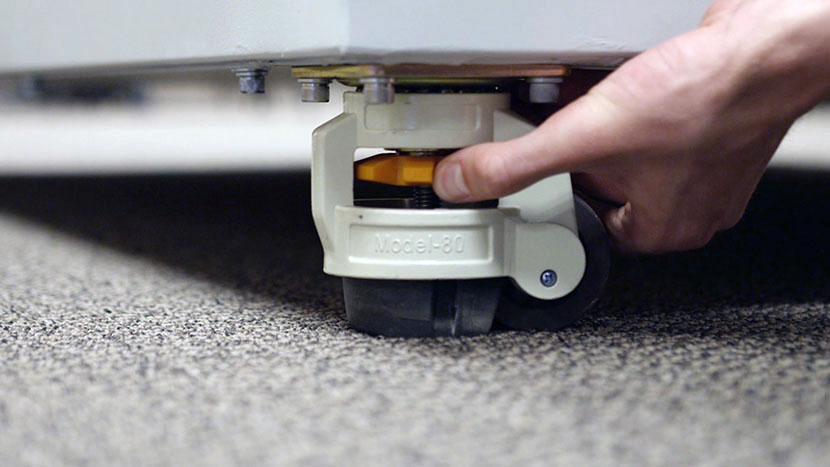
This positioning will ensure the feet act as pivot points when the machine is tipped over.
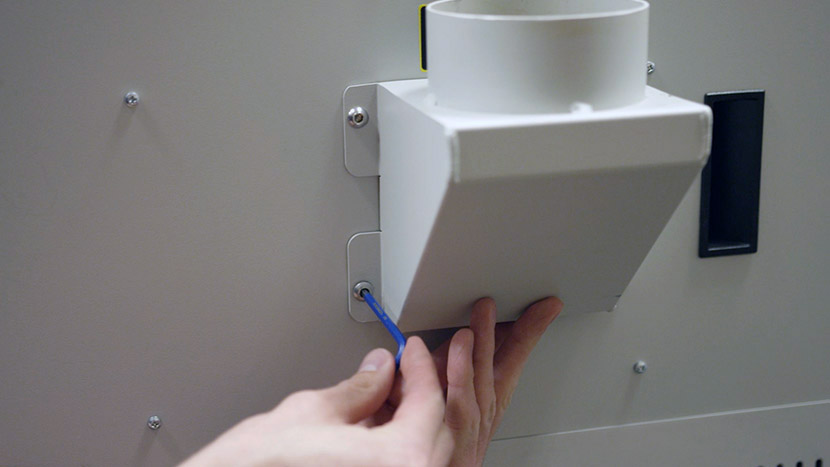
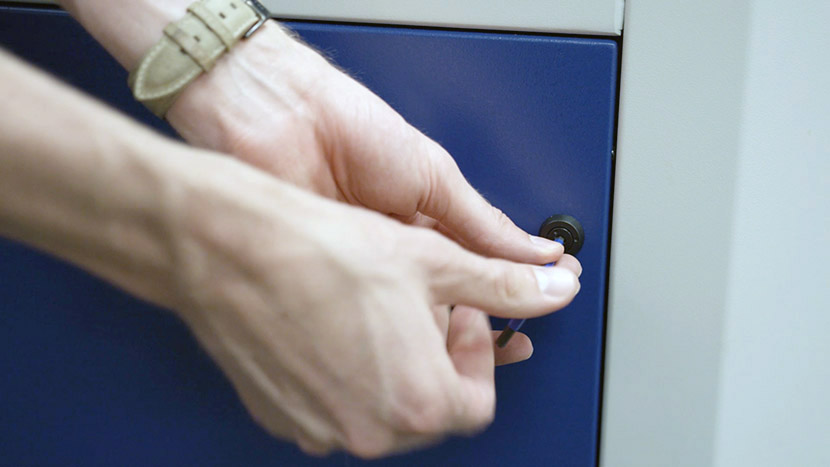
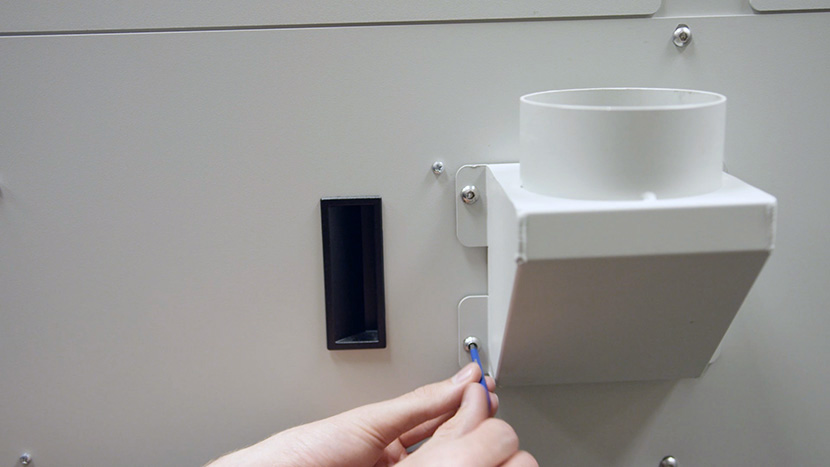
If any exhaust ports are attached to the back of the machine, be sure to remove them.
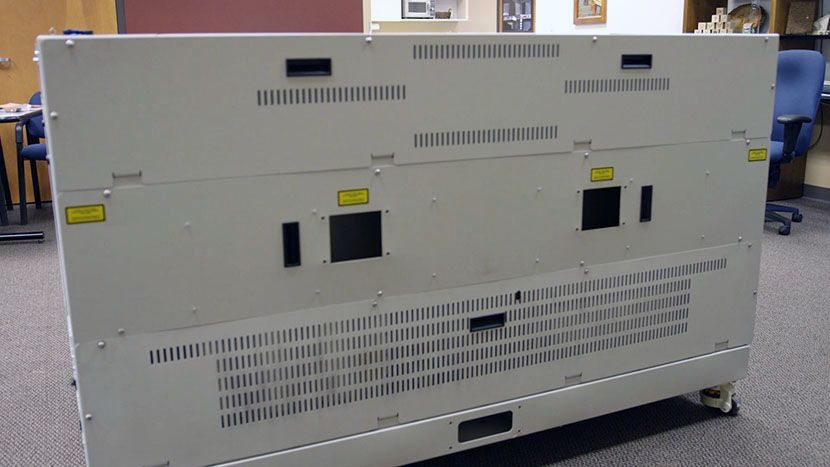
The back of the Fusion Pro should be a flat surface with no major protrusions before proceeding.
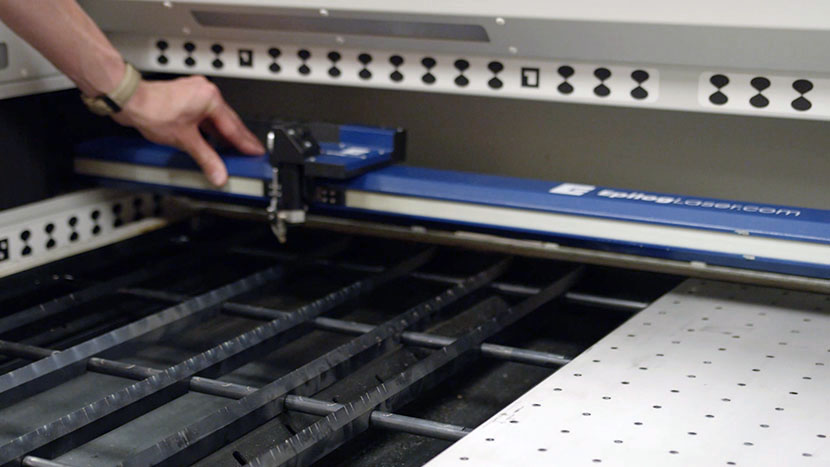
Push the x-axis assembly to the back of the machine.
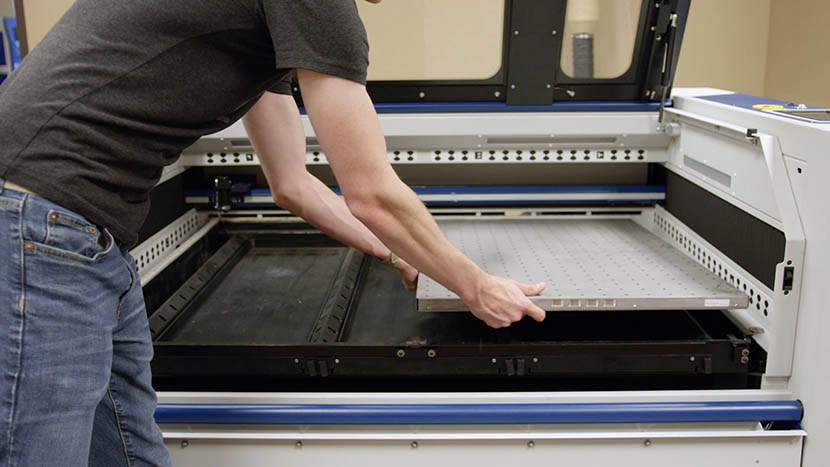
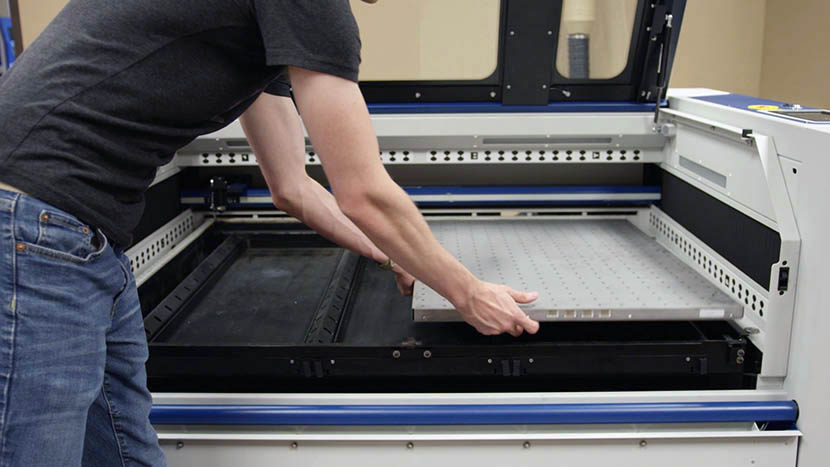
Remove any engraving or vector tables from the machine.
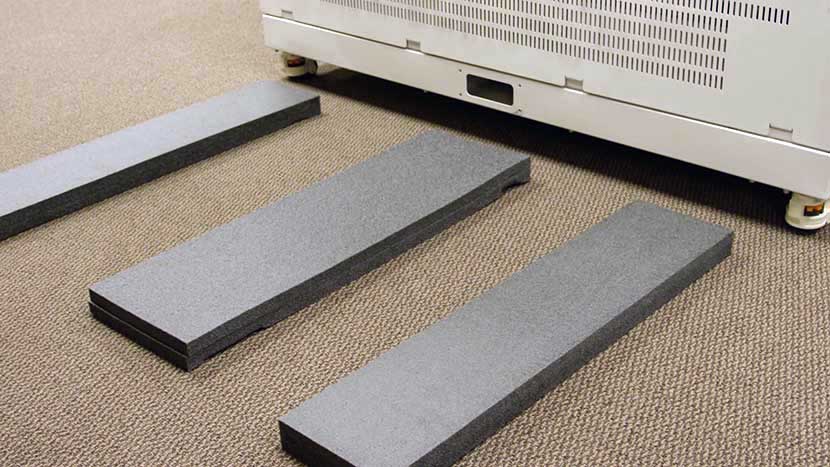
Place foam padding on the floor behind the machine, ensuring it covers enough space to accommodate the machine once it is positioned on its back.
Secure Ratchet Strap
Next we’ll attach a ratchet strap to keep the machine’s top door in place.
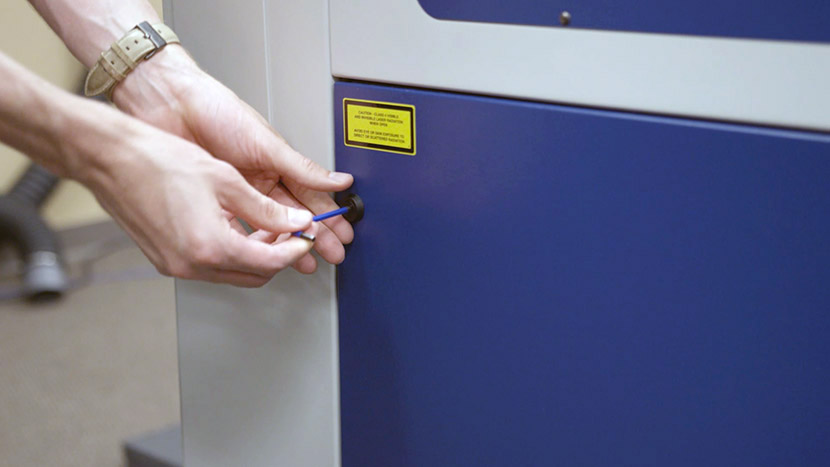
Use an Allen key to remove the machine’s left and right side panels, then set them aside.
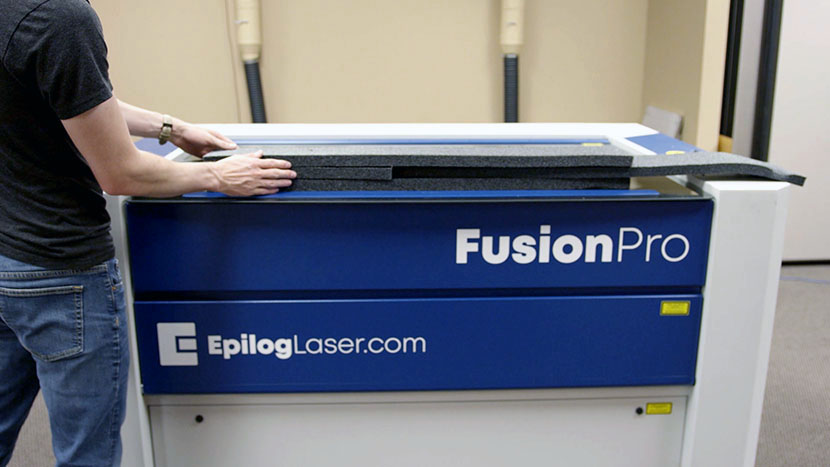
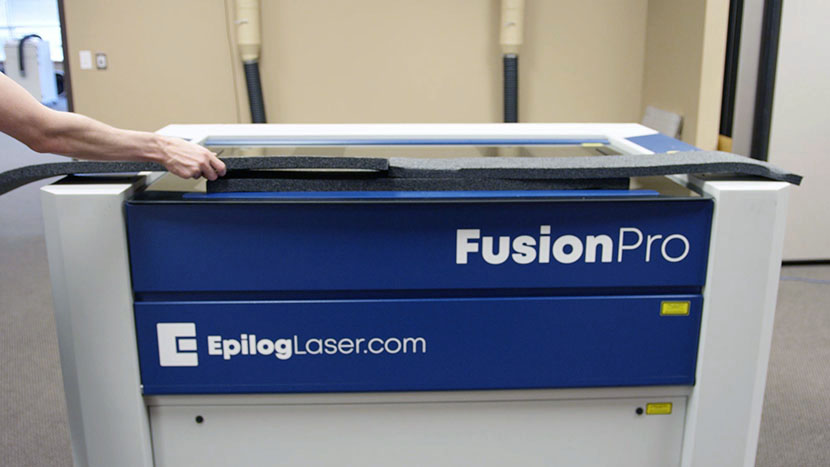
Place more foam padding on top of and over the sides of the machine to protect the machine from the ratchet strap.
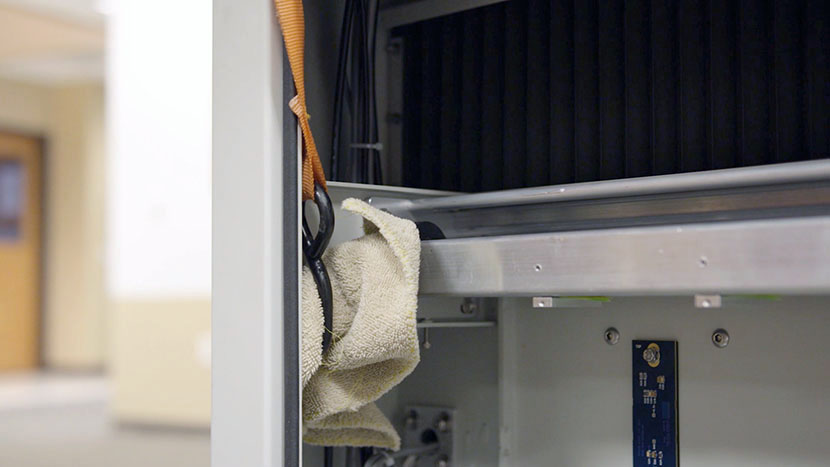
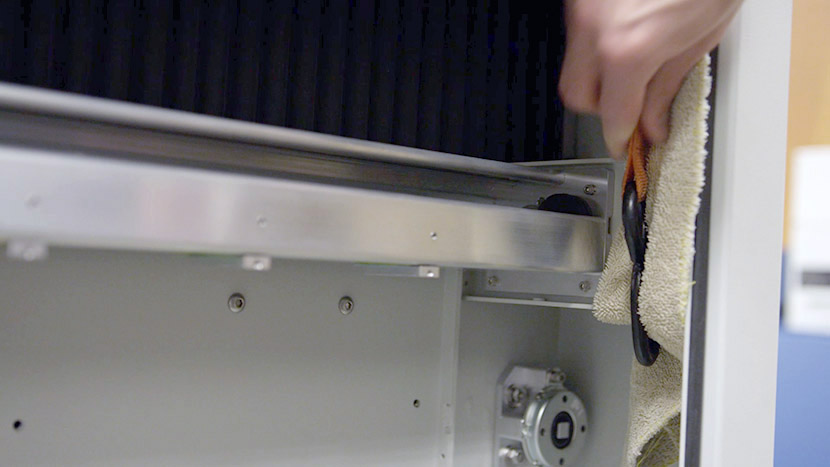
Hook one end of your ratchet strap to the cross beam supporting the front end of the left-side y-axis assembly, using additional padding, such as a washcloth, to protect the cross beam from scratches.
Hook the other end of your ratchet strap to the cross beam supporting the front end of the right-side y-axis assembly.
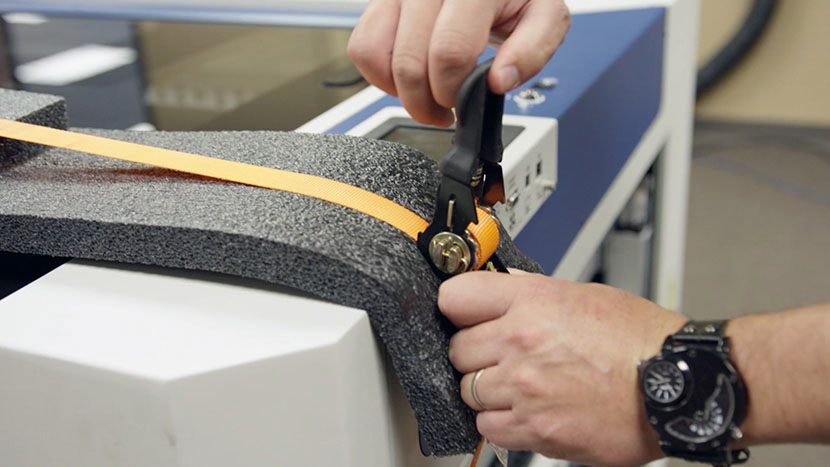
Tighten the ratchet strap.
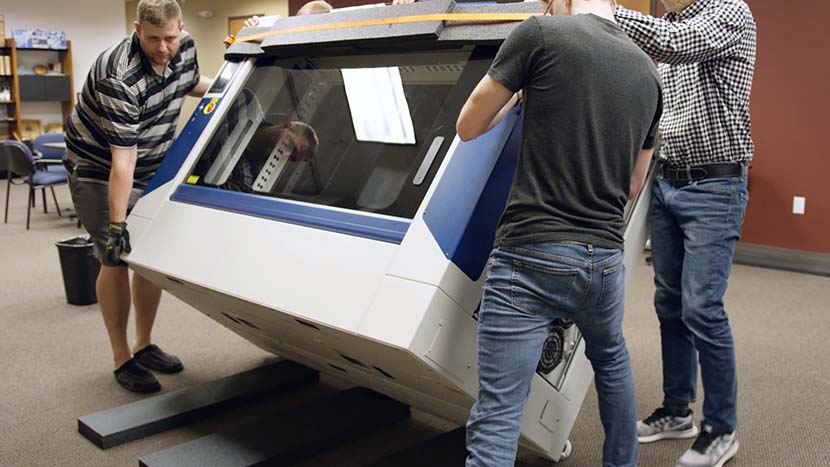
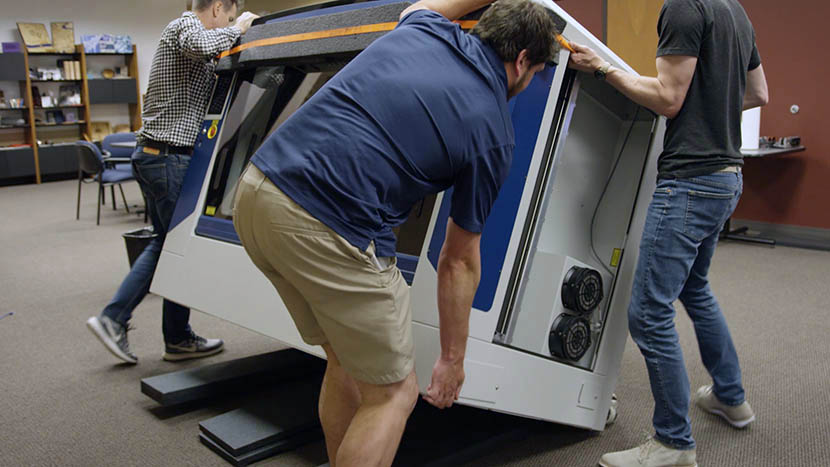
Tilt the Machine
Use caution when tilting or lifting the Fusion Pro.
The Fusion Pro 48 weighs around 650 lbs (295 kg).
With at least 4 people, tilt the machine backwards using the caster rubber feet as a pivot point.
Tilt the machine all the way up and over until it is on positioned on its back and is resting on the foam padding.
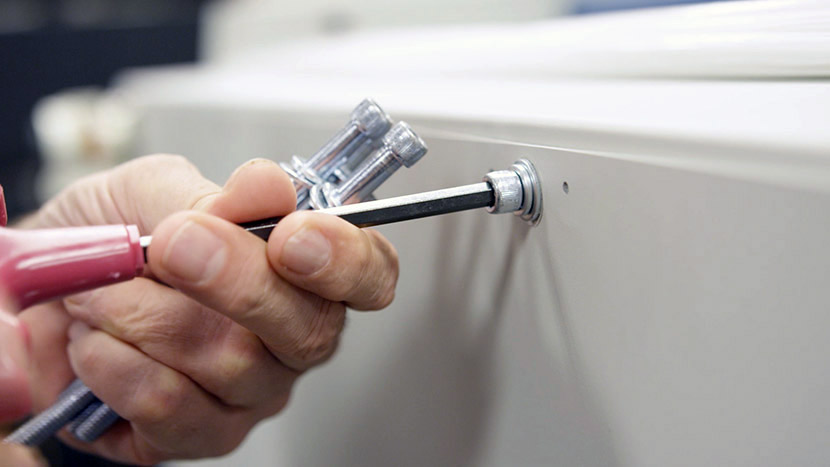
Remove the Pedestal
Using an Allen key, remove the long screws around the perimeter of the underside of the pedestal.
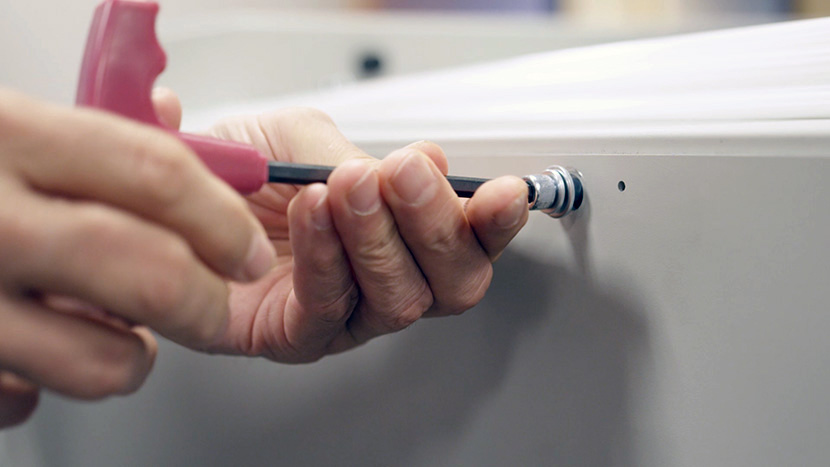
With two people, lift the pedestal up, then out of the keyhole hanger slots.
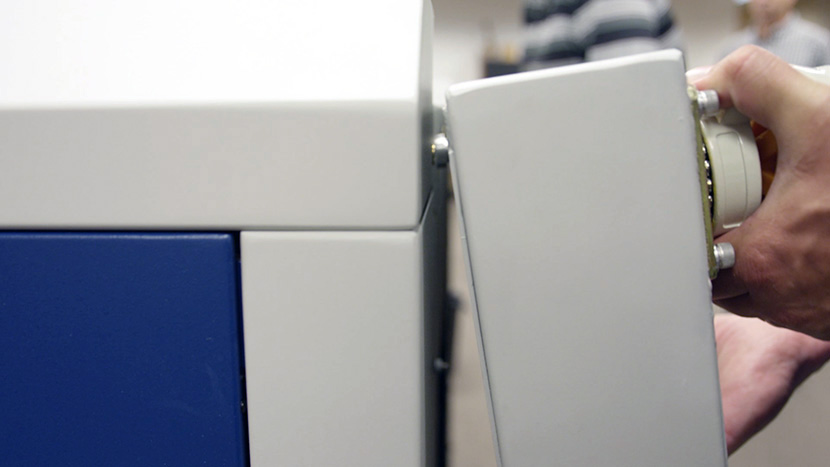
Set the pedestal aside.
The Fusion Pro is now ready to be moved to its final location.
Install the Pedestal
Once the machine is on its back in its final location, lift the pedestal back into the keyhole slots, then secure it using an Allen key and the long screws.

Use strips of tape to orient the caster wheels so that the wheels are pointing upward, and the rubber feet are positioned down toward the back of the machine.
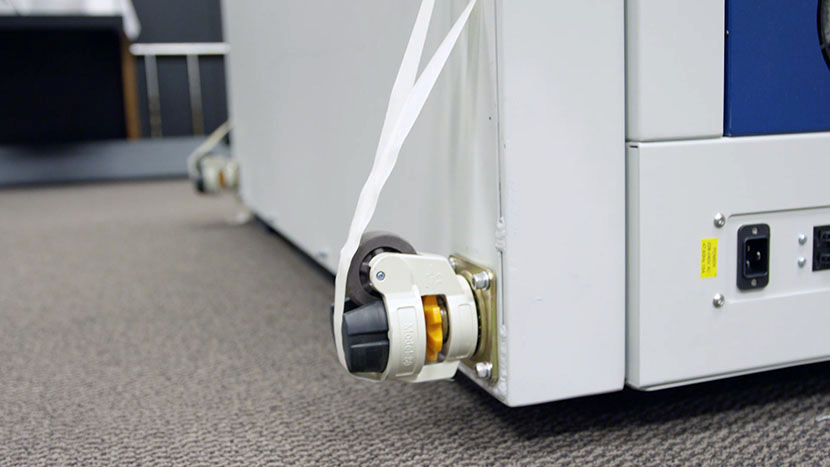
This positioning will ensure the feet act as pivot points when the machine is tipped back over.
Right the Machine
With at least 4 people, tilt the machine forward using the caster rubber feet as a pivot point, until the machine is in its original upright orientation.
Restore the Machine
Raise the rubber caster feet and remove the tape from the wheels.
Release and remove the ratchet strap, then remove the padding.
Use an Allen key to reinstall the left and right side panels.
Finally, reinstall any engraving or vector tables, as well as any exhaust ports on the rear of the machine.
Once complete, be sure to check your laser’s alignment and if necessary, perform the laser alignment procedure.