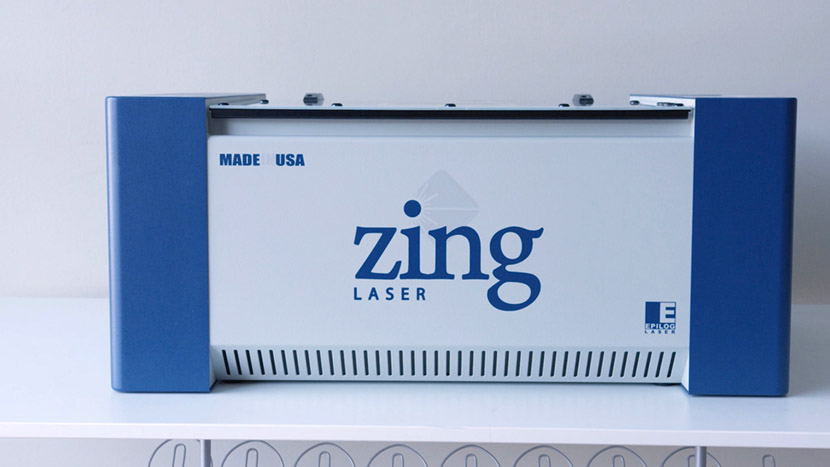
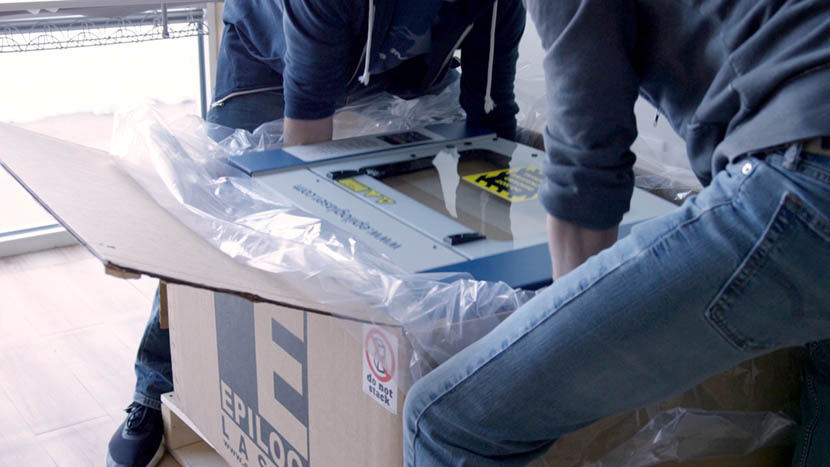
Unpacking the Laser
Open the Box Begin by using scissors or a utility knife to cut the box straps. Be sure to stand clear of the straps when cutting them, as they may pop out at high speed when cut. Then remove the strapping and the wooden box topper. Next, cut the tape (...)
Setting up the Exhaust
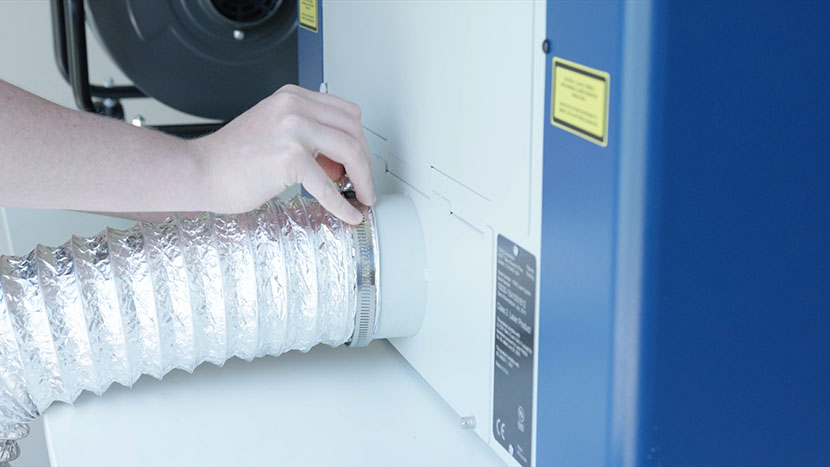
Exhaust Option 1: Exhaust Motor Blower The noisiest but most cost-effective exhaust option is a standard exhaust motor blower, such as the 2 horsepower motor blower shown below. It is very simple to set up. Hook up the exhaust hose to the machine. Use a quick clamp to secure the (...)
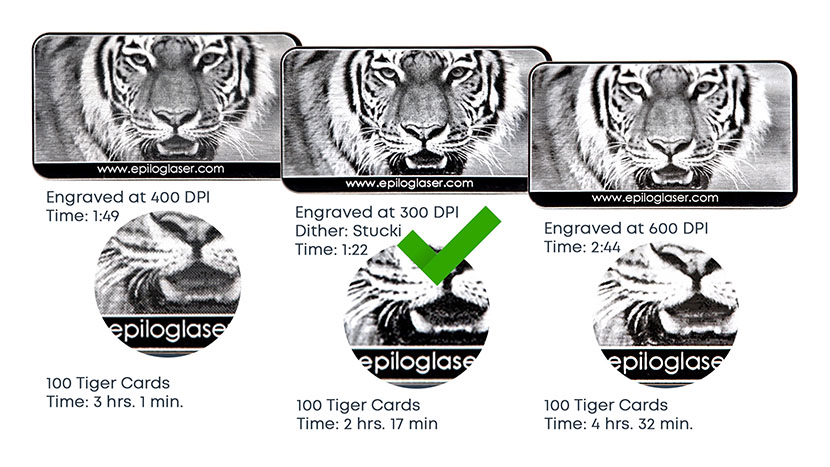
Image Resolution and How it Affects Engraving
1200 DPI resolution is used for projects that need the best engraving quality. It is ideal for very small fonts or when deep engraving is important. How do you know which DPI setting is right for your project? Print quality is often determined by the resolution of an image, and (...)
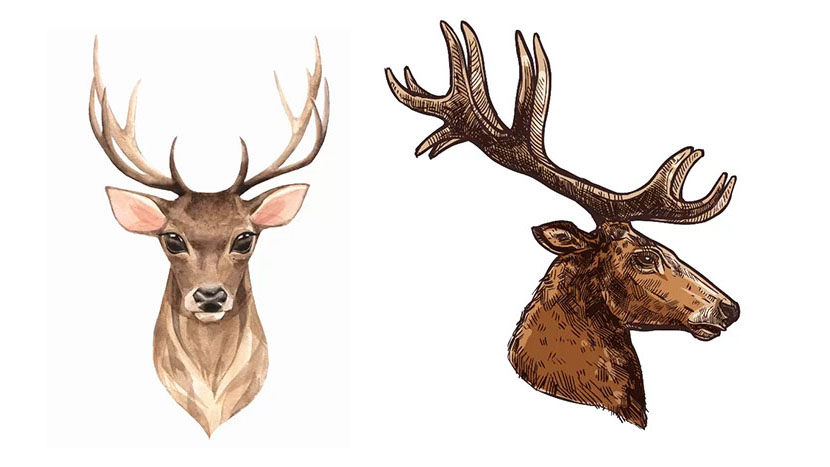
Bitmap (Raster) vs Vector Graphics for Engraving
Raster Images Let’s begin by talking about raster images. A raster image is an arrangement of cells, called pixels, which form an image when displayed on screen. This deer image is an excellent example of a raster image. It looks like a highly detailed picture, but is actually made up (...)
Machine Tour – Zing Laser System
Control Panel It all starts at the keypad. Our easy-to-use control panel allows you to access your job, start and stop the laser, focus for your project, and much more. On the LCD panel, you will see any current jobs at the machine. You can scroll through these jobs to (...)
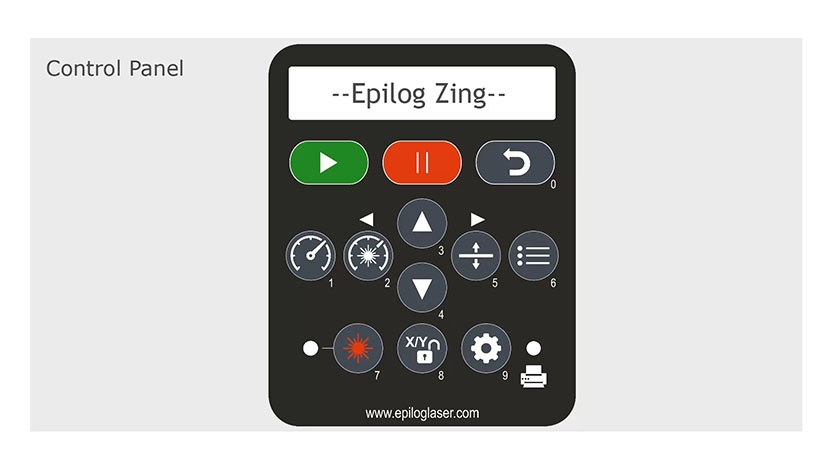
Control Panel Tour – Zing Laser
Go Button The first button on the control panel is the green Go key. Pressing this button starts or resumes a job. Once the job starts, the display changes to show a job timer and the engraving resolution. The timer is a useful production tool that displays the elapsed (...)
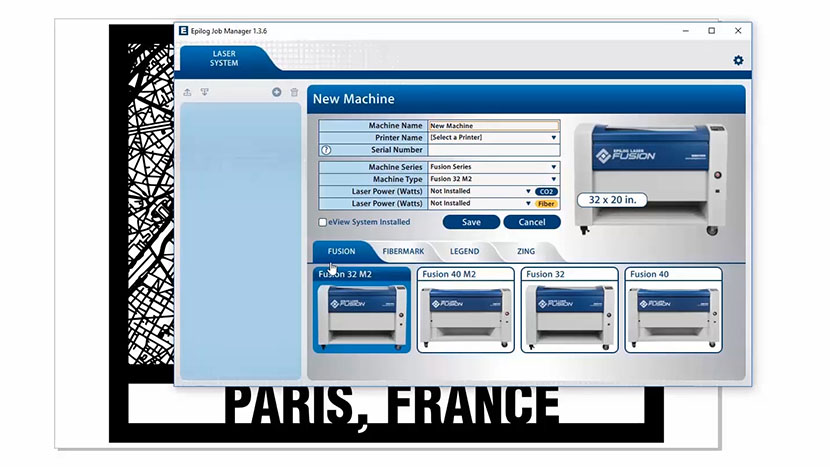
Job Manager Tour – Zing Lasers
Activating a Laser The first time you open the job manager, you’ll see a tab for each product line. You will need to activate your laser system to get started. Click the correct tab for your laser, then your system. You can activate multiple machines if you have more than (...)
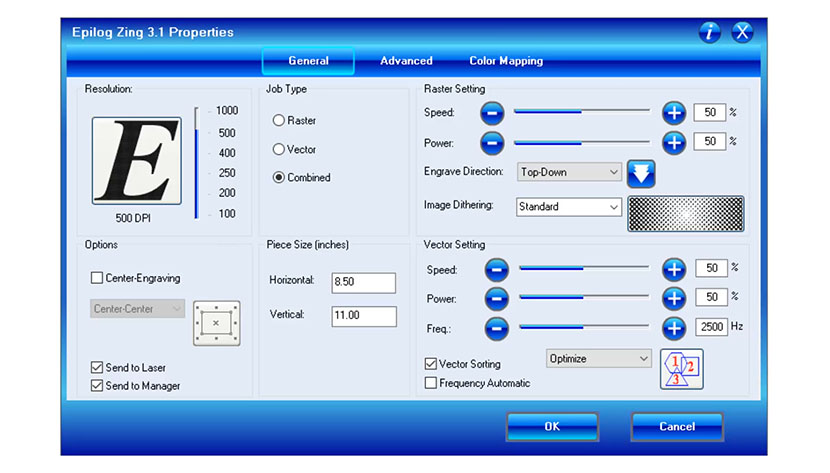
Print Driver Tour – Zing Laser
General Tab We’ll start on the General tab. First, at the top left corner of the driver, you’ll find the “Resolution” settings, which can be set from 100 to 1000 DPI. The higher you set the resolution, the higher your engraving quality will be. Typically, you will use 400 or (...)
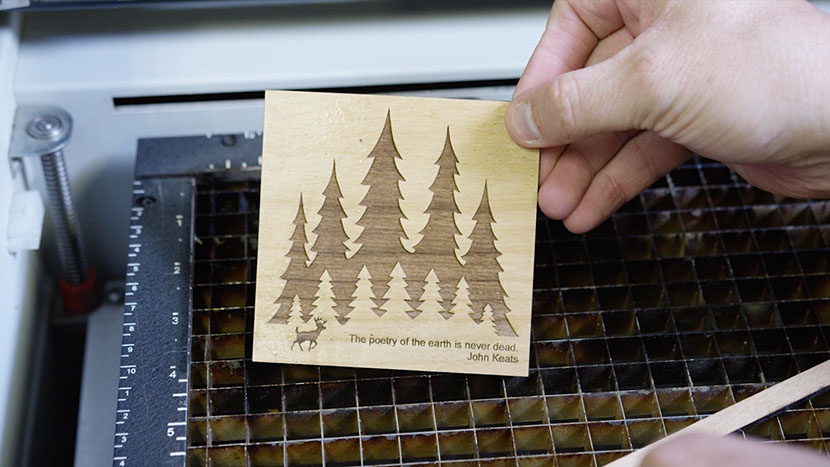
Wood Square
Setting Up Your Page We’ll start by creating a new file in CorelDRAW. Click File in the menu bar at the top of the screen. Then select New from the drop-down list. Now enter your page size. Enter 4.5” for the page width and 4.5” for the page height. Then (...)
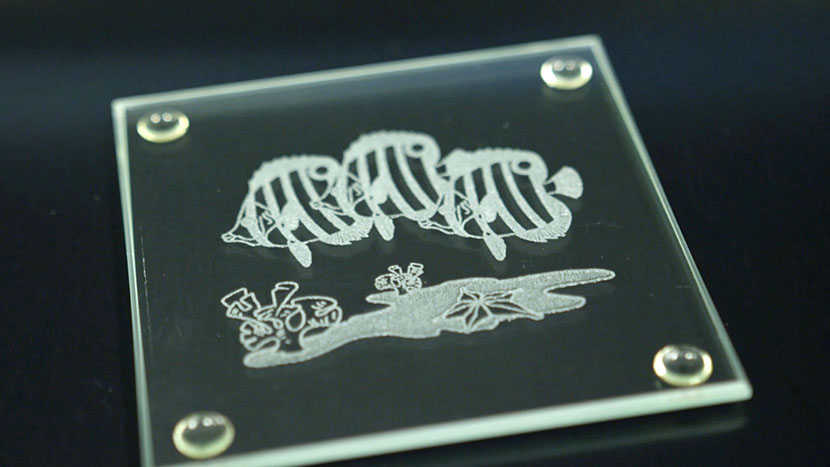
Glass Coaster
Setting Up Your Page We’ll start by creating a new file in CorelDRAW. Click on the Get Started option on your Welcome screen, then click the New Document button. You can also use the shortcut keys, Ctrl + N, for opening a new document. Now enter your page size. Enter (...)
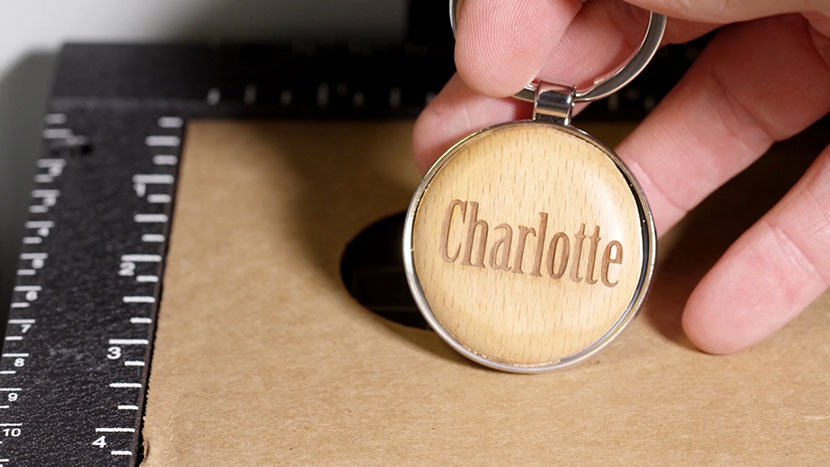
Wood Keychain
Setting Up Your Page We’ll start by creating a new file in CorelDRAW. Click on the Get Started option on your Welcome screen, then click the New Document button. You can also use the shortcut keys Ctrl + N for opening a new document. Now enter your page (...)