In this lesson we’ll walk through adjusting the tension of the Epilog Fusion M2’s x-axis belt.
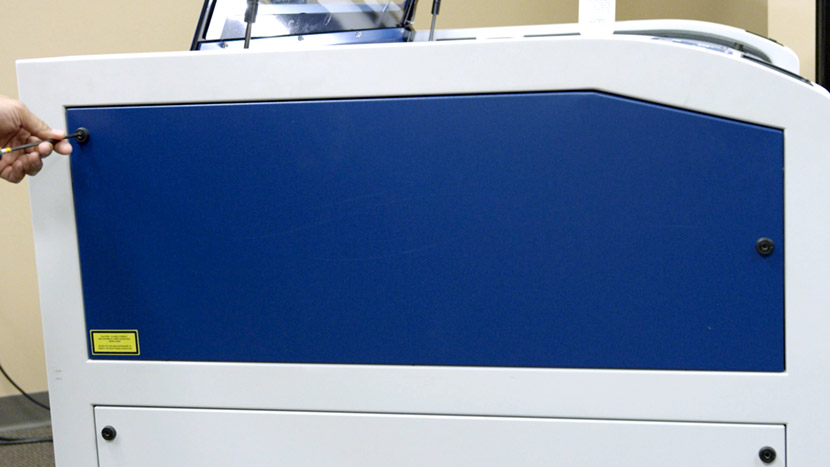
Remove Panel
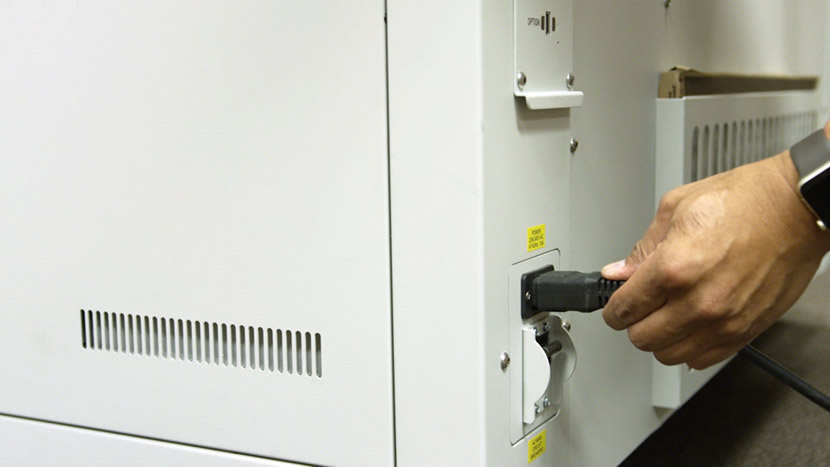
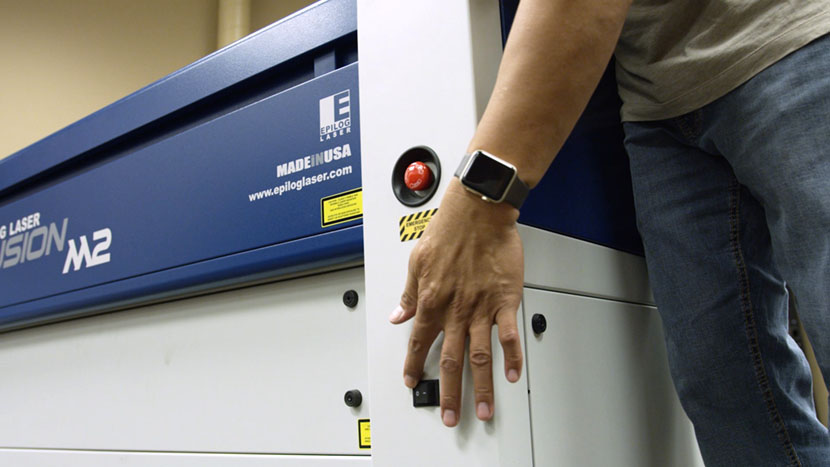
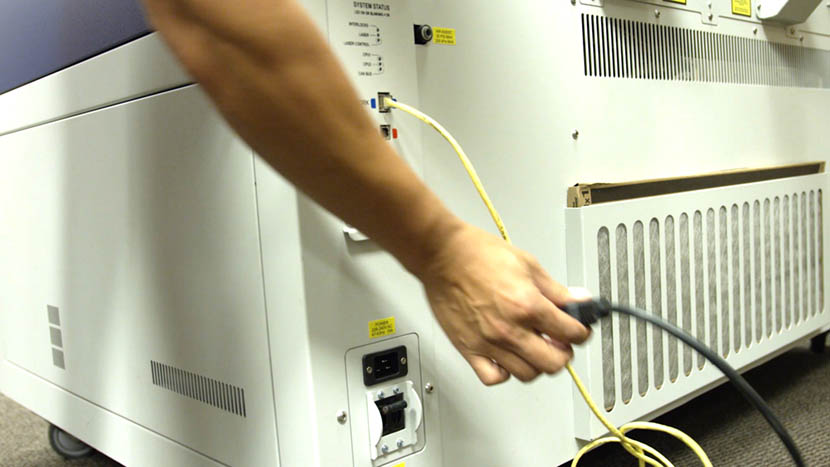
Shut off the laser and remove the power cord from the machine.
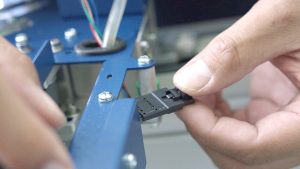
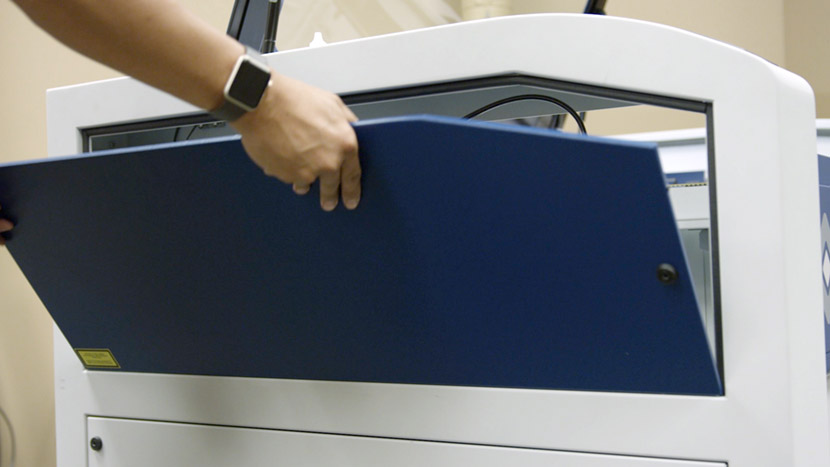
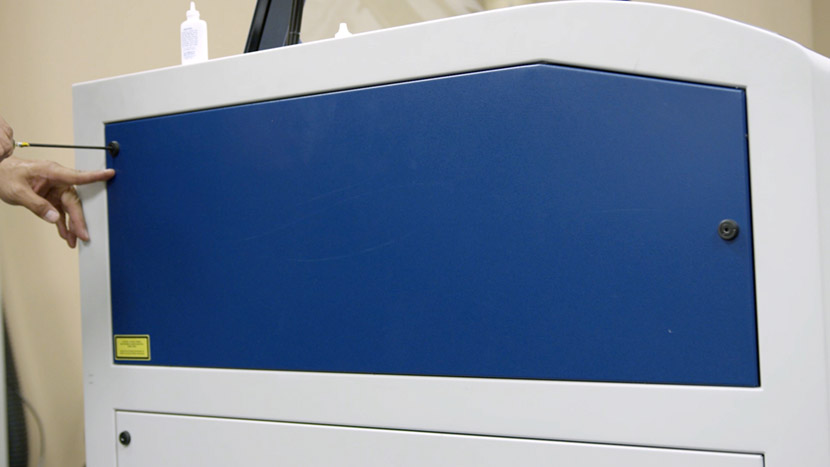
Remove the top access panel on the left side of the machine by using a 5/32” hex key to turn the black panel locks ¾ of the way counter-clockwise.
Adjust Belt Tension
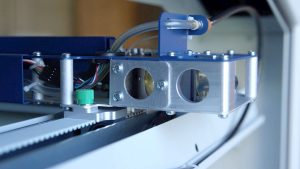
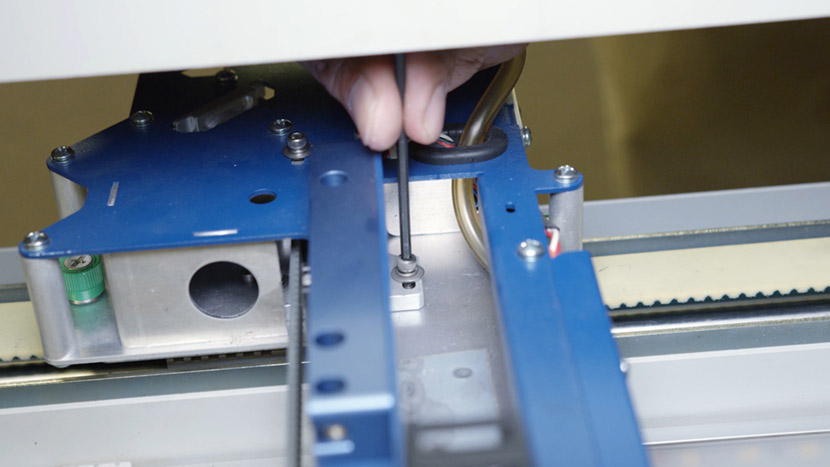
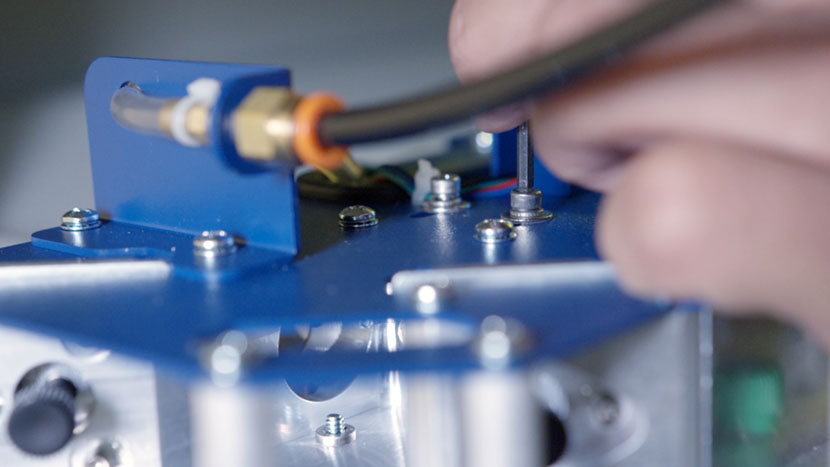
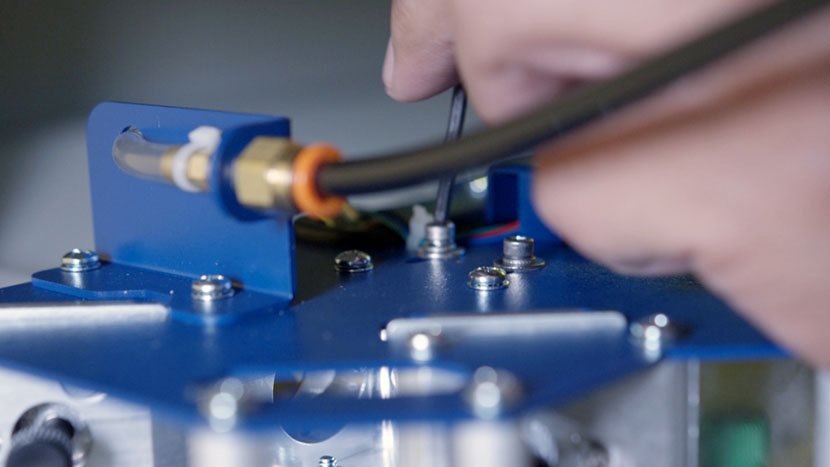
Use a 7/64” hex key to loosen the x-axis pulley mounting screw located in front of the x-axis belt, accessible through a circular hole in the top of the x-axis assembly. Then loosen the second mounting screw located in the open channel behind the x-axis belt.
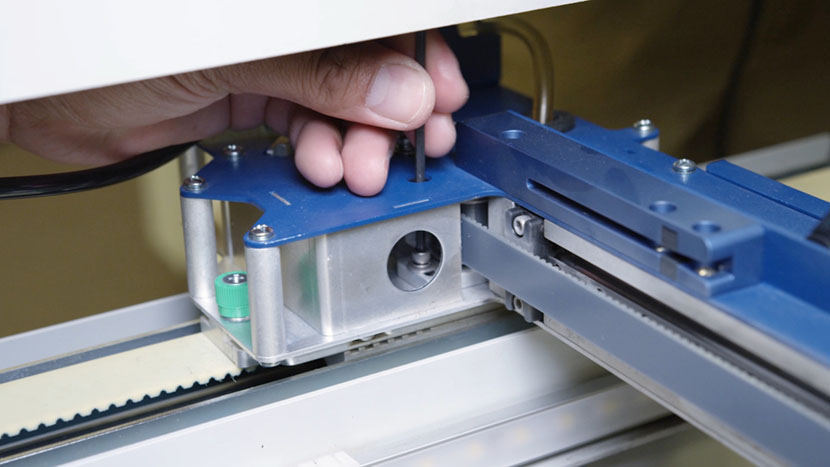
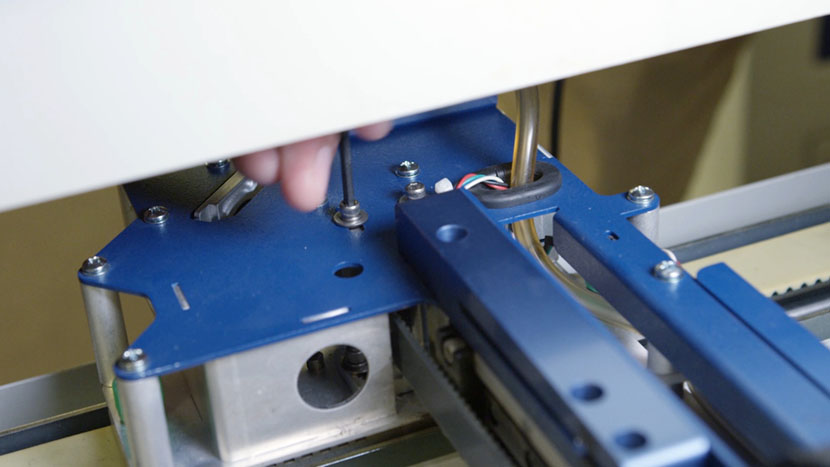
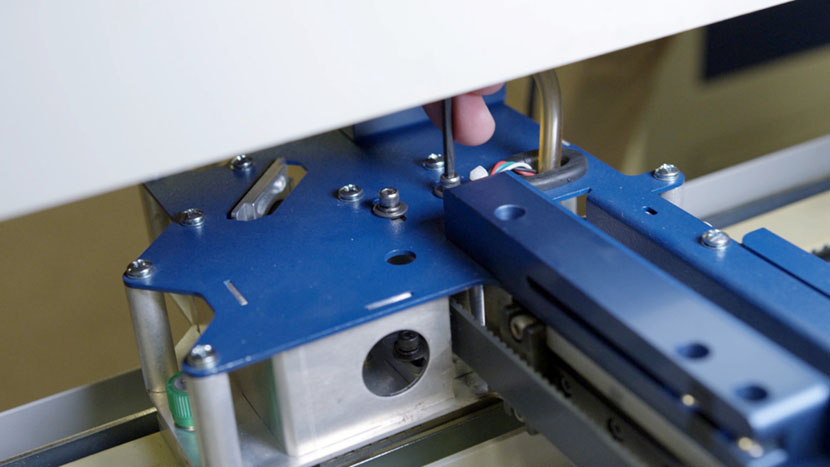
Next, loosen the two x-axis pulley mounting screws located on the top of the x-axis assembly.
Use a 5/32” hex key to adjust the tensioning screw accessible from the end of the x-axis assembly.
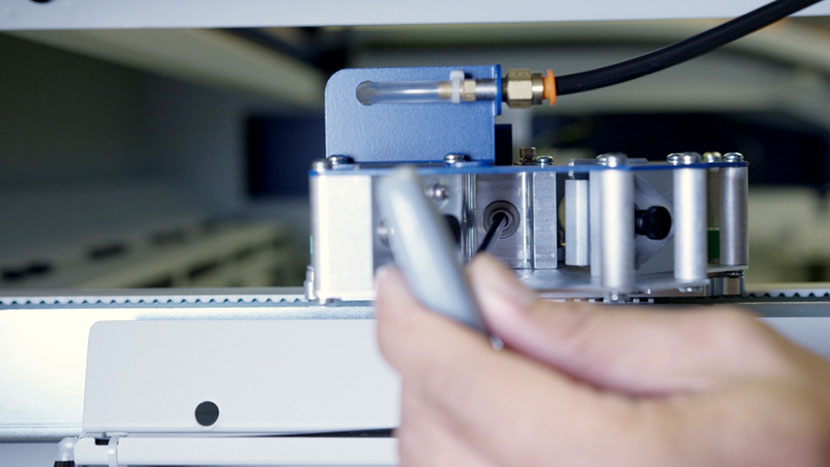
Loosening the screw will loosen the belt. Tightening the screw will tighten the belt.

Once you’ve achieved the ideal tension, use a 7/64” hex key to retighten the two pulley mounting screws.
Reinstall Panel
Replace the top access panel on the left side of the machine, using a 5/32” hex key to turn the black panel locks ¾ of the way clockwise.
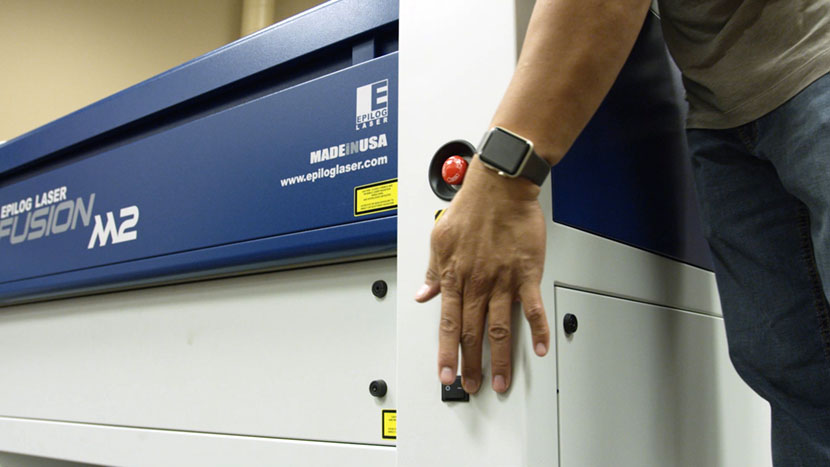
Plug the machine in and turn it on.